Cloth Diapering Newbies: Part I

CD post

For all of you soon-to-be and current parents wondering what is the deal with CLOTH diapers, here is our spin. We will split this topic into several posts because let me tell you: There is a lot of ground to cover. Most of the useful information we found on cloth diapers came from Youtube. But who has time to sit and watch several 20 minute long instructional videos? Not to mention, we had to dig around a lot because much of the information was scattered around. How many diapers to buy? How much is it going to cost? We hope that we can give you the answers you seek and more. This first post will be about why cloth diapering, what kinds of products are out there, and how much things are going to cost. A little back story to clarify our position before we start.

  • We had our first baby in June of 2015 and before that the cloth diaper question had come up quite a bit in our circle. We looked further into it and decided it was something we felt strongly about doing.
  • Our baby arrived six weeks earlier than his due date and was too tiny to fit into cloth diapers. We basically had to use disposable diapers until his thighs were chunky enough to fit in and it’s been nothing but a positive experience ever since.
  • We strive to be conscious consumers on all levels. Just because you can buy anything and everything in this day and age, doesn’t mean you should.
  • So why not disposable diapers? The thought of us adding some 7,000+ diapers to pile up in growing landfills did just not sit well with us. Not to mention the idea of literally throwing away between $1600-$2200 of hard-earned money that could go toward baby’s college fund.
  • Last but not least, cloth diapers are gentler on baby’s little buns because they don’t contain a gazillion chemicals to suppress smells and absorb liquids. This was something that was also confirmed to us after we switched to cloth diapers full-time. With the cloth diapers, baby rarely had any rashes.

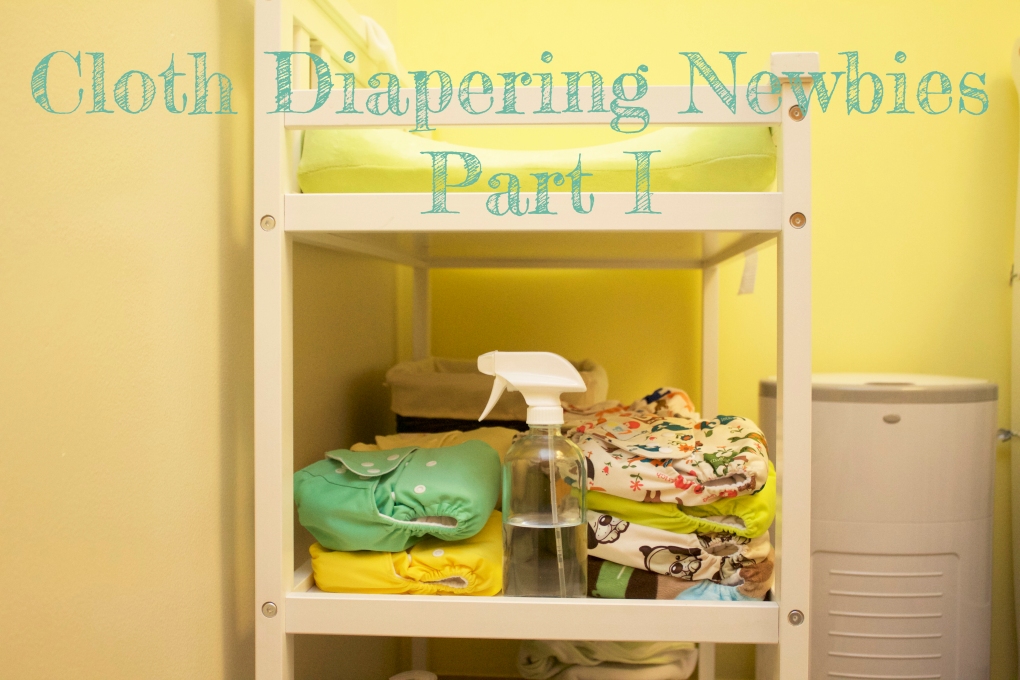
So where do you start? You have heard about plenty of cloth diaper brands that have been around for the last 10-15 years with good/average reputation, but you don’t have the time to sift through Amazon reviews and commit? Despair no further! We have tried to do that job for you and answer some of the questions we had as we began this cloth diapering journey.

What brand(s) should I buy?

What are the pros and cons of each brand?

Is it affordable? What is this going to cost me?

Where can I buy cloth diapers?

Read More


Hide a Basement Pole in Plain Sight

diypole

One of the projects you’ll hear a lot about from us is our basement project. Long story short, we bought a ranch that needed some TLC just before our wedding and we have been working on it ever since. We fixed some minor things on the main level just in time to move in and shortly after we began the 9 month long basement renovation. Everyday, after work and school hours, we would change into costume and take up hammers and paint brushes in a bid to reclaim our homeland. Well, sort of. Anyway, as we neared the final stretch, one of the things we noticed was that, after all our hard work, the weight-bearing poles stood out like SORE THUMBS. We thought long and hard, did our research, and in the end came across these awesome pole-wraps from Home Depot. We wanted to save space so the pole-wrap was perfect because it wasn’t too bulky and it also fit with the woodsy clean look we were going for. You can stain these poles if you want but we like the bare wood look so we kept them as is. With that being said, here’s what you’ll need and how to do it!

Total Cost= $242.50
Pole Cover (3)= $44.28 x 3= $132.84
Pole Cap and Base (3)=$32.93 x 3= $98.79
Liquid Nails (2)= $3.47 x 2= $6.94
Painter’s Tape(1)= $3.93

Prep Time: 1 hour
Dry Time: 8-24 hours

Directions

  1. Thoroughly wipe and clean your basement poles from any dust/glues and let them dry. If you don’t do this step, the glue won’t stick properly
  2. Buy the pole cover package from your local Home Depot – * *Note that they come in multiple sizes and materials, so measure the pole before you pick one up. The brand is “POLE-WRAP,” pretty self-explanatory. We picked out 96×12 in Oak.
  1. Don’t buy just any adhesive, make sure that it works for binding wood & metal. I personally opted for Liquid Nails (which has never failed me). I used two tubes for 3 poles, and yes, I was excessive.
  2. Measure the pole’s width and use that measurement to cut any excess pole cover with a utility knife. You’ll want to do this before applying any adhesive as it will be stickier and messier to do later.

liquid nail

  1. Apply adhesive evenly on the inside of the pole cover and carefully wrap it along the pole. Use painter’s tape to wrap around pole cover tightly until the adhesive sets and dries. We let our poles dry for a full day before we finished the look with pole caps.
  2. Apply adhesive to the bottom and top of each pole cap and place carefully around the pole. Apply plenty of pressure to make sure they are firmly in place. Use painter’s tape to keep the caps in place while they dry and set.
  3. Enjoy how awesome your space looks with this minor DIY makeover. Seriously, it made such a difference!


If you liked this post please follow us and share!


You’ll never buy gift wrap again

IMG_8423

The holidays have creeped up on us once again (Seriously, where did the time go?) and for those of you who have saved shopping for the last minute, buying wrapping paper is the last thing on the endless list of to-dos that you want to make time for. In the holiday spirit of recycling (and saving you some time!) here’s a quick idea for a DIY rustic and personalized gift wrapping.

If you save gift bags and grocery store paper bags then you’re in luck!  We personally have a stash of Trader Joe’s paper bags that we keep around for multi-purpose use. But any large paper bag fits the bill.

  1. First, you’ll need to flatten the paper bags the best you can and gently open up the glued bottom flap of the bag. 
  2. Now flatten the bottom of the bag and the sides until you have a square shaped paper.
  3. Pick a folded crease and cut open the paper bag, flattening it once again. Also pull off any handles or straps. 
  4. Depending on the size of your gift, you’ll want to adjust the size of the paper accordingly. 
  5. Place your thoughtful gift inside and wrap nicely!
  6. For a personalized touch, use colorful stickers, ribbons, or even hand-drawn doodles to decorate your beautifully wrapped present. Here we went for a simple look but there are no limits to what you can design.

We found that even if we have the time to buy wrapping paper, we prefer doing it this way as it is 1) A great way to reuse and recycle, and 2) It looks awesome! You can even use the printed side of the Trader Joe’s bag since the art work is really pretty and wintery  and cover the “Trader Joe’s” with a gift label.

IMG_0068IMG_0078IMG_0070IMG_0071IMG_0072IMG_0073IMG_0074IMG_0075IMG_0076IMG_0077IMG_0079

If you liked this post please follow us and share!