

Back to some exciting DIY for this week’s blog post.
From the minute we decided our house was “the one,” we knew that we would be finishing our basement. Creating a space where we could host family and friends was something super important to us, so it was a no brainer that we would need a small kitchen to warm up food and stock our ice cold Izzes and Dr. Betters for those game nights and birthdays. In just 4 hours on a Memorial Day Weekend, my wife and I put together a little kitchenette for the basement. So if you’re looking for tips or inspiration on how to install a kitchenette or replace a small-sized kitchen, follow along as we go through all the details of how we purchased, prepared, and put it all together in record time.
Total Cost (Cabinets, Countertop, and Sink)= $1,037.94
Prep Time: 3-4 hours
Dry Time: 8-24 hours
Cost Breakdown
Counter-top (8ft) = $95
Counter-top Endcaps = $12.98
Base Cabinet (36in) = $195
Base Sink Cabinet (36in) = $136
Base Cabinet (12in) $99
All-in-one Double Sink = $119
Top Cabinet (36in) = $209
Top Cabinet (30in) = $83.30
Top Cabinet (12in) = $73
Cabinet Screws = $8.26
Painter’s Tape = $3.93
Liquid Nails = $3.47
Tools you will need
Jigsaw (Ryobi)
Power Drill
Tape Measure
Light Hammer
Marking Pencil
Shims
Builder’s Level
Plans and Preparations
Before we get into the installation process there is one super important step to pulling this off successfully: PLANNING. The planning step involves three parts:
- Measuring your space
- Designing your kitchen
- Picking out cabinets and appliances
When it comes to designing the space you have to remember that things can spiral out of control if you don’t measure accurately and purchase standard cabinets that can be installed against the studs in the walls. If you don’t have a stud-finder, invest in one. They last forever and cost only around $20. We used the Ikea kitchen designer tool (it’s free) to input the measurements of the space (ceiling height, walls, door, etc) and figure out how many cabinets we would need. For our design we opted for a simple, straight clean line with a rustic farm table across.
After we settled on the design, we picked out our countertop and wood cabinets (in medium oak) from the Home Depot in-store selection. They had a 10ft and a 8ft long countertop but we opted for the 8ft because we did not want our kitchenette to be bigger than 7ft. Home Depot has a really nice selection of laminate countertops with a faux marble look and 1) if you’re working on a tight budget or 2) you don’t care because it’s just a basement kitchen, this is the route to go! We did call a contractor for an estimate on granite countertops and it would have cost us a pretty penny so we decided we would save that for when we remodel the main floor kitchen. Plus for the cost of the granite alone, we were able to do a decent sized kitchen.

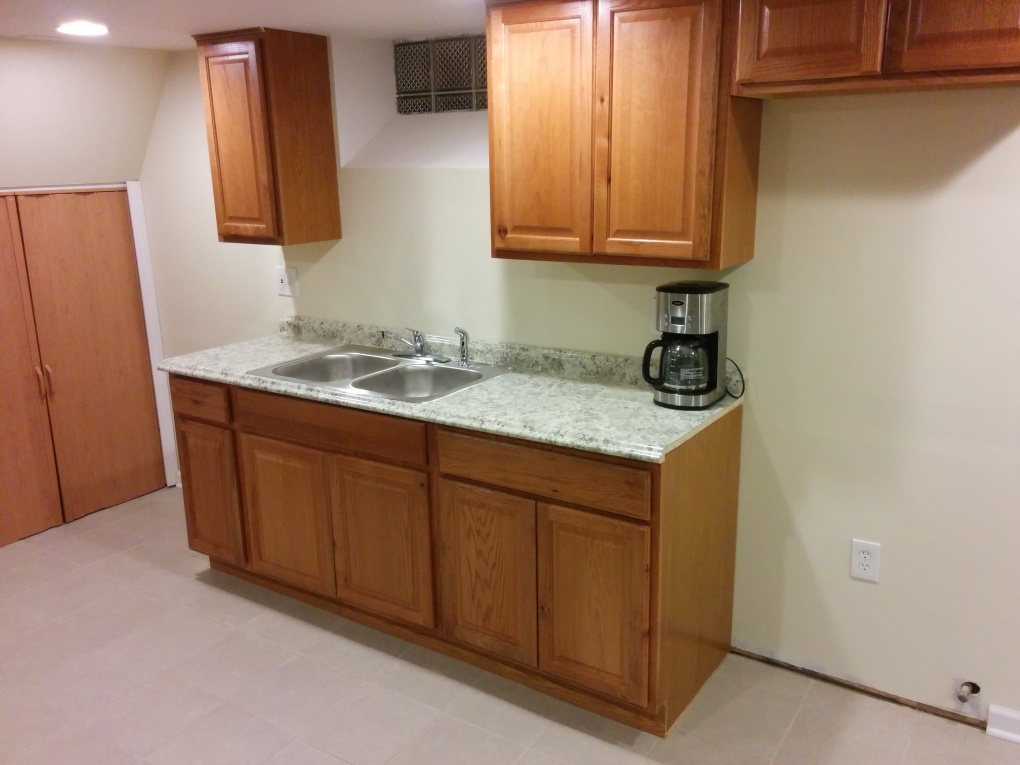
For the base cabinets we purchased (2) 36 inch and (1) 12 inch cabinet which put us at 84 inches (7ft). Below is the order in which we aligned them per our design. Note that one of the 36 inch base cabinets is a sink base cabinet, which means that it is intended for use with a sink installed on top and thus lacks a drawer.


For the top wall cabinets we purchased a 12 inch, a 30 inch and a 36 inch cabinet.


Once you have your measurements, the final design, and cabinets & countertop, you can begin the simple installation process.
Installation
1. This first step is ESSENTIAL. You will need to make sure all the cabinets are LEVEL as you place and fasten them. I cannot emphasize the importance of this.
2. Find the studs in the wall and fasten the cabinets against the wall using two cabinet wood screws for each cabinet (one on top and one the bottom). After fastening them to the wall, you will have to secure them together using the wood screws (see picture below courtesy of Home Depot) 
3. Once all of the cabinets are secured in place, you can begin to 1) cut the counter-top to the desired length and 2) cut out the area for the sink. Before you cut the counter-top, make sure you have it fastened to a solid surface and completely stable.
- Measure the counter-top at least twice to make sure you are going to cut it at the right place and mark very clearly on the unfinished side where you will cut it. WARNING: If this step gets ignored you will have to buy another counter-top, there is no way around it.
- You will also need to measure the finished side and lay painter’s tape over your marks. This is necessary so that the jigsaw does not damage the finished surface when you are making the cuts (see pictures below).
- To cut out the area for the sink, I drilled a small hole in one corner of the markings so I would be able to use the jigsaw from that starting position. If you don’t do this, it will be really hard to cut through in the middle of the countertop.


4. Once all your cuts are made, you can go ahead and glue the countertop to the base cabinets using a generous application of Liquid Nails. (Note: make sure you don’t scratch the countertop when flipping it or when placing it on a different surface.)
5. If you’ve chosen to include a sink in your plans as we have, you can install this after the glued countertop has dried (minimum 8 hours). 99% of all-in-one sinks come with directions so follow them closely as each sink may be different. Our sink came with fasteners at the bottom that you twist and adjust easily against the countertop. It was super easy and didn’t take us more than 10 minutes to put in. To get the sink running we hired a professional plumber to connect things at a later time.
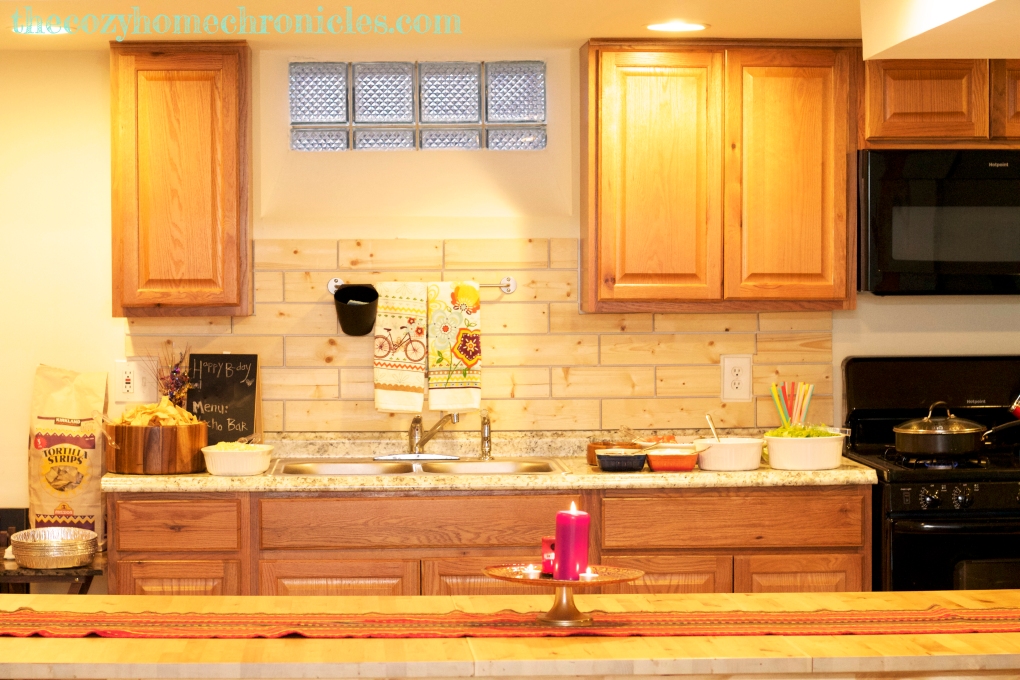
6. Finish up the space with your choice of appliances and an awesome Ikea table and you are all set to start planning your next dinner party or movie night 🙂
Reflections and Tips
- Can’t decide on a design? A Sunday stroll through Ikea’s kitchen showroom with some hot sticky Kanelbullar is the perfect way to get inspired.
- Plan your project ahead of time to coincide with big savings offered by major retailers. As I mentioned earlier, we did our kitchen on Memorial Day Weekend so we got a great deal on our cabinets(15-25 % off the listing price) and appliances. Labor Day and Black Friday are also great times to plan around.
- When designing your kitchen, choose a layout that takes advantage of pre-existing plumbing (and electrical outlets) so you are not stuck hiring a plumber to do costly rerouting.
- Installing a kitchen sink is a little tricky and you can either do it before or after you finalize the countertop. I did this step after I had glued the countertop to the base cabinets which meant I had to work in a tight, cramped space. If I had the chance to do this installation again, I would install the sink before mounting it and gluing it to the base cabinets.
If you liked this post please follow us and share!


4 thoughts on “Install a kitchenette in less than 4 hours”