

There are two ways to deal with an old and worn-down possession, furnishing, etc… One way is to toss it out and buy a replacement. The other involves putting on your creative cap and transforming it into something beautiful and functional. I’ll leave you to guess which is the boring option and which is the super fun and rewarding option. We opted for the latter and although we were hesitant about doing something so bold, we are really happy with the result.
This decoupage makeover was done to an old bathroom cabinet that hangs over our toilet in our main bathroom. It was one of those things we wanted to change when we moved in but we just never got around to because we were working on bigger and badder things (like finishing our basement by hand). I (Sammy) have been trying to organize the closets in the house recently and it hit me when I saw the cabinet empty that I could fix it then and there. I pulled out some paper scraps I had been wanting to use and the rest is history.

What you’ll need
Mod Podge
Foam Paint Brush
Pretty paper in the design and color of your choice
Scissors
Exacto knife
Books (to aid with the drying)
This makeover is very simple, inexpensive, and can be modified for any project, big or small. Obviously, the bigger the project the more paper and Mod podge you will need. For a cabinet this size and the type of thicker paper I used, I ended up going through half of an 8oz container of Mod podge.
Time
The design really dictates the amount of time this project will take you. If you’re just applying paper by the sheet it will take significantly less time than a collage. To make the collage a bit less tedious, I made use of larger strips of paper interspersed with smaller shapes and sizes. Overall, it took me about 5 hours to complete including drying time.
Directions
All this really involves is two easy steps: 1) Apply Mod podge and 2) Wait for Mod podge to dry. The application, however, must be done with care as air bubbles can form and ruin the surface.
- If you’re working with furniture, take apart any shelves or doors that can be done more easily if separated. Our cabinet had one shelf that could be taken out so I did that first and while it was drying, I finished the rest of the cabinet. It would have been easier to take the cabinet down but I just brought a stepping stool and finished it on the spot.
- Clean the surface you are finishing with a lightly dampened cloth and dry well.
- Once your surface is dry, dip your brush in Mod podge and apply generously to the back of your paper.
- Press the paper onto the surface and apply pressure with the palm of your hands until it sticks and there are no air bubbles.
- Here you can place a book or something heavy over the surface so that it dries flat.
- Once dry (1hr) you’ll want to remove any excess paper with a scissor/Exacto knife.
- Finally, apply a generous coat of Mod podge over your work to seal it and let dry for at least 1 hour.

Taking the cabinet apart.

For the shelves I applied whole sheets of paper because it would have taken way too long if I did all of the cabinet as a collage. Make sure your paper is large enough to wrap around the shelf. Apply Mod podge and paper on one side. Let dry. Apply Mod podge on corner, press paper down and let dry. Fold paper on the unfinished side, apply Mod podge, and let dry. It’s that easy!
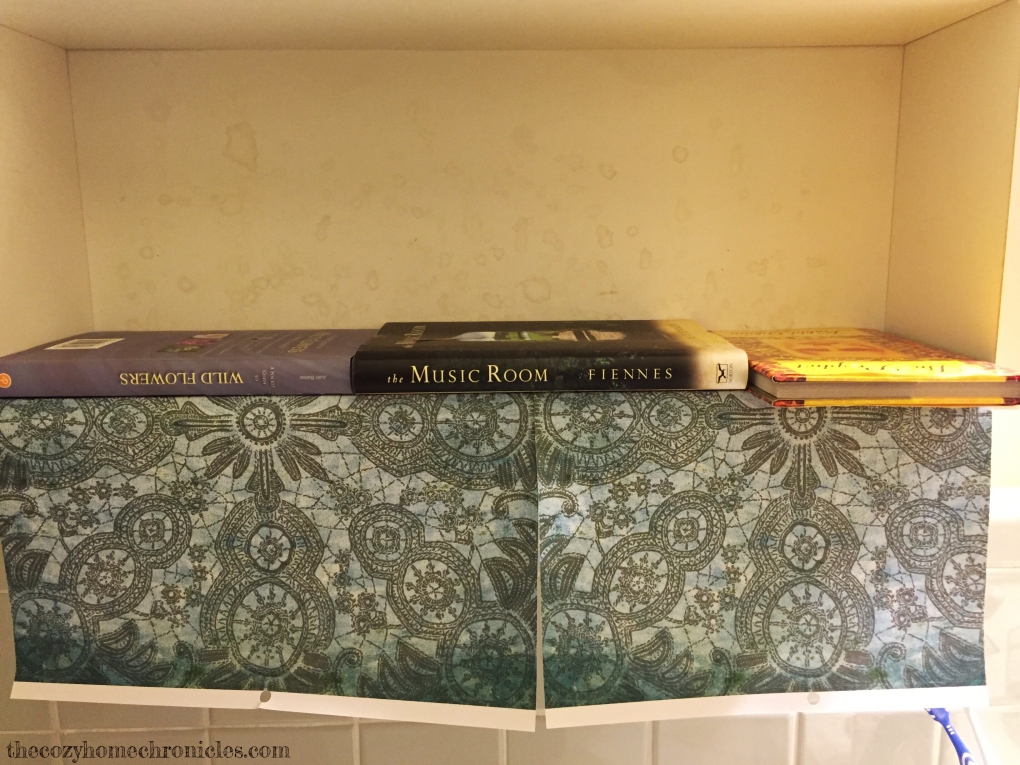
Getting the books out to help get a clean, flat finish.

My hodge podge design, using vintage styled paper, sheet music, florals, and pastels. I know it’s a bit quirky but I wanted something like that since nobody else would see it but us. For the visible parts of the cabinet, I stayed with a “safer” paper design that tied in with the light gray color scheme of our bathroom tile.

I used an Exacto knife here to remove the excess paper before I sealed the edges.


Time to clean up the scraps and put the shelf back in.
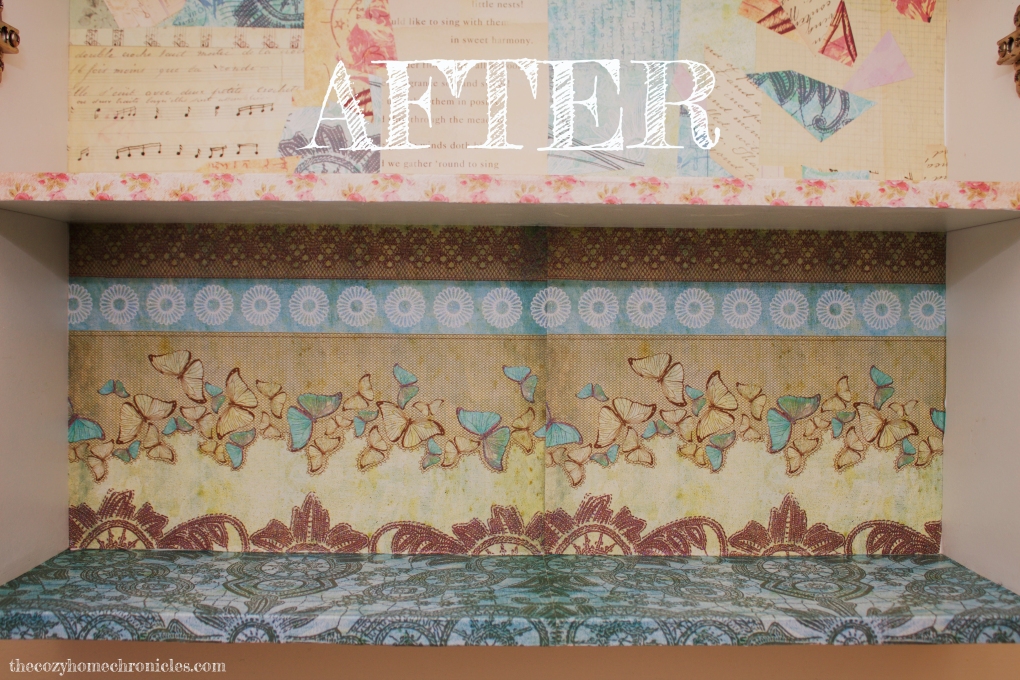
For us, the final product is such a breath of fresh air compared to the eyesore that it was. What do you think? Is this a project you would do? Any comments and suggestions are welcome 🙂
If you liked this post please follow us and share!

3 thoughts on “Bathroom Cabinet Decoupage Makeover”