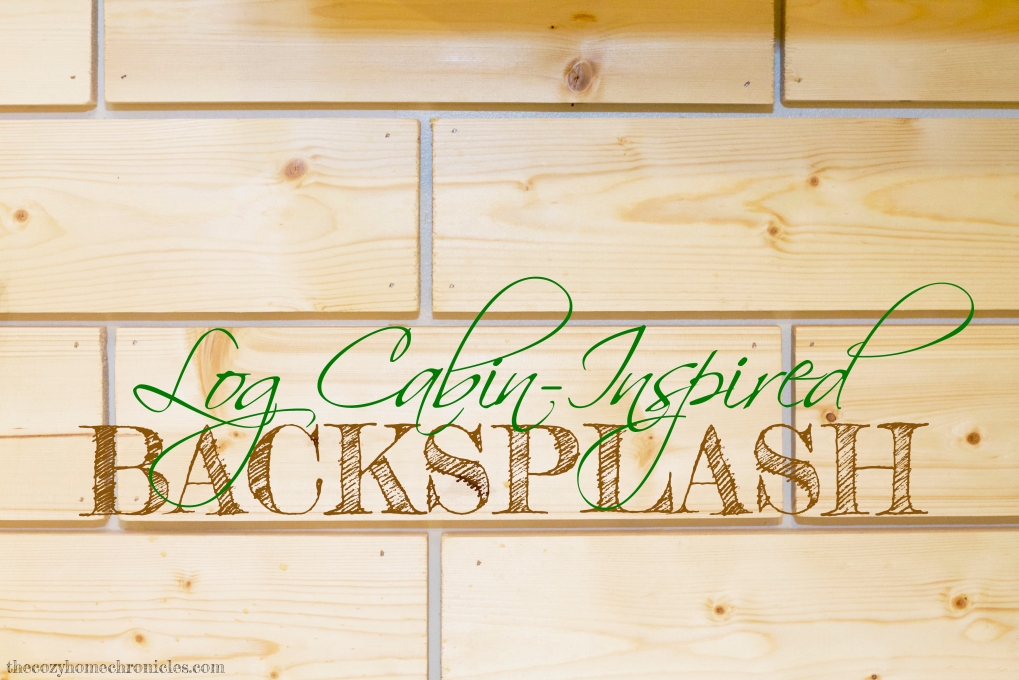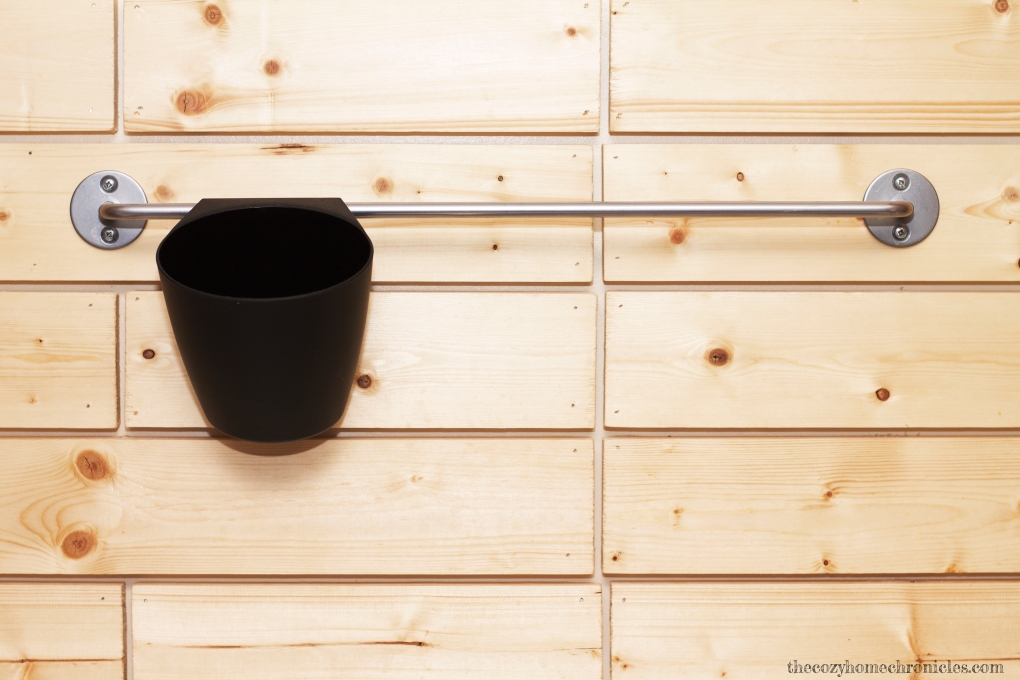
Ikea trips are our favorite because they fill us with inspiration (and cinnamon rolls) and my husband gets to reminisce about his childhood. This past spring we were strolling through the lower level, when we came across a display for dinnerware that we really liked. I can’t find the picture I snapped of it but it was of a kitchen island styled with pretty dishes, hand towels, etc. sitting in front of a wall tiled with gray wood panels. At the time we were working on our basement kitchenette and still didn’t know what to do for a backsplash. We loved the way the wood panels looked and decided to recreate the look in our home. If you’re curious about how to create this look either as a backsplash or accent wall then follow along to find out just how easy and budget-friendly this project is. Thank you Ikea!
Supplies
1in x 4in x 8ft Furring Strip Boards (They also come in 3″ and 6″ as well)
Thompson’s Aerosol Waterproofing Wood Protector 11 0z.
1/8 in. Tile Spacers
Tools
Nail gun and nails
Miter Saw
Pencil

Directions
First you will want to measure the space and draw out your design to know how much wood you will need, as well as how you will make the cuts. The area we were covering was approximately 7ft long by 2ft. For that size space, we used 6 1in x 4in x 8ft Furring Strip Boards and alternated in each row between 1ft long pieces and 1.5ft long pieces.You can cut them smaller if you want a bricked look or go for even longer panels; it’s really up to you! You can even mix and match various sizes and stains of wood for a cool design.

Note: Make sure to take into account any cabinets, outlets, or other obstacles as you will have to make some special cuts to fit around them. Think puzzle pieces. We forgot to do this in our design so we had to play it by ear during the installation. Also don’t forget to account for the tile spaces either.
Once you have your design drawn out, go ahead and cut your lumber board into the corresponding sizes. Now it’s time for the installation.

Start from the base and work your way row by row. Hold up your wood tile (or have a partner help you) and nail each of the four corners to the wall. Place a tile spacer before you nail the next wood tile. Continue until you have completed the row then place a spacer above the installed tile and begin the next row.

If you have your design and pieces cut ahead of time, the installation is a breeze.
Once you are done installing the tiles, apply a generous spray (make sure you wear a mask, windows are open, and there is no food in the open) of sealant to the tiles. You will want to do this especially if you are installing the wood in a kitchen because if the wood is not treated, it can get wet and become smelly and rotten. Waterproofing will really protect and extend the life of the wood. On a side note, you can totally stain or paint the wood if you like. We like the raw wood, log-cabin look so we chose not to stain it but the possibilities are endless if you want to customize this project to a specific look or style. If we did this in our master bedroom or living room, we would have considered staining or painting.


If you have all the tools, the project will not cost you very much. For tiling a space our size with the wood that we used, it didn’t cost us more than $20 (each lumber board was $1.98 and the waterproofer was around $7). On top of that, installation didn’t take more than an hour. It is seriously that easy! Leave us a comment and let us know what you think. Is this something you would do for a backsplash or accent wall?
If you liked this post please follow us and share!


Pingback: Give Your Kitchen A Log Cabin Feel With Just $20 Worth Of Materials – Babelque – News For Your Mind
Pingback: Give Your Kitchen A Log Cabin Feel With Just $20 Worth Of Materials – Viral Nero
Pingback: Give Your Kitchen A Log Cabin Feel With Just $20 Worth Of Materials – wdsfgh
Pingback: Give Your Kitchen A Log Cabin Feel With Just $20 Worth Of Materials – Viral Bone – News That Makes You Think
Pingback: Give Your Kitchen A Log Cabin Feel With Just $20 Worth Of Materials | LIFE BUZZ
Pingback: Give Your Kitchen A Log Cabin Feel With Just $20 Worth Of Materials - Viral Turn
Pingback: Give Your Kitchen A Log Cabin Feel With Just $20 Worth Of Materials | Awww So Cute Crafts
Pingback: Give Your Kitchen A Log Cabin Feel With Just $20 Worth Of Materials | Trending Right Now
Pingback: Give Your Kitchen A Log Cabin Feel With Just $20 Worth Of Materials | Site Demo 365 Daily Buzz
Pingback: 6 Ways to Redo a Backsplash (Right Over the Old One!) | The Budget Decorator
Pingback: Give Your Kitchen A Log Cabin Feel With Just $20 Worth Of Materials – WOWrly
Pingback: 6 Ways to Redo a Backsplash (Right Over the Old One!) • The Budget Decorator - HDWALLO
Pingback: 15 Kitchen Backsplash Concepts That Go Proper Over Previous Tile! • The Finances Decorator - inyourhomedecor
Pingback: 15 idées de dosseret de cuisine qui vont directement sur le vieux carrelage! • Le décorateur du budget – La femme de ta maison
Pingback: 15 Kitchen Backsplash Ideas That Go Right Over Old Tile! • The Budget Decorator - handicrafts
Pingback: 18 Kitchen Backsplash Ideas That Go Right Over Old Tile! • The Budget Decorator - New Save Money
Pingback: 18 Kitchen Backsplash Ideas That Go Right Over Old Tile! • The Budget Decorator – Make Financial Center
Pingback: 18 Kitchen Backsplash Ideas That Go Right Over Old Tile! • The Budget Decorator – TheBudgetDecorator.org