Welcome to the third and final post (kind of) of our kitchen renovation series. For those who followed us through Cozy Kitchen Series Part 1: Planning and Cozy Kitchen Series Part 2: Demolition, we are excited to share a visual diary of how we installed the flooring, cabinetry, drywall, and backsplash before the final cleanup and reveal. We hope that our journey has inspired you to hold off on calling a contractor (for some things) and tap into your inner-handyman/woman and your inner-interior designer 🙂
Flooring
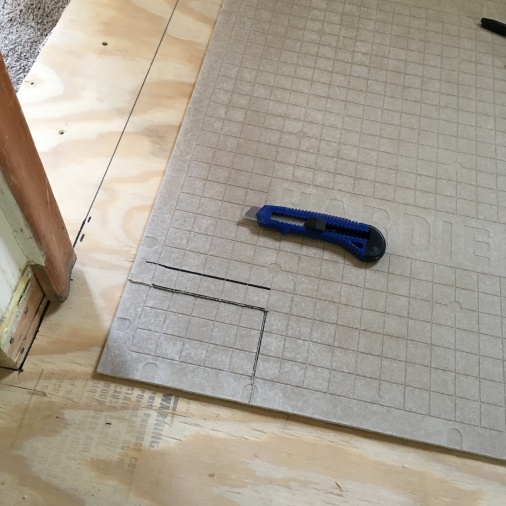
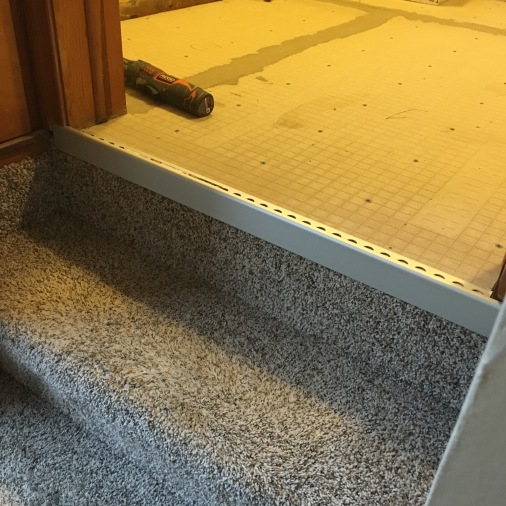
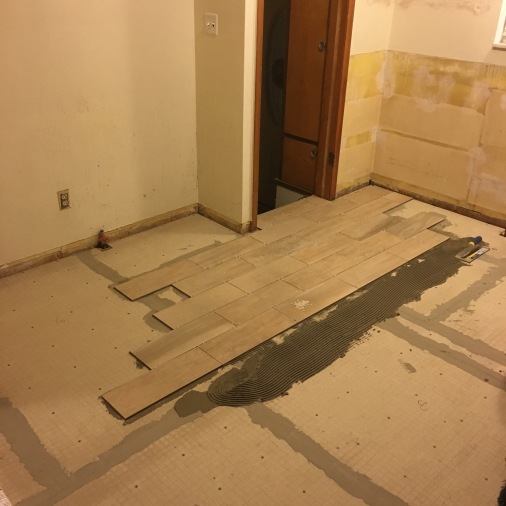
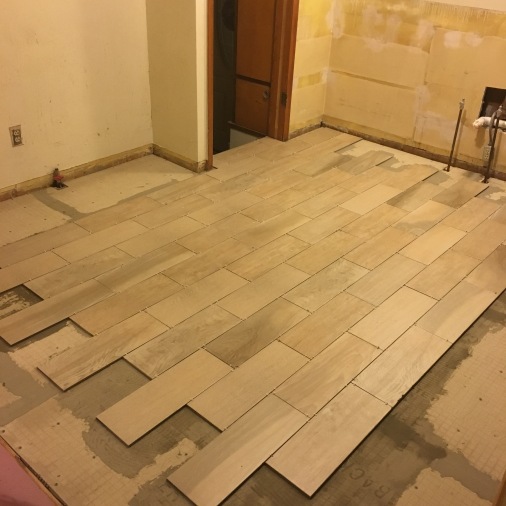
When starting a home renovation project, you want to make sure that the base of the space (aka the floor) is completely flat and level. If it is not, everything installed on top of it will be crooked, which will distort the look of the space. On top of that, you will create more work for yourself because your cabinets will need extra shimming and so on. For a more detailed how-to on tiling please refer to my basement tile post Don’t Fear the Tile to help you with this step.
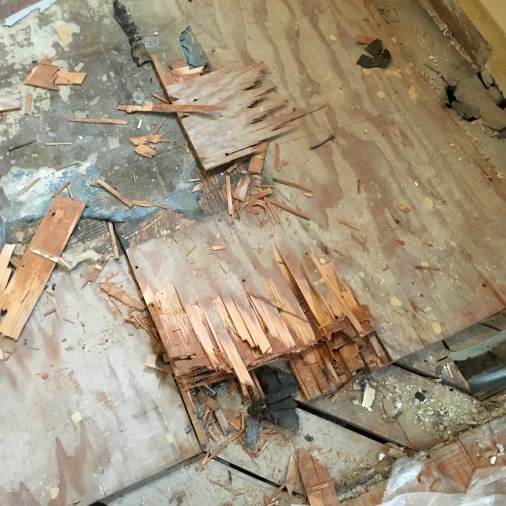
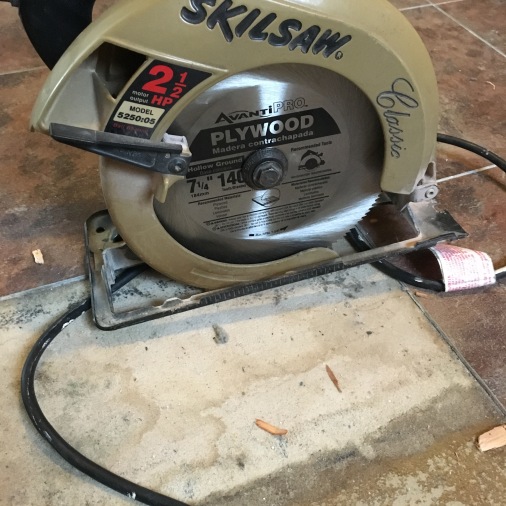
Although I had tiled before, I had never dealt with the removal of laminate tile. I’m not sure if it was the way it was installed but it was a pain! So much so that I had to remove the entire plywood subfloor beneath it. At first, I thought I could remove the laminate and salvage the plywood subfloor so that I could install the cement boards and tile on top of it. Things, however, didn’t go according to plan. The subfloor was so damaged that I had to purchase a circular saw in order to cut out the laminate and plywood subfloor to replace it completely. It was a messy and time-consuming task that I was not prepared for. This is why I think it’s very important that you are aware of and flexible enough to deal with the unexpected.
Cabinetry
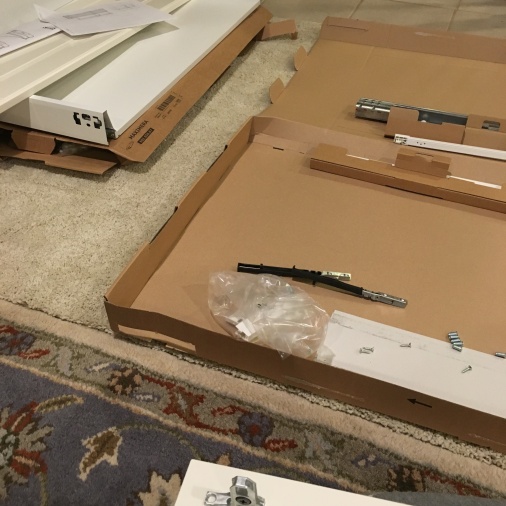
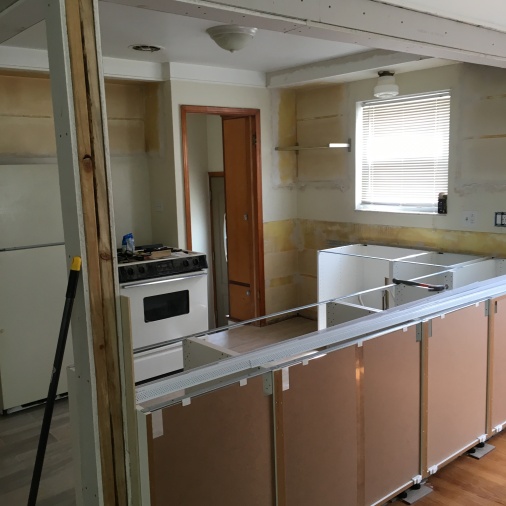
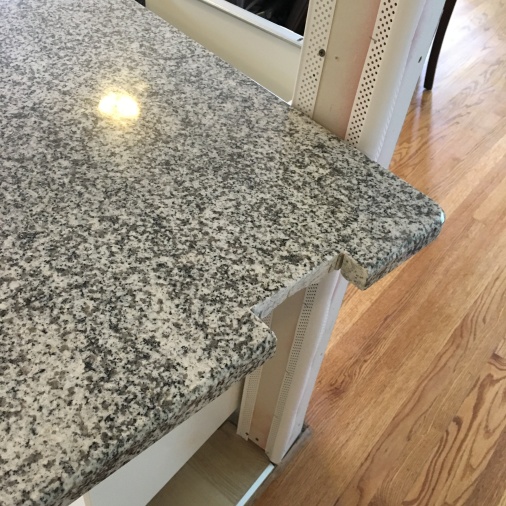
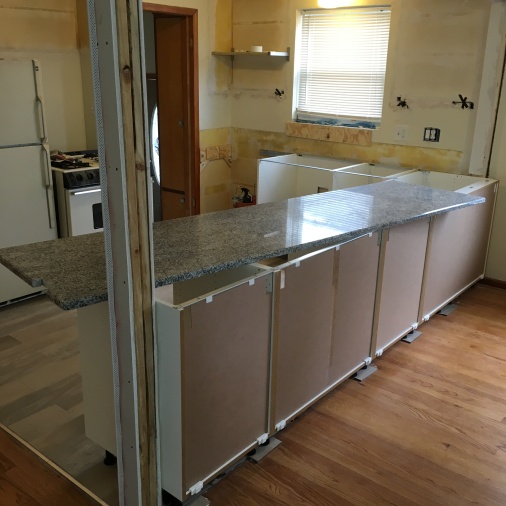
Because we purchased our cabinets from IKEA, assembly was a big part of this project. You do have the option of choosing an IKEA-approved contractor to handle the installation if you don’t have the time to do it yourself, but the instructions are pretty self-explanatory and the cabinets aren’t difficult to assemble at all. It took me between 3-4 hours to assemble all 7 of the cabinets and once I had assembled one, the rest were a breeze. One thing to note here is that if you are not installing them right away, you will need sufficient space to assemble and store them until you are ready. Lucky for us we had the basement to do this in, which helped us keep the kitchen clutter free. If you have a clean attached garage that would work great too. After I assembled the cabinets and installed them in the correct order on our freshly tiled floors, the countertop people from Home Depot came out to measure for the countertop and later installed it when it was cut and ready (it was a two week wait in case you’re wondering). Some things you just leave to the professionals!
Drywall
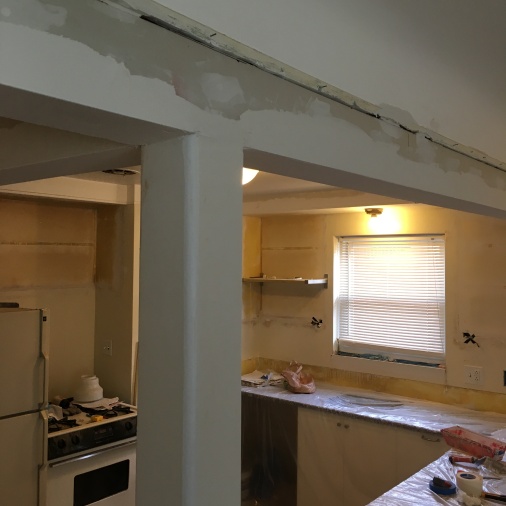
I didn’t have too much to drywall for this kitchen except for some patches behind the sink, the hideous hole in the ceiling “vent” that needed covering, and around the supporting beams and walls that were torn down. Drywalling is quick and easy until you get to the mudding and sanding part. The awesome thing is you can pretty much drywall an entire room in a few hours and be done with it. The rough part of drywalling is needing to apply mud to the seams and sanding them 3 times until all the separate pieces look like one big seamless wall. Other than the fact that you need some strong arms to get you through the sanding, there isn’t much required of you to be able to put up drywall. But if you don’t feel confident and you have no experience drywalling then YouTube can be your best friend 😉
Below is a graphic that sums up the steps of drywalling courtesy of This Old House.

Backsplash
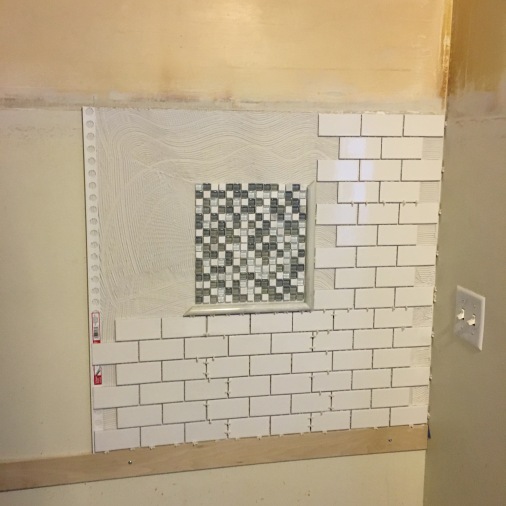
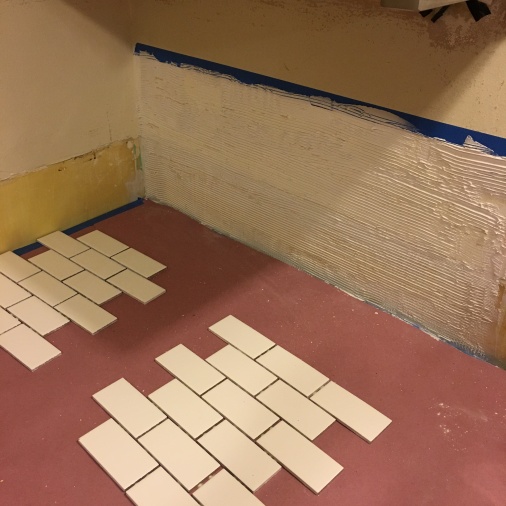
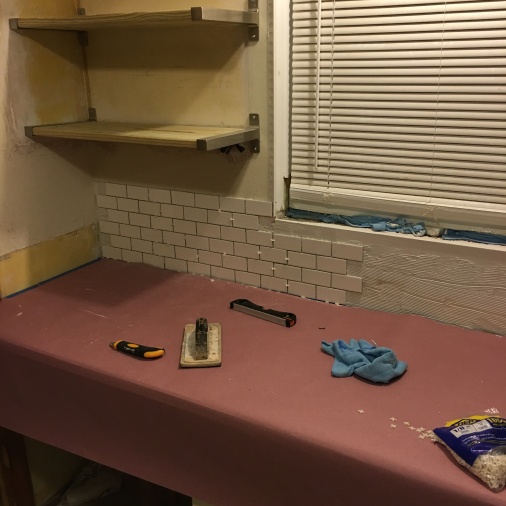
This would have been my favorite step if it wasn’t for the self-imposed due date. I worked around the clock for 2 weekends to finish this part of the project. Again, you can refer to our tile post Don’t Fear the Tile if you aren’t familiar with tiling. The only difference when tiling a kitchen backsplash wall is that you need to be careful with your application of tile adhesive/mastic. Because gravity will be working against you, you will have to score the surface with a blade before applying a light amount of adhesive and laying down the tiles. For me the hardest part of backsplash tiling was our indecisiveness. Yes, indecisiveness. We seriously went back and forth for weeks trying to settle on a backsplash tile. There were just too many beautiful ones to choose from! After considering our countertop design and the look we were going for, we finally settled on white subway tile for under $3/sq. ft with a strip of bluish/grayish accent tile. We didn’t originally plan to tile an entire wall but as we got closer to installing the backsplash, we realized it would look really nice to have a feature wall where our window and open shelving would be.
Well, there you have it! A detailed overview of our kitchen renovation and all the planning and work that went into it. Of course, as a homeowner, there is no such thing as being completely done with work around the house. We are still figuring out some things like how to organize all our stuff and what to replace our main light fixture with but we are so happy with the results and we really mean it when we say, you can totally do something like this if you wanted to. I know we promised a full kitchen reveal but I decided to put that in a separate post so that you aren’t overloaded with images. Check back tomorrow for the final reveal and in the meantime, feel free to ask for clarification, support, budgeting advice; basically anything kitchen-renovation related and we will be happy to answer you to the best of our ability.
If you liked this post please follow us and share!






















Pingback: Cozy Kitchen Series: Reveal & Tour