

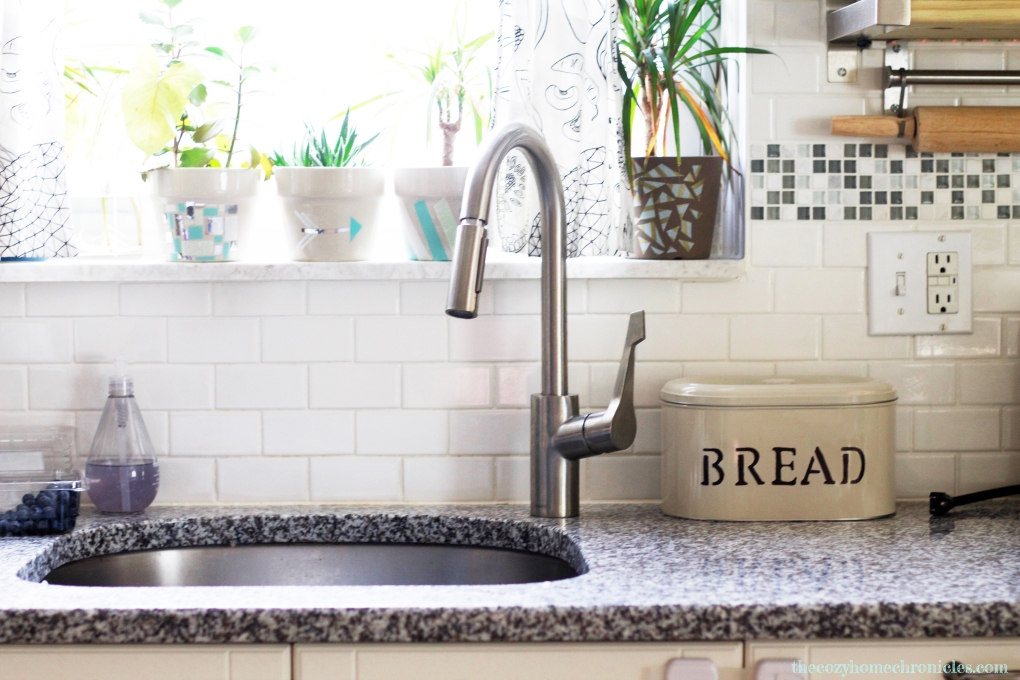
We eat A LOT of bread… possibly too much of it but we are hobbits so that’s probably not going to change anytime soon. Although we finished renovating our kitchen this past May, there is still some work to be done in terms of organizing and decorating. One of the things that needed to get checked off of our to-do list was finding a way to preserve and store our leftover bread. When we searched for bread storage online, we immediately fell in love with the charm of those rustic farmhouse bread tins. Of course it would have been easy to click purchase and have one delivered straight to our doorstep for $45 but where’s the fun in that? Instead we took our time getting ideas until we came up with an easy DIY bread tin. Not only is it way cheaper than any bread tin you’ll find in store but it’s super easy to make and customizable too. IKEA has two different tin options that you can use for this project and both are under $15.


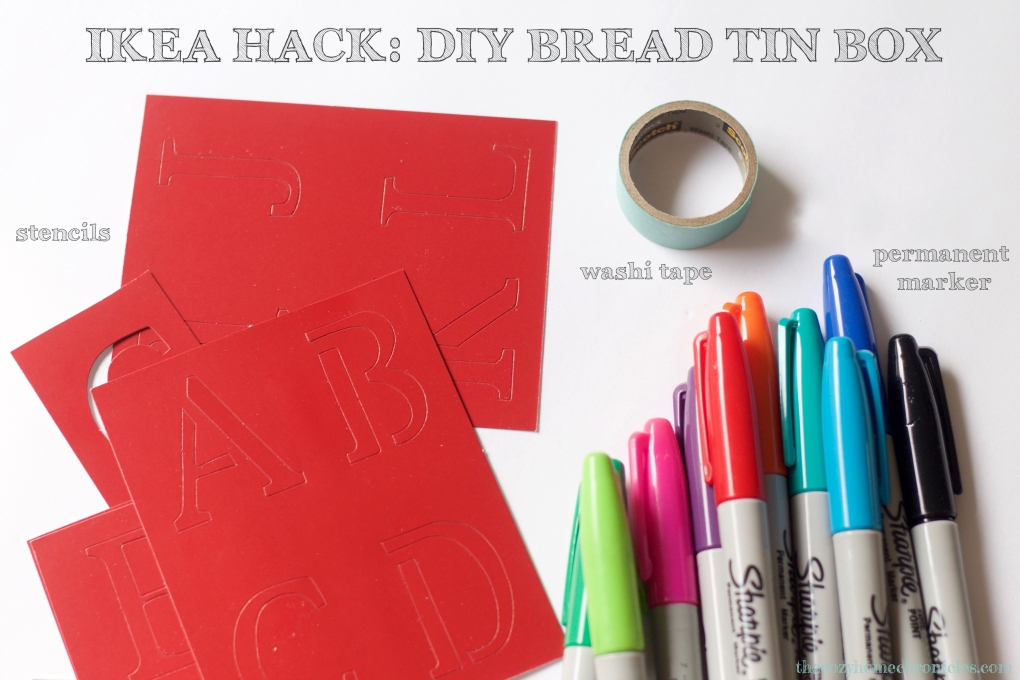
The Beromlig that we settled on came with two sizes for $8.99 and we used the larger one to make the bread tin box (we will probably turn the smaller one into a cookie tin). That’s a steal considering simple tins like the one pictured below on wayfair.com are going for $26.99 at sale price. Besides the choice of tin, you also have the option to pick any font you want. We went for a classic look with “Old School Alphabet” stencils that we found at a local Michaels. Lastly, you’ll need to settle on an ink color from the many pretty shades that are out there. Why permanent marker you ask? Well we did try acrylic paint and it peeled off too easily. Although permanent marker can come off with rubbing alcohol (we checked!), it does not come off with a gentle wiping using a wet cloth. I suppose you can use spray paint or some other fancy medium but for a simple and inexpensive home decor item,a good old Sharpie will do the trick. Alright, let’s get started!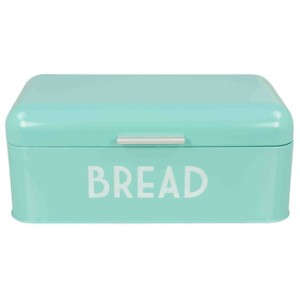 Materials
Beromlig Storage Tin or Hemsmak
Letter stencils
Permanent marker
Washi or painter’s tape
Directions
1. Wipe the inside and outside of the tin clean with a damp cloth and dry thoroughly.
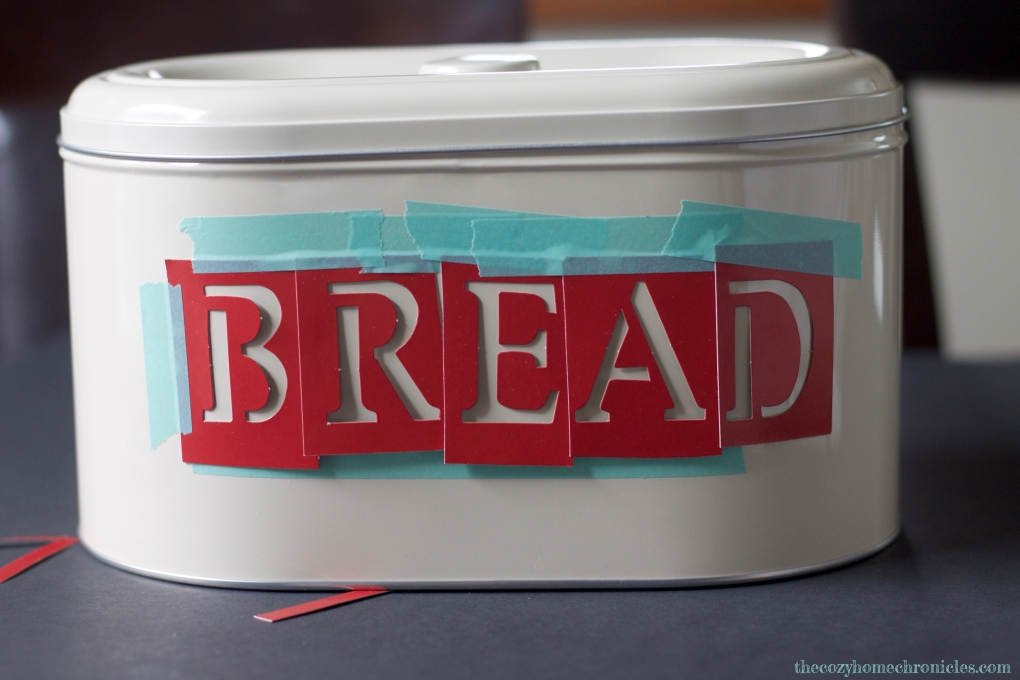
2. Arrange and level your letters on the tin and tape them in place using washi or painter’s tape.
3. Fill in the letters with any color permanent ink you choose.
4. Let dry for 10 minutes before removing the stencils.
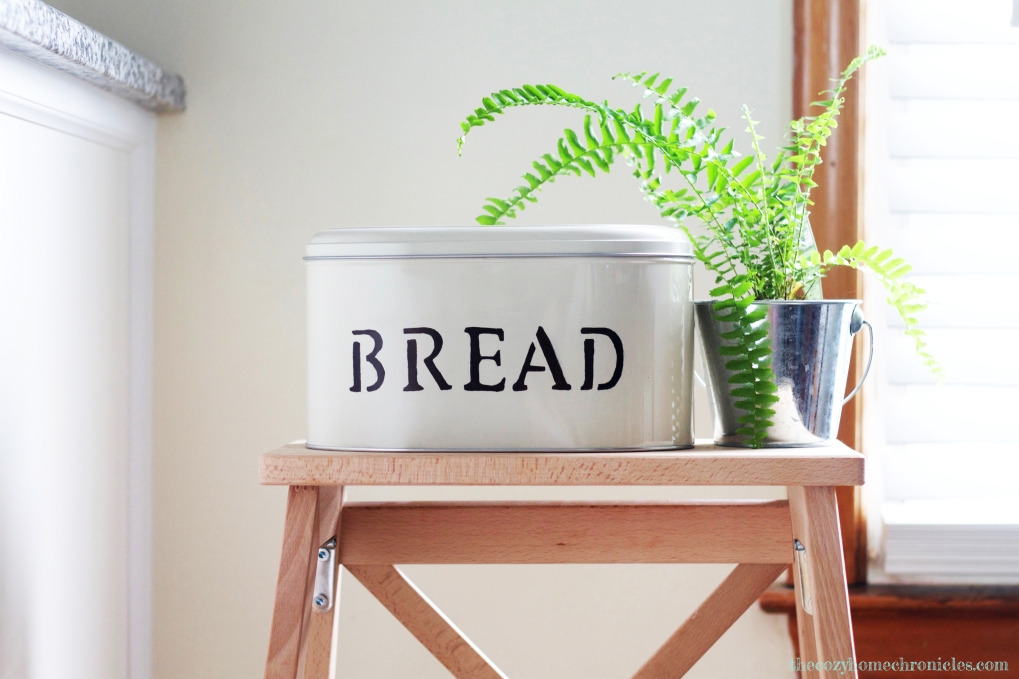
5. Find a happy place for your bread box and fill with delicious breads 🙂


What projects and adventures are you working on right now? Please join the conversation below in our comment section, we would love to hear from you!
If you liked this post please follow us and share!
![]()

Pingback: 15 Simple DIY Bread Box Plans To Keep Loaves Fresh - Teb DIY
Pingback: 25 Simple DIY Bread Box Plans - Craftsy