

Back in May, I wrote about The UpSkill Project Contest where homeowners could submit a short video describing a DIY project they needed help with. Five local residents would receive $2000 in Lowe’s credit to purchase supplies along with a team of experts to help get the project done in just two days!

This summer, I got to partner with Lowe’s to document one of the resident’s project transformations. And not just any project…a paved brick patio! You all know how much we love gardening and the outdoors so being able to learn how to do build a patio from the ground up and share it with you was a dream come true.
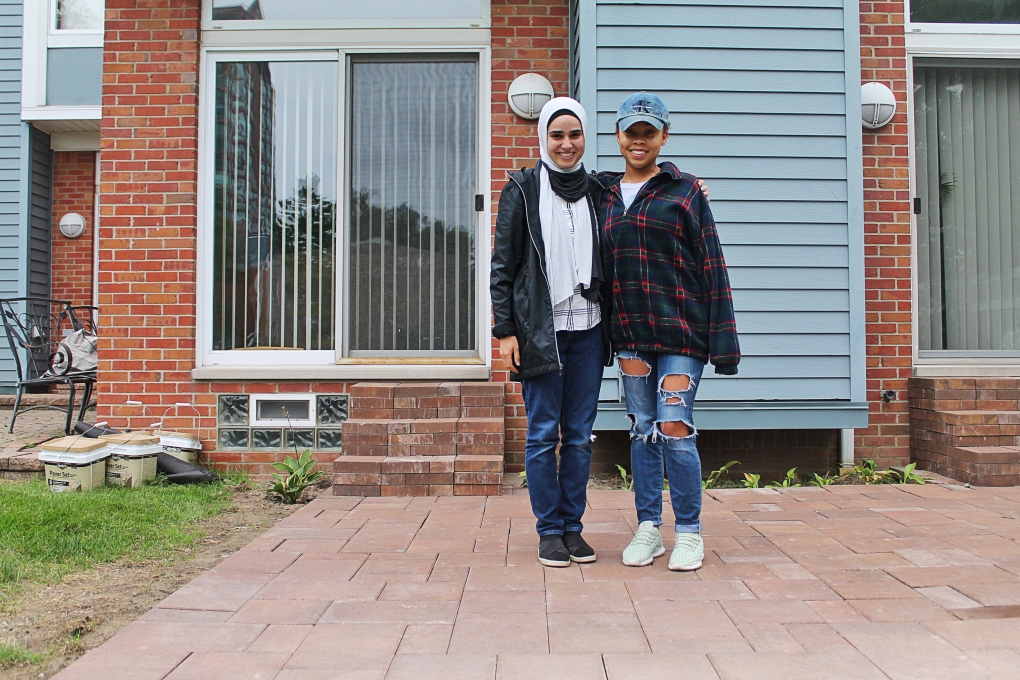
Meet Hattie and her mother, Dr. Tyra.

Hattie was actually called to help her aunt record her UpSkill Project Contest entry when her aunt convinced her to submit one herself at the last minute. Knowing that her mother had been wanting a patio for the last two years, but would never justify spending on herself when she could help others, Hattie felt her mother deserved a space to entertain and have friends and family over. You can imagine just how excited her mother was when she found out she was finally going to get that patio. Dr. Tyra LOVES cooking and entertaining; so much so that she cooked the team a dream breakfast on the second morning of the project.

We all love a good before and after, so here’s what the space looked like prior to the start of any work. Nothing fancy, just an empty patch of grass.

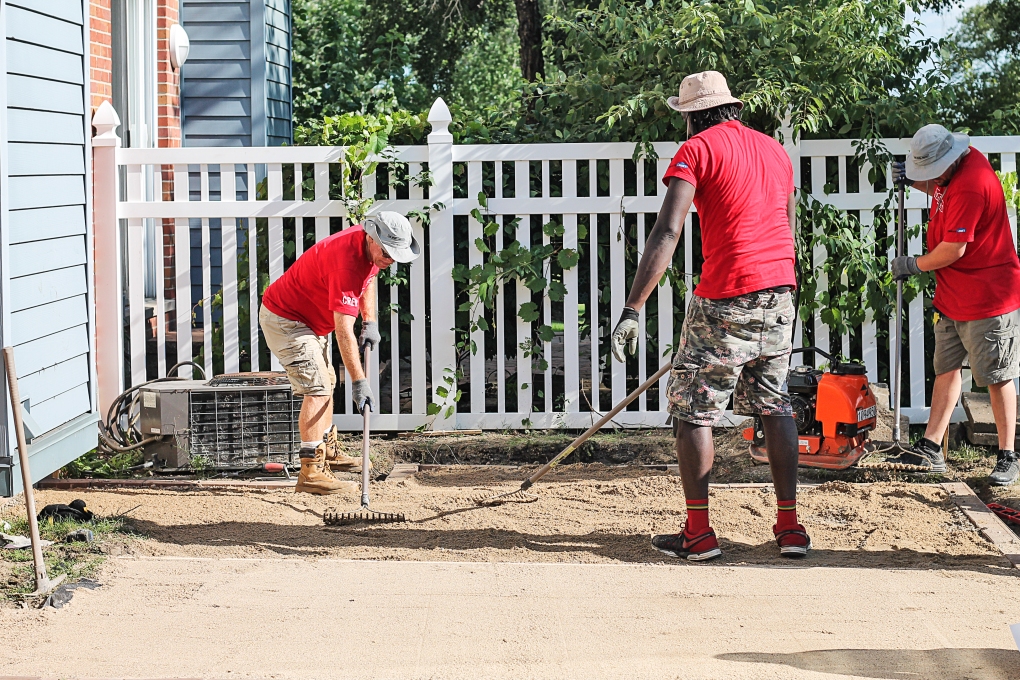
Leading the team through the patio building was Andrew who is a carpenter by trade and has his Bachelor of Fine Arts in Sculpture. How cool is that?! The Red Vests Eric, John, and Zach were from a local Lowe’s in the Gardening and Outdoor Department. Everyone worked so well together and by the end of the project I felt like I was in the company of friends.

Of course it wasn’t all fun and games so today I’m sharing some of the important things I learned about building a paved patio:
You can’t just wing it!
The first and most important step when it comes to building a patio is design and planning. Settling on a design (how large the area should be, what shape, what kind of pavers, etc.) will dictate how much materials you’ll need which in turn will determine your cost. The materials are quite heavy so you’ll want to have everything calculated in advance to prevent any running back and forth to the store picking up heavy materials.

Touch things once.
This very valuable advice was given to me by one of the Red Vests, Eric, when he saw that the materials were delivered to the front of the garage instead of to the backyard. To save yourself time and energy, have your patio materials close to your work site so you’re not having to haul things more than you need to. This also includes clean up. It’s important to have your tools for removal and your method of disposal arranged prior to starting your project so the process runs smoothly and you don’t have to move debris twice.

If you see rain in the forecast, abort the mission.
Or simply wait until the weather clears up. A wet ground can really interfere with the compacting process which is super important for a level and solid patio. The rain on the first day of this project threw us a serious curveball and delayed the completion of the patio. There is a silver lining to the rain, however, if you’re not in a hurry to finish your project. A wet ground makes it much easier to pull out the grass so if it’s raining you can still begin the sod removal phase of your project. Just be sure to let the ground dry sufficiently before moving on.

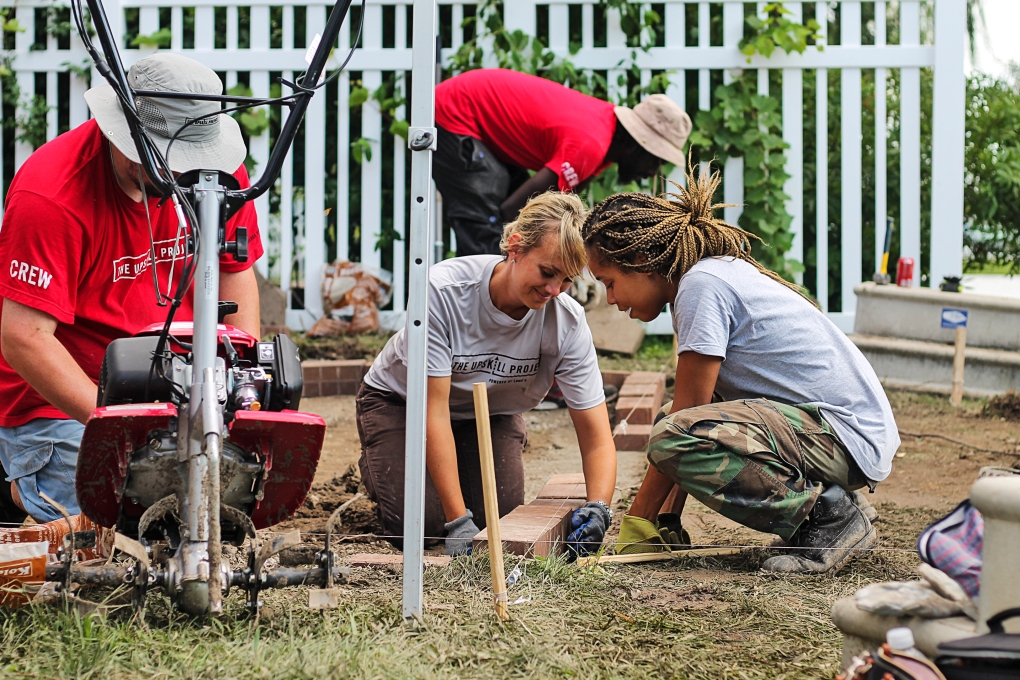
Assemble a team.
There’s nothing overly technical about building a paved patio but you should know that it is very labor intensive. From stripping the sod to pouring and compacting gravel to laying the pavers, each step requires quite a bit of upper body strength. If you want to build a patio in the shortest amount of time without burning out quickly, you’ll definitely want a team of 3-5 members to help spread out the workload.

Compact, Compact, Compact.
I can’t stress enough how important it is to begin with a sturdy and level foundation. To achieve this, you will need to compact several times at each of the following stages:
- After you’ve dug out the grass for your patio
- After you’ve poured Paver Base Step 1
- After you’ve poured Paver Base Step 2

Start by building a retaining wall
The first pavers you’ll want to lay are the outside ones along the perimeter. More importantly, you’ll want to secure the wall with glue and recess framing to prevent the bricks from extending outward as you continue to compact the gravel and sand. The retaining wall is two brick pavers high and must take into account sloping to prevent water from collecting in your patio. Once the wall is built, you can begin setting the pavers down working toward the middle of the patio area from one end to the other.

Don’t forget the landscape fabric.
This is pretty self explanatory. If you don’t want weeds bursting through your patio then this is a crucial step that you’ll want to do once the earth is level just before you begin to pour paver base step 1.
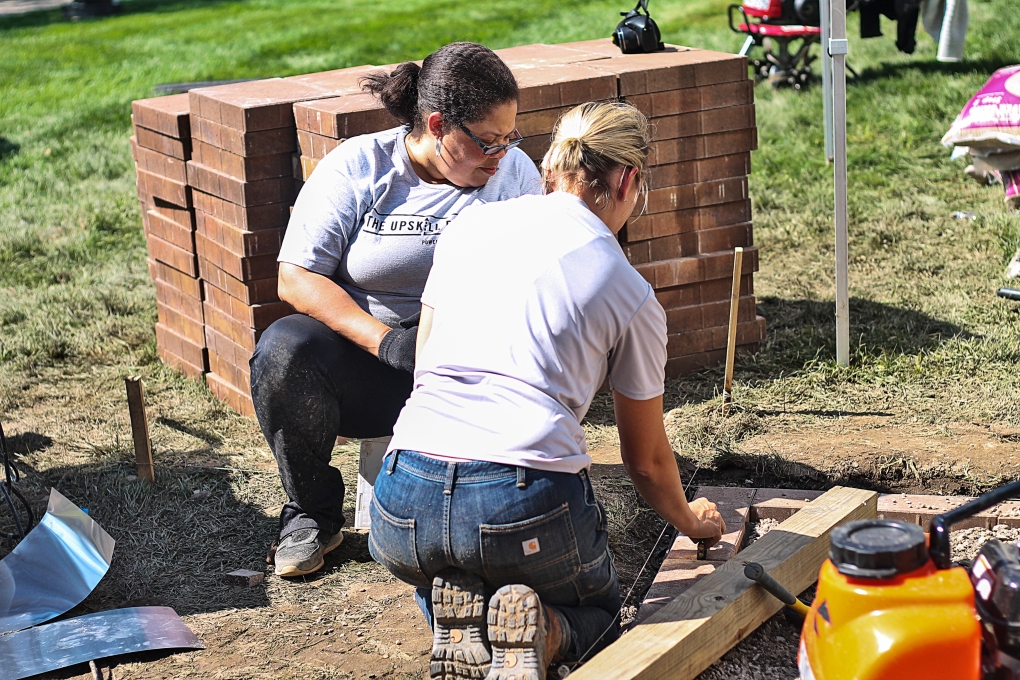
Once you begin to install the pavers, it’s pretty much smooth sailing from there. All you have to do is make sure to tap the pavers with a rubber mallet and periodically check to make sure they are all level. You also want to leave a space about 1/4 of an inch wide between the pavers for the polymeric sand to be poured. Once you’ve filled all the cracks with polymeric sand, you’ll mist the patio to harden the sand and join the pavers together. Once it’s dry, you can finally furnish and enjoy your patio!

Now that doesn’t sound so bad, does it?! If you’re thinking of doing a paved patio yourself, here are the materials and tools you’ll need to get the job done.

Materials
Paver Base Step 1
Paver Sand Step 2
Paver Set
Brick Paver
Tools
Tamper
Box Beam Level
Knee Pads
Steel Pick Mattock
Kobalt Long Handle Shovel
Smooth Rubber Mallet
Landscape Fabric
Kobalt Tabletop Saw

If you want to see behind the scene footage from the project Do Days, you can check out our Instagram story in the highlights entitled “DIY Patio.” If you loved reading about how to build a patio then you’ll definitely want to check back for our upcoming post on the UpSkill Workshop where I’ll share lots of helpful home DIY skills that I learned. And if you found this post helpful, we’d appreciate it if you would like it and share.

This post is sponsored by Lowes. The thoughts and opinions are my own.

5 thoughts on “How to Build a Paved Patio with The Upskill Project”