

Three weekends ago, I had the privilege of attending and documenting The UpSkill Project Community Workshop which was held at the Warren, Michigan Lowe’s on a stormy Saturday. It was my 30th birthday weekend and I could think of no better way to celebrate than to be doing what I love…DIYing of course!
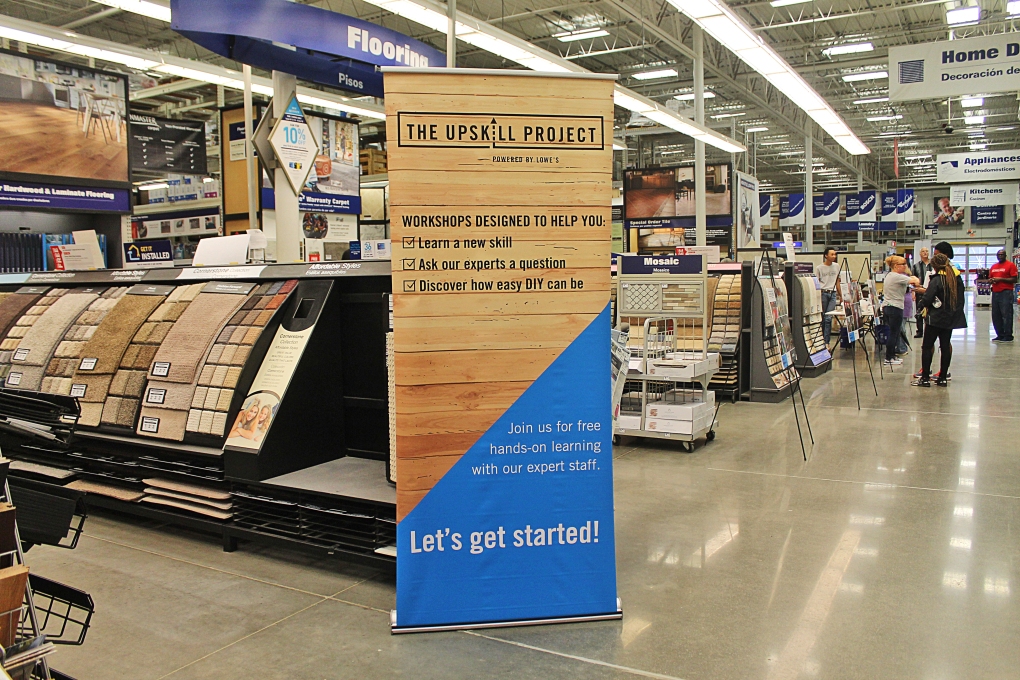
The workshop was set up to be a hands on learning experience for homeowners wishing to pick up basic home improvement skills and I can’t express enough what an amazing opportunity this was. I love that Lowe’s is inspiring and educating homeowners through this platform! I learned so much from the Lowe’s experts that day and I’m so excited to share some of that with you in this post. Shall we dive right in?

Drywall
Drywall dings and dents are a common household issue with a very simple solution. Lowe’s has this nifty drywall repair kit that comes complete with spackling, a putty knife, and a sander. All you need to do is gently spread the spackle over the hole until it’s covered. This particular spackle is made to go on pink and turn white when it’s dry so you know when it’s time to sand. For larger holes, you will need to place the self-adhesive mesh patch over the hole before covering with the spackle. Once you’ve sanded the surface until it’s smooth, you can go ahead and paint over the patch up. It’s that easy!
Painting
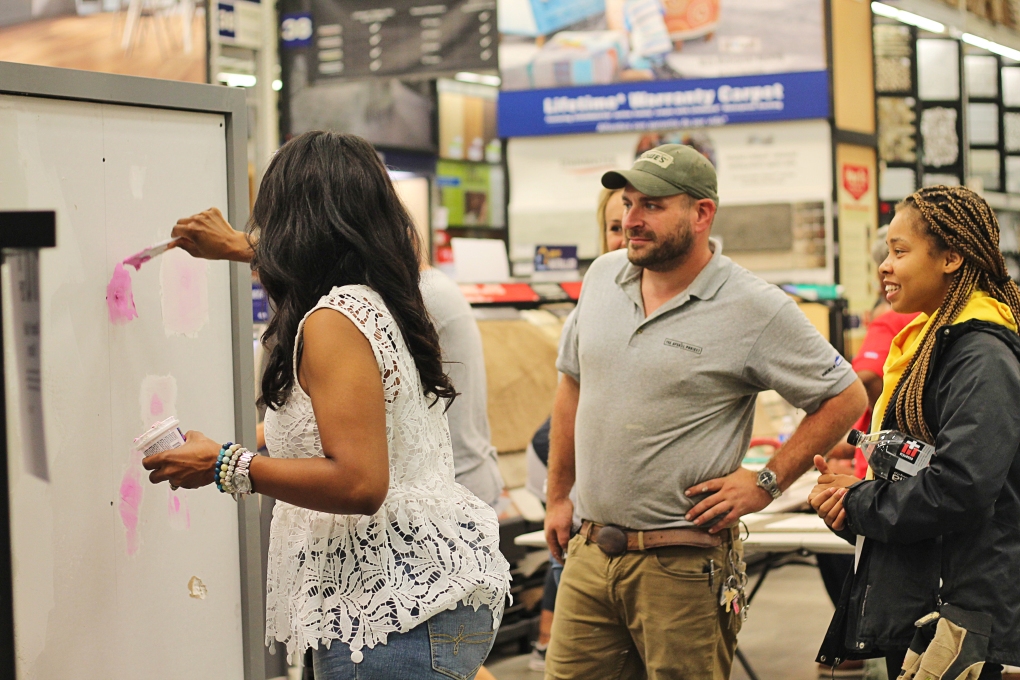
Painting is something we’ve done quite a bit of for our home renovation projects but it wasn’t until this workshop that I realized I was doing it all wrong. Prior to this workshop, I would paint the wall with a roller first and then use a brush to finish the corners and edges. I learned from Ray that it should be the other way around: paint your corners and edges first then go over with the roller. Oops. I definitely see this method resulting in a much more professional-looking paint job. It looks like I might have to revisit some of my old paint jobs!

The other important thing I learned is that the quality of the brush really matters! Ray, who is a passionate paint manufacturer, said he would actually advise sacrificing the quality of paint over the quality of the brush. He went on to show us the difference between the two brush’s bristles and let participants see for themselves as they got to paint a kitchen cabinet.

Let me tell you, the Purdy brush we got to test out was amazing! All those times I was frustrated with my paint job and I thought it was just me. Now I know it was the cheap brush I was using and I can’t wait to implement these simple tips for my next paint job!

Tiling
Tiling is another skill we are familiar with as we have renovated our basement, kitchen, and bathroom in the past. Of course, that doesn’t mean we did everything perfectly so I’m sharing some of the useful reminders I learned. One of the cool resources Lowe’s had on display was this cross-section of the wall and tile. Many of the participants didn’t know that you couldn’t just tile over existing tile so Andrew, one of The UpSkill Project teachers, explained what subflooring was and the importance of the cement board under the tile. I learned about something called self-leveling concrete which you can pour to create a smooth, even surface for tiling. I wish I had known about this when we were tiling our basement!

Participants were able to practice laying tile spacers, backsplash tile, tile adhesive, and grout.

The Lowe’s experts recommended a pre-mixed grout for an even finish and stressed the importance of wiping the tiles consistently with a grouting sponge to prevent a hazy film from forming. The pre-mixed grout is something I wish I had used in our bathroom because of the variability in grout color that can result from small changes in water content.

Plumbing
Plumbing was probably one of the more intimidating skills for participants, me included. I’ve always let my husband handle that part of our renovation projects. After this, however, I think I’m pretty confident I can swap out a vanity and sink. You’ll just have to remember to disconnect the water supply lines prior to starting and to keep a bucket under the sink during the P-trap removal. If you don’t, let’s just say you’ll find yourself in a very messy situation.

Aside from learning these four skills, Lowe’s had a table set up with lots of useful pamphlets covering everything from tool buying guides to DIY laminate floor installation. You better believe I walked out of that workshop with a stack of pamphlets. I also really enjoyed meeting the other UpSkillers and watching them bond over sharing their DIY projects with each other.

To be honest, I had been in a creative slump up to this point but after this workshop I was so inspired to find a new DIY project to tackle! What about you guys? If you’re getting ready to take on a new home project, we would love to hear about it in the comments below. If you have specific questions about any of the skills I discussed, you can also leave them in the comments below and we will point you in the right direction. You can always go into your neighborhood Lowe’s and ask a Red Vest associate for help as well. As always, if you loved this post and found it helpful, we would appreciate it if you would like it and share it.

This post is sponsored by Lowes. The thoughts and opinions are my own.

9 thoughts on “The UpSkill Project Community Workshop”