
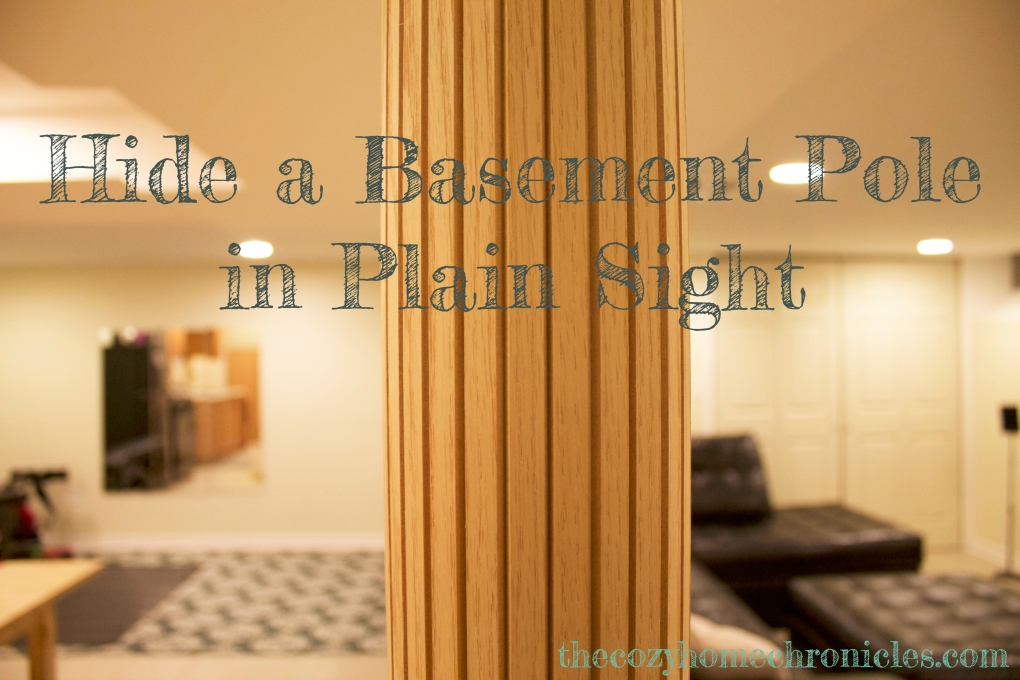

One of the projects you’ll hear a lot about from us is our basement project. Long story short, we bought a ranch that needed some TLC just before our wedding and we have been working on it ever since. We fixed some minor things on the main level just in time to move in and shortly after we began the 9 month long basement renovation. Everyday, after work and school hours, we would change into costume and take up hammers and paint brushes in a bid to reclaim our homeland. Well, sort of. Anyway, as we neared the final stretch, one of the things we noticed was that, after all our hard work, the weight-bearing poles stood out like SORE THUMBS. We thought long and hard, did our research, and in the end came across these awesome pole-wraps from Home Depot. We wanted to save space so the pole-wrap was perfect because it wasn’t too bulky and it also fit with the woodsy clean look we were going for. You can stain these poles if you want but we like the bare wood look so we kept them as is. With that being said, here’s what you’ll need and how to do it!
Total Cost= $242.50
Pole Cover (3)= $44.28 x 3= $132.84
Pole Cap and Base (3)=$32.93 x 3= $98.79
Liquid Nails (2)= $3.47 x 2= $6.94
Painter’s Tape(1)= $3.93
Prep Time: 1 hour
Dry Time: 8-24 hours
Directions
- Thoroughly wipe and clean your basement poles from any dust/glues and let them dry. If you don’t do this step, the glue won’t stick properly
- Buy the pole cover package from your local Home Depot – * *Note that they come in multiple sizes and materials, so measure the pole before you pick one up. The brand is “POLE-WRAP,” pretty self-explanatory. We picked out 96×12 in Oak.


- Don’t buy just any adhesive, make sure that it works for binding wood & metal. I personally opted for Liquid Nails (which has never failed me). I used two tubes for 3 poles, and yes, I was excessive.
- Measure the pole’s width and use that measurement to cut any excess pole cover with a utility knife. You’ll want to do this before applying any adhesive as it will be stickier and messier to do later.

- Apply adhesive evenly on the inside of the pole cover and carefully wrap it along the pole. Use painter’s tape to wrap around pole cover tightly until the adhesive sets and dries. We let our poles dry for a full day before we finished the look with pole caps.
- Apply adhesive to the bottom and top of each pole cap and place carefully around the pole. Apply plenty of pressure to make sure they are firmly in place. Use painter’s tape to keep the caps in place while they dry and set.
- Enjoy how awesome your space looks with this minor DIY makeover. Seriously, it made such a difference!


If you liked this post please follow us and share!
