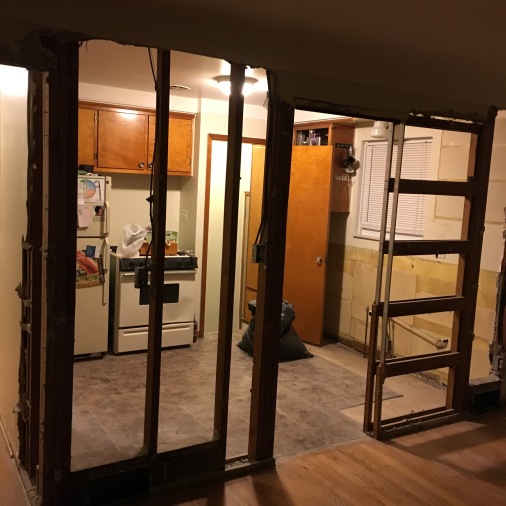
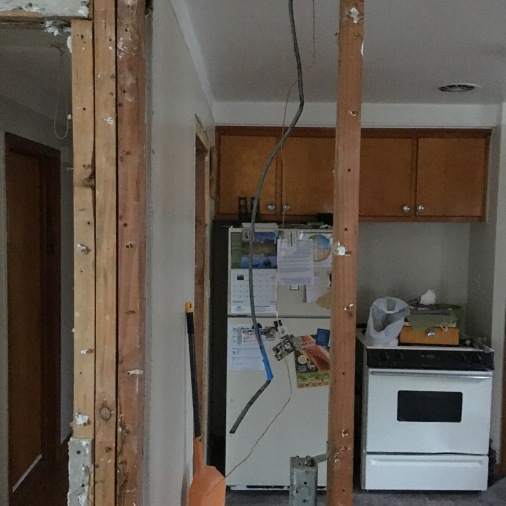
For those of you who read the first entry in our Cozy Kitchen Series, Cozy Kitchen Series Part 1: Planning, things will take an exciting turn in the next posts because we will be putting all that meticulous planning into action. Depending on the type of kitchen renovation you’re envisioning, having a checklist or order of operations will really help you stay organized and on task. Based on our kitchen plans, my checklist looked something like this:
- Remove walls
- Remove flooring and subflooring below the laminate tiles
- Re-wire and/or re-direct electrical wires
- Tile installation, grouting, and sealing
- Drywall
- Cabinet Installation
- Have a countertop template be made
- Countertop installation
- Drywall mudding and sanding
- Priming and painting
- Appliance installation
- Clean up
- Kitchen organization
In this part of the series, I will cover only the demolition portion of our renovation; specifically what it entailed and why I made the choice to hire a contractor. As I mentioned in the last post, it was a no-brainer for us that we needed to tear down a wall or two to achieve the desired kitchen layout. Taking down walls is a great way to achieve an open-concept look and dramatically change the organization and feel of a room. Which might explain why HGTV is always so demolition-happy. “Let’s take down this wall and that wall.” While it’s not hard to complete, it is certainly more involved than these shows let on, which is why I want to lay it all out for you so there are no surprises. Before I get into the details of the demolition, I want to explain why I decided to hire a contractor to oversee this portion of the renovation.
As someone who thoroughly enjoys DIY construction projects and all that they entail, it was definitely hard to give up control of this part of the renovation. But when it comes to the structural integrity of the house and safety, those take priority over anything else and after much research, I realized it was against city ordinance and just not worth the risk. However, that didn’t mean there wasn’t a way to have some hands on experience and save a bit of money. I decided that I would be able to do the demoing myself as long as I did my homework and prepared accordingly. When I called around for quotes, I made sure to say that I would be removing the drywall and cleaning up all the debris so that they were just responsible for removing the beams and reinforcing the structure of the house where needed. Because of this, I saved around $700-1,000 just by doing my own demolition and clean up.
So here’s what you’ll need to do leading up to the demolition:
- Hire a reputable contractor
- File a city permit to do the construction (every city is different so check online or call and ask)
- You either can work with the city engineer for inspection and approval or have your contractor handle all of that and keep you out of it
I got lucky and hired a contractor who did steps 2 and 3 for me. After everything was approved by the city and we paid the appropriate fees, we set a date for the removal of the wall. All I had to do was make sure that the drywall was removed and the electricity was rewired in the adjacent wall before they arrived as well as keep my hands off everything structural when I directed my rage at the walls. My only advice is that if you are uncomfortable or unsure about working with electricity then hire someone. It is very dangerous if you don’t know what you’re doing and don’t follow your city’s code. As an electrician once told me, “you don’t learn wiring after the firetrucks have left.” You have been warned!
Demolition
Now for the fun part! This section is an overview of the tools you will need, the preparation, and the basics of how to knock down a wall. Some say the demolition is the easiest step of remodeling but I beg to differ. It’s not all aimless fun hammering down walls like you see on TV. You have to be cautious and really watch out for electrical, gas, and plumbing which is not difficult but is certainly tedious.
Tools
Ridgid Multi-Tool $79.97
Ridgid Wet-Dry Vac $79.97
Heavy Duty Mask $39.97
Hammer $29.97
Stud Finder $19.97
Heavy Duty Bags $17.48
Broom $15.98
Plastic Cover $12.98
Retractable Knife $12.97
Pry Bar $8.87
Heavy Duty Gloves $4.46
Goggles $3.98
Preparation
Before you start removing anything, make sure to prepare the area for the messy aftermath. If you are able to remove furniture or anything in the immediate vicinity to a different room and keep it closed, that would be ideal. If you are not able to do that you can always cover everything to the best of your ability with plastic sheeting commonly used by painters. Cover all air vents and shut off your furnace/AC because it will move the dust around the house and you do not want that. Ideally the demolition should take you a day or two depending on the workload so don’t fret about the chaos.
- Remove furniture/tables to the side
- Cover all vents & misc. furniture with plastic or cloth to protect from debris/dust
- Rent a dumpster or arrange a way to get rid of the debris & garbage.
Taking down the walls
After you have prepared the space, you can proceed with the demoing. Make sure you wear a dust mask, goggles, and appropriate clothing/gloves for the work at hand. Start by using a stud finder to find and mark their location on the wall. If you know the walls are hollow and there are no plumbing or gas lines then go ahead and use the hammer to your heart’s content! I used the pry bar to break bigger pieces of drywall off along with a retractable knife to cut along the corner edges of the walls so I wouldn’t damage what I needed to keep intact. Just be careful not to hurt yourself. I made sure to minimize dust by trying to break larger pieces of drywall at one time. It may seem tedious and time-consuming at first but it will minimize the amount of work later cleaning and transporting debris. My recommendation is to use a combination of the hammer and multi-tool to create holes in which you can then insert the pry bar and break big pieces of the wall off. Clean up the debris regularly by using a broom and dust-pan or if you have a wet-dry Vac, vacuum every 30 minutes and empty it into a heavy duty bag so you don’t have to do it all at once. Once the drywall and debris are removed, your contractor(s) can begin restructuring the space.
All of the above may sound like a gross simplification but essentially that is the work that needs to be done if you’re looking to tear down a wall or two. To summarize, it’s not something you can do completely on your own but you can play a significant part and save yourself some money in the process. My next post will cover the rest of the order of operations and the struggles I faced along the way so don’t forget to check back in. If you found this post helpful or have any questions, share your thoughts in the comments below and as always, if you liked this post please follow us and share!
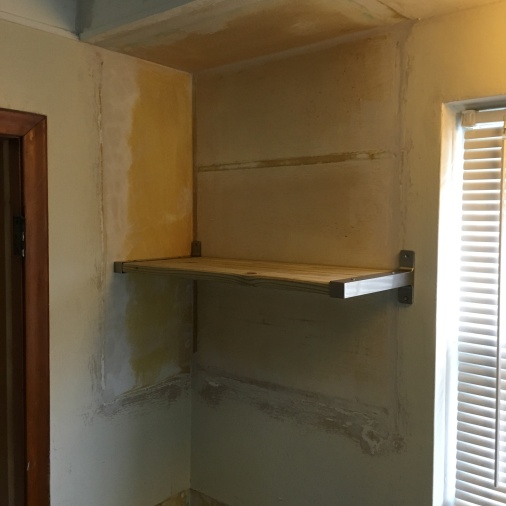
Sneak peek of the next post….


