One Room Challenge: Week 2 | Primed to Paint

Hello Friends and welcome to Week 2 of our One Room Challenge Office Makeover. It’s been a busy and rough week (our son got sick with some kind of stomach bug and we are running in the Detroit Free Press Marathon on Sunday) so we are a bit behind schedule. Because of the relatively small scale of work needed for this room, we are not really worried about finishing on time.

ORC GPHosted by Lisa of Calling It Home,  The One Room Challenge™, is a widely anticipated biannual event every April and October in which twenty design bloggers take the challenge of transforming a space in just six weeks. Every Wednesday, the designers document their progress while sharing their sources and professional advice. On Thursdays, guest bloggers, like us, can play along and support other guest bloggers that are also tackling a room renovation.

IMG_6165

IMG_6169

IMG_6170

IMG_1306

IMG_6076

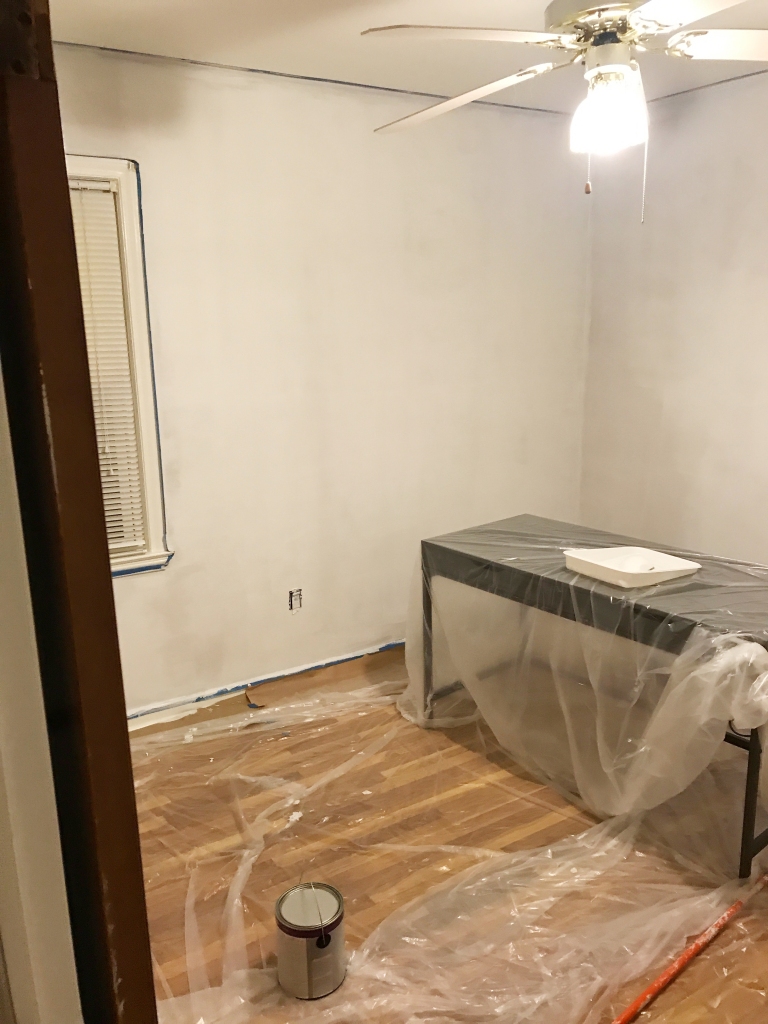
As far as this week’s progress goes, we did manage to have the room emptied and primed (thanks little bro). Although it’s hard to tell in the pictures above, the primed walls give a small glimpse of how light paint will transform the feel of the room. And speaking of paint colors, after much deliberation at our local Home Depot, my sister in-law and I decided to go with Behr’s Ultra-Pure White. I think it will offer the blank canvas we need to build a space that is inviting and inspiring to work in. To get an idea of what this might look like in a room, you can read here about this once “color of the month.” All rightie, here’s what the rest of the schedule looks like now:

WEEK 1: Empty office, tape around the walls and windows, and paint

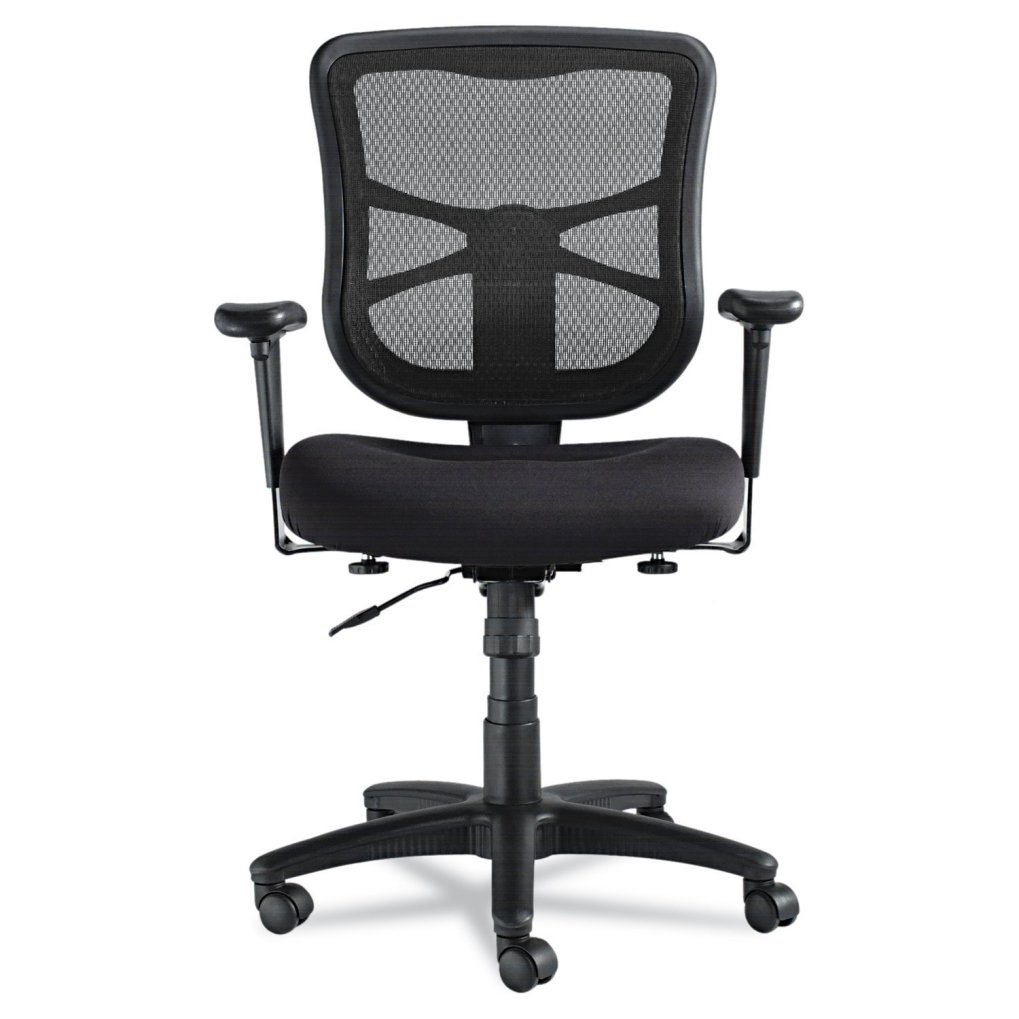
WEEK 2: Paint walls, install shelving and organization systems

WEEK 3: Change light fixture

WEEK 4: Install window treatments

WEEK 5: Organizing, styling, and decorating

WEEK 6: Cleaning and Final Reveal

Be sure to check back next week for more updates on this fun office project! And as always, if you liked this post please follow us and share!

Instagram


signature3


One Room Challenge: Week 1 | Simple Office Makeover Mood Board

Happy Friday friends! After getting a taste of our first One Room Challenge back in April when we renovated our bathroom, we are back for another round! Hosted by Lisa of Calling It Home,  The One Room Challenge™, is a widely anticipated biannual event every April and October in which twenty design bloggers take the challenge of transforming a space in just six weeks. Every Wednesday, the designers document their process while sharing their sources and professional advice. On Thursdays, guest bloggers, like us, can play along and support other guest bloggers that are also tackling a room renovation.

ORC GPThis year is a little interesting for us because we are now both in graduate school and so are VERY short on time (can’t stress that enough). While we would love to turn a room upside down for a makeover, we simply do not have the luxury of doing so. Instead we will be working with my brother and sister-in-law to help them design and makeover their home office. Both my brother and sister-in-law are in their last year of undergraduate school and they are newlyweds so they want a space that is budget friendly and one that is comfortable and organized as they continue to pursue their dreams. We are hoping to deliver on all fronts!

BEFORE

IMG_5607
IMG_5614
IMG_5608
IMG_5609

IMG_5990In this post, I’ll be sharing a mood board that I created as an inspirational blueprint. Before I put it together, I created a pinterest board and had my sister-in-law pin some of her favorite office spaces. Then as we boarded a plane for Kansas City, we went over her choices and why she liked them. Of course we didn’t leave out my brother in the decision-making, although he was a little less interested in the particulars. Based on their style interests this is the board I came up with:

ORC OFFICE

Obviously many of the elements will change as we proceed with the makeover but there are some things that we will stick with: neutrals and black with subtle pops of color, copper accents, and plants. To cut on costs, I will make use of free printables for the wall decor and I will also hit thrift stores and garage sales for much of the small storage furniture and decorative accessories. What I imagine we will spend the most on are office chairs and a rug. Unless by some miracle we hit the thrifting jackpot. The biggest challenges will face are keeping the cost low and balancing between function and aesthetics. My brother really wants a super comfy, ergonomic executive chair and unfortunately those are not the most visually appealing.

71xQWAfmXqL._SL1500_
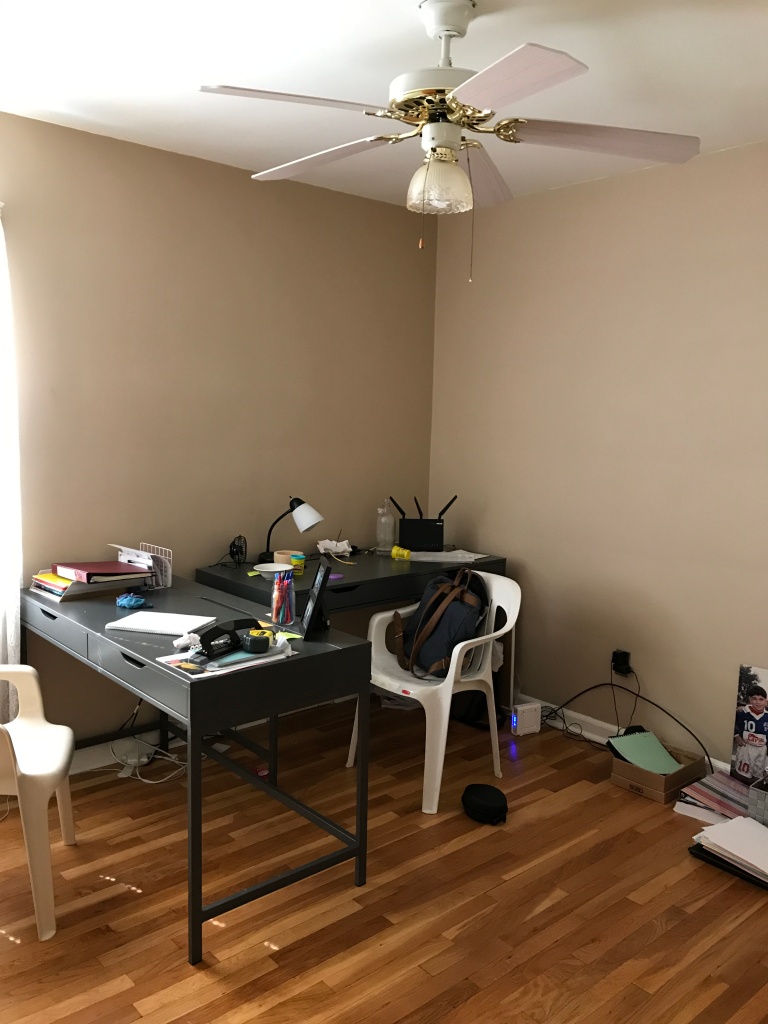
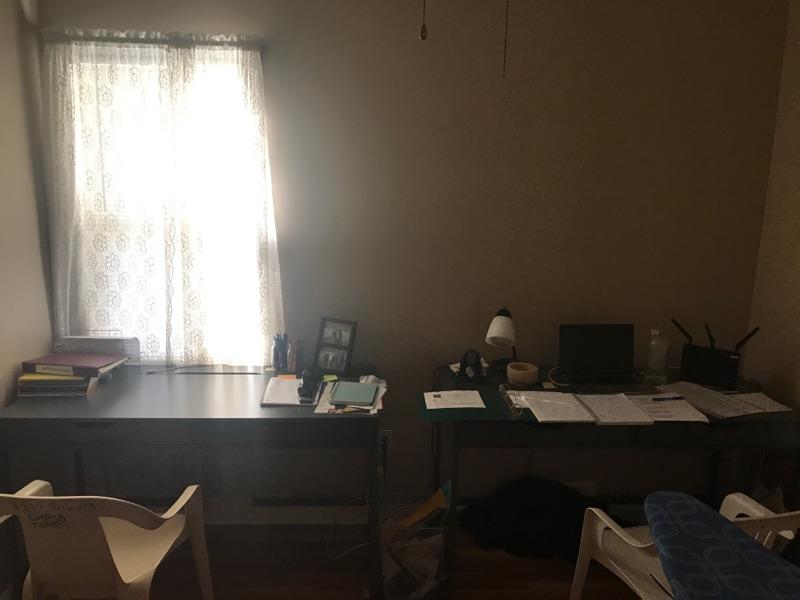
In terms of timeline here are where things stand. My brother is currently cleaning out the office {if you’re reading this bro, you better get on it ;)} to get it ready for painting. As you can see the walls are really dark so we will be picking out a fresh white to brighten up the space and get it primed to be ONE inspirational work space.

WEEK 1: Empty office, tape around the walls and windows, and paint

WEEK 2: Install shelving and organization systems

WEEK 3: Change light fixture

WEEK 4: Install window treatments

WEEK 5: Organizing, styling, and decorating

WEEK 6: Cleaning and Final Reveal

Anyone else working on a makeover for One Room Challenge? Feel free to share in the comments below, we would love to hear what you have planned! Until next week 🙂

If you liked this post please follow us and share!

Instagram


DIY Framed Chalkboard Wall

Our son is getting to the age where he can almost color without trying to eat his markers and crayons (the keyword there is almost), however, he still attempts to scribble on the wall any chance he gets. Despite getting him a small IKEA table for all of his creative pursuits, he seems not to want to be confined to paper so we figured if coloring on the walls is what he wants then coloring on the walls he shall get. We have always been admirers of chalkboards…the rustic kind that you see in old schoolhouses in black and white movies. We figured a chalkboard would not only be nice for doodling and writing the dinner menu on but also as a fun educational medium to teach letters, words, and concepts.

IMG_9985

We did toy around with the idea of painting an entire wall, which has become popular these days, but in the end we decided a 6ft x 3ft area was plenty of space for all of us to use. Plus since we chose to put it in the hallway, adjacent to the kitchen, we wanted to preserve some wall space just in case we wanted to add wall art or organizers for a command center in the future. The awesome thing about making your own chalkboard wall is that for $10 of chalkboard paint, you can get a little over 100 sq. ft of coverage. That’s a steal when you consider that chalkboards the size of small picture frames are going for that and much more. The other really nice thing is that you can frame the painted area to achieve that authentic chalkboard look and you can do so using any type of wood you like in any stain you want. We went with an inexpensive white moulding from Home Depot that we nailed directly to the wall. We’ve come across DIY framed chalkboards that involve painting another medium and then hanging it up. Not only is a large chalkboard heavy and impractical to hang but it would be dangerous if you have little ones in your life. Just something to think about if you are not sure how you feel about painting a wall with chalkboard paint.

The only thing you need to be mindful of is if you have kids in the house then you will want to time your painting after their bedtime so the paint can dry without handprints all over it. Other than that, this chalkboard wall is super easy to put together and loads of fun. Our son loves scribbling on it, I love practicing my handlettering, and of course baba loves leaving silly doodles for us to wake up to. Yes, we are not ashamed to admit it… this chalkboard was as much for us as it was for our son.

Supplies
Chalkboard Paint ($9.67)
Wood Moulding
Trim Nails

Tools
Paint Roller
Paint Tray
Paint Tray Liner
Blue Painters Tape
Hammer

Chalk options
Chalkboard Wall Safe Markers ($12.95)
Regular Chalk from IKEA  ($0.99)

Note: If you end up taking on this project using similar dimensions to our chalkboard then know that you will have leftover paint. Don’t you fret though, we will probably come up with another DIY project to make use of it.

IMG_9973.jpg

Directions
1. Measure the area you want to paint and outline the area with pencil.
2. Apply the painter’s tape over your outline, pressing down firmly as you go so you don’t have any air pockets where the paint can seep through.
3. Mix the paint using a paint stick and pour 1/4 of the paint in the paint tray.
4. Gently dip your paint roller in and start painting your designated area in a “W” pattern. Make sure you don’t use too much paint on your roller as it will start dripping and take away from the smooth surface of the board.
5. Let dry for 4 hours before applying a second coat.
6. After the final coat is painted, let it set for 3 days (per instructions on the paint container) before writing on it.
7. Test your new board with the writing medium of your choice: old-fashioned chalk or chalkboard marker.

IMG_2460

IMG_2465

IMG_3138

IMG_9929

IMG_9954

IMG_9988 copy


Have you been wanting to put up a chalkboard wall? If so, what’s been stopping you?

If you liked this post please follow us and share!

Instagram


Our One Year Blogiversary Giveaway

giveaway

The beginning  of the year is always an exciting time as many take the opportunity to wipe the slate clean and embrace new adventures, opportunities, and challenges. This past year was an eventful one for us; we started this blog, completed our first and long awaited kitchen renovation, and added a new addition to our growing family. It has been a wonderful experience sharing our ordinary lives and passions with such a wonderful blogging community. We have come across some pretty awesome people doing some pretty awesome things and we are grateful for the opportunity to share, inspire, and grow alongside all of you. In celebration of our one year blogging anniversary and as a thank you to all those who have followed along and supported us, we are giving away two $25 gift cards to IKEA.

We chose IKEA because it is one of our favorite places to go to for home and DIY inspiration (seriously we are there all the time), not to mention all the yummy eats that remind my husband of his memories growing up in Sweden. IKEA products are practical, economical, and beautiful and we could not be happier with the latest addition to our IKEA home: our IKEA kitchen. So if you’re looking to renovate, remodel, organize, or just freshen up your home then you won’t want to miss out on this opportunity. All you have to do to enter is:

1) follow us on instagram (if you aren’t already)
2) like the giveaway photo
3) tag two IKEA-loving friends in the comments below the photo.

It’s that easy. Just be sure to read the rules and disclosures down below. May the odds be ever in your favor 🙂 And Happy New Year!! We pray that 2017 brings you many blessings, successes, and joyous moments.

Rules and Disclosure: This giveaway is not associated with WordPress, Facebook, Twitter, Instagram, Pinterest, or Google. Giveaway begins Friday 1/6/17 at 9:30am EST and runs through Sunday 1/8/17 until 5:30pm EST. We will announce a winner next week and appreciate your patience as we verify all the entries. This giveaway is not sponsored or endorsed in any way by Instagram or IKEA. US residents only. You must have a valid email address to participate. By entering, entrants confirm they are 18+ years of age, release Instagram of responsibility, and agree to Instagram’s term of use. Giveaway accounts not eligible. We ask that PRIVATE accounts are made PUBLIC during the giveaway in order to be entered.

If you liked this post please follow us and share!

Instagram