This is the first post in a series we will be doing covering our DIY kitchen renovation project that took us around 3 months to complete (working the weekends and some evenings). In this post we will discuss everything planning-related from brainstorming and design to calculating the cost of the finished project. We will also cover the timeline we envisioned for the duration of this renovation and how to realistically plan.
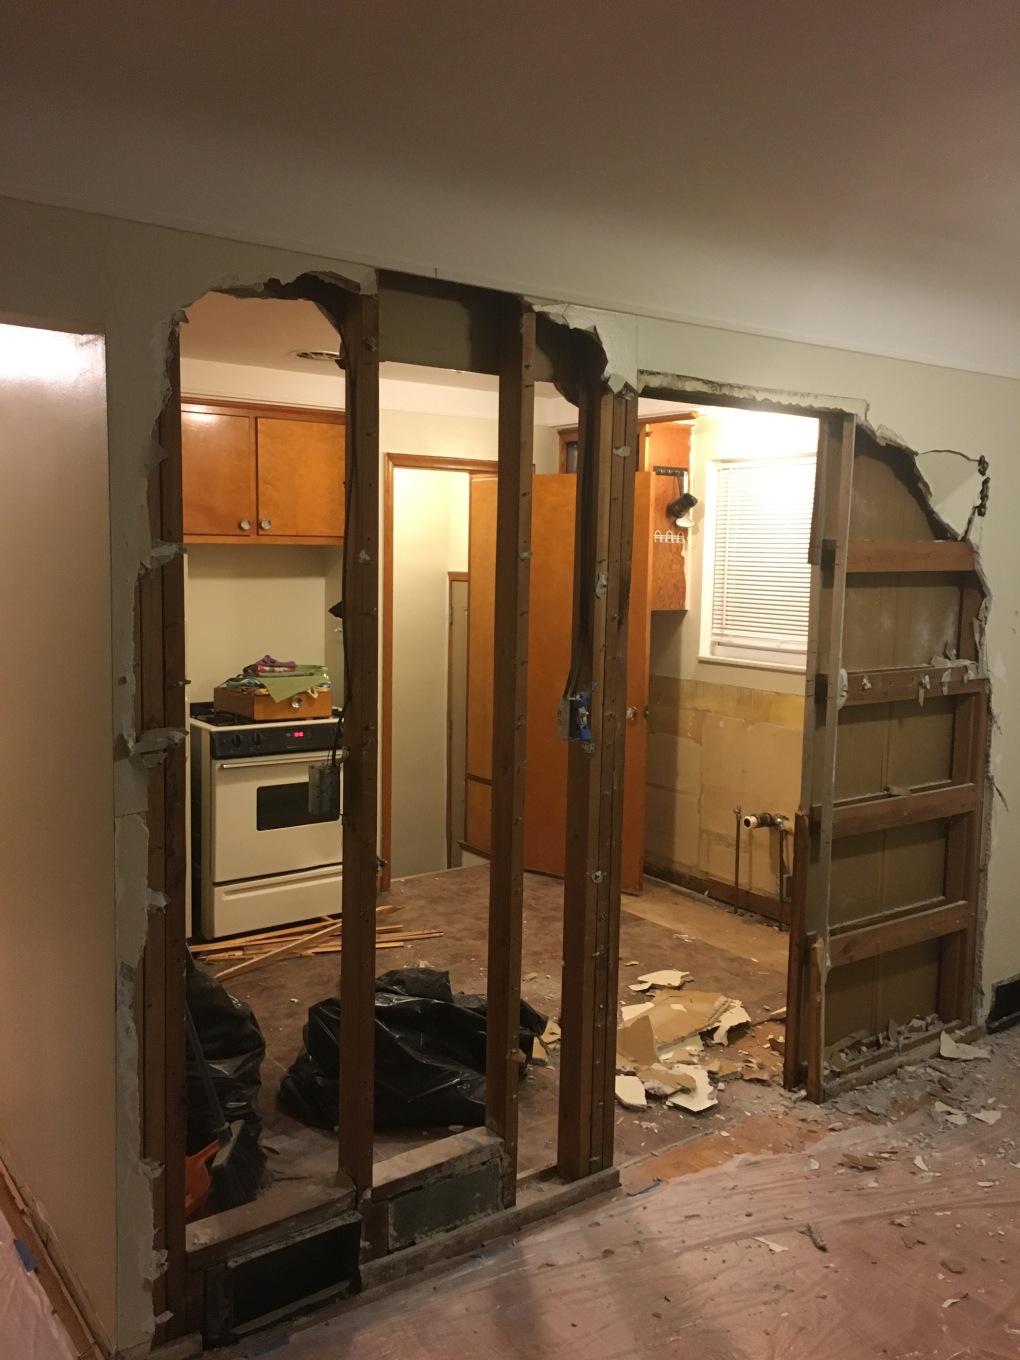
Just to give you an idea of the disaster we were working with, I’ve included some pictures below. My wife had taken some with her DSLR but can’t seem to find them so these fisheye view iPhone photos will have to do.
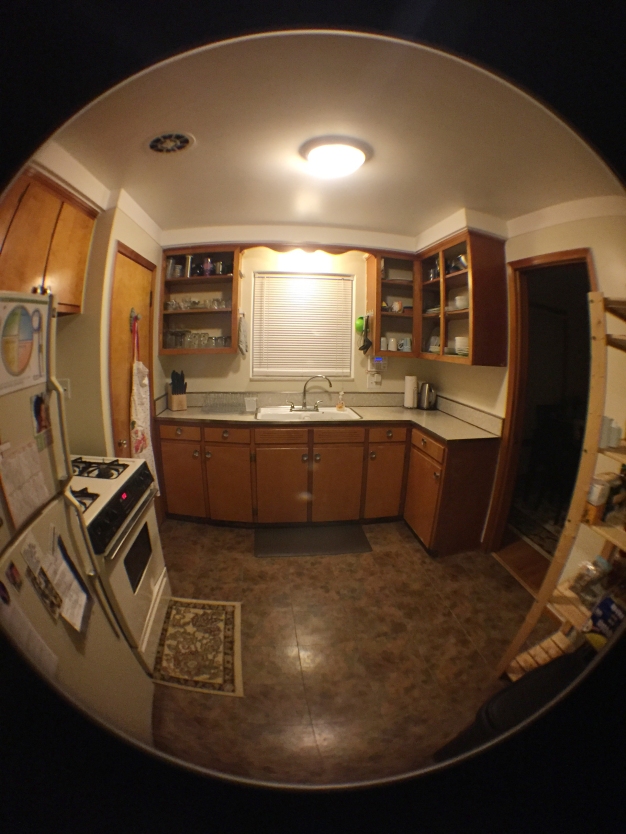


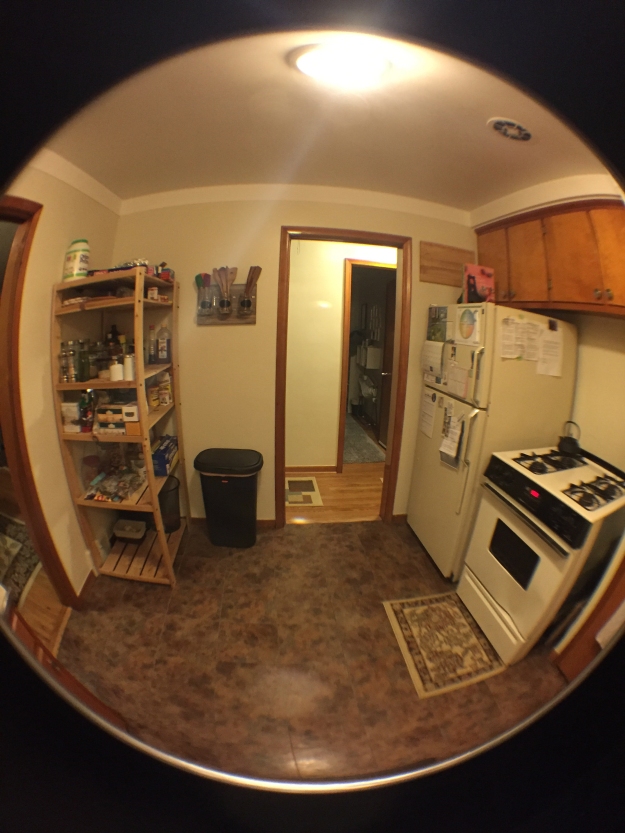
As you can see, there is not a lot of counter-space or any space for storage/keeping the kitchen organized. We also did not have a dishwasher which was fine until we had a baby and time became a luxury. The “hood” for the stove (if you can even call it that) was this disgusting hole in the ceiling that looked awful and was completely useless in circulating air. Aside from all that, it was just dimly lit, cramped, and uninspiring. But that was soon to change…
Brainstorming
This step is one I’m sure many of you are familiar with. If you’ve ever walked through IKEA thinking to yourself, “this would look great in my house!” then you have partaken in the process of brainstorming. This is pretty much what we did for about six months before we began the serious design stage. We looked everywhere for style and layout inspiration including Houzz, Home Depot, Lowes, Pinterest, Instagram, IKEA, etc… The key is to save your ideas somewhere so that when you begin the designing process you have a better idea of what you want and don’t want. Throughout this process, we made sure to pay attention to four things: aesthetics, organization, functionality, and layout. As I mentioned earlier we had barely any counter-space or storage space. For us, this was a major priority so we knew right away that to achieve the results we wanted, we would need to tear down the wall between the kitchen and dinning room.
Aside from that, we looked to other kitchens and blogs and dissected every minute detail. Here are some kitchens that we shared with each other throughout the brainstorming process. We made sure to tell each other what we liked about each kitchen so that we could begin to narrow things down.
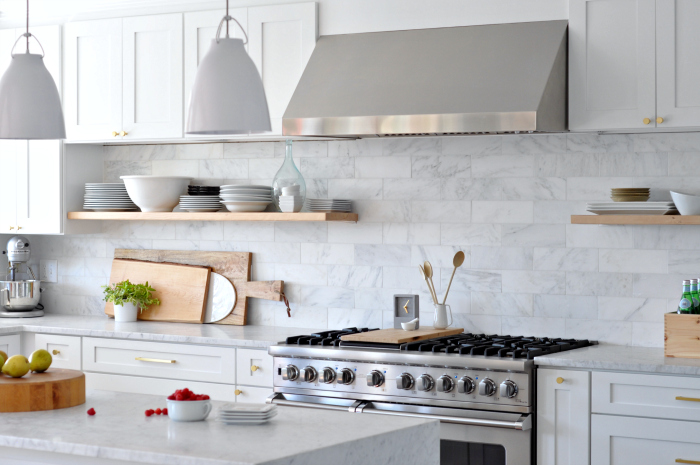
Open shelving was something that kept coming up over and over again in all the kitchens we shared with each other. We just really loved how it opened up a space and made for easy access to everyday kitchenware. Image credit: House updated
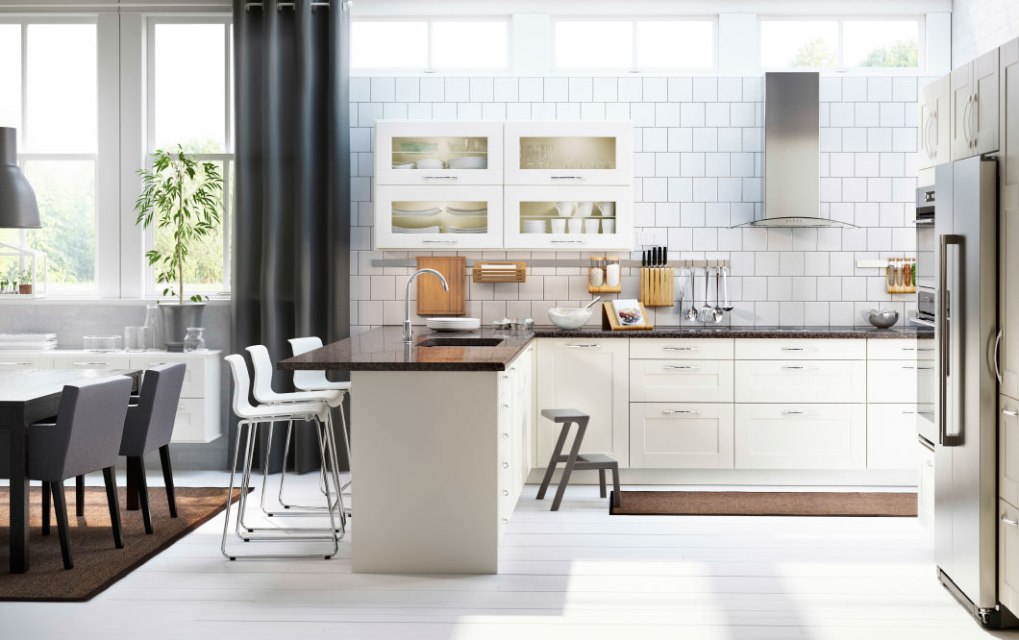
We also picked up on the fact that most of the kitchens we liked were white with wooden accents. We rarely chose a kitchen that had dark cabinets so we knew right away that wasn’t our style. We wanted clean and bright and cheery. Image credits: IKEA
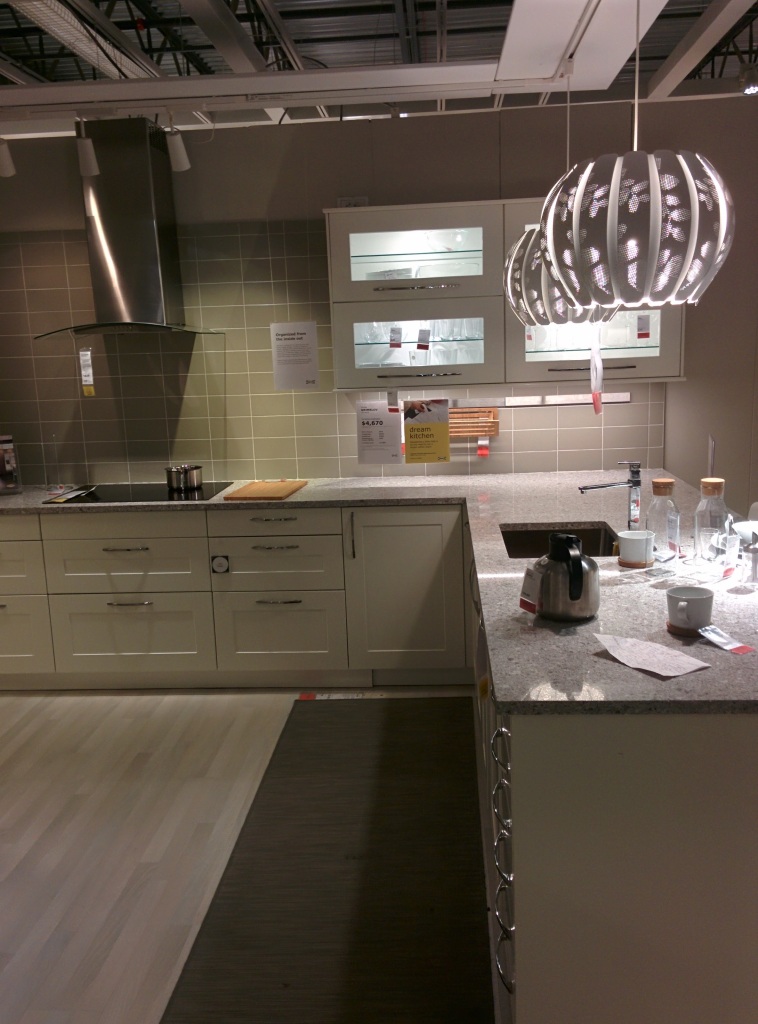
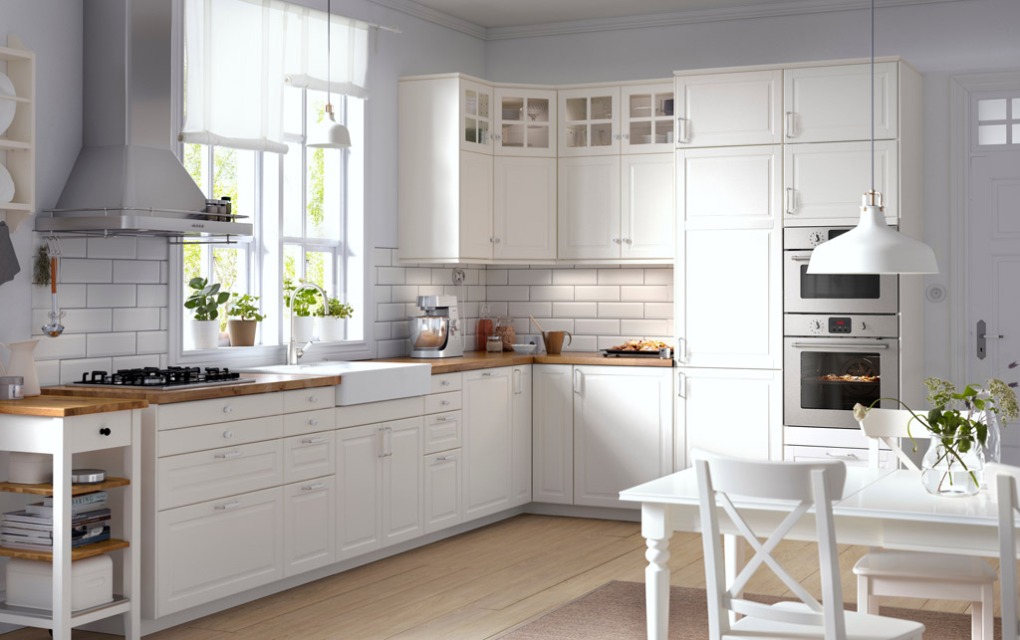
A few months earlier we had stumbled on a kitchen in one of IKEA’s showrooms that we found practical based on our dimensions and layout so we captured some pictures just in case we wanted to make it a reality (hint: we did). We also realized here we liked the idea of grayish flooring with white cabinetry.

We really went back and forth on countertops because both light and dark work really nicely with white cabinets. To pull all the elements together including the stainless steel appliances and gray floors, we decided on a light countertop with splashes of gray and black. Image credit: Artszipper
Design
After the brainstorming stage, and once we were ready to put our imaginations onto paper, I measured our kitchen to get a sense of the dimensions we would be working with. I did this as thoroughly as I possibly could to ensure the correct fit for cabinets, shelving, and fixtures. Even if you feel like you’re just getting started and playing around, remember that accurate measurement makes for accurate budgeting.
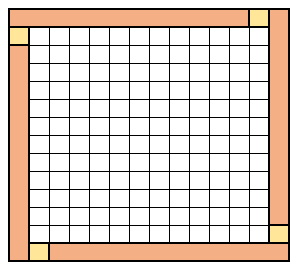
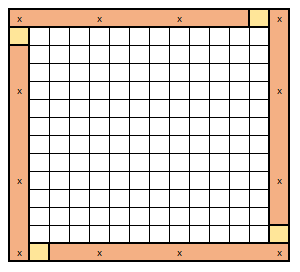
There are many planning softwares to choose from but I settled on using IKEA’s online Kitchen Planner software which is pretty user-friendly. Once I inputted the measurements for the walls, the windows, doors, ceiling, etc (see Figure 1) I began tinkering with the layout of the kitchen and adding cabinets like a madman. I managed to come up with my first design draft (see Figure 2) in no time and was pretty pumped to print it and review with my wife. Here is where the fun begins! Why, you ask? Because you will most likely change your first draft…many, many times.
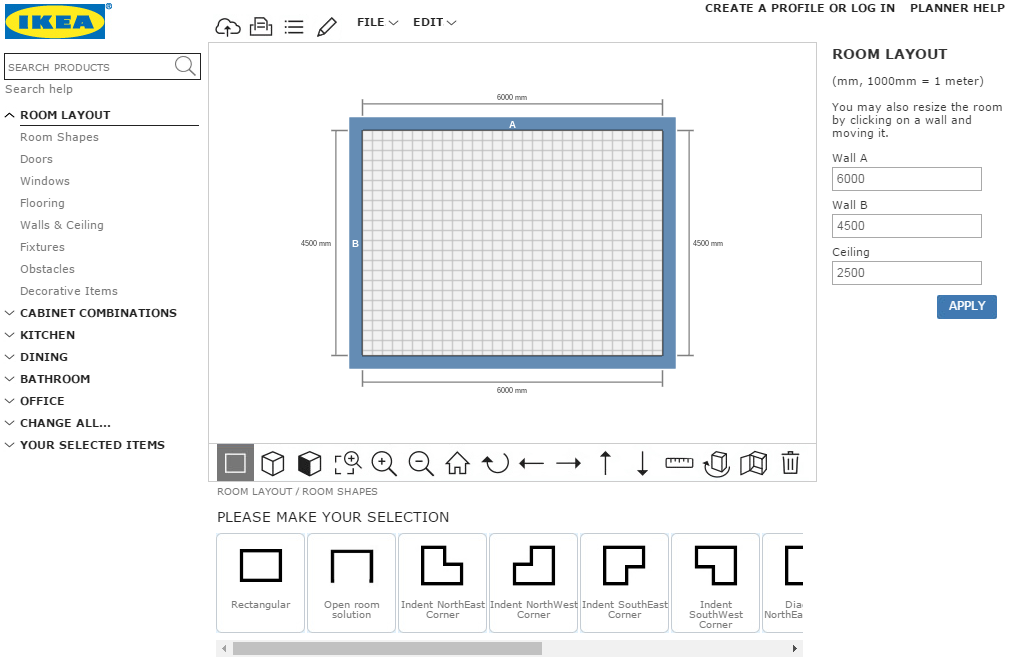
Figure 1
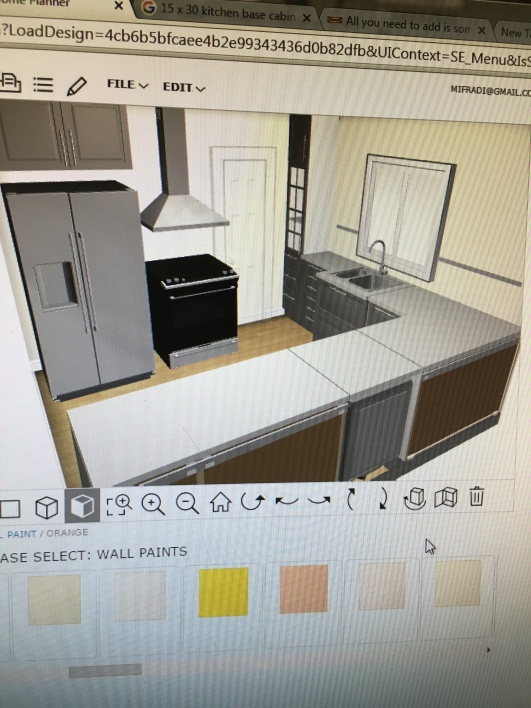
Figure 2
After many revisions we settled on a design similar to the model kitchen we liked in IKEA’s showroom. We then took our design to IKEA where we talked to one of their kitchen specialists who helped us remove unnecessary items and add cool little features like dampers so the cabinets don’t slam when you shut them. In the end, the final design we purchased was quite different from our initial draft and that’s completely okay. With a bit of number crunching, which I’ll talk about below, I realized it was cheaper to buy certain things externally so our Ikea purchase did not include a countertop, appliances, or flooring. For those looking for detailed information on what IKEA offers, follow this link to their informational PDF.
Budget Breakdown:
As a finance guy, I enjoy crunching numbers and shopping around to get the best possible deal. To be successful in that regard, however, it’s important to start with a clear maximum budget and have a 10% buffer for unexpected expenses that may arise. So for example, if you’re planning on spending 10k, set aside 1,000 for miscellaneous costs. We ended up going slightly over budget because of structural issues our engineer did not account for early on but I saved a lot by doing most of the labor. To give you an idea of where our money went, I’ve included a breakdown below.
1. Kitchen cabinets from IKEA (7 cabinets): $2,700
2. Appliances bundled from Lowes and Sears: $3,800
3. Granite countertop custom ordered from Home Depot with an undermount sink: $2,200
4. Flooring, drywall, paint, and misc. tools from Home Depot: $1,000
5. Outside labor for taking down a wall: $2,500
6. Permits: $900
Approximate Total: $13,100
Timeline
Finally, let’s talk about time. It can be very easy (unless it’s just me) to underestimate how long work takes. Sure, I can tile a kitchen in a day or two but not when I have a day job, a baby, and other endless responsibilities. This doesn’t even include the time for the ordering and delivery of cabinets, appliances, and countertops. On top of that you have to account for any hiccups you may face and be flexible so that you don’t get discouraged or burnt out easily. I know it’s laughable but I’m sharing this unrealistic timeline I had created so you don’t make the same mistake I did. Whether you’re planning on doing the labor yourself or hiring someone, make sure you are clear about your expectations and then ask yourself if you are being realistic. Many contractors don’t just take one job at a time so don’t expect a full kitchen to be up in a week. HGTV is not real life. In my case, I got stuck waiting a week to resolve the structural issues that came up and then another week to replace the subflooring when I attempted to remove the vinyl tile. It also didn’t help that my wife was going through terrible morning sickness so I couldn’t leave the baby with her to work on the kitchen when I got home.
Project Purchase Dates (Home Depot and IKEA): 3/19/2016
Project Start Date: 04/04/2016
Wall Removal: 4/9/2016
Wall Plaster and Cleanup: 4/9 – 4/10/2016
Floor Installation : 4/10-4/11/2016
Base Cabinet Installation: 4/12/2016
Countertop re-measurement: 4/12/2016
Backsplash tiling:4/15-4/16/2016
Shelf installation:4/18-4/20/2016
Appliance delivery: 4/23/2016
Countertop Installation: 4/26/2016
Project End Date: 5/01/2016
In the end, the month I had envisioned became three and I can confidently say it would not have been so stressful if I didn’t start out with ridiculously unrealistic expectations. So take it from me and go easy on yourself. It’s not the end of the world if you don’t finish within your time frame and if you don’t chances are your time frame was the problem, not you.
If you enjoyed this post then stay tuned for more in the Cozy Kitchen Series which will cover the order of operations and the big reveal 🙂 As always, if you liked this post please follow us and share! And if you have any questions or comments we would love to hear from you.
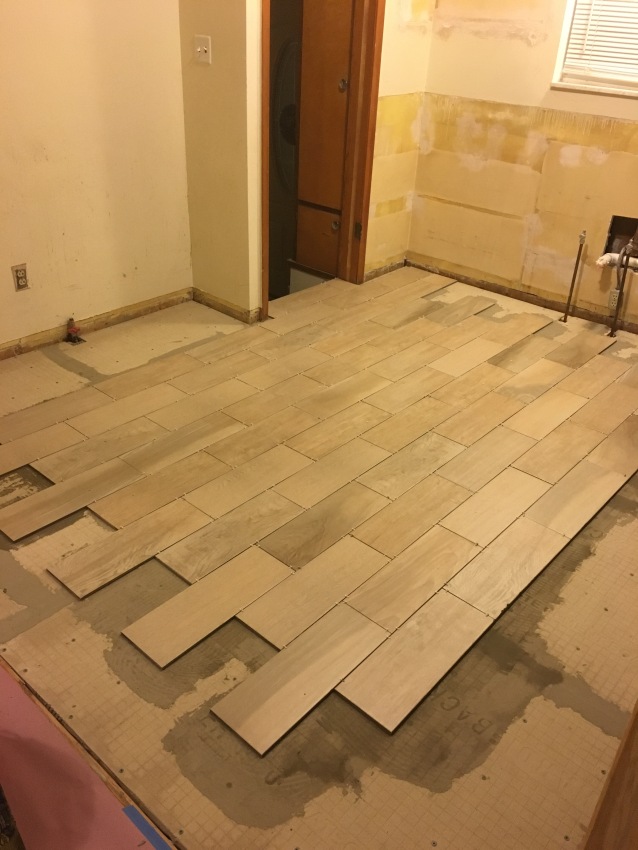
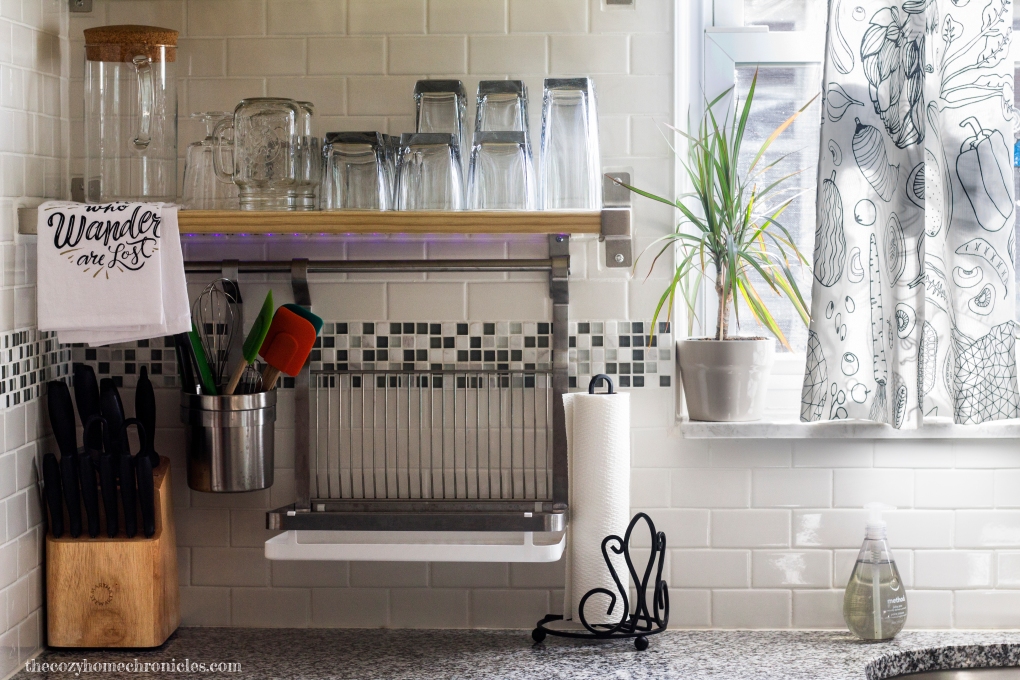
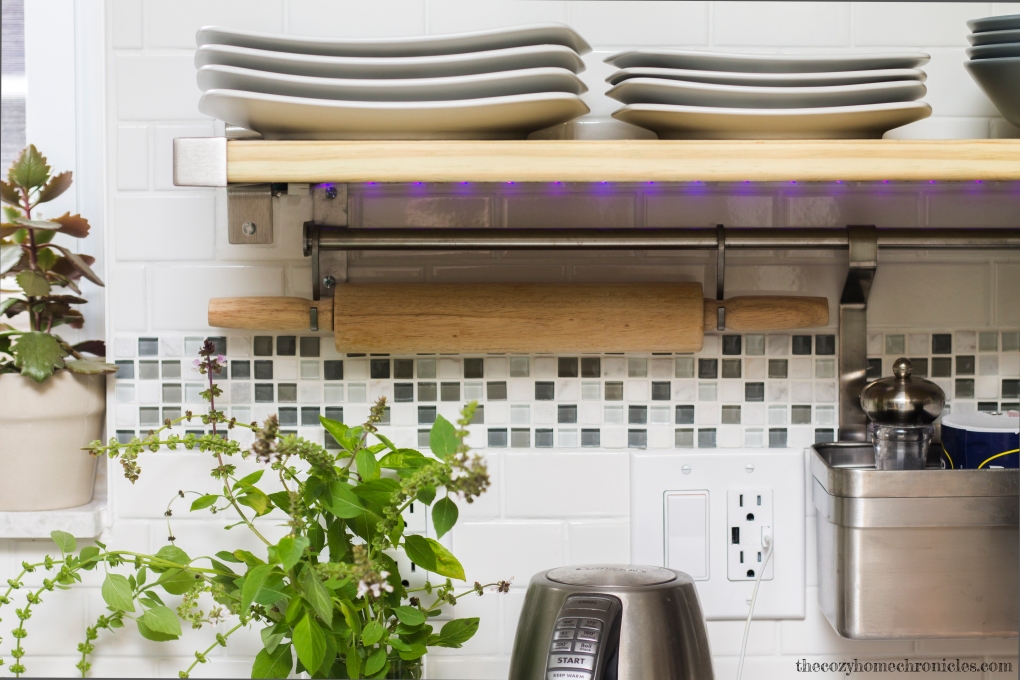
Sneak Peek: Kitchen Tiling