One Room Challenge: Week 7 |Simple Office Makeover Reveal

Today is the big day friends! Although we weren’t able to keep up with the weekly progress posts for our One Room Challenge, we still managed to finish the room on time (hooray!). If you’re just tuning in here for the very first time and don’t know what The One Room Challenge™ is, it’s a widely anticipated biannual event every April and October, hosted by Lisa of Calling It Home, in which twenty design bloggers take the challenge of transforming a space in just six weeks. Every Wednesday, the designers document their process while sharing their sources and professional advice. On Thursdays, guest bloggers, like us, can play along and support other guest bloggers that are also tackling a room renovation. As you may already know, we were working on an office makeover for my brother and sister-in-law because although we love DIYing, we couldn’t handle the stress of doing our own home renovation while both of us are in school.

ORC GPDon’t worry I’m not going to chit chat too much. The whole point of this post is to see a satisfying transformation and we will get to that in just a minute. Of course we also want this post to be inspirational and informative so following the before and afters we will give an overview of the changes this project entailed, the cost, and our sources. If you don’t even remember how this project began you can refer to weeks one, two, and three for a quick reminder.

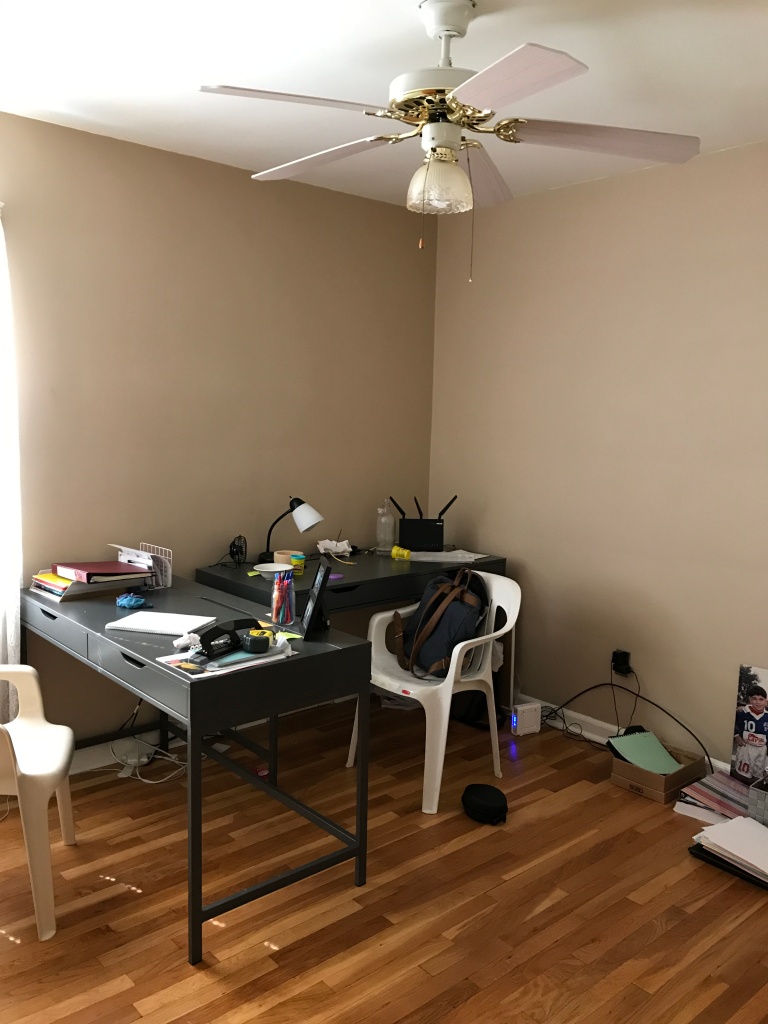
BEFORE: A DARK & SAD ROOM
IMG_5608

IMG_5607

AFTER: WORK SPACE GOALS

IMG_7365

IMG_7355


IMG_7361

IMG_7377

IMG_7121

So how did we get from A to Z? Never underestimate the power of a fresh coat of paint. In our opinion it is the cheapest, easiest, and most impactful way to transform a space. My sister-in-law wanted a bright and modern space so we went with Behr in Ultra White for a fresh clean look. Another impactful thing we did was to take down the vintage lace curtains and replace them with brand new blinds that I purchased from IKEA for $2 each (yes you read that correctly). Let’s just say it pays to lurk in the last chance section!

IMG_7371

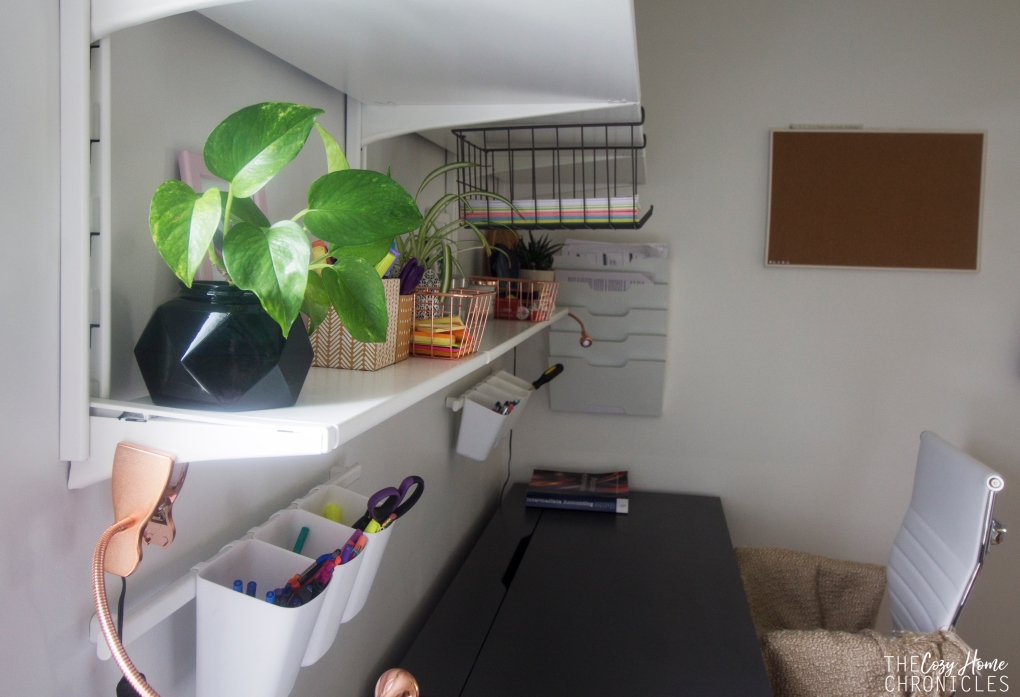
Replacing the fan light with a modern ceiling light from IKEA for $30 also dramatically changed the look of the office. The black fixture really complemented the gray desks and the hardwood floors and brought in much needed light. Of course one of the most expensive purchases was the Algot system which we added for shelf space above the desks. While we did toy around with the idea of building custom shelving, we decided in the end that spending a little more on a system that could be adjustable to changing needs would be the smartest choice. For $85, it was well worth the investment and provided the perfect amount of space for organizing books, supplies, and for styling decor. The best part about this transformation was that nothing was difficult to do; painting, installing shelving, replacing the light fixture, all of these required no super special tools or skill sets (which means you could do it too!). 
IMG_7385

We could not be happier with how this room turned out. Considering our crazy schedules and all the stress in our lives, I think we did a pretty good job of bringing  our simple vision to life. We wanted a fresh, inspiring space with bohemian elements (patterned rug, copper accents, plants) and I think we definitely pulled that off. While we are very happy with the final look of the room, there are still some areas of improvement that we will probably return to. One of them is wire control. We definitely want to find a way to conceal and minimize the tangling of the printer, desk lamp, and laptop cords. We also want to add a little more color and character to the rest of the walls. I think this is something that will naturally come as my brother and sister-in-law live in the space and identify what speaks to their style. In that sense, I don’t mind the empty walls as much because I think of it as their decor journey has only just begun. I also thought it would be nice to have a fun little reading corner complete with fancy shmancy floor pillows but it looks like that will have to wait.


Sources


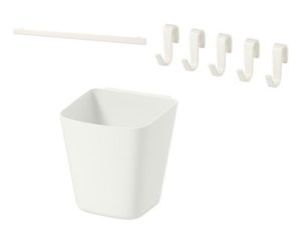
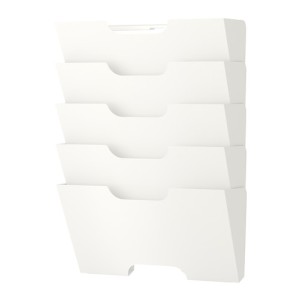
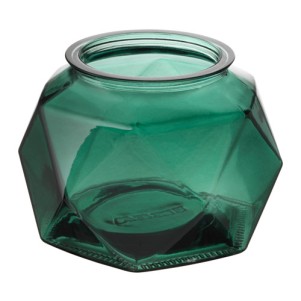
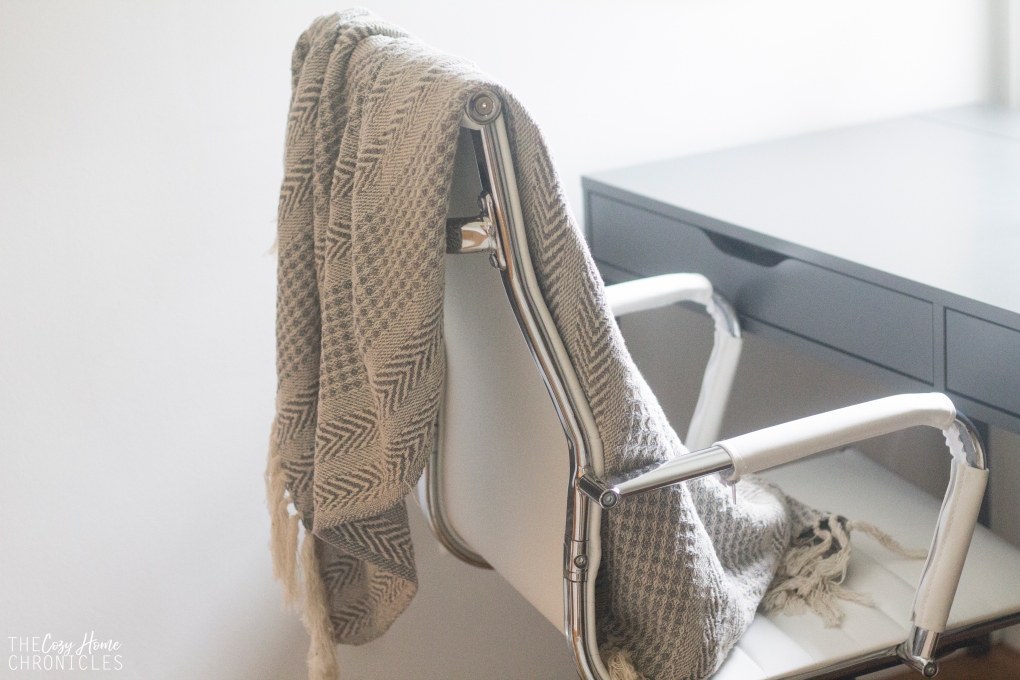
Ceiling Light $29.99 | Office Chair  $84.99 |Shelving  $85| Rug $69.99| Desk Lamp $12.99 Magazine Rack $14.99 |Vase $2.99 | Plants $2.99| Hanging Storage $4.36| Frames $.99

As you can see, many of the items we purchased are both accessible and reasonably priced for the average home DIYer. We took advantage of many deals to save big including using a 10% off coupon from Wayfair and thrifting to keep our makeover well under $500. The rug was my sister’s belated birthday gift to my brother for the renovation so all we really had to purchase was the shelving, chairs, lighting and accessories. This came out to about $350. For the decorating I was a little savvier as I relied on some thrifty finds like a set of 4 wall baskets for $1.99 and free printable wall art (tropical palm leaf and keep pushing on).
IMG_7199


All in all, it’s been another successful One Room Challenge and we can’t wait for the next one 🙂

Any questions? Thoughts? We would love to hear from you in the comments below. Don’t forget to check out everyone else’s final reveal posts and as always, if you liked this post please follow us and share!

Instagram

signature3


Kitchen Undershelf LED Lighting

led-lighting

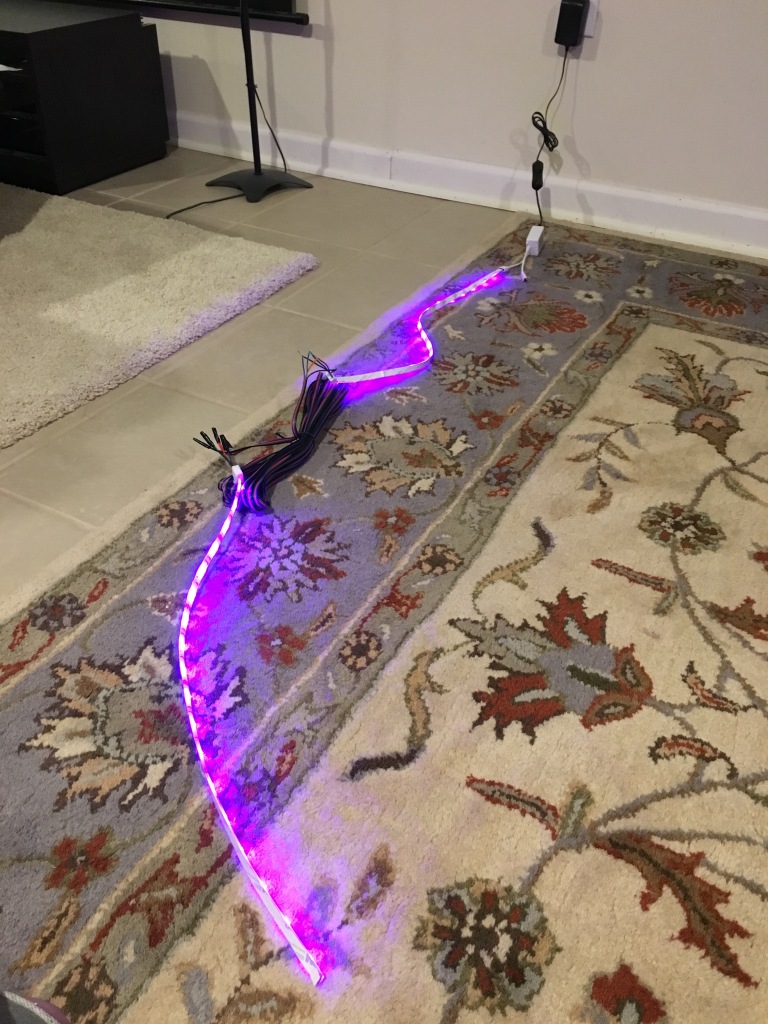
In the three wonderful years we’ve lived in our starter home, we’ve done many DIY projects, with our kitchen renovation being the biggest. So it should come as no surprise that we have a TON to write about. I’ve written about many of the more involved aspects of our DIY kitchen project in other posts but one feature I have not talked about is the LED lighting I installed under our open shelving. This was one of the more exciting parts of the whole project for me because I think LED lighting looks cool in kitchens (let’s be real…it does) and I liked the idea of having some light around when navigating the kitchen for a late night snack. Not to mention, LED lighting is such a simple and inexpensive addition that can really brighten up a space. Researching online and reading through DIY forums gave me an idea of what I needed to do and helped me to settle on the perfect product. There are many brands of LED lights out there but I purchased the Tingkam Waterproof 5m 5050 SMD RGB LED Strips which had great reviews on Amazon and some really cool features including a range of colors and lighting options. The installation was fairly straightforward and despite costing only $20, the lighting and adhesive were high quality. We are 6 months out from our renovation and have not had a single problem, thankfully.

img_0465

If you are considering installing LED lighting under open shelving, there are a few things you will need to consider. 1) Is there an accessible power outlet where you can plug-in the connected LEDs nearby? 2) Are there large spaces between the shelves where you will be installing the LEDS under? If there is a significant space between shelves, you will need to cut and splice wires using the LED connectors and extension cable. You will also need to think about aesthetics. 3) Where will you hide the extension cable(s)? Because I planned to incorporate LED lighting during the design stage of our kitchen renovation, I was able to do the electrical work and run the cable through the wall before I got to drywalling and tiling the backsplash over it. Once you’ve settled these minor issues, you’re all set to install the lights. Here’s what you’ll need:

Supplies
Lights $20.39
LED Connectors $9.49
LED Extension Cable
 $7.99
Butt Splice Connectors $6.55

71tval3m8ll-_sl1500_

Image via Amazon

Directions

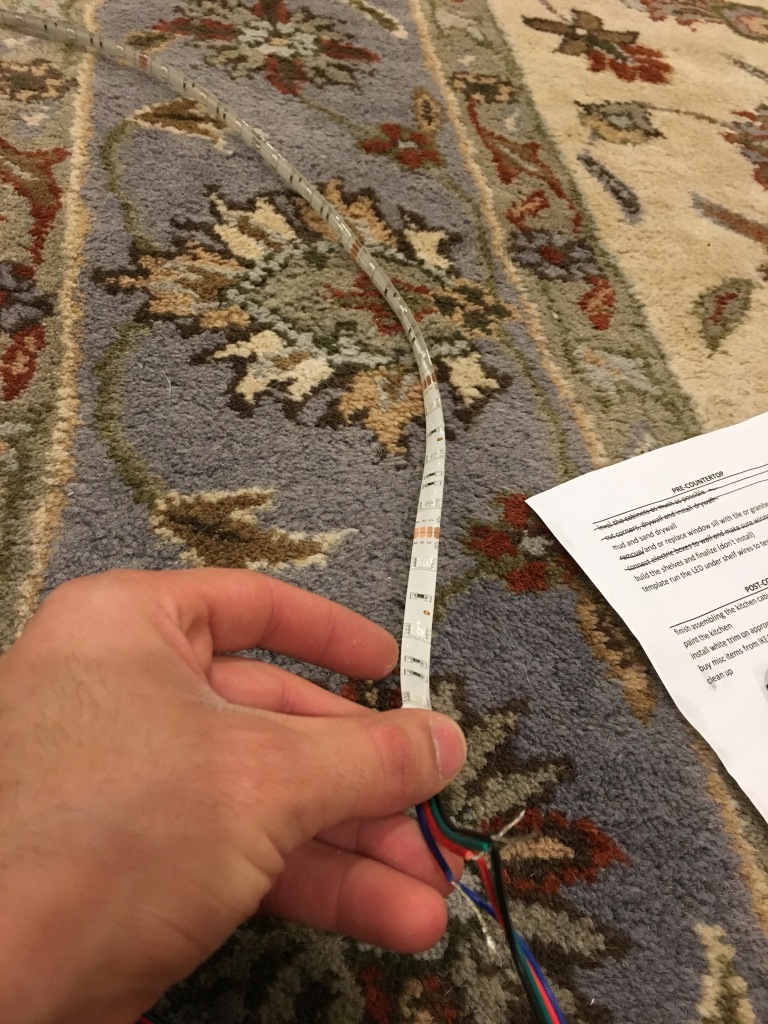
  1.  Measure your shelf and cut the LED strips according to the length of your shelf. For the specific LED lights I purchased, you can cut the strip along every 3 LEDs where there is a scissor line (figure 1).
  2. Connect your LED strips using the LED connectors (figure 2). If your shelves have a wall or other obstacle between them and you can’t just run them continuously you will need the extension cable listed under the supply section. Make sure to measure the space between the shelves before you connect the LED strips together so you know what length to cut your extension cable. To connect your lights to the extension cable you need to splice the wires (see figure 2).
  3. Splicing: 1) Peel back the LED strip to reveal the copper stripes and connect them to the waterproof clasp of the LED connectors. 2) Cut the connector wire in half and separate the black, red, blue, and green wires so that you can align them with the corresponding colored wires on the extension cable (figure 3). 3) You can either crimp the wires together using the butt splice connectors or twist and tape them with electrical wire (figure 4).
  4. Once you are done splicing the LEDs, you can secure the lights to the bottom of the shelves using the self-adhesive backing. To get the best results, make sure your surface is completely dry and clean. If you are planning on hiding the wires then disconnect the LED lighting strips before you adhere them to the shelf and run the wires through the walls as needed (see figures 5-6).
  5. Now you can plug the LED lights in and enjoy experimenting with all the colors and settings (figures 7-8).
img_0985

figure 1

img_0991

figure 2

img_0984

figure 3

img_1141

figure 4

img_1012

figure 5

led

figure 6

img_8899

figure 7

img_8894

figure 8

Have you incorporated or considered incorporating LED lighting into any of your home renovation projects? Let us know in the comments below!

If you liked this post please follow us and share!

Instagram


DIY Squeaky Bed Fix

IMG_3555

A squeaky bed can be a real nuisance. When my wife was studying for her PhD qualifying examinations this past winter, she would stay up really late while the baby and I would sleep together much earlier. When she would finally join us at 2 or 3 in the morning, she always woke us up crawling into bed with a loud creak. After weeks of interrupted sleep and having to soothe a disgruntled baby, I finally decided to look into resolving this rather “loud” issue.

A little investigation led me to the main culprit: the bed’s boxspring. When I opened up the boxspring, I was surprised by how flimsy it was. It was basically a big cardboard box framed with wood. The smartest option it seemed was to replace the cardboard and reinforce the structure of the box using sturdy, quality plywood and screws. It was a fairly easy and inexpensive project (under $40) that has successfully eliminated all squeaks and creaks (hooray!). You can even do it for cheaper if you go with a thinner plywood board but I wanted something a bit thicker. So if you’re looking to fix a squeaky bed and are not sure about completely replacing the boxspring or trying other suggestions like lubricating the springs, open the boxspring up first and see what you’re dealing with. If the material looks cheap, chances are this fix is the right one for you.

Supplies
(2) Sheathing Plywood Boards 
Wood or Drywall Screws
Liquid Nail 

Tools
Staple Gun
Gloves
Caulk Gun
Flat Head Screwdriver

Directions

1. Measure the boxspring and head over to Home Depot to purchase and custom cut the plywood for your bed frame size. I had the plywood cut for a queen-sized boxspring: 60 inches wide by 80 inches long (see Figure 1). For me to get an exact size I purchased 2 plywood boards and had them cut so each piece was exactly half (30in x 80in) of my queen bed frame size.

2. Remove your mattress and flip the boxspring frame over to remove the staples and nails from the corners of the cover attached to the frame along with the cardboard until all that remains is the wooden frame (see Figure 2).

3. Investigate the frame to make sure the studs are sturdy. Also, double check to see if the original nails/screws are in good condition. If you find any weak links go ahead and add more screws to tighten the joints.

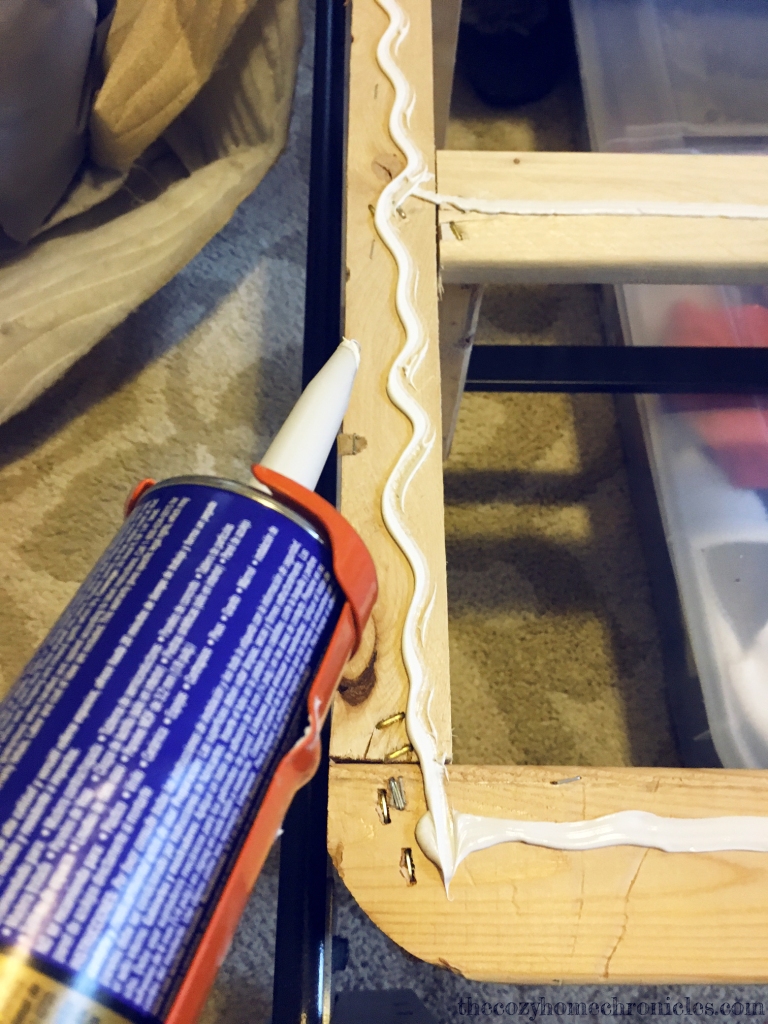
4. Apply liquid nail liberally along your frame taking care to stay in the center to prevent the glue from oozing out of the sides when you place the plywood boards (see Figure 3).

5. Immediately place the custom cut boards on the freshly glued frame. Do this one board at a time so you don’t make a mistake aligning the plywood to the boxspring frame (see Figure 4).

6. After you have placed the plywood boards on top of the boxspring frame, go ahead and secure the plywood to the frame using wood screws. I left a foot of space between each screw and made sure to drill the screws into the boxspring frame and not into empty space (see Figure 5 & 6).

7. Let the glue dry for at least an hour.

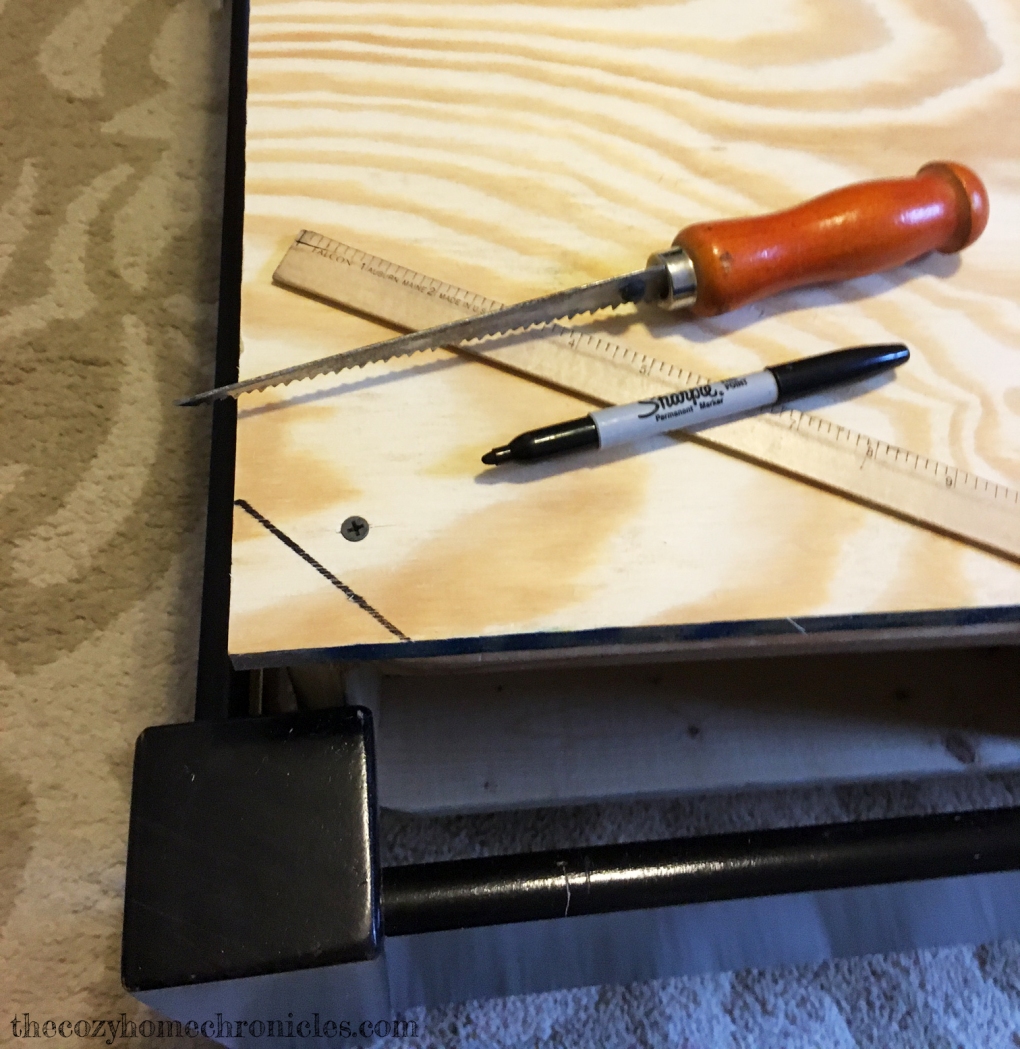
8. Cut the corners of the plywood off at an angle if they extend beyond the frame as it can be a hazard and get in the way of completing step 9.(see Figure 7a & 7b).

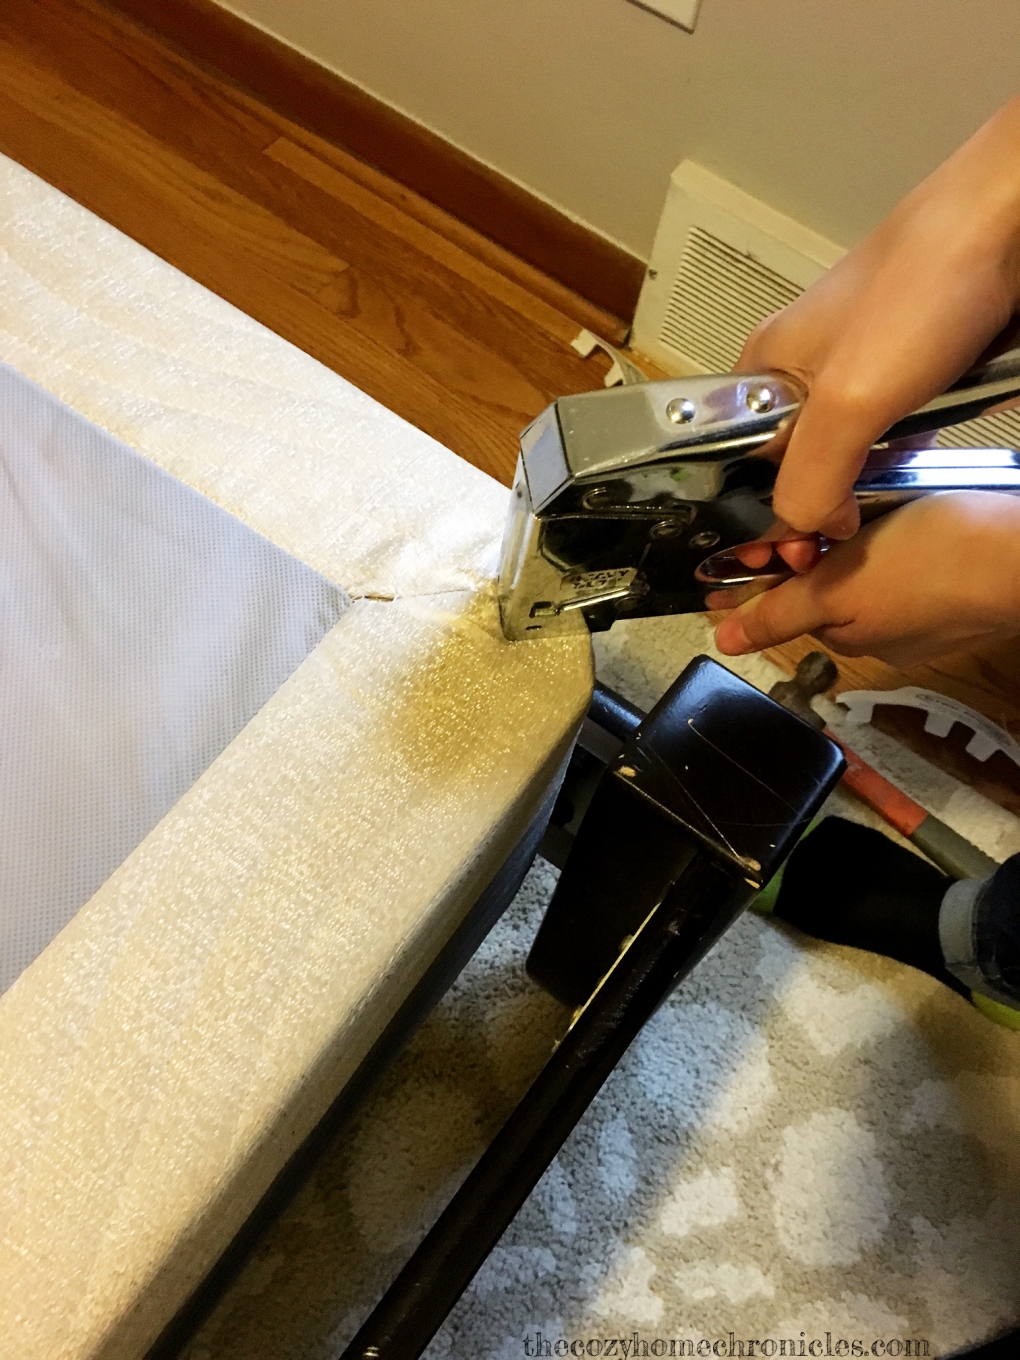
9.  Using a staple gun, secure the fabric cover over the boxspring (see Figure 8).

10. Catch up on your beauty sleep with squeak and creak-free slumber.

IMG_0497 copy

Figure 1

IMG_0498 copy

Figure 2

IMG_0501 copy

Figure 3

IMG_0502 copy

Figure 4

IMG_0504 copy

Figure 5

IMG_0505 copy

Figure 6

IMG_0506 copy

Figure 7a

IMG_0507 copy

Figure 7b

IMG_0509 copy

Figure 8

If you liked this post please follow us and share!

Instagram