Hello lovely readers! If you are coming here from Mint Candy Designs, hello and welcome to our blog. It’s always wonderful to have new faces around here 🙂 With Ramadan just around the corner, we are excited to share with you some simple ways to decorate your home and make the spirit of Ramadan manifest in your heart and home. Last year, we shared different ways to add festive and colorful touches to the dining table, where you gather to break bread after a long day of fasting. This year, we teamed up with some talented home bloggers to bring you creative DIYs that you can do to welcome this beautiful month into your home.
“There’s hidden sweetness in the stomach’s emptiness.”-Rumi

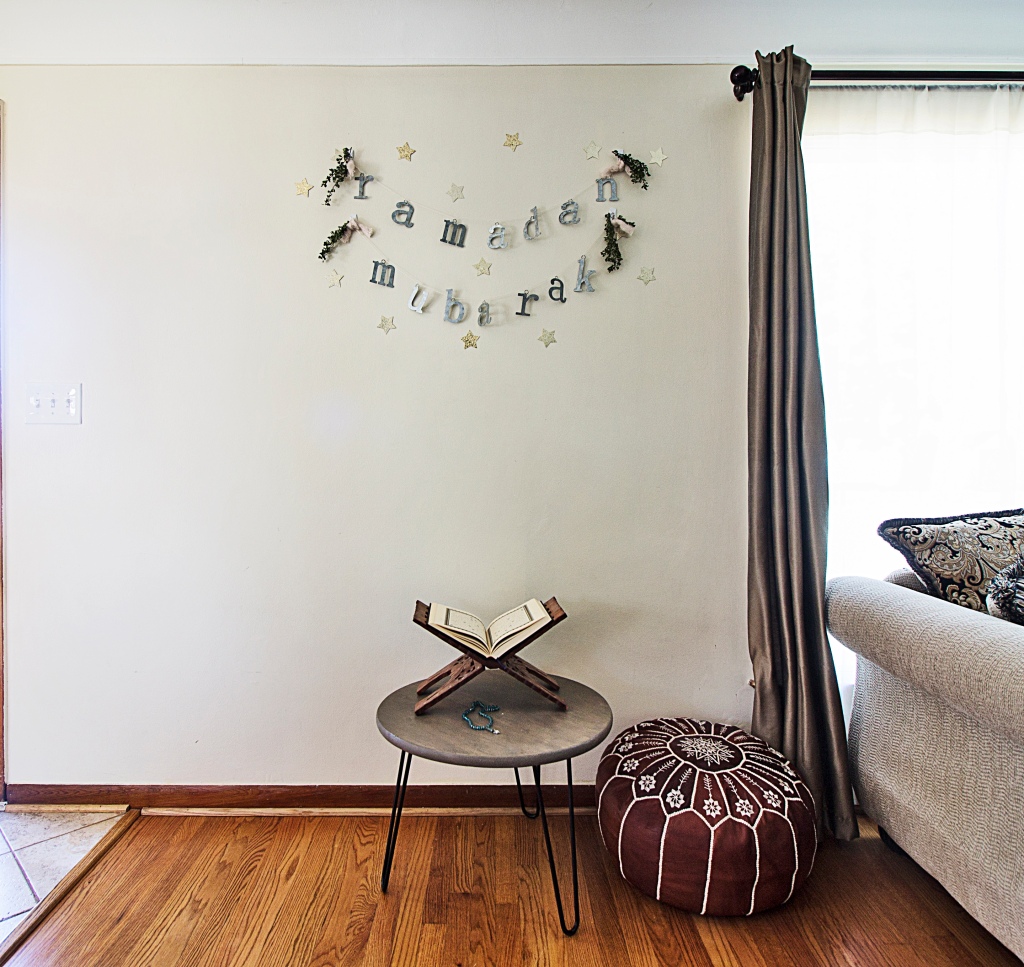
The feature of this post is a minimalist Ramadan banner and backdrop that I created near the front entrance of our home. I think it’s a beautiful welcoming statement for family and iftar guests and it makes the perfect backdrop for any family photos. It’s also super easy to make!

For the Ramadan banner, here’s what you’ll need:
galvanized letters
natural cord
scissors
measuring tape
You can actually use any type of materials for the letters. I chose galvanized tin because they were on clearance at Jo-Anns and I wanted something more sustainable and long-lasting. I was tempted to spray paint the letters gold but in the end decided I liked the rustic, industrial look. To make the sign, all you need to do is arrange your letters spelling RAMADAN MUBARAK. Measure equal spaces between each letter (I did 5 inches) and secure each letter to the cord with a double knot. When you’re finished, create a loop at each end of the cord so you can hang the banner easily on a hook.
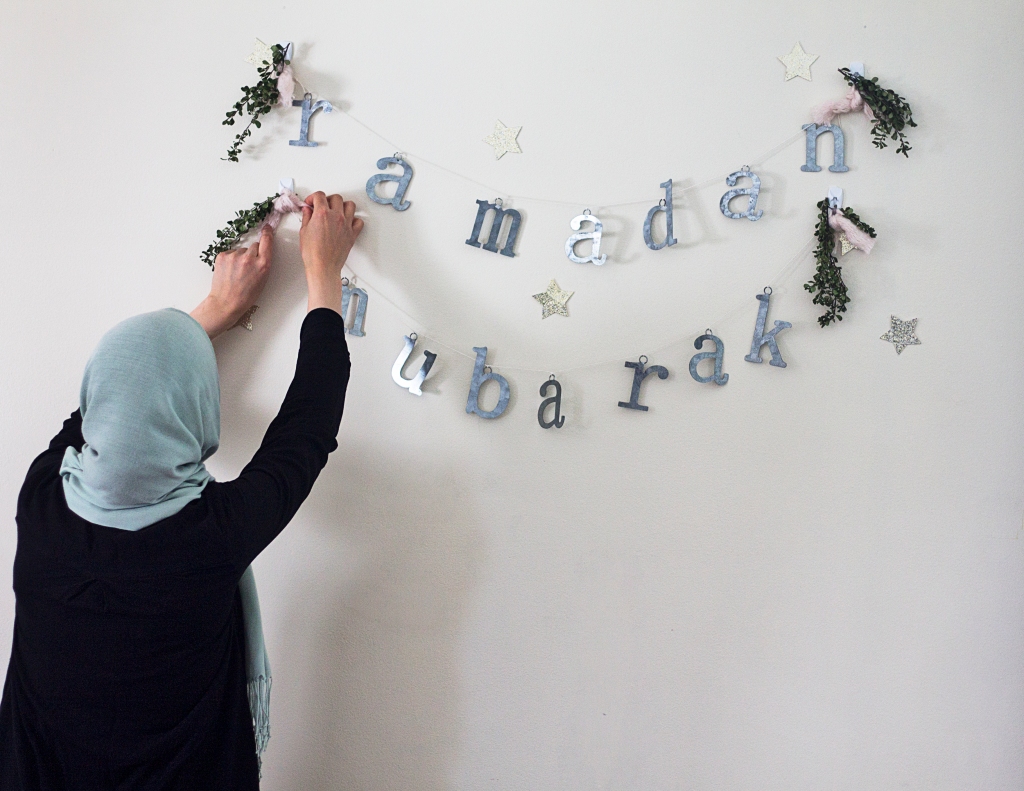
To complete the backdrop simply cut out stars from glittered card stock and stick them to the wall using washi tape. You can also tie ribbon or yarn to cover up the command hooks and add a touch of green with any stems of your choice (eucalyptus, myrtle, grevillea, huckleberry).
I also spruced up the dining area by hanging up garland and faux greenery. On our open shelving I created a simple display with a lantern and a gold foil Ramadan Mubarak print.

I hung up our Ramadan advent calendar from Handmade Beginnings where I’ll put something fun for the kiddos throughout the month. For the table I pulled out the turquoise glasses and purple linens I purchased from IKEA on clearance last year. Unfortunately they no longer offer those specific products (or if they do the colors are different) so I’ll link what alternatives they have below. For the napkins, my source link takes you to a conscious minimalist cotton napkin from H&M.
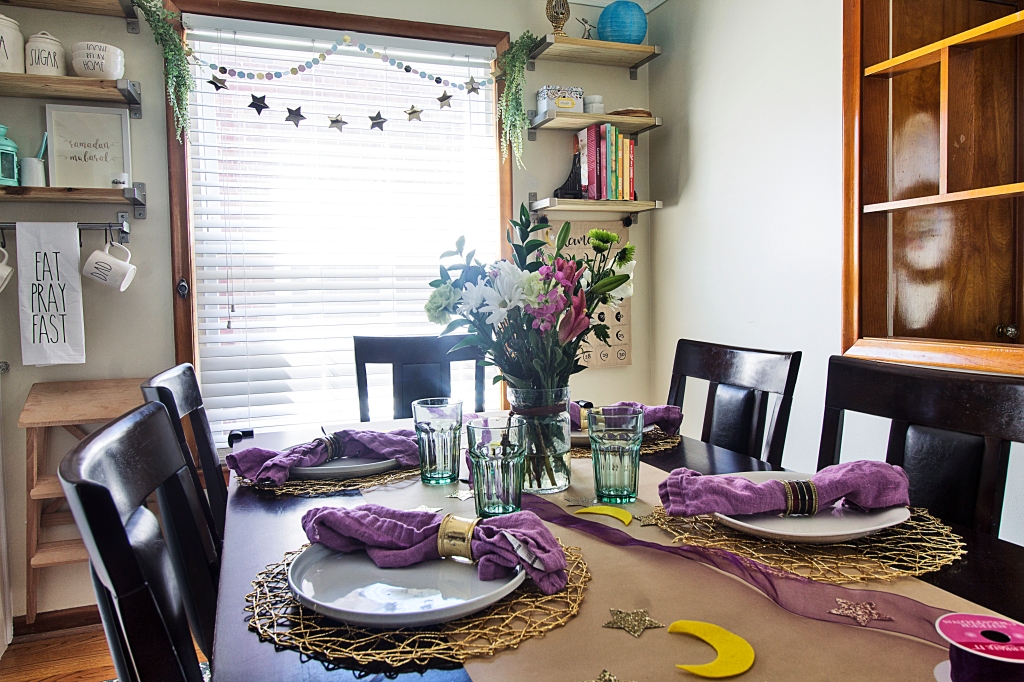
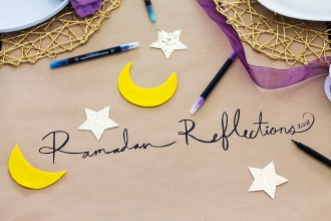
The only new things I purchased for this look were the gold placemats, the craft paper for the table-runner, and the glitter card stock to make the stars for the embellishments. I got the idea for the craft paper table runner from a Pinterest tablescape for Thanksgiving. I think it’s a nice screen-free way to keep children occupied with coloring and you can even write down your own reflections throughout the month. For an extra pop of color, never underestimate the power of fresh flowers. If you’re blessed with a beautiful flower garden then make it a family tradition and go flower picking right before iftar. If not, a local market or a Trader Joe’s would be a good option for gorgeous and reasonably-priced florals.
Sources:
Gold Placemat $1.99 | Craft Roll $4.79 |Glitter Cardstock $1.99| Ramadan Print $5.00 | Kitchen Towel $8.00 | Cotton Napkins $3.99 | Turquoise Glass $0.99 | Lantern $3.99
You can also find my sources of inspiration for these looks here on our Pinterest boards:
What did you think of the final result? Would you make this Ramadan banner? If you’re looking for more Ramadan decor inspiration then you’ll definitely want to head on over to my friend at Nimistyle and see her DIY Doily Table Runner and Gratitude Wall. Also don’t forget to check out the rest of the lovely DIYs in the Blog Hop linked below!

Nimi Style | Amna B Interiors | Simply in Control | Mint Candy Designs | Zair Zabr Play
Last but not least, my friend Amanda and I put together our first Ramadan Ebook. It’s an idea that we’ve been sitting on for a while but this year we took a leap and tried to make it a reality. It’s nothing fancy but it’s a helpful resource filled with meal ideas and recipe links, decor tips, a checklist to help get you organized and even a few simple, mindful challenges for you to try. The best part is it’s available for free download right here:
Ramadan Ready Ebook

As always if you loved this post, please follow us and share. And for those who celebrate, Ramadan Mubarak!


