Earlier last month, I shared a DIY upcycling project that I created for a four week creative challenge that I participated in back in January. In this post, I’ll be showing you how to make my decor for week two’s challenge “On the Wall.” First let me start by saying that while I love my own creative process, one thing I really enjoy is the challenge of recreating products that already exist for much cheaper. Seriously, if you’ve ever wanted something that was way out of your price range but thought maybe you could make it at home then I’m your person! Like, if there was a career path or job title for Expert Home Decor Replicator, I’d be the first in line but until such a day here I am making copycat Anthropologie wall art for my own home and blog.

Image via Anthropologie
Do you want to take a guess how much these Solar System Wall Art pieces are going for? Do you even want to know? Try $78-$198. Yep, you read that correctly. How about making one for less than $20? If that’s a yes and you want to know just how, keep on reading for the full scoop. Here’s what you’ll need:
Materials
Gold Floral Hoops or Macrame Rings
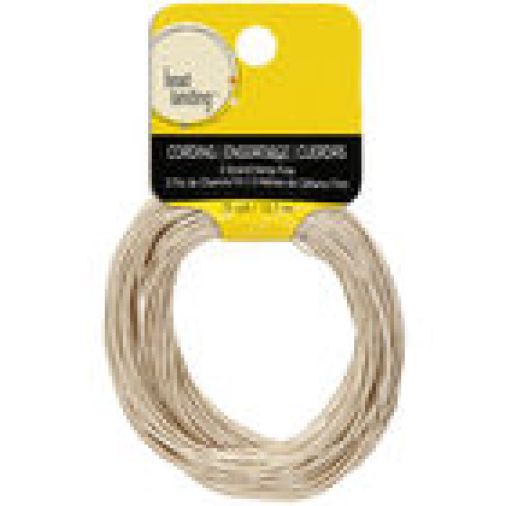
Natural cord
Wooden or stone beads
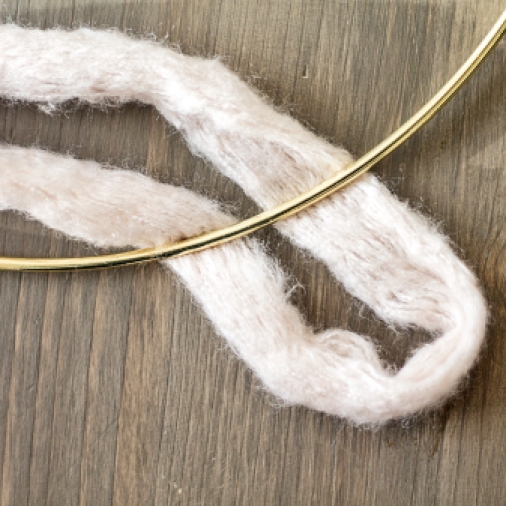
Premier Jazz Yarn
Note: For this specific design, I used 2 floral hoops: a 6in and an 8in. I also used the jazzy yarn in the color “mushroom.” You can use any color or even a variety of colors to create a custom piece for your space.
Directions
- Hold the two gold rings parallel so they’re touching (small ring inside the large) and tie them together using the natural cord. Wind the cord around the rings until the rings are secure and then double knot the cord leaving at least 7 inches for the beads and loop. For extra security, you can add a dab of hot glue to the knot.
- String the wood beads on the cord, secure with a knot, and create a small loop for hanging.
- Cut out 6-10 strands of the premier jazz yarn, keeping in mind that you want each strand to be twice as long as the final fringe since you’ll be folding it over. I wanted a staggered look so I cut out different sizes ranging from 20-35 inches (actually between 10-17inches).
- On the bottom end of the larger ring, secure the yarn by folding the strands in half and pulling the strands of the yarn over the ring and through the loop (see images below).
- Pull to tighten and trim the strands to your liking. Now hang and enjoy the view 🙂

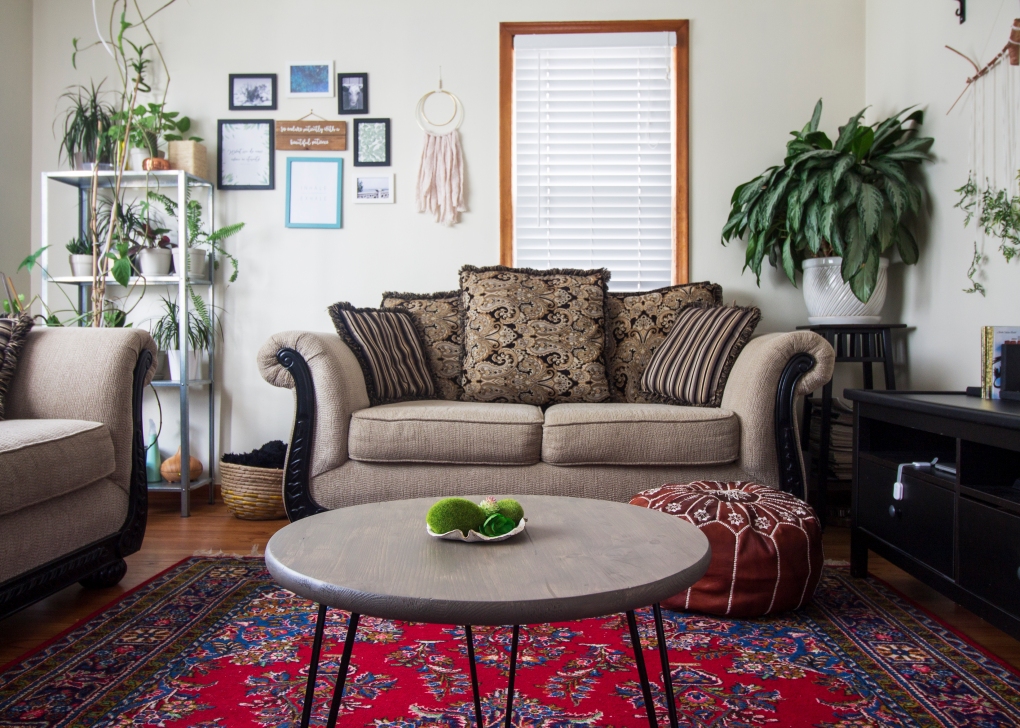
This was such a simple DIY wall decor and it really added a nice touch to our eclectic space. Would you make something like this for your home? Let us know in the comments below and as always, if you found this inspiring we would love it if you shared.


