Our DIY Ramadan: Ramadan Banner & Tablescape Inspiration

Hello lovely readers! If you are coming here from Mint Candy Designs, hello and welcome to our blog. It’s always wonderful to have new faces around here 🙂 With Ramadan just around the corner, we are excited to share with you some simple ways to decorate your home and make the spirit of Ramadan manifest in your heart and home. Last year, we shared different ways to add festive and colorful touches to the dining table, where you gather to break bread after a long day of fasting. This year, we teamed up with some talented home bloggers to bring you creative DIYs that you can do to welcome this beautiful month into your home.

“There’s hidden sweetness in the stomach’s emptiness.”-Rumi

IMG_3035
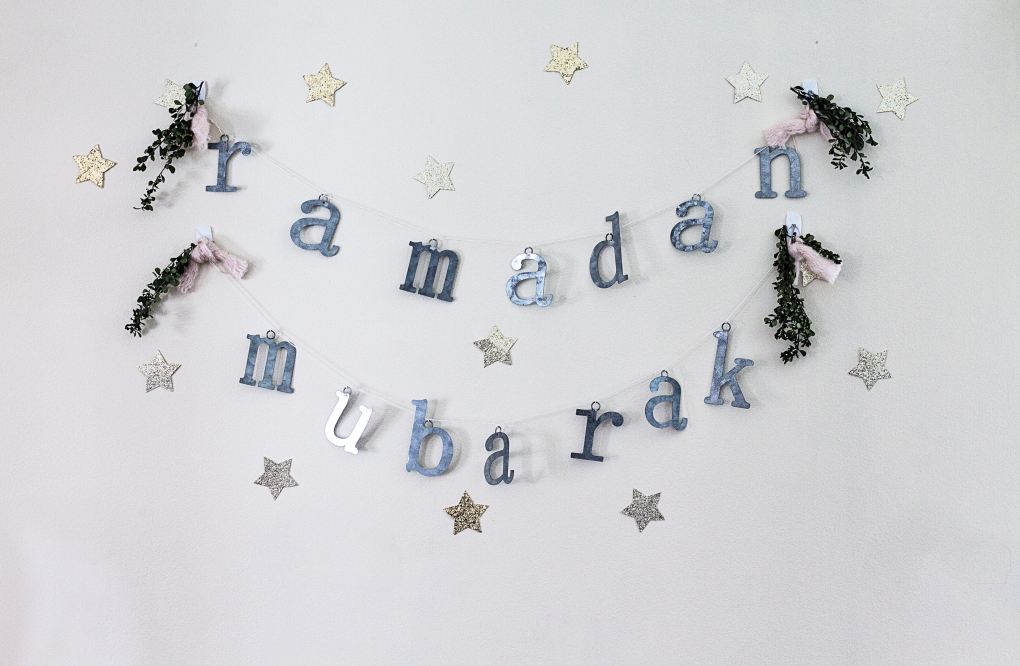
The feature of this post is a minimalist Ramadan banner and backdrop that I created near the front entrance of our home. I think it’s a beautiful welcoming statement for family and iftar guests and it makes the perfect backdrop for any family photos. It’s also super easy to make!
IMG_3238 wwm

For the Ramadan banner, here’s what you’ll need:
galvanized letters
natural cord
scissors
measuring tape

You can actually use any type of materials for the letters. I chose galvanized tin because they were on clearance at Jo-Anns and I wanted something more sustainable and long-lasting. I was tempted to spray paint the letters gold but in the end decided I liked the rustic, industrial look. To make the sign, all you need to do is arrange your letters spelling RAMADAN MUBARAK. Measure equal spaces between each letter (I did 5 inches) and secure each letter to the cord with a double knot. When you’re finished, create a loop at each end of the cord so you can hang the banner easily on a hook.

IMG_3105

To complete the backdrop simply cut out stars from glittered card stock and stick them to the wall using washi tape. You can also tie ribbon or yarn to cover up the command hooks and add a touch of green with any stems of your choice (eucalyptus, myrtle, grevillea, huckleberry).

IMG_3160

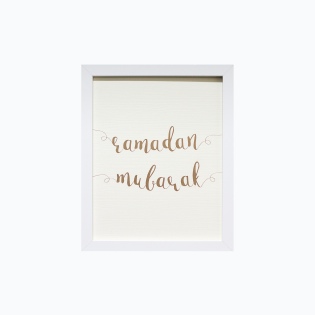
I also spruced up the dining area by hanging up garland and faux greenery. On our open shelving I created a simple display with a lantern and a gold foil Ramadan Mubarak print.

IMG_3054

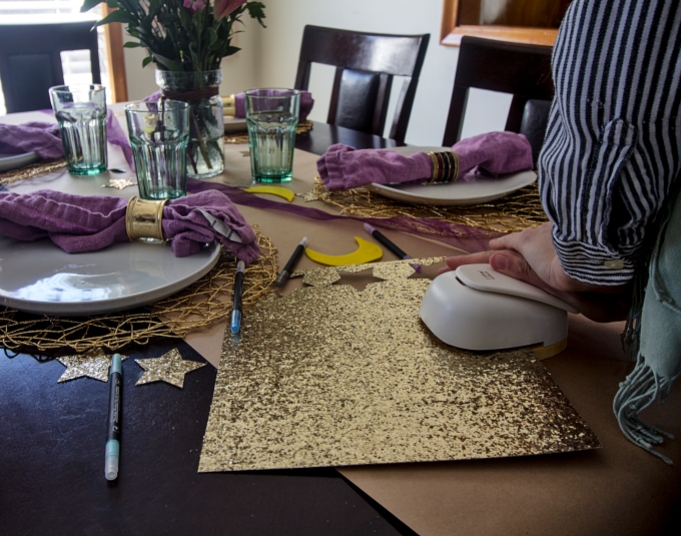
I hung up our Ramadan advent calendar from Handmade Beginnings  where I’ll put something fun for the kiddos throughout the month. For the table I pulled out the turquoise glasses and purple linens I purchased from IKEA on clearance last year. Unfortunately they no longer offer those specific products (or if they do the colors are different) so I’ll link what alternatives they have below. For the napkins, my source link takes you to a conscious minimalist cotton napkin from H&M.

IMG_3033

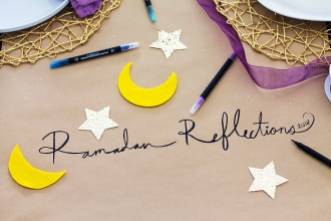
 The only new things I purchased for this look were the gold placemats, the craft paper for the table-runner, and the glitter card stock to make the stars for the embellishments. I got the idea for the craft paper table runner from a Pinterest tablescape for Thanksgiving. I think it’s a nice screen-free way to keep children occupied with coloring and you can even write down your own reflections throughout the month. For an extra pop of color, never underestimate the power of fresh flowers. If you’re blessed with a beautiful flower garden then make it a family tradition and go flower picking right before iftar. If not, a local market or a Trader Joe’s would be a good option for gorgeous and reasonably-priced florals.


Sources:

Gold Placemat $1.99 | Craft Roll  $4.79 |Glitter Cardstock  $1.99| Ramadan Print $5.00 | Kitchen Towel $8.00 | Cotton Napkins $3.99 | Turquoise Glass $0.99 | Lantern $3.99

You can also find my sources of inspiration for these looks here on our Pinterest boards:

What did you think of the final result? Would you make this Ramadan banner? If you’re looking for more Ramadan decor inspiration then you’ll definitely want to head on over to my friend at Nimistyle and see her DIY Doily Table Runner and Gratitude Wall. Also don’t forget to check out the rest of the lovely DIYs in the Blog Hop linked below!

IMG_3677

Nimi Style | Amna B Interiors | Simply in Control | Mint Candy Designs | Zair Zabr Play

Last but not least, my friend Amanda and I put together our first Ramadan Ebook. It’s an idea that we’ve been sitting on for a while but this year we took a leap and tried to make it a reality. It’s nothing fancy but it’s a helpful resource filled with meal ideas and recipe links, decor tips, a checklist to help get you organized and even a few simple, mindful challenges for you to try. The best part is it’s available for free download right here:

Ramadan Ready Ebook

Amanda's Plate & The Cozy Home Chronicles

As always if you loved this post, please follow us and share. And for those who celebrate,  Ramadan Mubarak!

signature3


One Room Challenge: Week 1 | Simple Office Makeover Mood Board

Happy Friday friends! After getting a taste of our first One Room Challenge back in April when we renovated our bathroom, we are back for another round! Hosted by Lisa of Calling It Home,  The One Room Challenge™, is a widely anticipated biannual event every April and October in which twenty design bloggers take the challenge of transforming a space in just six weeks. Every Wednesday, the designers document their process while sharing their sources and professional advice. On Thursdays, guest bloggers, like us, can play along and support other guest bloggers that are also tackling a room renovation.

ORC GPThis year is a little interesting for us because we are now both in graduate school and so are VERY short on time (can’t stress that enough). While we would love to turn a room upside down for a makeover, we simply do not have the luxury of doing so. Instead we will be working with my brother and sister-in-law to help them design and makeover their home office. Both my brother and sister-in-law are in their last year of undergraduate school and they are newlyweds so they want a space that is budget friendly and one that is comfortable and organized as they continue to pursue their dreams. We are hoping to deliver on all fronts!

BEFORE

IMG_5607
IMG_5614
IMG_5608
IMG_5609

IMG_5990In this post, I’ll be sharing a mood board that I created as an inspirational blueprint. Before I put it together, I created a pinterest board and had my sister-in-law pin some of her favorite office spaces. Then as we boarded a plane for Kansas City, we went over her choices and why she liked them. Of course we didn’t leave out my brother in the decision-making, although he was a little less interested in the particulars. Based on their style interests this is the board I came up with:
ORC OFFICE

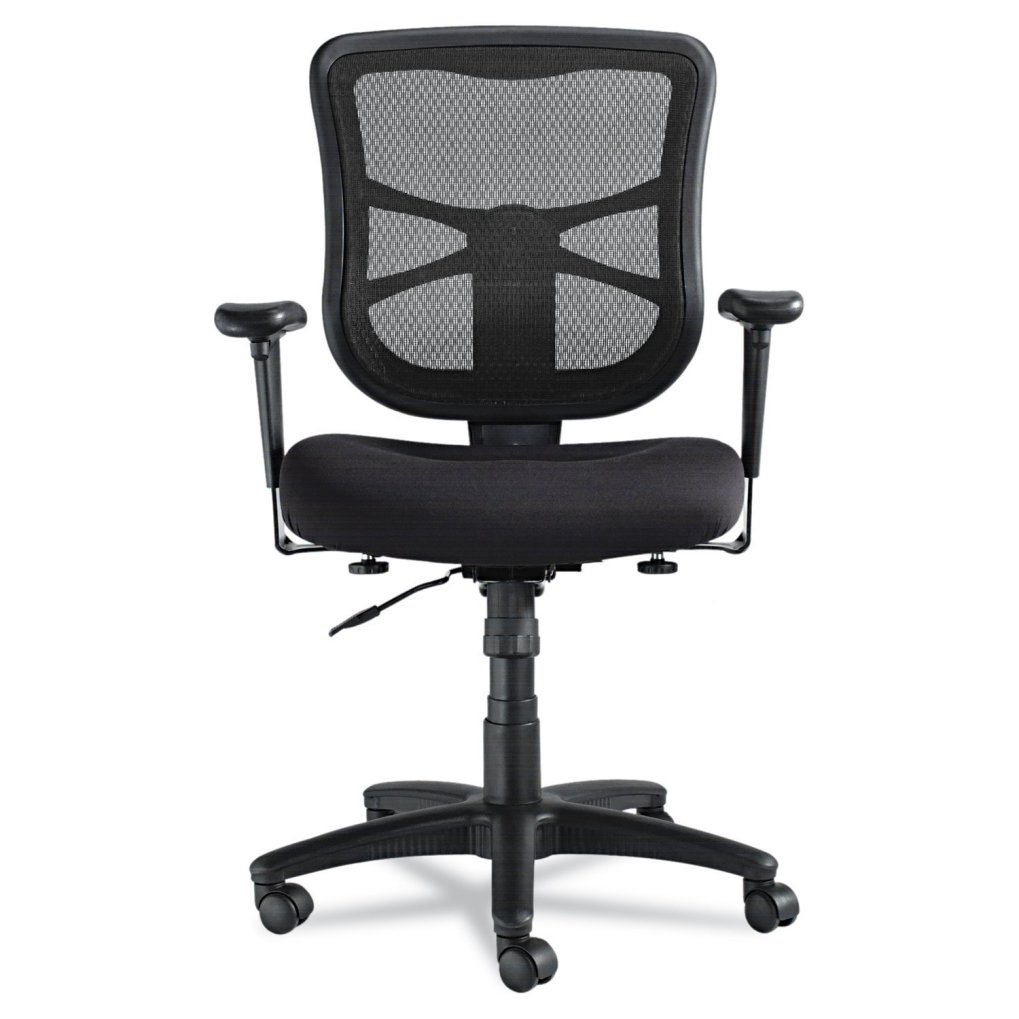
Obviously many of the elements will change as we proceed with the makeover but there are some things that we will stick with: neutrals and black with subtle pops of color, copper accents, and plants. To cut on costs, I will make use of free printables for the wall decor and I will also hit thrift stores and garage sales for much of the small storage furniture and decorative accessories. What I imagine we will spend the most on are office chairs and a rug. Unless by some miracle we hit the thrifting jackpot. The biggest challenges will face are keeping the cost low and balancing between function and aesthetics. My brother really wants a super comfy, ergonomic executive chair and unfortunately those are not the most visually appealing.

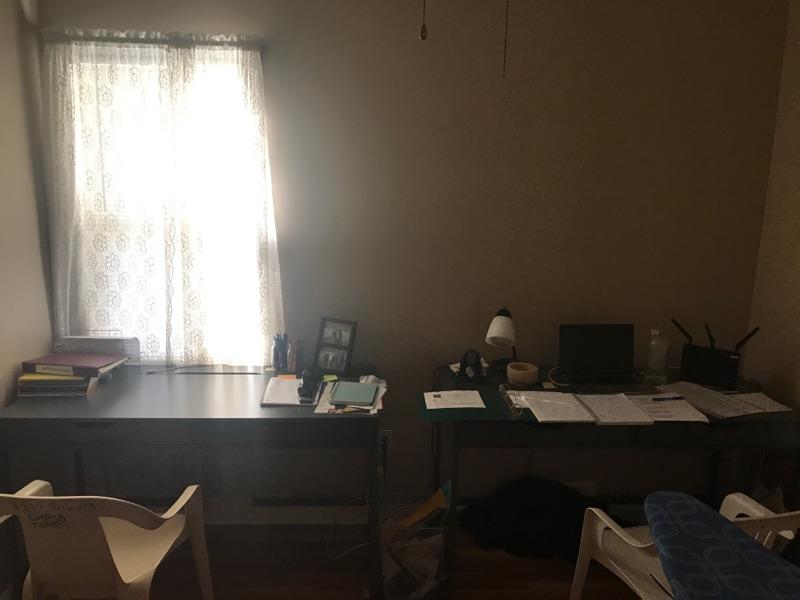
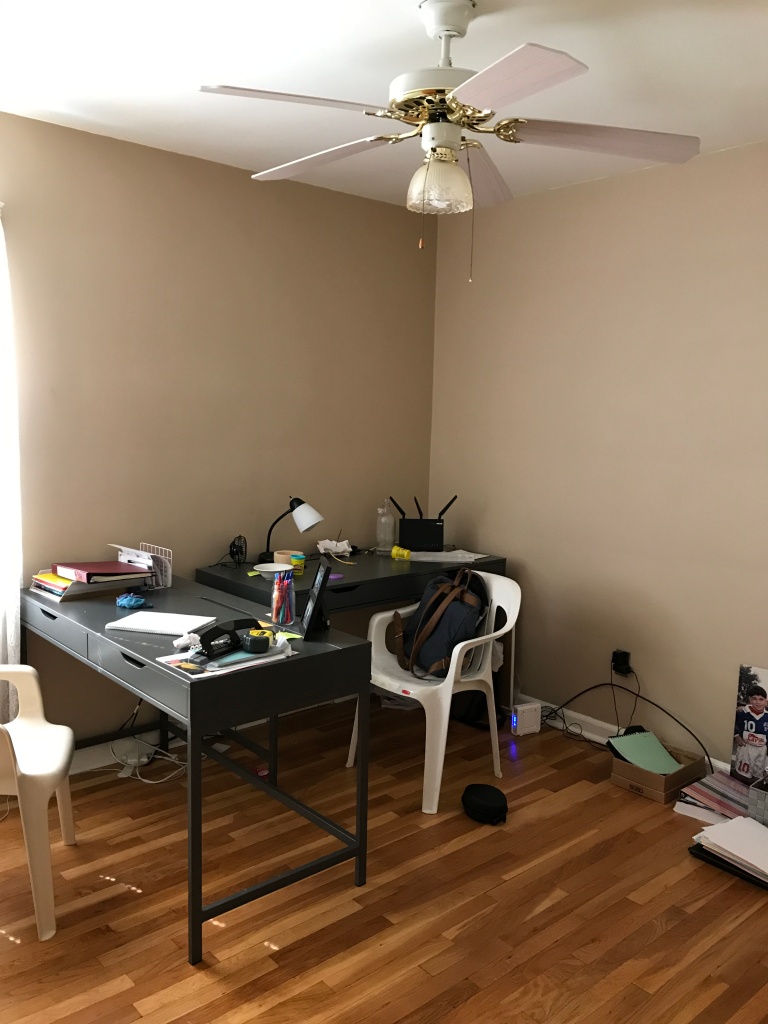
71xQWAfmXqL._SL1500_In terms of timeline here are where things stand. My brother is currently cleaning out the office {if you’re reading this bro, you better get on it ;)} to get it ready for painting. As you can see the walls are really dark so we will be picking out a fresh white to brighten up the space and get it primed to be ONE inspirational work space.

WEEK 1: Empty office, tape around the walls and windows, and paint

WEEK 2: Install shelving and organization systems

WEEK 3: Change light fixture

WEEK 4: Install window treatments

WEEK 5: Organizing, styling, and decorating

WEEK 6: Cleaning and Final Reveal

Anyone else working on a makeover for One Room Challenge? Feel free to share in the comments below, we would love to hear what you have planned! Until next week 🙂

If you liked this post please follow us and share!

Instagram


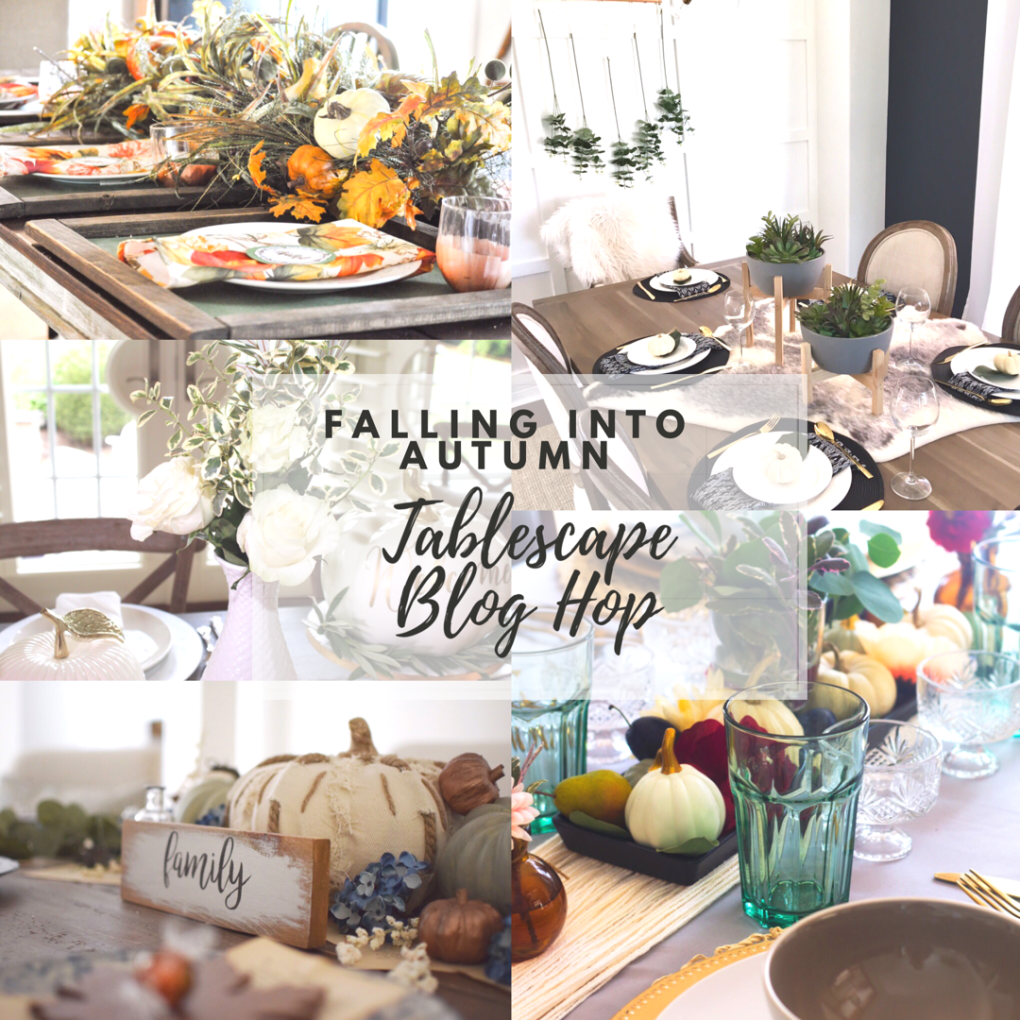
Falling into Autumn

Photo 2017-09-12, 4 12 12 PM

If you are coming here from Happy Haute Home, hello and welcome to our blog. It’s always wonderful to have new faces around here 🙂 Today we are excited to share with you our autumn tablescape which includes a fun and simple DIY table runner. Autumn is such a lovely time of year and I really wanted to create a space that celebrates the beautiful colors of the season while inspiring quiet introspection. Each season offers plenty to reflect on but there is nothing quite like reflecting on your harvest (physically and spiritually) and thinking about what can be improved upon for the next cycle when you begin anew.

“Every tree, every growing thing as it grows, says this truth, you harvest what you sow.”-Rumi

IMG_4417

If you haven’t guessed already from our latest home decor posts and Instagram feed, we are a tad into the bohemian look. Taken to it’s extreme, however, the boho theme can tend toward maximalism and appear a bit cluttered for our taste so I sought to create a clean design based on some of our favorite bohemian colors and elements: greenery, gold, yarn, textured glass, palm leaf, and patterned fabric.

IMG_4363

IMG_4367

IMG_4415

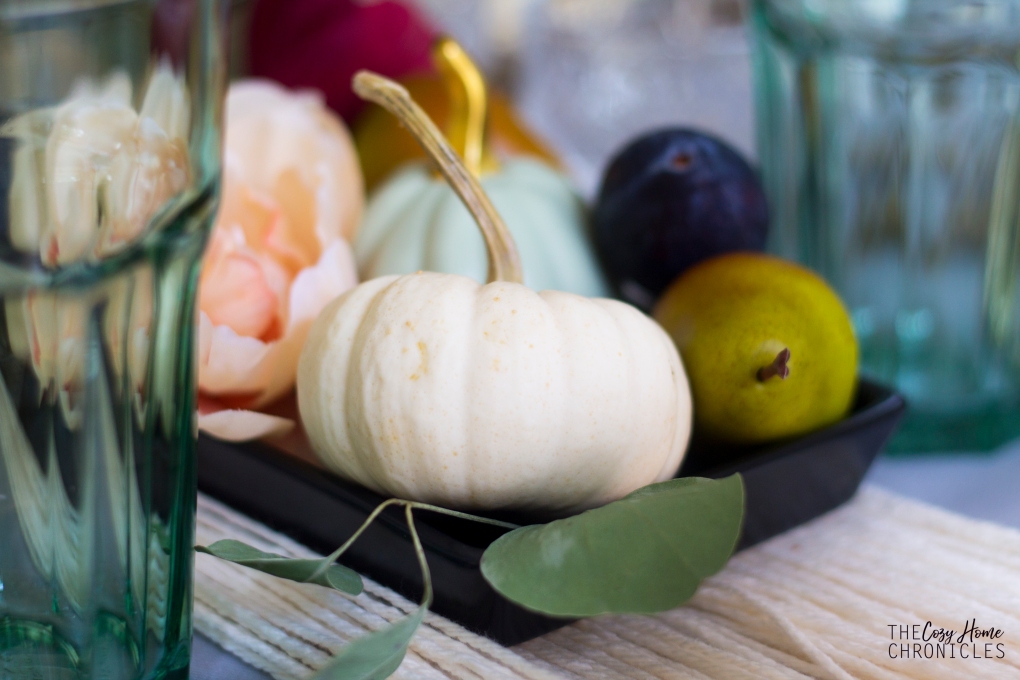
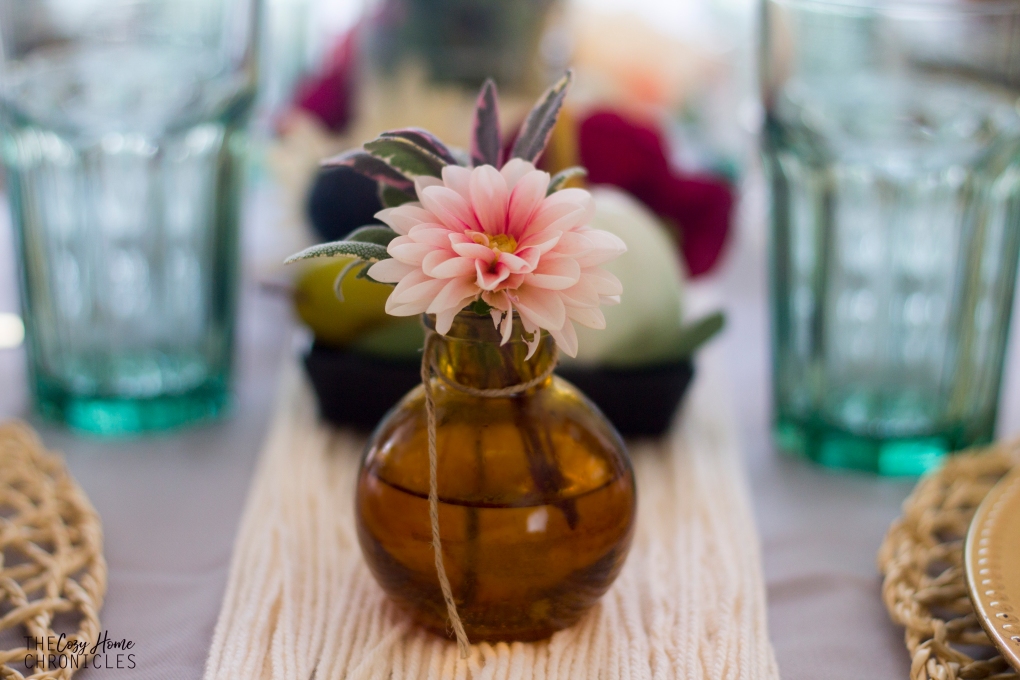
To pull this look together, I relied mostly on what I had lying around our home. For each place setting, I simply layered palm leaf placemats with gold chargers, white plates, and checkered napkins atop. For the centerpiece, I placed a small glass cup filled with eucalyptus and sage in the middle of a black candle dish and arranged white pumpkins, faux florals and pears, and real plums all around. For colorful touches, I included teal glassware, textured crystal, and gold flatware. I used my old amber essential oil diffuser bottles to showcase the dahlias and sage from our garden. The only thing I purposefully purchased for this tablescape (other than pumpkins) were the napkins. I really liked the flannel pattern and the farmhouse vibes they exuded, not to mention they were fairly inexpensive. For your convenience, I’ve included a list of the main sources down below for the all items I knew off the top of my head.


IMG_4397

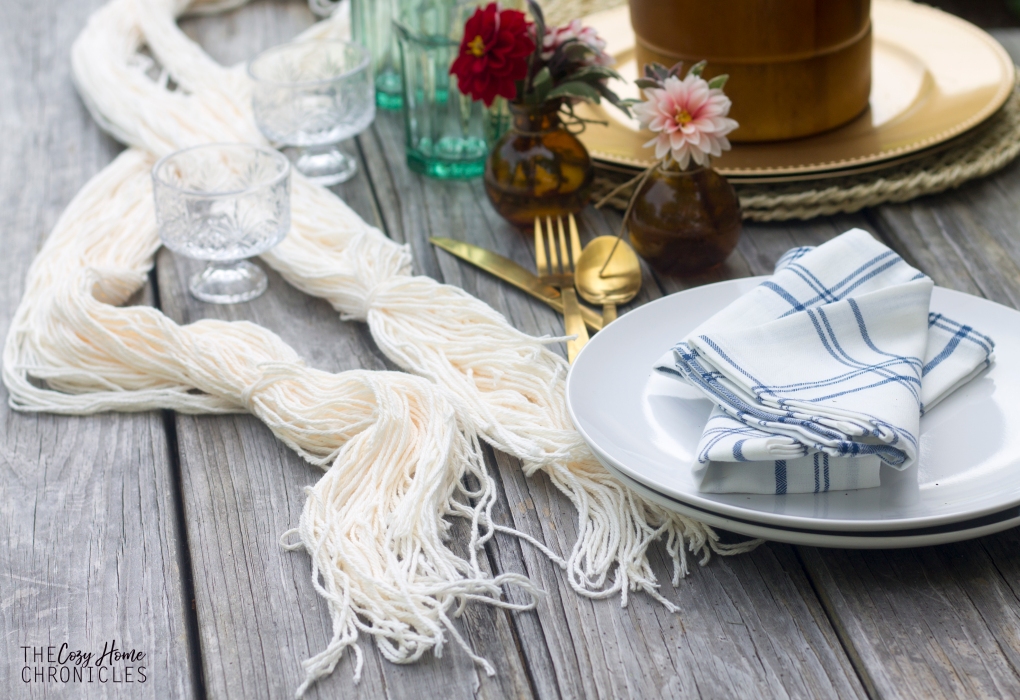
Of course my favorite part of this whole tablescape is the table runner that I made. I am happy to report that the finished product turned out exactly as I had pictured: an oversized tassel. All you will need to make this table runner is wool yarn and scissors. Simply unspool the yarn and cut into strips longer than the length of the table. The hardest part is making sure not to tangle the yarn as you lay the pieces side by side. When you’re happy with the width of your table runner (I used three rolls of yarn) then tie each of the ends together and voila!

IMG_4386

IMG_4428

Sources:
Checkered napkins: Target |$3
Faux Pears: Target|$5
Palm Leaf Placemat: IKEA|$3
Gold Charger: Dollar Store| $1
Eucalyptus: Trader Joes| $3
White Pumpkins: Farmers Market| $2

What do you think of the final result? I know it doesn’t include the fiery red, yellow, and orange hues normally associated with fall but we actually find it quite refreshing. I’ll be using this very same color palette to make an autumn wreath early next month so stay tuned for that. If you’re looking for more autumn decor inspiration that’s subtle and beautiful then you’ll definitely want to head on over to my friend at Harlow and Thistle and see her creative display. Also don’t forget to check out the rest of the stunning tablescapes in the Falling into Autumn Blog Hop linked below!


Happy Haute Home | Harlow and Thistle | Mint Candy Designs | Live Laugh and Craft | The Cozy Home Chronicles


Getting the heart and home ready for Ramadan

IMG_1964

It’s been a busy year for us and we are very grateful for all the fun projects and renovations we were able to do. However, with Ramadan just around the corner, we want to wind down a bit and focus on family and spirituality. It’s hard to believe that our babies are growing so fast (our son is turning two in just a month and our daughter will be turning 7 months) but now that they’re more attentive and communicative, we want to make the month extra special so they can grow up with fond and happy memories of our Ramadans together. For us, Ramadan is a month for reflection and growth. We enter this month as warriors, much like Paulo Coehlo’s Warriors of Light:

“Warriors of light are not perfect.Their beauty lies in accepting this fact and still desiring to grow and to learn.”

I wanted to capture this free-spirited approach in decorating our home and this sort of transformed into a colorful bohemian style tablescape since the dinning area is really where the family comes together to break bread and unwind after a long day of fasting. In this post I’ll be sharing some decor inspiration from our Ramadan preparations, including a family-friendly DIY project and a free printable you can frame to either hang up or place on your dinning table.

IMG_1898

This tablescape looks a lot fancier than it is. At the heart of it is a DIY Table Runner which is super easy to put together. I even had my son help out with the painting and he had a blast! All you’ll need is an inexpensive white table runner, a mandala or doily stencil, acrylic paint for fabric, and stencil brushes. The rest is self-explanatory. I probably could have done a much better job but I was painting with a toddler so we got a little carried away with dipping the brush in paint.

IMG_6103

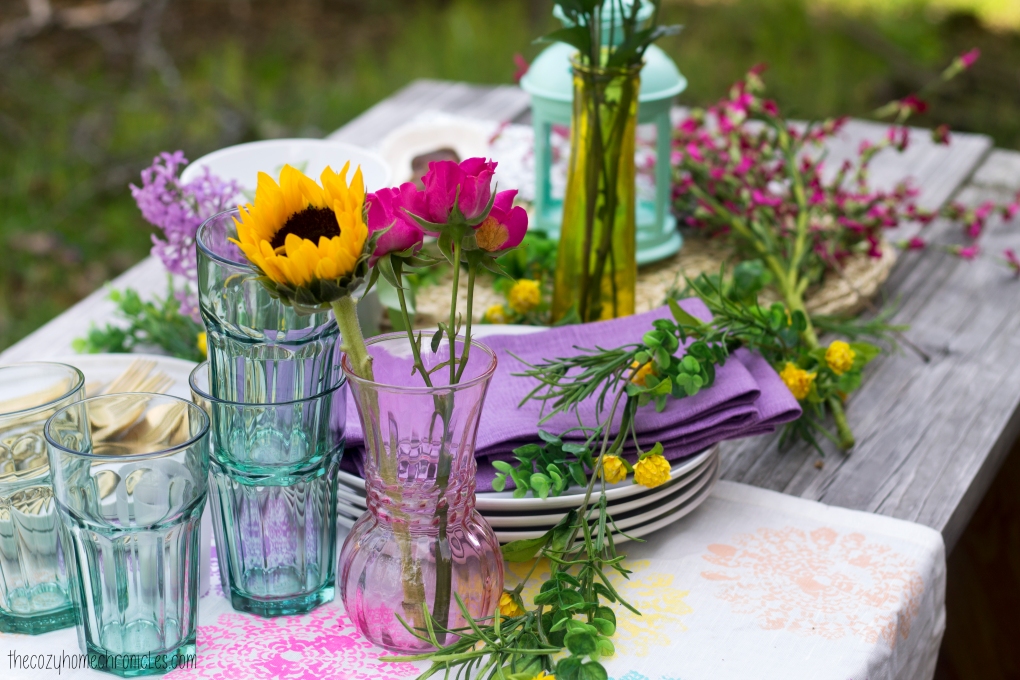
Besides the table runner, all you’ll need to achieve this look are a variety of colorful vases (and/or ornate lanterns) filled with fresh summer flowers. The vases you see in the images are ones that I thrifted from a local Goodwill for $3 total. The spirit of Ramadan is also about humility so I didn’t want to create a space that was too extravagant or wasteful. I arranged the vases along the table, intertwined with crawling vine garland ( I bought on clearance) and in between these pretty palm leaf placemats. I also created a framed quote art out of one of our favorite supplications that we listen to just before iftar time. I wanted it to be a reminder on the table that aside from all the delicious food we get to eat, Ramadan is so much more than that. It is about reconnecting with God and softening our hearts so that we can be better, more empathetic human beings.

IMG_1969

IMG_1925

IMG_1900

In the home, I hung up lanterns and garland from the ceiling that I had purchased in a hanging decor kit from Michaels. The colors matched up very nicely with the bohemian color palette I had saved on Pinterest. Decorating with family is such a wonderful way to build memories and traditions. My son was very excited about standing on the table with me to hang these up and it put the biggest smile on my face seeing him gush with joy as he pulled out the tape from the dispenser in an effort to “help me.”

IMG_2024

On the wall behind the dinning table, I hung up a Ramadan advent calendar that I purchased from Handmade Beginnings. Not only is it beautiful but it’s perfect for making each day interactive and for making the countdown to Eid fun and exciting for little ones. Since my children are still young, I am choosing an activity that is simple and age appropriate. I found these free Ramadan coloring pages on Crayola’s website so what I plan to do is get a 30+ count marker or crayon set and put a different color in each  of the calendar’s pouches. Each day we will pull out a new color and work on our Ramadan page and hopefully by the end of the month (and just in time for Eid) we will have a pretty piece of art to hang up 🙂

IMG_1985

IMG_1994

There you have it. An expensive and simple way to add a colorful touch to your table and home for Ramadan. I really wanted a space that was special, vibrant, and cozy for our family and our dinner guests and I’m really happy with how it turned out.

IMG_2002

What do you think? What are your favorite ways to make Ramadan special for your family?

Free Download:  Ramadan Printable_Color |Ramadan Printable_Black


If you liked this post please follow us and share!

Instagram


Spring and New Beginnings

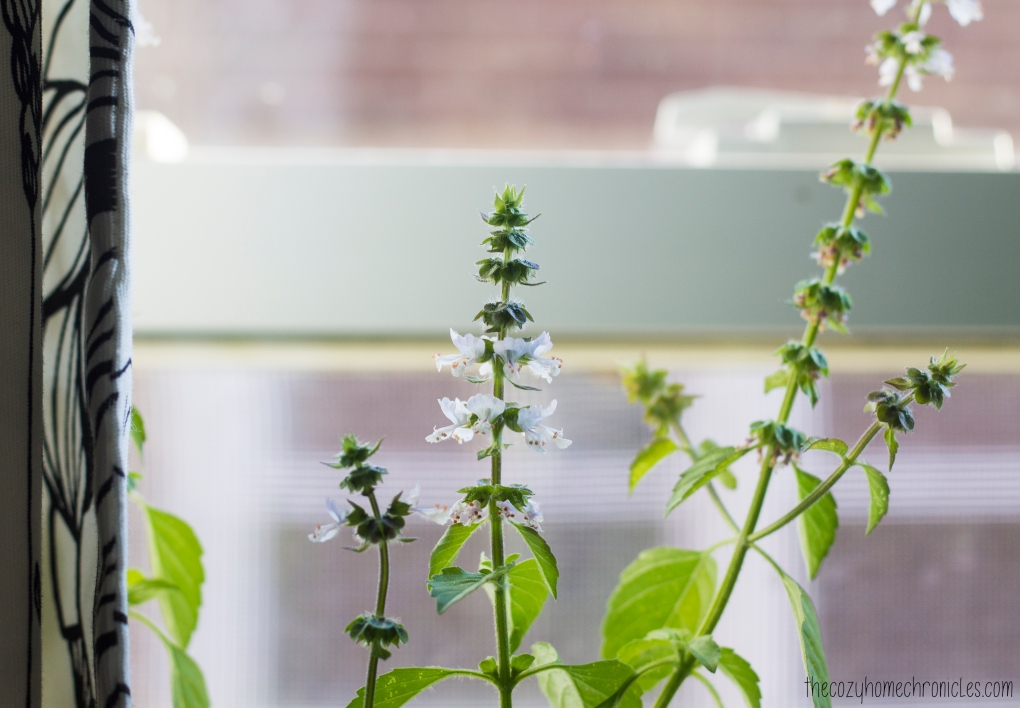
Happy Thursday friends 🙂 Guess what? Urban Jungle Bloggers, hosted by the inspiring Igor and Judith, is back with another season and this month is all about celebrating the circle of life. As if right on cue, many of our indoor plants have begun to show signs of new life. Our windowsill basil flowered beautifully bringing with it the sweet aroma of summer pesto.

IMG_0737

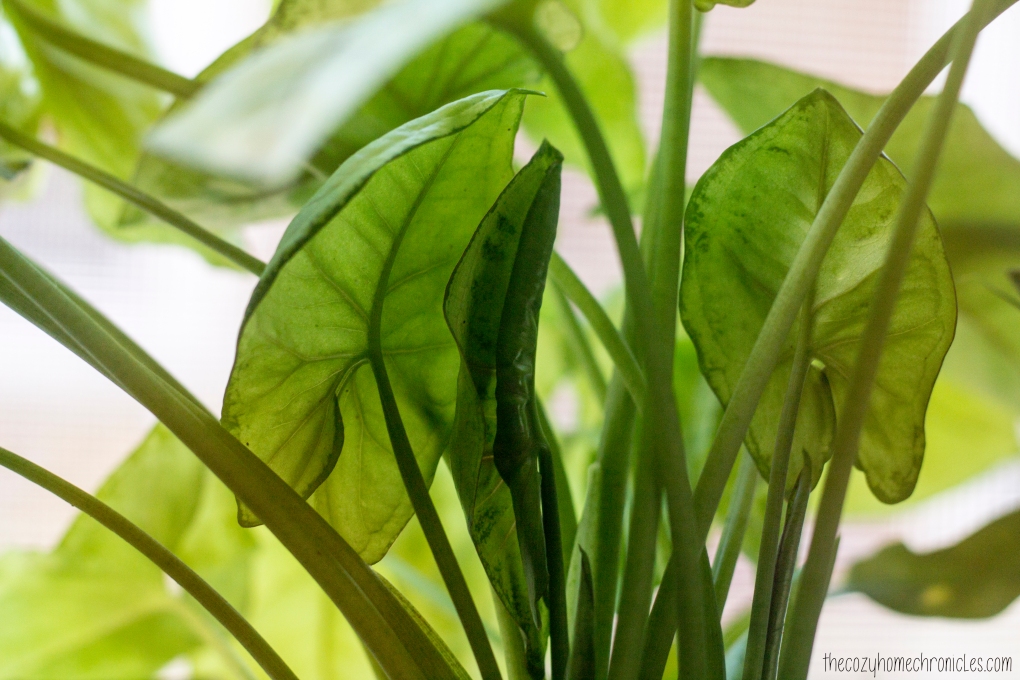
Our fern and white elephant leaves are unfurling gracefully and it is such a joy to watch. Now that we are parents, we find ourselves more attuned to the growth surrounding us in our home. It is a bittersweet reminder that our little humans will continue to grow up but also inspiring to know that the world progresses through incremental changes. How can we allow ourselves to mentally and spiritually stagnate, when our physical body and surroundings are on a continuous path of growth?

IMG_0739

IMG_0729

We are especially happy with our rooting pothos. We now have two living separately in clear glass vases and they have successfully stayed alive in water for over a year now. Not only do they look beautiful but they require very little maintenance. If you’re thinking of bringing plants into your home but think you have a black thumb then this is definitely a plant you should consider starting out with.

IMG_9587 copy

Meanwhile outside, our backyard is blossoming with life. A variety of birds including woodpeckers, cardinals, and blue jays have returned to our feeder. We are really excited to finish our bathroom renovation and turn our attention to our garden and landscaping. We have a garden inspiration board on Pinterest that we have been adding to and we can’t wait to make our imagination a reality. Anyone have any grand garden/landscaping plans? We would love to hear from you in the comments below.

IMG_0919


IMG_0926

IMG_0936

 If you liked this post please follow us and share!

Instagram


DIY Framed Chalkboard Wall

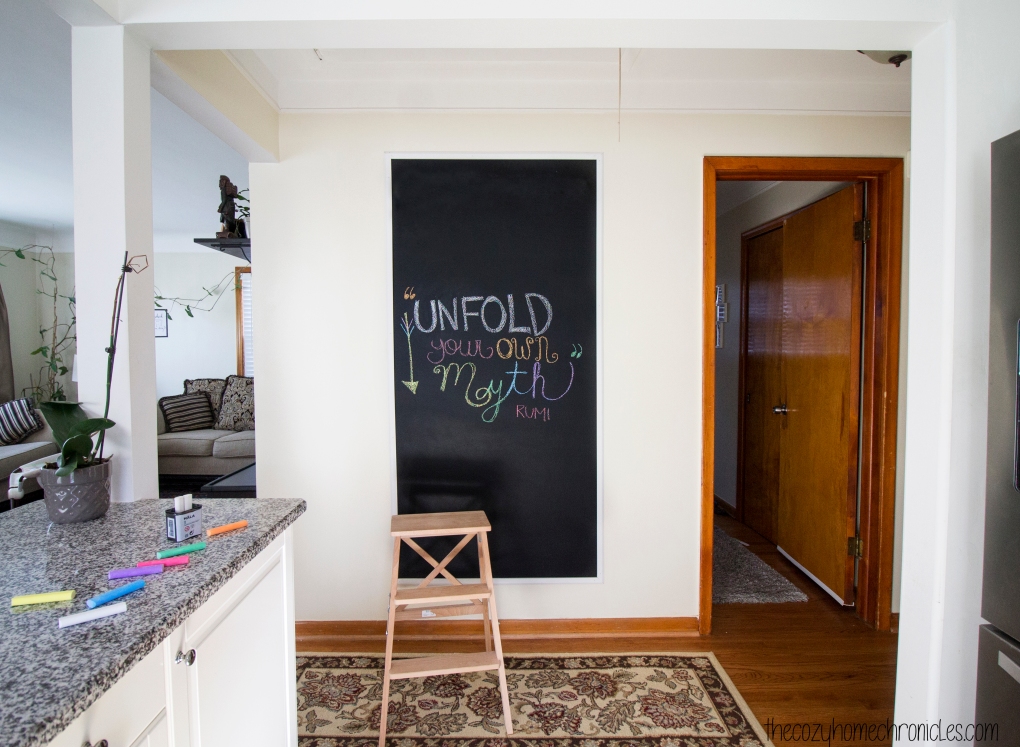
Our son is getting to the age where he can almost color without trying to eat his markers and crayons (the keyword there is almost), however, he still attempts to scribble on the wall any chance he gets. Despite getting him a small IKEA table for all of his creative pursuits, he seems not to want to be confined to paper so we figured if coloring on the walls is what he wants then coloring on the walls he shall get. We have always been admirers of chalkboards…the rustic kind that you see in old schoolhouses in black and white movies. We figured a chalkboard would not only be nice for doodling and writing the dinner menu on but also as a fun educational medium to teach letters, words, and concepts.

IMG_9985

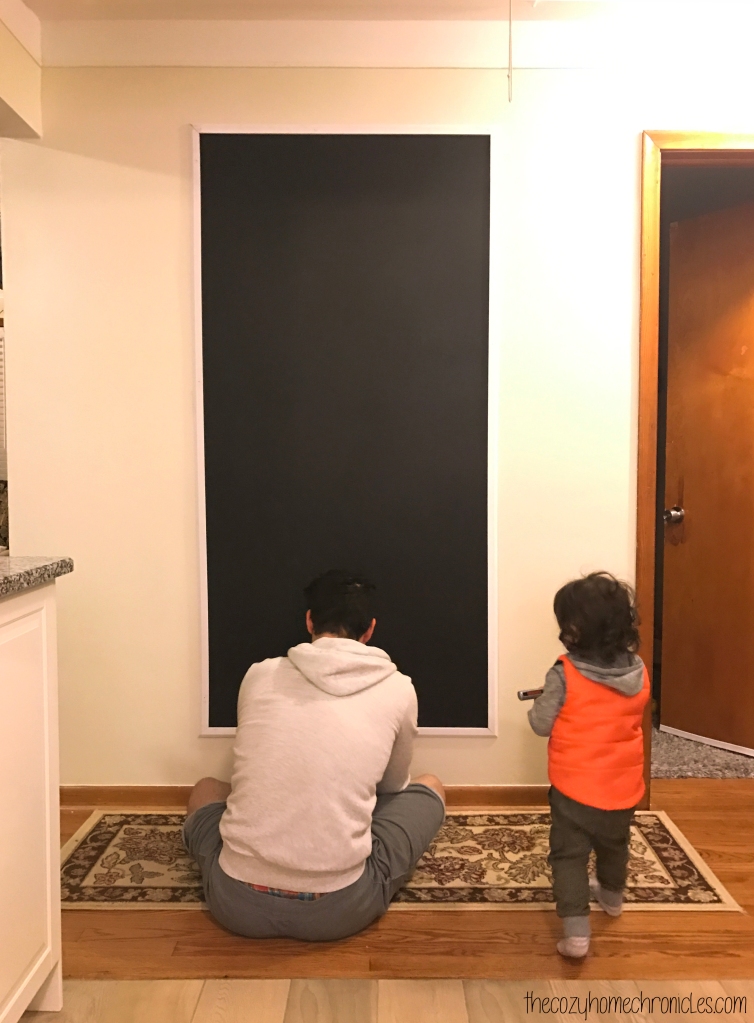
We did toy around with the idea of painting an entire wall, which has become popular these days, but in the end we decided a 6ft x 3ft area was plenty of space for all of us to use. Plus since we chose to put it in the hallway, adjacent to the kitchen, we wanted to preserve some wall space just in case we wanted to add wall art or organizers for a command center in the future. The awesome thing about making your own chalkboard wall is that for $10 of chalkboard paint, you can get a little over 100 sq. ft of coverage. That’s a steal when you consider that chalkboards the size of small picture frames are going for that and much more. The other really nice thing is that you can frame the painted area to achieve that authentic chalkboard look and you can do so using any type of wood you like in any stain you want. We went with an inexpensive white moulding from Home Depot that we nailed directly to the wall. We’ve come across DIY framed chalkboards that involve painting another medium and then hanging it up. Not only is a large chalkboard heavy and impractical to hang but it would be dangerous if you have little ones in your life. Just something to think about if you are not sure how you feel about painting a wall with chalkboard paint.

The only thing you need to be mindful of is if you have kids in the house then you will want to time your painting after their bedtime so the paint can dry without handprints all over it. Other than that, this chalkboard wall is super easy to put together and loads of fun. Our son loves scribbling on it, I love practicing my handlettering, and of course baba loves leaving silly doodles for us to wake up to. Yes, we are not ashamed to admit it… this chalkboard was as much for us as it was for our son.

Supplies
Chalkboard Paint ($9.67)
Wood Moulding
Trim Nails

Tools
Paint Roller
Paint Tray
Paint Tray Liner
Blue Painters Tape
Hammer

Chalk options
Chalkboard Wall Safe Markers ($12.95)
Regular Chalk from IKEA  ($0.99)

Note: If you end up taking on this project using similar dimensions to our chalkboard then know that you will have leftover paint. Don’t you fret though, we will probably come up with another DIY project to make use of it.

IMG_9973.jpg

Directions
1. Measure the area you want to paint and outline the area with pencil.
2. Apply the painter’s tape over your outline, pressing down firmly as you go so you don’t have any air pockets where the paint can seep through.
3. Mix the paint using a paint stick and pour 1/4 of the paint in the paint tray.
4. Gently dip your paint roller in and start painting your designated area in a “W” pattern. Make sure you don’t use too much paint on your roller as it will start dripping and take away from the smooth surface of the board.
5. Let dry for 4 hours before applying a second coat.
6. After the final coat is painted, let it set for 3 days (per instructions on the paint container) before writing on it.
7. Test your new board with the writing medium of your choice: old-fashioned chalk or chalkboard marker.

IMG_2460

IMG_2465

IMG_3138

IMG_9929

IMG_9954

IMG_9988 copy


Have you been wanting to put up a chalkboard wall? If so, what’s been stopping you?

If you liked this post please follow us and share!

Instagram


Fall Harvest Herb Bouquets

img_7208

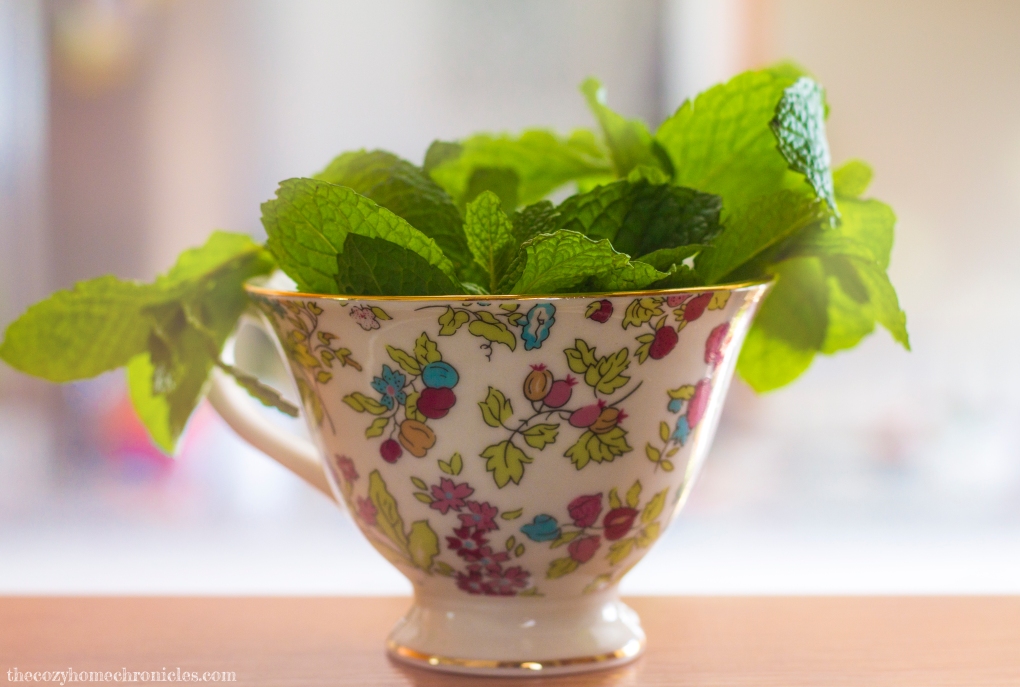
It’s nearing the end of October and the weather here is finally taking a chilly turn. With all the things that need to get done, including preparing for baby #2’s arrival in a few short weeks, tending to our garden has been one of those things low on our priority list. We really wanted to maximize our harvest this year and preserve what has managed to stay alive but we are just so short on time that we have to be realistic. All those green tomatoes and jalapeños may not be jellied or pickled this year but we at least wanted to dry some herbs for use through the winter. When I found myself bringing basil in but not having the time to clean and dry them, I placed them in a vase on the kitchen counter until I could find the time to tend to them. To my delight, not only did they thrive in their new home but they gave off the loveliest aroma. As you can see, I got a bit carried away and started making more herb arrangements to put around the house. I guess some good can come out of procrastination 😉

If you need to bring your herbs in before they completely die out but can’t preserve them immediately, consider making small bouquets out of them. With regular water changes, they should last up to a week or longer. And the best part? They make such beautiful decor! The pop of vibrant green has really brought life to our home. You can use vases, teacups, jars; any pretty glass you have on hand. I made simple, single herb arrangements but the possibilities are endless.  So hold off on lighting those pumpkin spice candles just a bit longer and consider bringing the fresh scents of basil, thyme, lavender, or whatever else you grow into your home. Nothing beats the clean, natural fragrance they give off!

img_7662-copy

img_7674-copy

 If you liked this post please follow us and share!

Instagram


Urban Jungle Bloggers: Botanical Zoom

Spring is just around the corner and what better time to zoom in on plants than now! Our house plants are very dear to us. So much so that before we had our baby, we talked about our plants as though they were our children. Yes, they were (and still are) that important to us! We didn’t really know anyone that took their plants as seriously as us until we came across the awesomeness that is Urban Jungle Bloggers. Urban Jungle Bloggers, hosted by the inspiring Igor and Judith, is a monthly series inviting bloggers to write and share anything and everything plant-related. Every month there is a different theme and this month is all about zooming into the hidden beauty that is often taken for granted.

So here’s to taking pauses; to setting aside the chaos of daily routines and endless to-do lists. Here’s to being one with the pieces of earth that coexist with us in our homes.

IMG_7108

“Nature will bear the closest inspection. She invites us to lay our eye level with her smallest leaf, and take an insect view of its plain.”
Henry David Thoreau

There is something serenely beautiful about the way the sunlight streams in and filters through our plants. It illuminates the most intricate of details, serving as a reminder that within us lies an unimaginable and incomprehensible vastness. It is truly humbling.

IMG_5999

2016-03-17 09.58.20

2016-03-17 09.57.10

IMG_7105


“Every particular in nature, a leaf, a drop, a crystal, a moment of time is related to the whole, and partakes of the perfection of the whole.”
Ralph Waldo Emerson

2016-03-17 09.59.09

IMG_7104

2016-03-17 10.00.20

“Adopt the pace of nature: her secret is patience.”
Ralph Waldo Emerson

IMG_7106


2016-03-17 09.52.09

2016-03-17 09.53.13 copy

If you liked this post please follow us and share!

Instagram


DIY Hanging Vase

This DIY project is the culmination of 3 very random happenings:

1) One of our New Year’s resolutions for 2016 was to find ways to incorporate more plants in our home. We love the sense of peace and purpose our plants bring to our home and we simply wanted to diversify our jungalow.

2) I came across these hanging vases while browsing the Pottery Barn website and really liked the concept (just not the price).

artisanal-wall-mount-vase-o

3) We can never resist the dollar section at Michaels and *somehow* ended up with 4 adorable glass test tubes for $1.50 a piece. If you have tubes around in your home (think spice tubes) that you aren’t using, this could be the perfect way to upcycle them 🙂

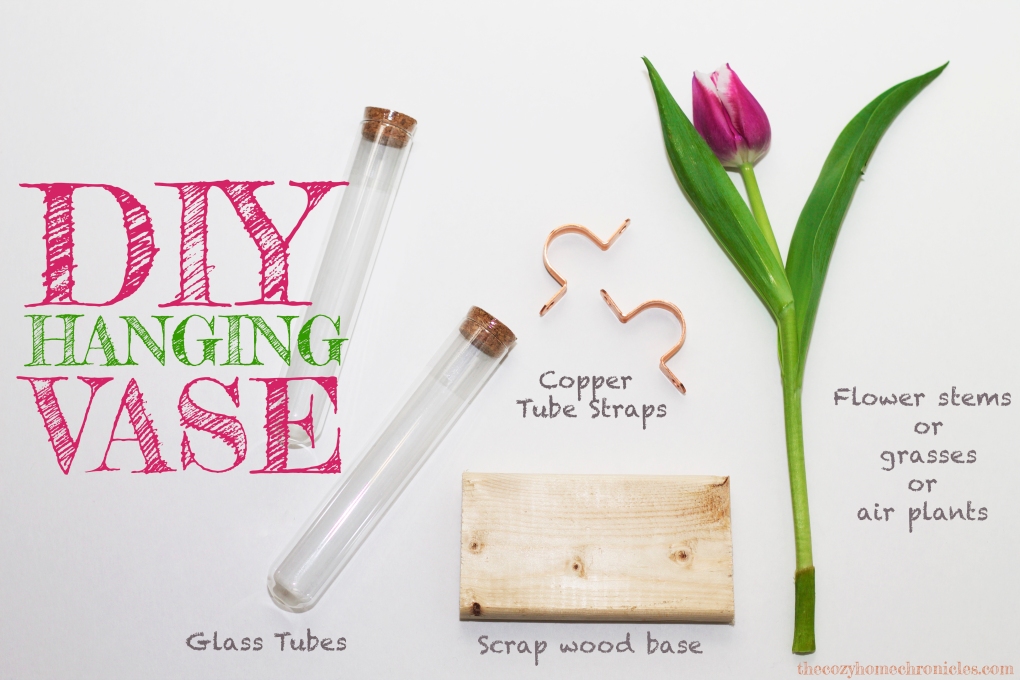
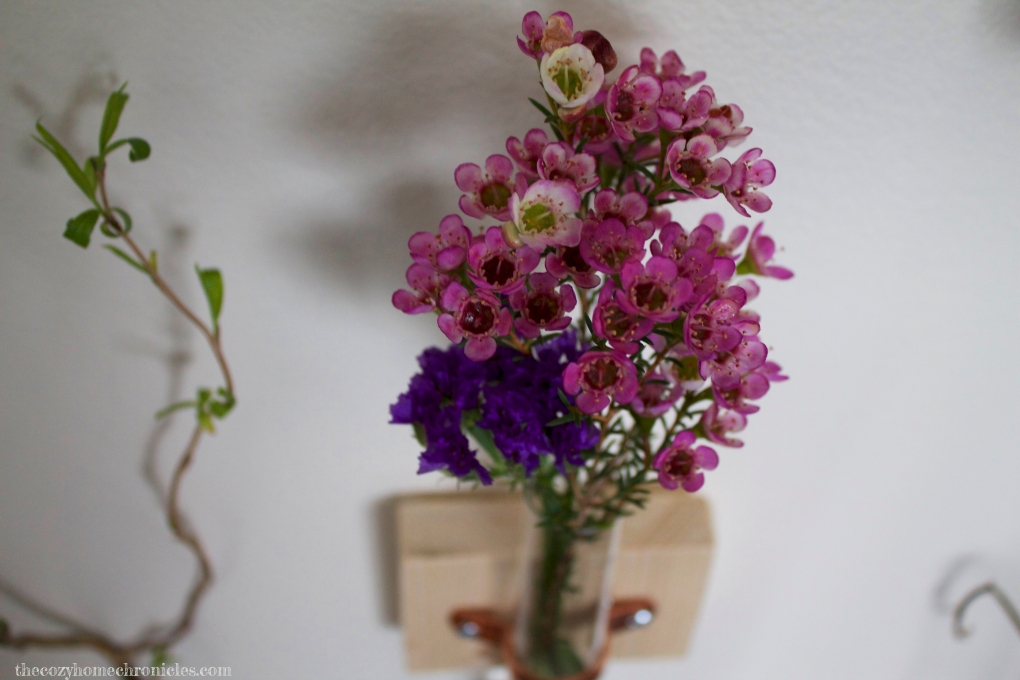
A few visits to the garage later and we had the perfect design for a hanging vase we had pictured in our mind. The finished product involves 4 hanging glass tubes that, while certainly smaller than the Pottery Barn Wall-Mount Vase, are far more economical ($15 compared to $69) and just as dazzling visually. If you’re looking for a budget-friendly way to incorporate more foliage without cramping your space with pots, this is the perfect solution for you!

IMG_0680

Supplies
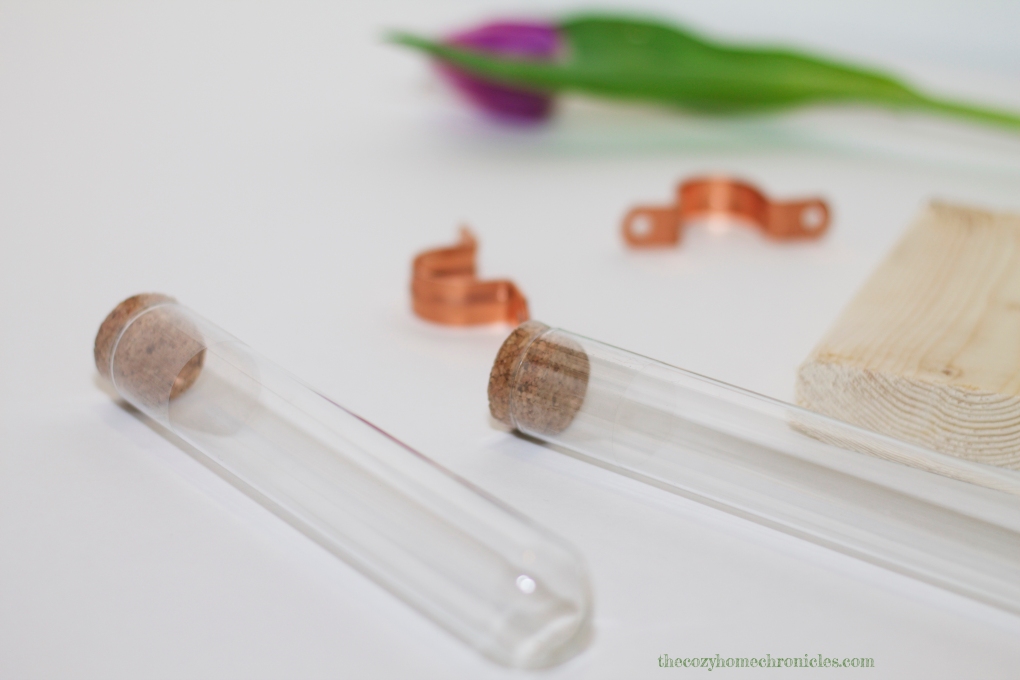
Glass Tubes
Scrap Wood
Copper Tube Straps
Screws
Hanging Kit or Command Hanging Solution

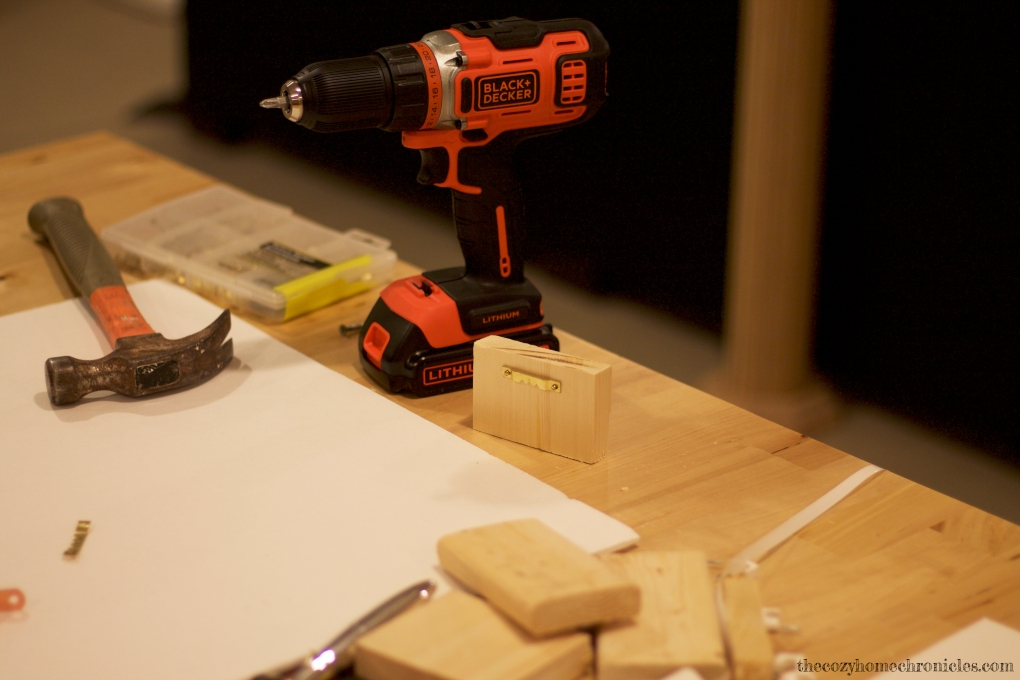
Tools
Drill
Hammer

Note: We did not list the dimensions of the tubes or the tube straps because that will depend entirely on what you find and decide to use. If you have your tubes just take them to Home Depot and you will be able to find the straps that fit them very easily. Also, you are not limited to scrap wood for the base; we just wanted to use what we have. If you’re looking for something less rustic, Michaels has a lot of nice wood pieces that could work. All in all, if you play your cards right, this DIY is very inexpensive and so easy to put together.

Directions
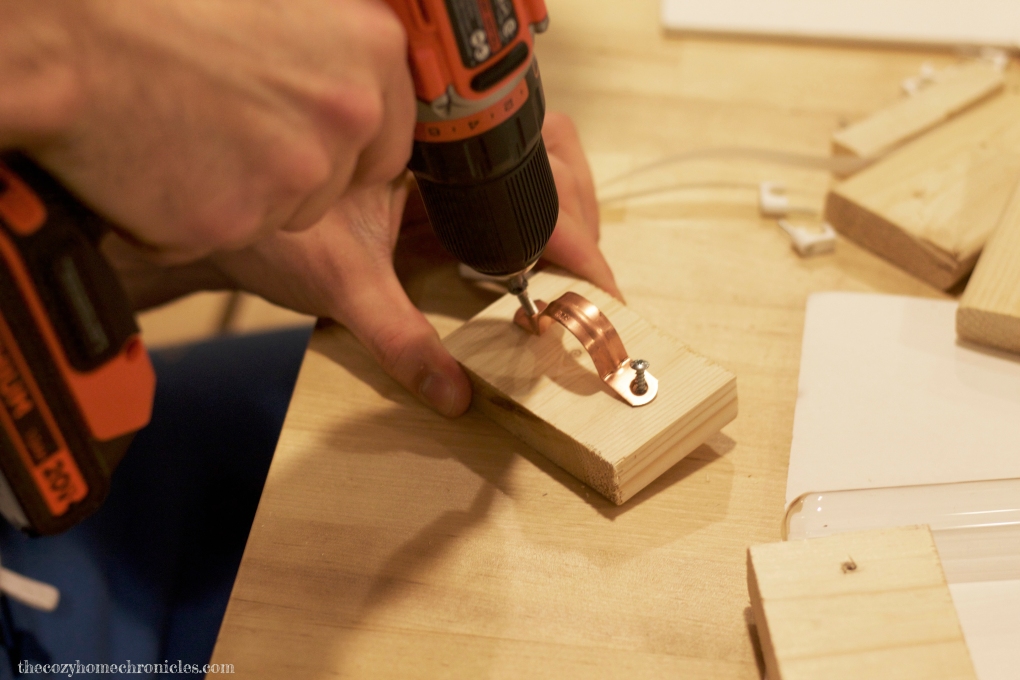
1.  Once you have all your pieces, all you will need to do is drill two holes (corresponding to the the holes in the tube straps) into your base. Make sure that your base is thick enough to withstand the length of the screws.
2. If you are choosing to hang these on your wall the old fashion way, go ahead and nail your hanger to the back of the base.
3. Once complete, drill the tube straps halfway into the base so that the straps are loose enough to adjust.
4. Slip your tube through the tube strap until it is positioned the way you like (we aligned our tubes so that the tube strap was the halfway mark). Once you are happy with the positioning of the tube, tighten the screws until the tube is secure (do this gently so as to not crack the tube).
5. Mount your completed vase to the wall and decorate with real or artificial flowers, grasses, or air plants.

Now kick back and enjoy the little pieces of nature bringing your space to life 🙂

IMG_0674

IMG_0955

IMG_0964

IMG_0714

IMG_1053

IMG_1044

IMG_1035

IMG_1063

If you liked this post please follow us and share! You can also find us on Instagram, Pinterest, and Twitter.

Instagram