


If you’re like me and wear scarves daily, you likely have tried everything to keep them organized. All in vain. Whether folded away in a drawer or strung up away in your closet on some fancy loop hanger, the end result is always the same. Utter chaos. The drawer scenario is just a hot mess unless you don’t mind the daily maintenance of folding and refolding all the scarves you’ve dug through to find the one that matches your outfit. The loop hanger is simply impractical if you have more than 5 scarves, especially if they are longer in length. If you can actually fill every loop, it becomes very heavy to pull out and eerily resembles Cousin Itt. Does this sound familiar?

Tell me your closet scarf hanger doesn’t look like this.
So I was organizing my closet this past summer when I realized that something had to be done about my scarf disaster. I thought about what I really wanted: a clean and aesthetically-pleasing look, easy accessibility, and fairly effortless organization/maintanence. And economical. I wasn’t about to build a walk-in closet for my scarf collection. After a visit to Michaels, Hobby Lobby, and Ikea for inspiration, I decided that I wanted to hang my scarves out in the open. I ran it by my husband first just to make sure he was okay with the thought of my scarves hanging up visibly on our bedroom wall. I told him that I imagined it as an art piece; like a tapestry… made of scarves. He was totally on board and actually thought it would look pretty cool. The design I had in mind was a linear arrangement, so I settled on a simple steel rail from Ikea to achieve the look. If you want to get fancy there are no shortage of options but I figured, since the scarves cover up the rail, it didn’t really matter what the rail looks like. Plus, the whole point of a DIY is not to throw away more money. I really wanted to make this solution cheaper than your basic scarf hanger/organizer and I can proudly say that it is. Lastly, I didn’t want to be a scarf hoarder so I went through my collection and donated whatever I hadn’t worn in the last year or two. For that reason, I went with two small rails that fit between 10-12 scarves each. If you have a bigger collection, by all means, go with a bigger rail. Without further ado, here’s what you’ll need and how to put it all together.
Total Cost= $5.98 (2 Bygel rails)
Completion Time= 20 minutes

NOTE: There are a number of ways to hang your scarves up on a rail. All you need is a bit of creativity. I started first by hooking them up with the complimentary Bygel S-hooks (they’re only $0.99 for a 10-pack) but I just didn’t like the way it looked. Personal preference. You might try it and find that you like it way better than looping them around the rail. Do what you think looks good and makes for easy accessibility.

What you’ll need:
Bygel rail (Ikea)
Bygel S-hooks (optional)
Builder’s level
Pencil
Power Drill
Screws (4 per rail)
Screwdriver
Drywall Anchors (This pack comes with screws so no need to buy them separately)
Creativity
Directions:
- Pick out a good location to place your rails. You’ll want somewhere with easy access: free of obstacles and not too high because you will want to be able to reach your scarves without straining yourself. Most importantly you’ll want a space where hanging scarves won’t look odd.
- Once you’ve picked your spot, hold up the rail with the Builder’s level, making sure it’s straight, and mark with your pencil where you will drill your holes.
- Drill very small holes over each of your markings and then use a screwdriver to secure your drywall anchors in the wall.
- Hold up your rail, aligning the holes in the rail to the now anchored holes and screw in the rails. It’s really that easy!
- Get in touch with your artsy side and organize your scarves into whatever pattern or design you like.
 6. Once you have settled on your design, all that’s left to do is to hang up your scarves and enjoy the awesomeness that is hassle-free scarf organization.

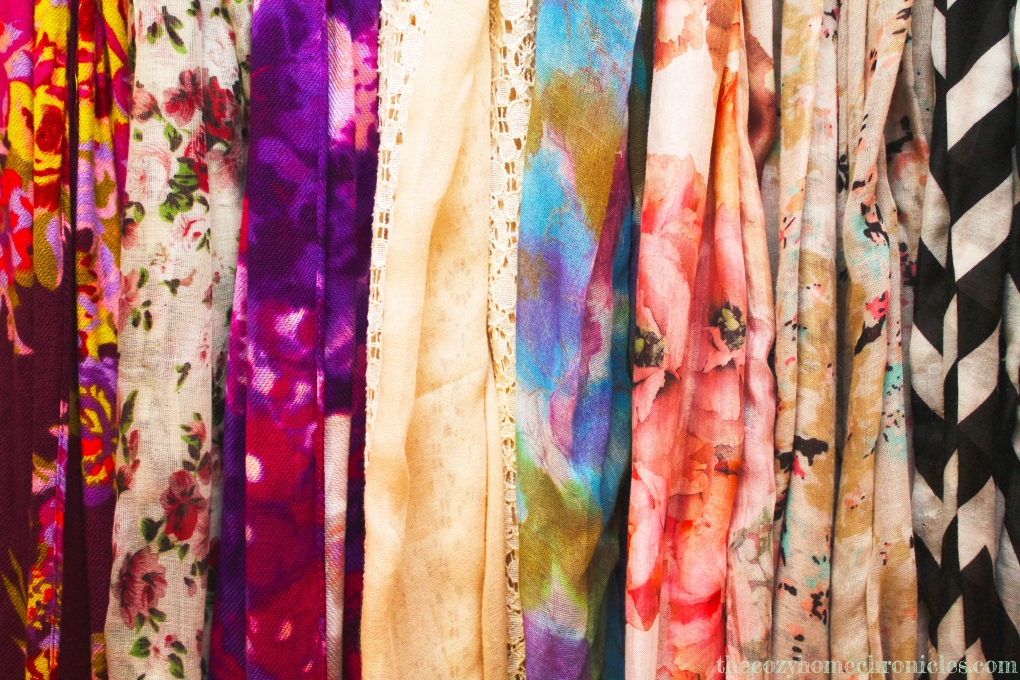
As I mentioned above, I tried the look first with hooks but wasn’t too crazy about it so I took them down and looped my scarves around the rail. Other than that it was smooth sailing. I ended up installing two rails: 1) on the wall and 2) on the back of the door. Since the one on the wall was going to be a central piece of the room, I opted to showcase my floral, pastel, and colorful scarves to accent the light gray and lavender walls we have. I’d be lying, though, if I told you I didn’t have any hesitations about how this would turn out but I am happy to report that I love the result. Any thoughts? I would love to hear your comments and suggestions about scarf organization. What has worked or not worked for you? Would you put up something like this?
If you liked this post please follow us and share!
