Simple California Sushi Bowls

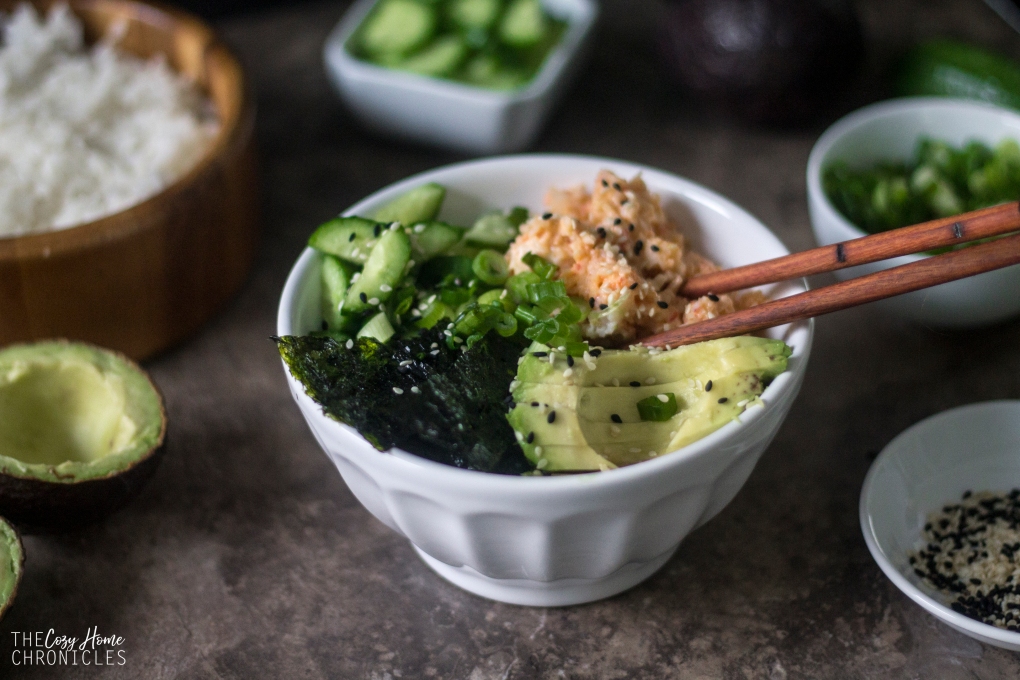
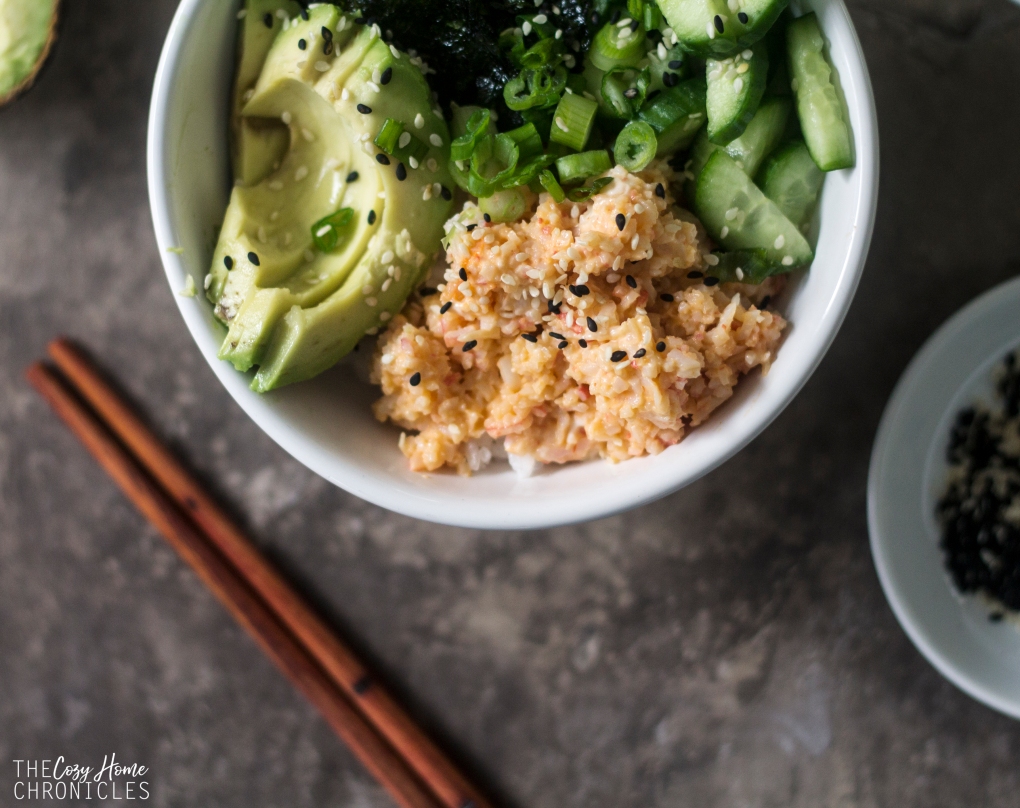
We LOVE sushi. What we don’t love, however, are all the dangerous ingredients hidden in restaurant-made sushi. The artificial colors in the surimi, the alcohol  and high-fructose corn syrup in the unagi, the MSG in the soy sauce. Many think of sushi as a healthy option but when you break it down, it becomes clear that these ingredients are far from clean and healthy. So what’s a sushi lover with little time to do? Make homemade sushi bowls of course!
IMG_7063

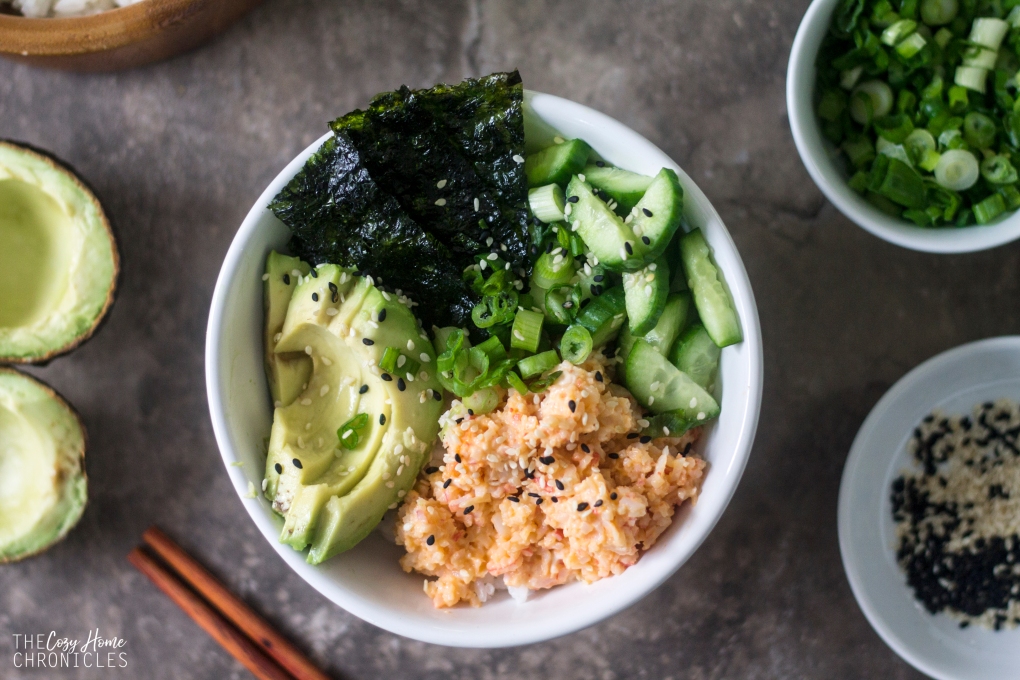
As you know, both my husband and I are in graduate school so the less time we can spend to have a filling and healthy meal on the table, the better! While I enjoy making sushi rolls every once in a while, I really don’t have time for it with my schedule. This is why I’ve been working on meal plans with little time investment but big impact. With a little bit of preparation, this meal can easily come together in under 30 minutes. 20 minutes for the rice to cook and cool while you cut up the vegetables and make the crab salad. That is it! For the crab salad, we use a surimi that is made from Alaska pollock and is free of alcohol, artificial colors, and phosphates. You can make this recipe even healthier by substituting the sushi rice with brown rice or cauliflower rice and using a larger variety of vegetable toppings including carrots and daikon. Either way you’ll have one amazing bowl packed with all the flavor of a California roll for a fraction of the cost and in no time at all!

IMG_7022

Simple California Sushi Bowls

  • Difficulty: Easy
  • Print

Ingredients
2 cups sushi rice (subsitute brown rice or cauliflower rice)
2 cups cold water
2 tablespoons rice vinegar
1 tablespoon sugar
1/2 tablespoon salt
12 oz. flake style surimi (we use Simply Surimi)
2 tablespoons mayonnaise (more if you like it creamier)
1 teaspoon Sriracha (more if you like it spicier)

Toppings
Cucumbers
Avocado
Scallions
Sesame Seeds
Nori

Note: This recipe makes between 4-6 sushi bowl servings depending on how big your serving size is. If you’re an individual making this recipe, it is enough to have you covered for a week of lunches. If you’re a family of four, it will take care of one meal time.

Directions

  1. Prepare your sushi rice by rinsing the rice in a bowl under cold water until the water becomes clear (about 3 times).
  2. In a medium saucepan bring the rice and 2 cups of water to a boil, then reduce the heat to low and cover. Cook for 15 minutes then remove from the heat and let stand for 5 minutes while you prepare the vinegar and sugar mix.
  3. While the rice is cooking you can dice your toppings and prepare the crab salad as outlined in step 6.
  4. Combine rice vinegar, sugar, and salt in a small bowl then pop it in the microwave for 30 seconds.
  5. Transfer the rice to a large wooden or glass bowl and add the vinegar mixture, folding gently to coat the grains. The rice is now ready for assembling the sushi bowls.
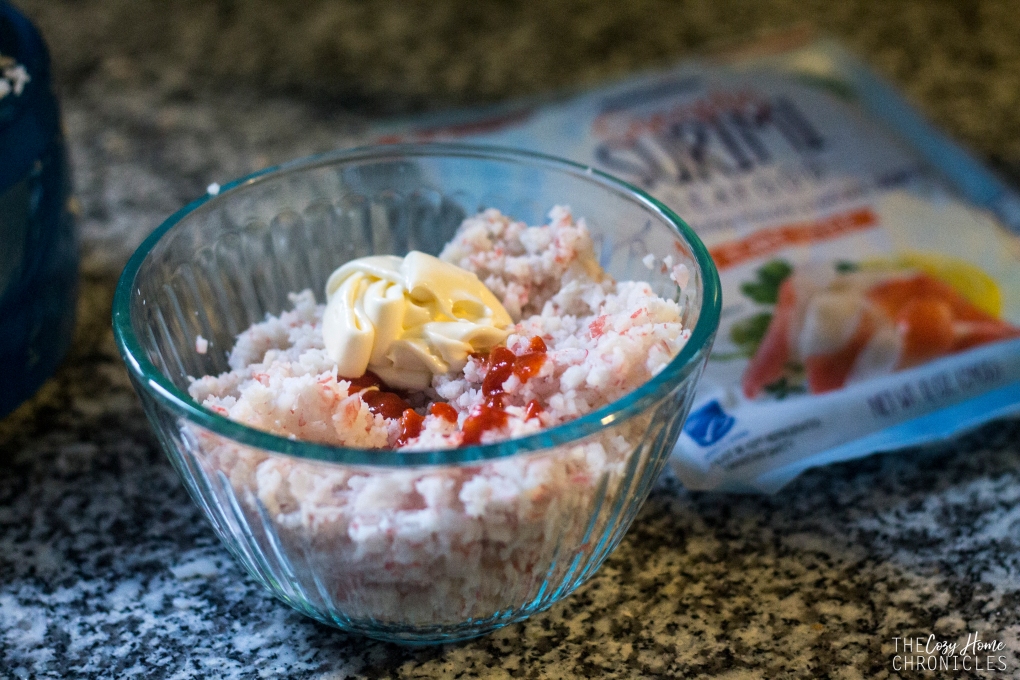
  6. In a food processor, pulse the surimi until you get a shredded texture. Then pour into a mixing bowl and add the mayo and Sriracha. Adjust to the level creaminess and heat depending on your taste.
  7. Assemble your sushi bowls by layering the sushi rice base and topping with the crab salad, nori, cucumbers, avocado, scallions, and sesame seeds. Serve alongside spicy mayo and soy sauce.

IMG_7002

IMG_7011

IMG_7053

IMG_7062

If you liked this post please follow us and share!

Instagram

signature3


Tomato Parsley Rice Soup

IMG_5288

With colder weather finally on the horizon, I thought it would be a perfect time to share one of our favorite soup recipes. I wasn’t much into soup as a kid because I didn’t think it was a legit meal but this one always filled me up. I remember actually being happy coming home to see my dad standing over a large bubbling pot of his famous Tomato Parsley Rice soup. It’s the same look my husband gives when he comes home and sees it simmering on our stovetop. Pure joy. Because who doesn’t love a warm, hearty soup? The wonderful thing about this soup is that it is super easy to make with just a few simple ingredients you probably already have on hand. Although I call this recipe a tomato soup, it’s not so heavy on the tomato; the tomato paste is more for a bit of color. The real flavor lies in the broth; in the sweetness of the onion and richness of the beef. If you’re not into the meat scene, you can easily make this vegan by leaving the meat out and replacing the broth with a vegetable stock or tomato soup. I’ve made this meal countless times with a tomato soup base and it was a perfectly delicious, healthy, and filling alternative.

IMG_5809

Lately, I’ve been experimenting with boiling meat in advance and storing it with its broth in the freezer and I can happily report that it has not changed the quality of the meat. As long as you boil the meat until it’s tender you can have the base of a great stew or soup at the tip of your fingers. Simply defrost and add whatever flavoring, grains, and vegetables you like and you’ll have dinner ready in no time! This has been a huge time saver for me while my husband and I both navigate graduate school and homekeeping.

IMG_5814

Tomato Parsley Rice Soup

  • Difficulty: Easy
  • Print

Ingredients:
1 pound beef stew cubes
1 medium yellow onion, finely diced
1 large bunch parsley, chopped (plus extra for garnish)
1/4 cup uncooked rice ( I prefer long grain like basmati)
2 dry bay leaves
2 tablespoons tomato paste (more if you like it a deeper red)
8 cups water/vegetable/beef stock
2 tablespoons fresh lemon juice (more if you like it tangier)
olive oil
salt and pepper to taste

Directions:

  1. In a large pot, drizzle a bit of olive oil and brown the beef stew cubes and sauté the onions until translucent.
  2. Add your bay leaves and water/vegetable/beef stock and bring to a boil before reducing the heat. Be sure to skim any impurities that rise to the surface. Then cover and cook on a low simmer until the meat is tender (about 2 hours).
  3. Once your meat is tender, fish it out and shred it with a fork.
  4. To the broth, add in your rice, lemon juice, and tomato paste. Give it a quick stir and let it cook until the rice is tender (about 15-20 minutes). Stir in your shredded beef.
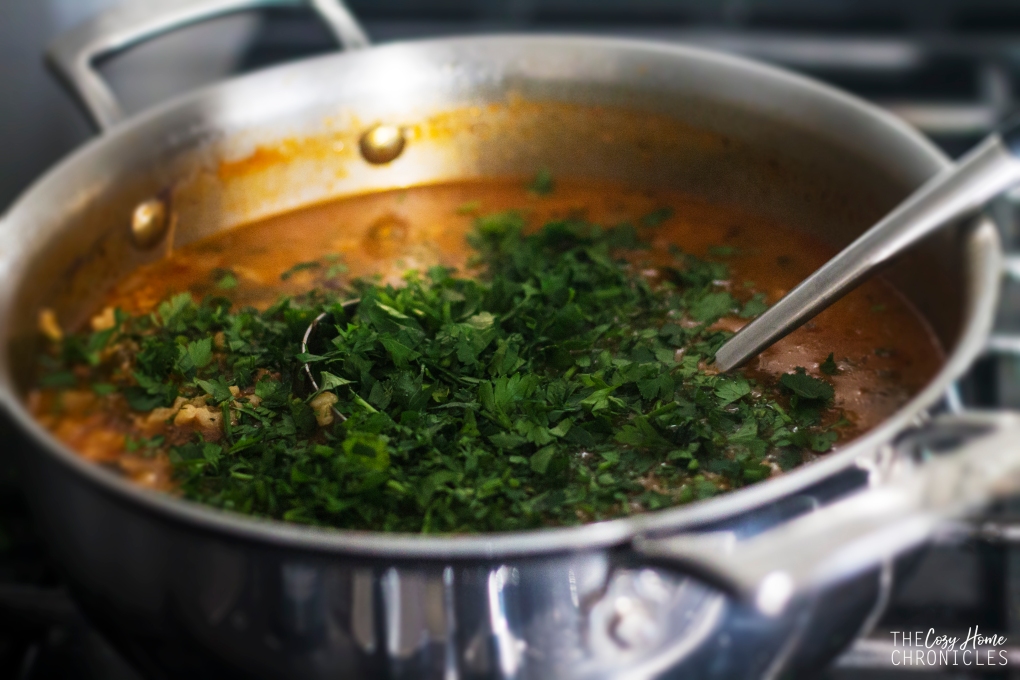
  5. Season with salt and pepper to your taste. Take the pot off the heat and add in the parsley, give it a gentle stir and let it sit for a few minutes before serving.
  6. Ladle into bowls, garnish with extra parsley and serve with a side of fresh crusty bread.

IMG_5820

IMG_5356

IMG_5840

If you do give this soup  recipe a try be sure to share with us. We love seeing our recipes on your table 🙂 And as always, if you liked this post please follow us and share!

signature3


Banana Honey Walnut Toasts

IMG_2240

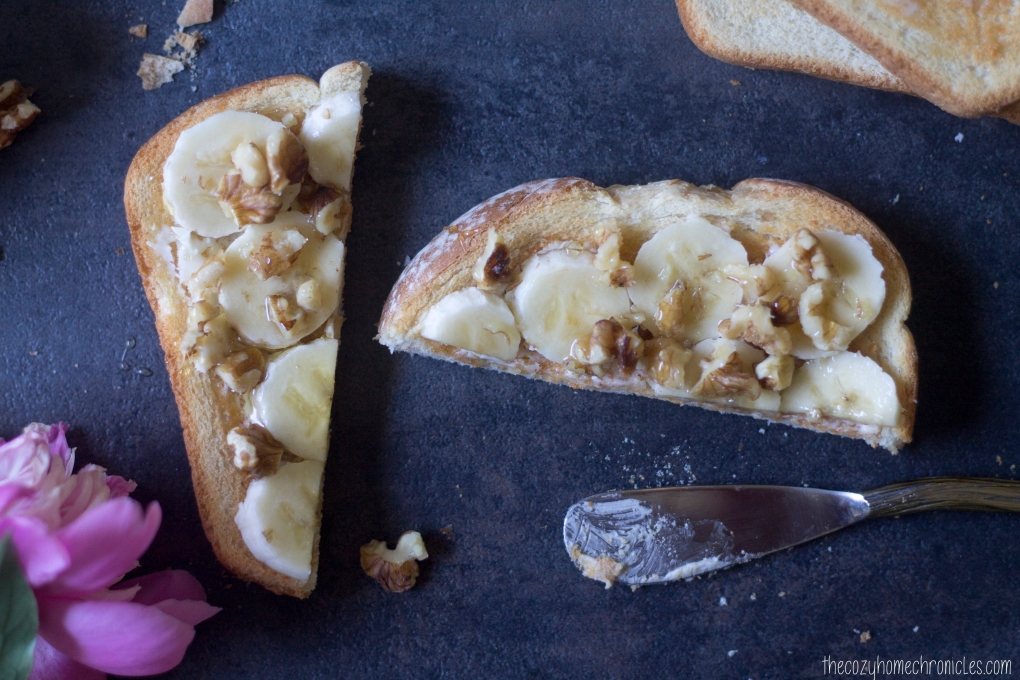
Although Ramadan ended over a month ago, we are still having a difficult time breaking some of our Ramadan schedule and habits. Not only do we still stay up pretty late (midnight is the norm for me), but we also eat like mice early in the morning because it feels strange to fill up right after we’ve woken up. With all the things we have going on in our life, we certainly can’t afford to skip out on the most important meal of the day so today I’m sharing a simple breakfast idea that’s sweet, crunchy, and filling. Banana sandwiches are something we grew up eating as a treat. My father would make it for us and share stories of his picky-eating days, growing up in Beirut, where all he would eat was bread and sugar to fill up. I guess you can’t really go wrong with bread and banana! Thankfully none of us turned out that picky but that doesn’t mean we can’t celebrate the product of my father’s resourcefulness 🙂

When I got married, I was introduced to a whole different world of foods I had never eaten. One of those things was geimar, a creamy Iraqi spread similar to clotted cream. It’s thick and rich in just the right way and it’s unsweetened which makes it the perfect base for a sandwich like this. We don’t eat it often but when my in-laws are in town we make sure to get our fill of geimar, samoon (Iraqi flatbread), and honey. When I photographed this recipe, I used sourdough toast that I had on hand but you can use any bread you like. If you desire more substance and less bread, you can cut the banana length wise and roll it up in a thin pita bread just like my dad used to do.

Ingredients
Quality artisan bread/toast
Salted butter or clotted cream
Banana
Honey
Walnuts

Note: You can use unsalted butter if you’d like but I find the saltiness works wonderfully with the sweetness of the honey and banana.

IMG_2245

Directions
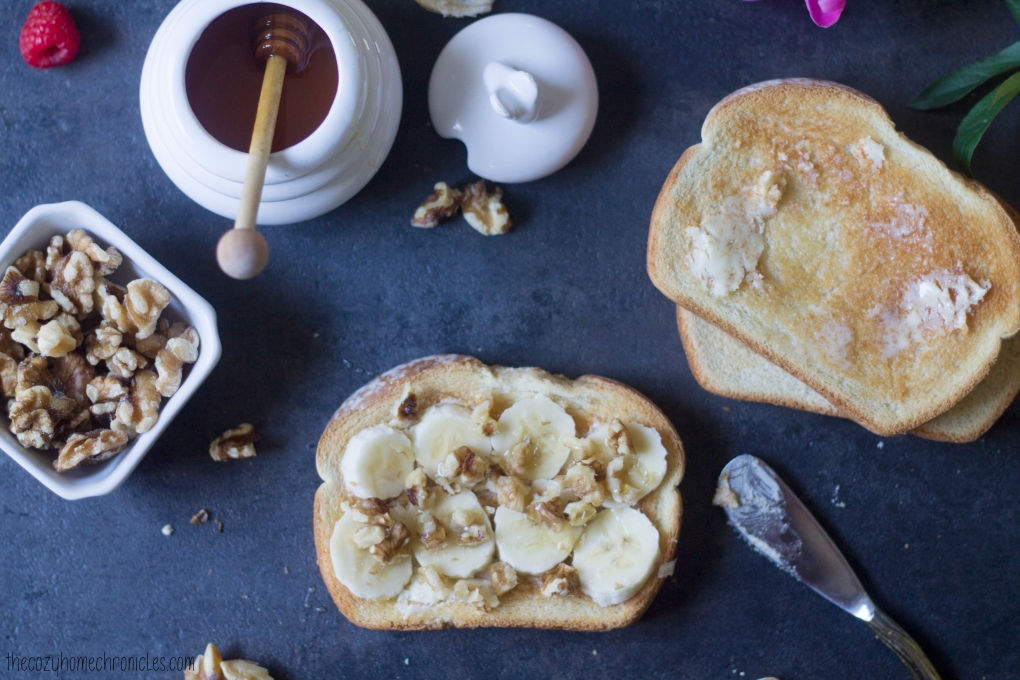
Toast the bread of your choice and generously lather on some butter while it’s still a bit warm. Layer on banana slices and walnuts and then drizzle on some honey. Serve alongside a nice cup of piping hot tea.

IMG_2251

IMG_2253

If you liked this post please follow us and share!

Instagram


Potato Kibbeh (faux Lebanese steak tartare/kibbeh nayeh)

IMG_2396
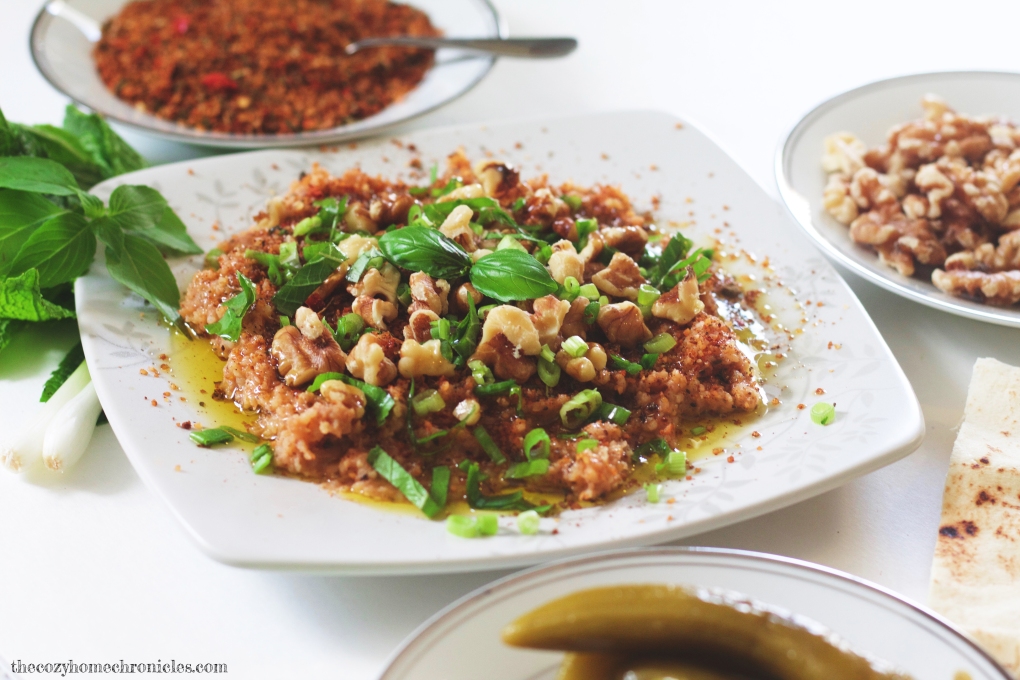
Oh pregnancy cravings. You always have a way of being exactly what I’m not supposed to have. While we don’t eat a lot of red meat in our diet, I repeatedly craved kibbeh nayeh (a Lebanese dish made of fresh raw meat, bulgur, and spices) during my first pregnancy and now find myself craving it with my second. For obvious reasons, raw meat is a no-no but I was determined to see my craving satisfied by creating a stellar vegetarian substitute. When I first attempted to make faux kibbeh during my first pregnancy, I happened to only have yellow potatoes on hand and this turned out to be the biggest blessing in disguise. I have since tried this recipe using your average Idaho potatoes and let me tell you it simply isn’t the same! The waxiness of the yellow potato gives you that authentic meat-like texture and flavor that other potatoes don’t. Just take my word for it and you won’t be disappointed.

We didn’t eat kibbeh nayeh much growing up but when we did it was an absolute treat. For many Lebanese, the highlight is the meat but for my dad the thought of devouring mouthfuls of raw meat was just unappetizing. We ate this meal a particular way: a light amount of meat thinly spread, heavily topped with crunchy bulgur, walnuts, and aromatic spices, drenched in olive oil so rich you could drink it, garnished with fragrant herbs like basil and mint, and served alongside fresh sweet onions, radishes, and other crunchy veggies and treats. This is what I have sought to recreate in this recipe; not just faux meat but an entire medley of exquisite flavors that make for a simple, nutritious, and delicious vegan lunch or dinner. This recipe makes quite a bit because we enjoy it so much that we have it for lunch for a few days. So if you’re looking for a recipe that makes weekly meal planning a bit easier, this is definitely a keeper!

Potato Kibbeh (faux Lebanese steak tartare/kibbeh nayeh)

  • Difficulty: Easy
  • Print

Ingredients

Faux meat base:
3lbs yellow waxy potatoes
1/3 cup fine bulgur
2 tablespoons tomato paste
1 to 2 cups of kammouneh*
Salt and pepper to taste
1 tablespoon high quality extra virgin olive oil

*Kammouneh:
3 cups fine bulgur rinsed and thoroughly drained and dried
1/2 tablespoon salt
1 teaspoon ground black pepper
1 tablespoon cumin
1 tablespoon ground allspice
2 tablespoons paprika
1 tablespoon dried ground basil
1 teaspoon dried marjoram
1 teaspoon ground coriander
1/2 tablespoon crushed red pepper flakes (more or less depending on how much heat you can handle)

**You can also get kammouneh for kibbeh nayeh from your local Lebanese butcher if you live in the Dearborn area. I have some stored in my freezer which I use to make this recipe.

For serving and garnishment:
Scallions
Basil
Mint
Jalapeno peppers
Sweet onions
Radishes
Walnuts
Lebanese pickles and olives
Pita Bread
High quality extra virgin olive oil

Directions

  1. In a small bowl, combine 1/3 fine bulgur and warm water. Set aside for 30 minutes until soft.
  2. Meanwhile, peel and boil your potatoes in a large pot until cooked and tender.
  3. While your potatoes are boiling, make the kammouneh in the food processor by mixing the 3 cups of thoroughly drained bulgur (remove any excess moisture) with the kibbeh spices. The bulgur will stay slightly crunchy and will take on a reddish hue.
  4. Once your potatoes are thoroughly cooked, drain and rinse with cool water.
  5. This step can either be done with a potato masher or handheld mixer in a large bowl or in the food processor. You will want to whip your potatoes while warm and incorporate the 1/3 cup of soft bulgur, tomato paste, kammouneh, olive oil, and salt and pepper until perfectly seasoned. The amount of kammouneh that you add is flexible-start with 1 cup and if you feel it needs a bit more flavor and texture then add a bit more.
  6. Spread the faux meat base on a plate, making grooves with the fork.
  7. Top your base in the following order: 1) kammouneh 2) walnuts 3) scallions and herbs
  8. Drizzle a generous amount of olive oil and serve alongside pita bread and fresh herbs and vegetables.

IMG_2366

IMG_2423

IMG_2370

IMG_2376

IMG_2398

If you liked this post please follow us and share!

Instagram


Cinnamon French Toast Granola

IMG_1324

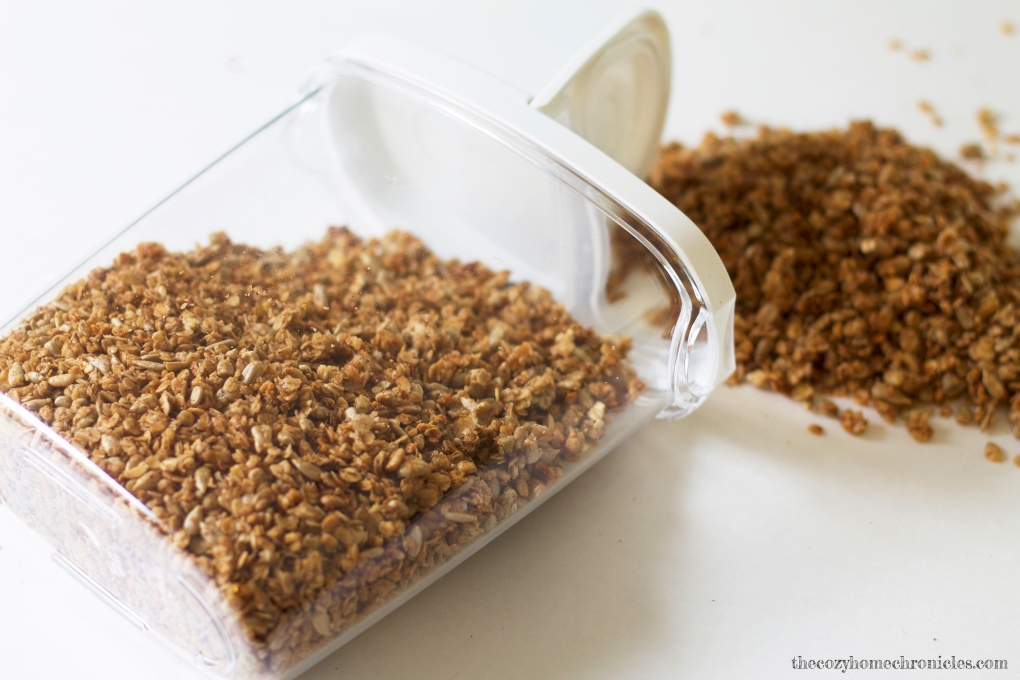
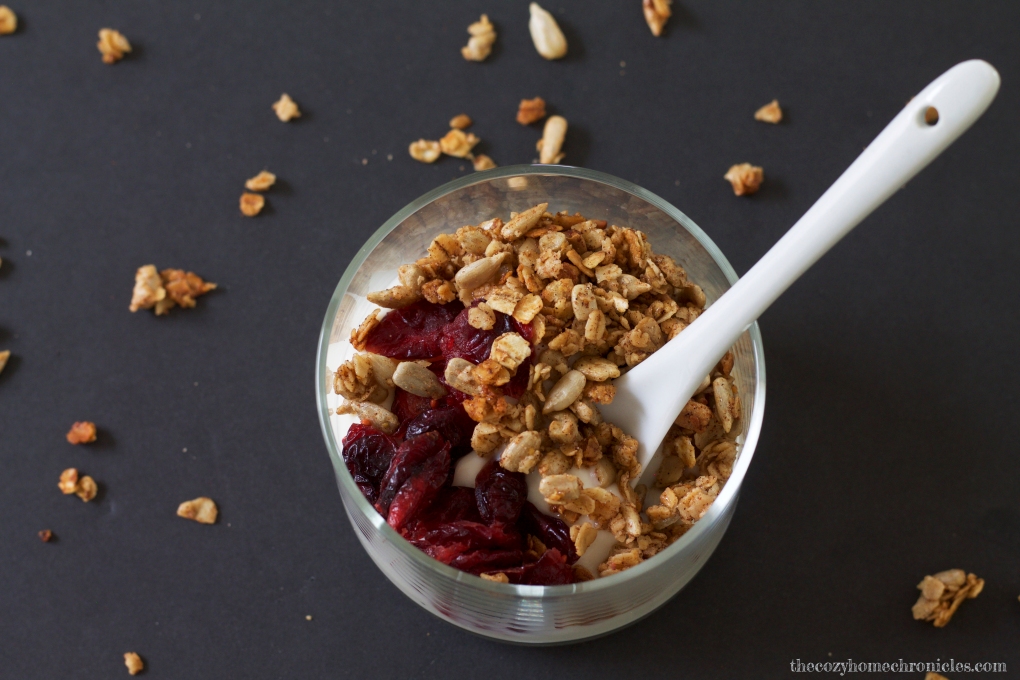
Who doesn’t like french toast? Cinnamon buttery goodness topped with sweet sticky maple syrup. Now imagine that same flavor in the form of a healthy snack. I recently started making my own granola and I just had to share how easy it is. Many recipes I found called for honey but I was craving the deep richness of pure maple syrup, which is how I ended up with a cinnamon french toast flavor (yum!). Quality store-bought granola can set you back anywhere from $6-9 a pound. Homemade granola, however,  is not only simple to make but it’s much more economical too. So here’s to healthy, homemade snacking on a budget!

Cinnamon French Toast Granola

  • Difficulty: Easy
  • Print

Ingredients
4 cups Quick Oats
2 cups raw sunflower seeds
1/2 cup pure maple syrup
1 tablespoon ground cinnamon
1/4 teaspoon ground nutmeg
1/2 teaspoon vanilla extract
1/3 cup vegetable or coconut oil

Directions
Preheat your oven to 325 F. Combine all your ingredients in a mixing bowl and stir well to coat. Spread the mixture evenly on two sheet pans and pop in the oven for approximately 20 minutes until golden brown. While baking, take the pans out every 5 minutes and move the granola around so that they cook evenly and don’t burn. Once the granola is done and cooled, seal in a airtight container and enjoy as a cereal, mid-day nibble, or as a yogurt topper.

IMG_1311

IMG_1321

IMG_1324

IMG_1334

If you liked this post please follow us and share!

Instagram