No-Waste Slow Cooker Vegetable Broth

IMG_1284

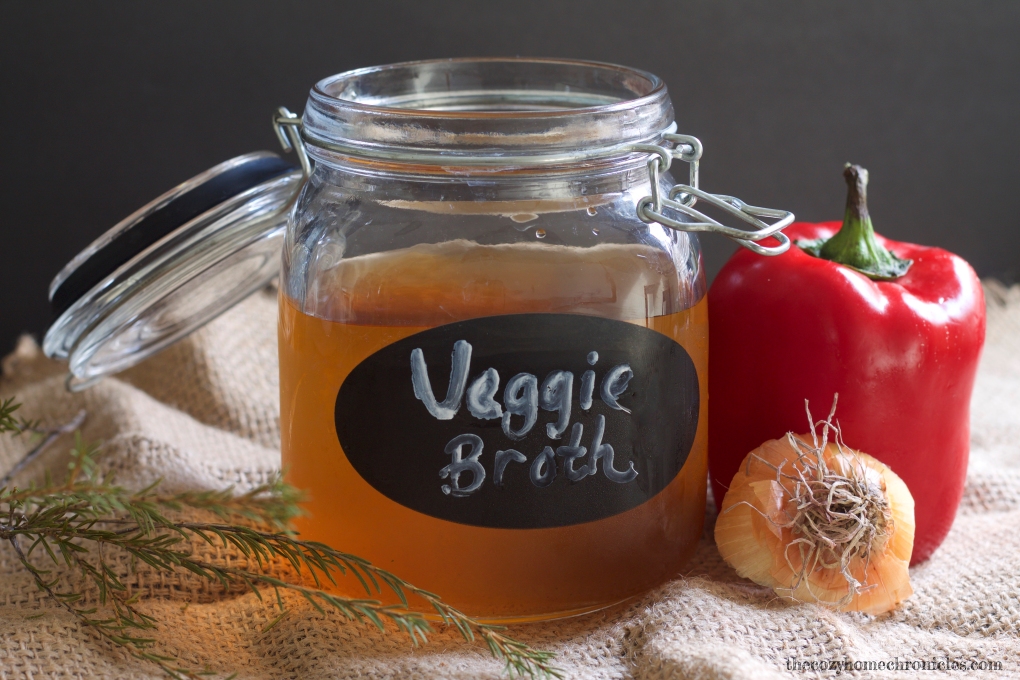
We are constantly trying to find new ways to recycle and reduce waste so when I attended a food demonstration at the healthcare system where I work, I was super excited when the cook revealed her secret for making use of unwanted vegetable scraps. Instead of throwing away the peels, ends, and cores of vegetables, she tossed them into a freezer bag until she had a nice collection and then threw them into a pot of boiling water to make vegetable broth. Since then, I have made this practice a habit and I have never needed to buy vegetable stock. All this requires of you is to be mindful during meal prep. Set aside any vegetable scraps you would normally throw away and store them in the freezer until you have a large collection. Once you’ve filled a bag or jar to the brim (over the course of however long it takes), toss the contents of the bag into a slow cooker or stock pot with water and the result will be a beautiful golden broth every single time. This broth is not only simple to make but it packs a ton of flavor, making it the perfect vegetarian substitute for chicken stock. You can use this broth to make soups, stews, rice, or even as a more flavorful substitute for water in your favorite recipe. Nutrient-rich, flavorful food, more savings, less waste. I think we can all agree this is a win-win-win!

Ingredients
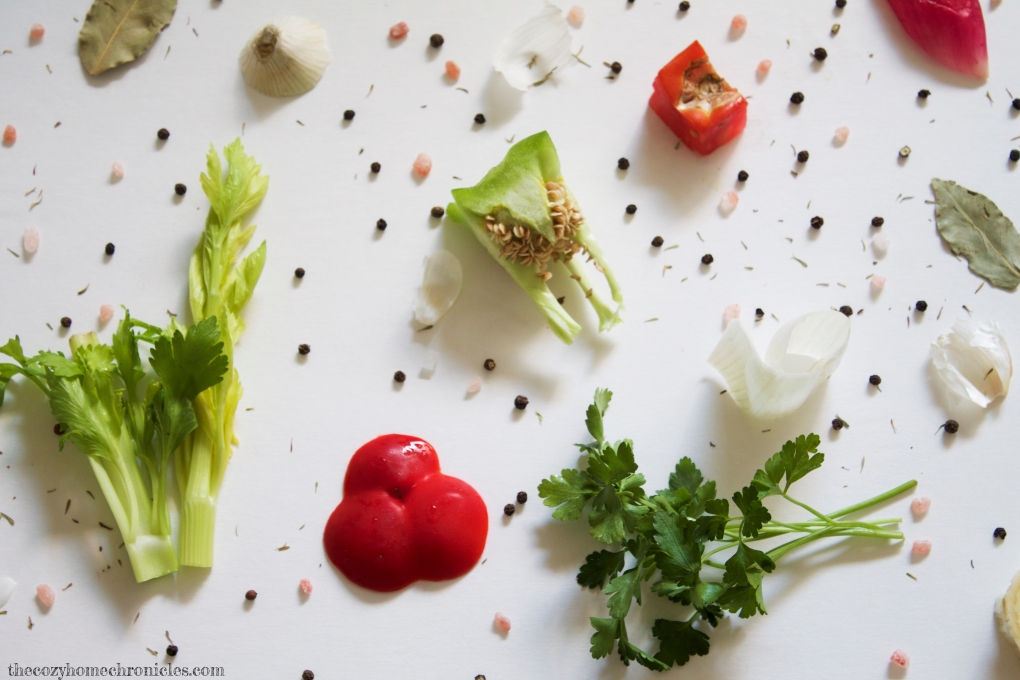
1 quart freezer-bag or jar worth of clean frozen vegetable scraps (peppers, onions, garlic, squash, carrots, celery, etc..)
12 cups of water
1/2 teaspoon peppercorns
Sea salt (to taste)
2 Bay leaves

Note: Do not put any moldy, rotting, or bad vegetable scraps in your broth scrap bag. Before I am ready to make my broth, I also do a rundown of the fridge and toss in any parsley that is near expiration.

Directions
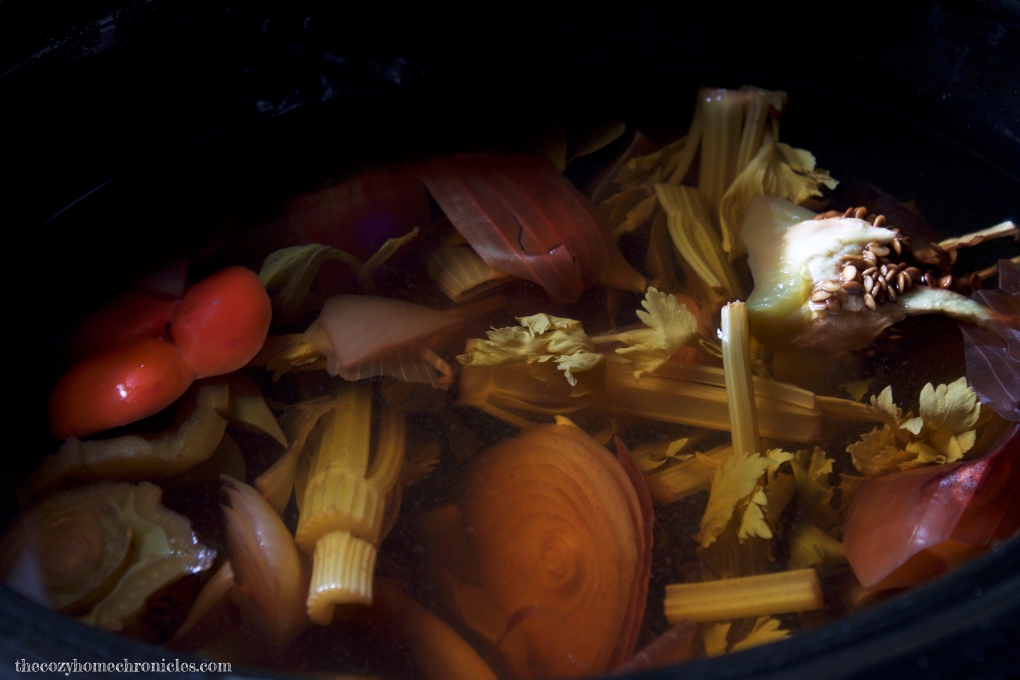
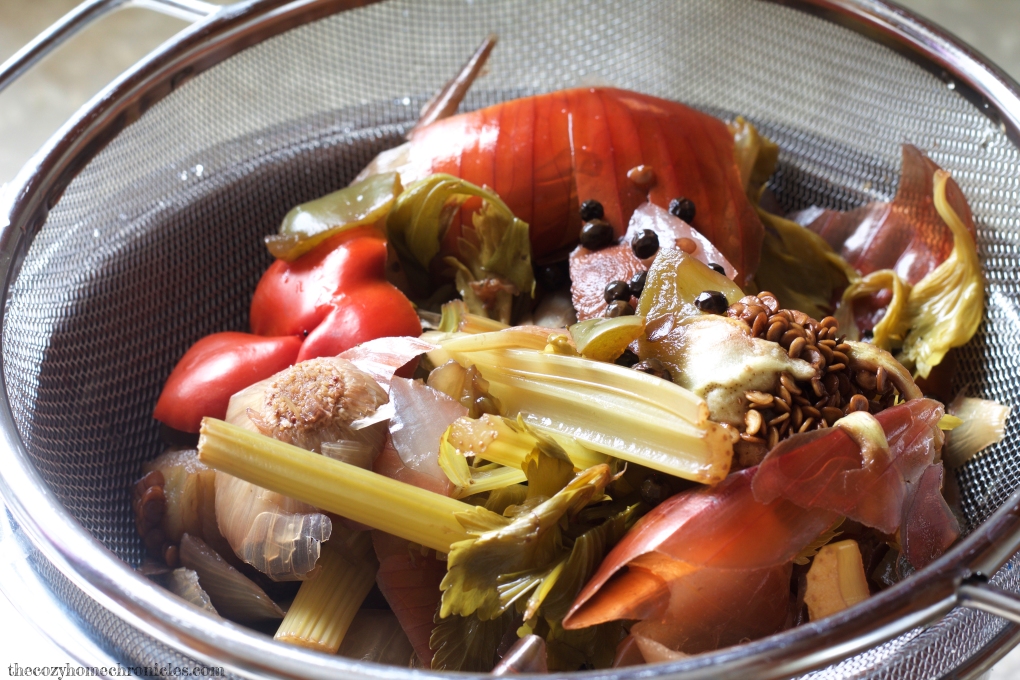
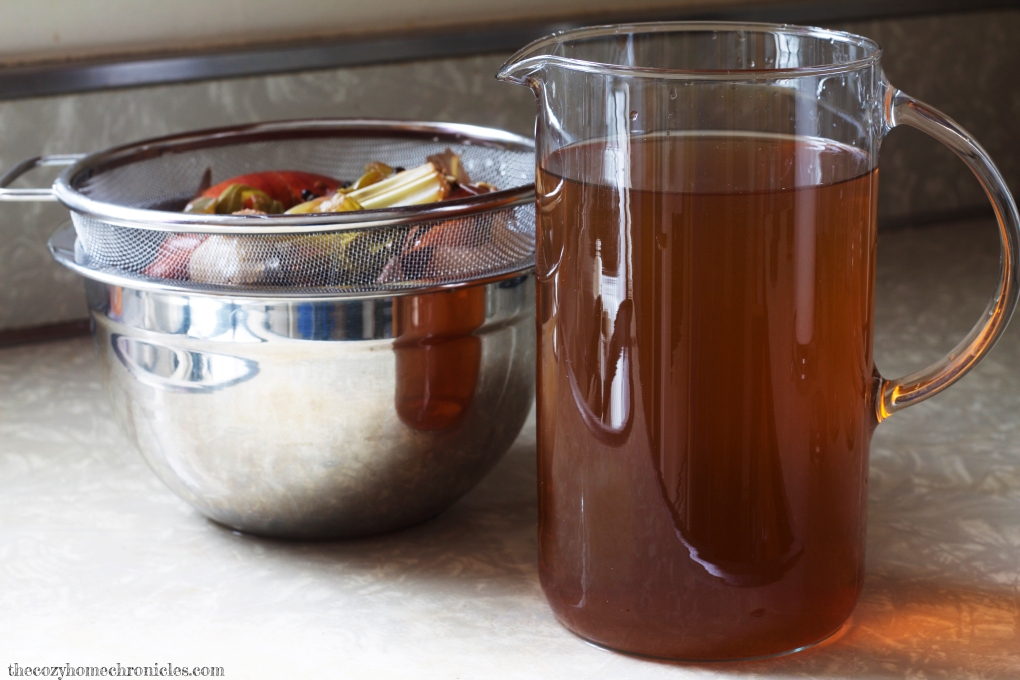
Place all your ingredients in a slow cooker, turn on high, and let it simmer for 6 hours while you do other awesome, productive things (Yay!).  If you’re using a stock pot on the stove, I would let it boil for two hours covered on low. Once the broth is done and has cooled, strain it into a larger bowl or pitcher and distribute evenly among your freezer storage of choice: glass jars or freezer bags.  Then, when you’re ready to cook, you’ll have delicious homemade broth ready at hand.

IMG_1285

IMG_1289

IMG_1304

IMG_1310

IMG_1347

What are the ways you try to reduce waste in your homes? We would love to hear from you! And as always, if you liked this post please follow us and share!

Instagram


Urban Jungle Bloggers: Botanical Zoom

Spring is just around the corner and what better time to zoom in on plants than now! Our house plants are very dear to us. So much so that before we had our baby, we talked about our plants as though they were our children. Yes, they were (and still are) that important to us! We didn’t really know anyone that took their plants as seriously as us until we came across the awesomeness that is Urban Jungle Bloggers. Urban Jungle Bloggers, hosted by the inspiring Igor and Judith, is a monthly series inviting bloggers to write and share anything and everything plant-related. Every month there is a different theme and this month is all about zooming into the hidden beauty that is often taken for granted.

So here’s to taking pauses; to setting aside the chaos of daily routines and endless to-do lists. Here’s to being one with the pieces of earth that coexist with us in our homes.

IMG_7108

“Nature will bear the closest inspection. She invites us to lay our eye level with her smallest leaf, and take an insect view of its plain.”
Henry David Thoreau

There is something serenely beautiful about the way the sunlight streams in and filters through our plants. It illuminates the most intricate of details, serving as a reminder that within us lies an unimaginable and incomprehensible vastness. It is truly humbling.

IMG_5999

2016-03-17 09.58.20

2016-03-17 09.57.10

IMG_7105


“Every particular in nature, a leaf, a drop, a crystal, a moment of time is related to the whole, and partakes of the perfection of the whole.”
Ralph Waldo Emerson

2016-03-17 09.59.09

IMG_7104

2016-03-17 10.00.20

“Adopt the pace of nature: her secret is patience.”
Ralph Waldo Emerson

IMG_7106


2016-03-17 09.52.09

2016-03-17 09.53.13 copy

If you liked this post please follow us and share!

Instagram


Lebanese Beef and Potato Stew

IMG_1102

If you live in the Midwest, you know that springtime isn’t all sunshine and butterflies. We have plenty of gray days that can feel like winter and sometimes all we want to do is curl up in a blanket with a hearty bowl of something and pray that 70 degree weather is right around the corner. This recipe is perfect for just those days. It’s personally one of my favorite Lebanese stews (or yakhnis) growing up and it’s super easy to make. However, this isn’t your average beef and potato stew. What makes this stew especially delicious is the flavor profile offered by a paste of fresh garlic and cilantro. This base, which is a feature of most Lebanese stews, makes for a uniquely savory broth that you will just have to try to understand. So if you’re looking to make a stew but want to try something new (ha! I rhymed!) this will not disappoint!

Lebanese Beef and Potato Stew

  • Difficulty: Easy
  • Print

Ingredients:
1.5 pounds of beef stew cubes
1 head of garlic
1 bunch of cilantro (plus some for garnishing)
3 pounds of potatoes
2 teaspoons tomato paste
Salt & Pepper (to taste)
Lemon juice (1 large lemon)
8 cups of water
Vegetable oil

Note: My recipes serve at least  4 people. While we are only 2 and a baby, I make enough of a meal to last a few days. I cannot stress how convenient it is to have a home-cooked meal without having to prep everyday when you’re juggling a million other things.

Directions:

  1. In a stock pot, bring your 8 cups of water to boil. In the meantime, make your garlic-cilantro paste by pulsing the cilantro and peeled garlic head (8-12 cloves) in a food processor. You will use this paste to flavor 3 different components of the stew:the meat, the broth, and the potatoes.
  2. Drizzle a bit of vegetable oil in a large skillet and add in 1/3 of your garlic-cilantro paste. Sauté for 1 minute until you smell the aroma of the cilantro and garlic. Be careful not to burn the paste.
  3. To the sautéed garlic-cilantro paste, add in your beef cubes, some salt and pepper to taste, and let brown on all sides.
  4. By now, your water should be boiling. Toss your browned and flavored beef cubes with another 1/3 the garlic-cilantro paste into the stock pot and allow to simmer on low for 2 hours or until your meat is very tender and the broth is flavorful.
  5. In the meantime, peel, rinse and cube your potatoes.
  6. Repeat step 2 with the remainder of the paste this time adding your cubed potatoes and browning them on all sides but not fully cooking them. Now toss the herbed potatoes into the finished broth and stir well.
  7. Mix in your tomato paste, lemon juice, and any salt and pepper then cover and cook on medium heat until the potatoes are nice and tender. I do this immediately after I add the potatoes in so that I’m not stirring and mushing the potatoes once they are cooked.
  8. Once your potatoes are fully cooked, ladle a generous serving of meat, potato and hearty broth into a bowl, garnish with freshly chopped cilantro and serve with a side of buttery rice, lemon wedges, and crunchy radishes.

Note: I grew up learning to make this stew by deep-frying the potato cubes and then sautéing them with garlic and cilantro. My dad will tell you that if it’s not made this way, it’s not authentic. And while it is super tasty made that way, the stew is just as tasty without frying. Whether you decide to bake, deep-fry, or sauté your potatoes, just make sure to add them in near the end when your meat is tender and your broth is richly flavored. If you add them in too early, they will turn to mush and you don’t want that to happen. Trust me.

2016-03-02 13.54.51

2016-03-02 13.57.28

2016-03-02 14.01.09 copy

2016-03-02 14.06.43

Processed with VSCOcam with m5 preset

2016-03-02 14.52.15

IMG_1098

If you liked this post please follow us and share!

Instagram


Deliciously Spicy Carrot Cake

IMG_0886

I recently kidnapped a juicer from my dad’s house (just kidding, he gave me permission) to juice some carrots and I was surprised by how much carrot pulp was created out of such a small glass of juice! I didn’t want to waste the carrot shavings so I decided I would make a carrot cake out of them. This time, though, I wanted something a bit different than the generic carrot cakes out there. I was craving a deep rich flavor with a little more kick. After several experiments (there was a lot of carrot pulp), I arrived at what I think is the perfect blend of spice and sweetness. Instead of using solely cinnamon as most recipes call for, this recipes makes use of a blend of beautifully aromatic spices including nutmeg, clove, cardamom, and ginger. It’s the perfect springtime cake and your kitchen will thank you for the aroma.

Deliciously Spicy Carrot Cake

  • Difficulty: Easy
  • Print

Ingredients:
2 cups all-purpose flour
1 1/2 cup dark brown sugar
3 eggs (room temperature)
1 teaspoon baking soda
1/2 teaspoon salt
1 tablespoon ground cinnamon
1/4 teaspoon ground cloves
1/2 teaspoon ground nutmeg
1/8 teaspoon ground cardamom
1/8 teaspoon ground ginger
2 cups shredded carrot
1 1/4 cup of vegetable or canola oil

Directions:

1. Preheat your oven to 350F and spray your cake pan with a non-stick spray. Set aside.
2. In a small mixing bowl, measure out and sift your flour, baking soda, salt, and spices. Set aside.
3. In a larger mixing bowl, beat your dark brown sugar, eggs, and shortening until the batter is smooth and a beautiful caramel color.
4. Slowly add in your dry ingredient mixture while beating on low (or whisking).
5. Once the batter is smooth and free of lumps, add in your shredded carrots and mix well.
6. Pour the batter in your sprayed cake pan and bake for 30-35 minutes or until a toothpick inserted in the middle comes out clean.
7. Let your cake cool on a rack and frost with a cream cheese frosting if you like or slice and serve with a cold glass of milk.

Processed with VSCOcam with f2 preset

Measure.

2016-02-27 09.59.13

Mix.

2016-02-27 10.07.43

Bake.

IMG_0848

Cool.

IMG_0852

Frost.

IMG_0885

Enjoy!

If you liked this post please follow us and share!

Instagram


Inspirational Wallpaper: March

IMG_2818

Happy 1st of March and National Reading Month 🙂 To celebrate our love for spring and reading, we have merged some of my photography with our favorite books to present you with some inspirational wallpaper. We hope this Lord of the Rings’ themed printable gives you happy spring vibes that will carry you through the month. Each month we will feature a new wallpaper for you to download and use based on what we find beautiful, inspiring, cozy, and noteworthy.

LOTR Wallpaper

If you liked this post please follow us and share! You can also find us on Instagram, Pinterest, and Twitter.

Instagram


DIY Hanging Vase

This DIY project is the culmination of 3 very random happenings:

1) One of our New Year’s resolutions for 2016 was to find ways to incorporate more plants in our home. We love the sense of peace and purpose our plants bring to our home and we simply wanted to diversify our jungalow.

2) I came across these hanging vases while browsing the Pottery Barn website and really liked the concept (just not the price).

artisanal-wall-mount-vase-o

3) We can never resist the dollar section at Michaels and *somehow* ended up with 4 adorable glass test tubes for $1.50 a piece. If you have tubes around in your home (think spice tubes) that you aren’t using, this could be the perfect way to upcycle them 🙂

A few visits to the garage later and we had the perfect design for a hanging vase we had pictured in our mind. The finished product involves 4 hanging glass tubes that, while certainly smaller than the Pottery Barn Wall-Mount Vase, are far more economical ($15 compared to $69) and just as dazzling visually. If you’re looking for a budget-friendly way to incorporate more foliage without cramping your space with pots, this is the perfect solution for you!

IMG_0680

Supplies
Glass Tubes
Scrap Wood
Copper Tube Straps
Screws
Hanging Kit or Command Hanging Solution

Tools
Drill
Hammer

Note: We did not list the dimensions of the tubes or the tube straps because that will depend entirely on what you find and decide to use. If you have your tubes just take them to Home Depot and you will be able to find the straps that fit them very easily. Also, you are not limited to scrap wood for the base; we just wanted to use what we have. If you’re looking for something less rustic, Michaels has a lot of nice wood pieces that could work. All in all, if you play your cards right, this DIY is very inexpensive and so easy to put together.

Directions
1.  Once you have all your pieces, all you will need to do is drill two holes (corresponding to the the holes in the tube straps) into your base. Make sure that your base is thick enough to withstand the length of the screws.
2. If you are choosing to hang these on your wall the old fashion way, go ahead and nail your hanger to the back of the base.
3. Once complete, drill the tube straps halfway into the base so that the straps are loose enough to adjust.
4. Slip your tube through the tube strap until it is positioned the way you like (we aligned our tubes so that the tube strap was the halfway mark). Once you are happy with the positioning of the tube, tighten the screws until the tube is secure (do this gently so as to not crack the tube).
5. Mount your completed vase to the wall and decorate with real or artificial flowers, grasses, or air plants.

Now kick back and enjoy the little pieces of nature bringing your space to life 🙂

IMG_0674

IMG_0955

IMG_0964

IMG_0714

IMG_1053

IMG_1044

IMG_1035

IMG_1063

If you liked this post please follow us and share! You can also find us on Instagram, Pinterest, and Twitter.

Instagram