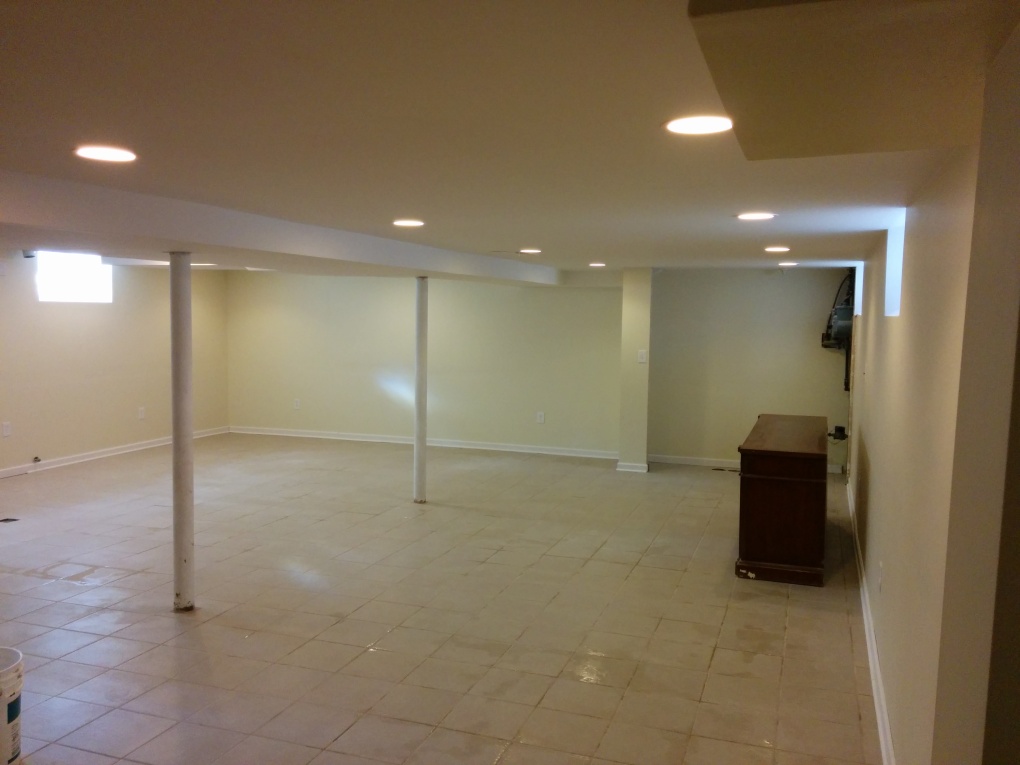
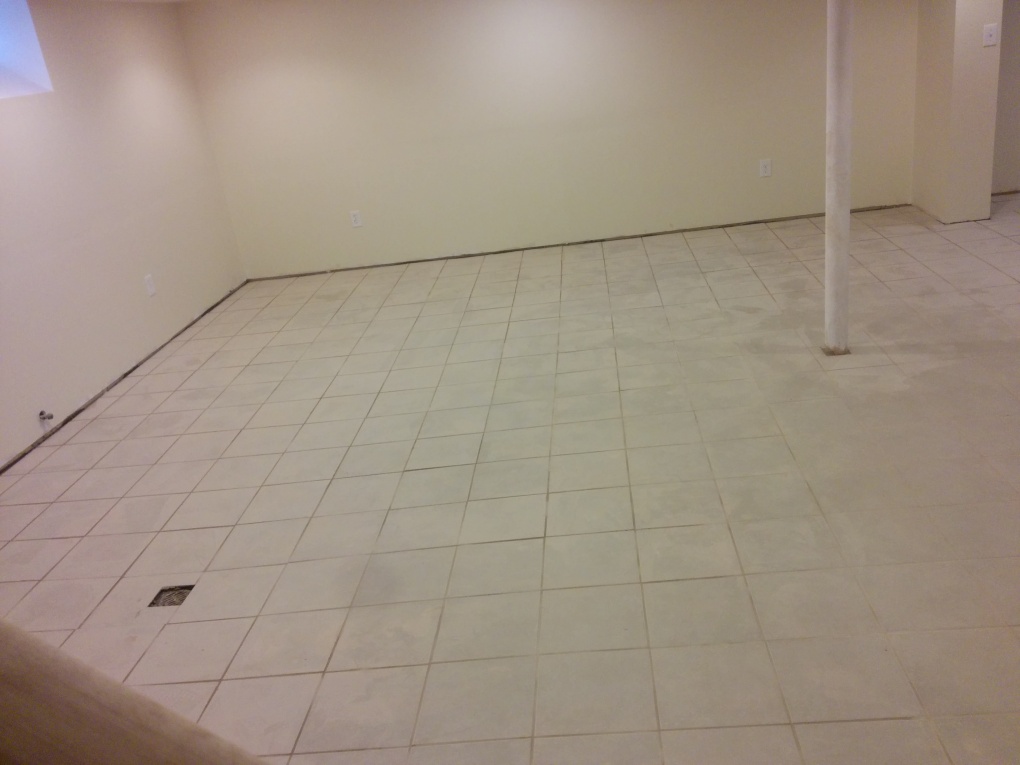
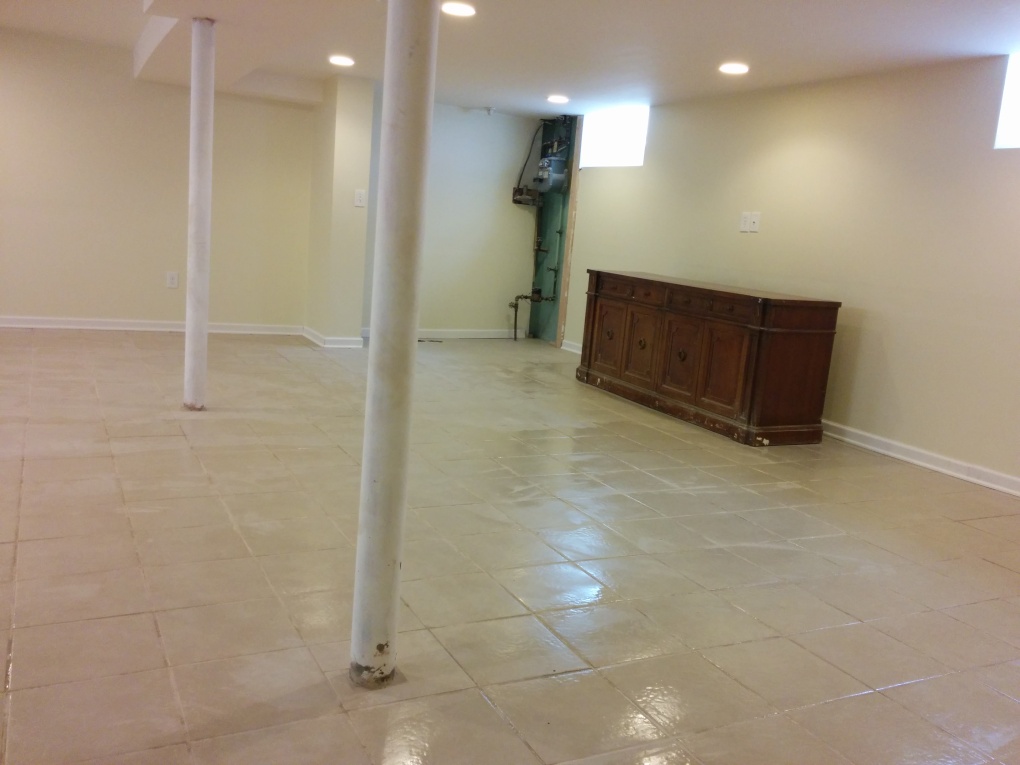
I know we have been MIA but for good reason. We recently started remodeling our kitchen and we are doing pretty much everything ourselves from demolition to tiling to cabinet installation (which means some fun new posts coming soon). This means writing has been on hold for the most part as we juggle chasing after our kinetic 10-month old in between piles of schoolwork and construction. This is a post we have been wanting to do for a while but we just weren’t sure how we felt about encouraging you to tile on your own. Maybe our first tiling success was a fluke, we thought. Considering how many people furrowed their brows over the thought of us tiling, you can’t blame us for being cautious. But having tiled our entire basement in 2014 and now our kitchen in 2016, we are confident enough to encourage you to skip the contractor and try tiling for yourself. So if you’re getting ready to start a major renovation and are thinking about picking up your phone to dial a contractor, stop for a moment and listen to what we have to say. It’s normal to be skeptical about your handy skills and worry that an attempted DIY would end badly for you. You know? That worst case scenario that pops in your head telling you your work will be so bad you’ll have to pay twice as much because you will need to hire someone to fix it up. While that might be true for some things, it is not the case for tiling. Yeah, yeah, we know what you’re thinking. We had plenty of people tell us we were crazy for wanting to tile the basement ourselves. “It will be so uneven,” they said. Not so. We are nowhere near professionals and prior to renovating our basement we had not installed a single tile in our lives. Not only were we able to tile a 1,000 square feet on our own but we did a dang fine job too. With the both of us (plus my father-in-law and brother-in-law helping on occasion) putting in a couple hours of labor after work hours, we were able to complete the project in 5 days. With our kitchen remodel, I was able to tile and grout a 10×11 kitchen in just 2 days working after work hours. Still not convinced? Keep reading to see just how easy it is. And if budget is important, get ready for some major savings!
Supplies
Tiles
Mortar
Grout
Tile Spacers
Tools
Power Drill
Mixing Paddle
Big Trowel
Small Trowel
Rubber Grout Float
Level
Cleaning Sponges
Grout Sealer
Empty Buckets
Clean towels or rags
Below is a more detailed explanation and cost-breakdown of the supplies we picked out:
Because we were tiling our basement, we wanted tiles that were both durable and inexpensive. After a bit of research, we settled on TrafficMaster from Home Depot for $0.57 a square foot. For the 1,000 square feet area we tiled, we ended up buying 68 cases of tile, which put us at $582. Always buy an extra case of tiles to have as backup in case some break or you need to replace some in the future.

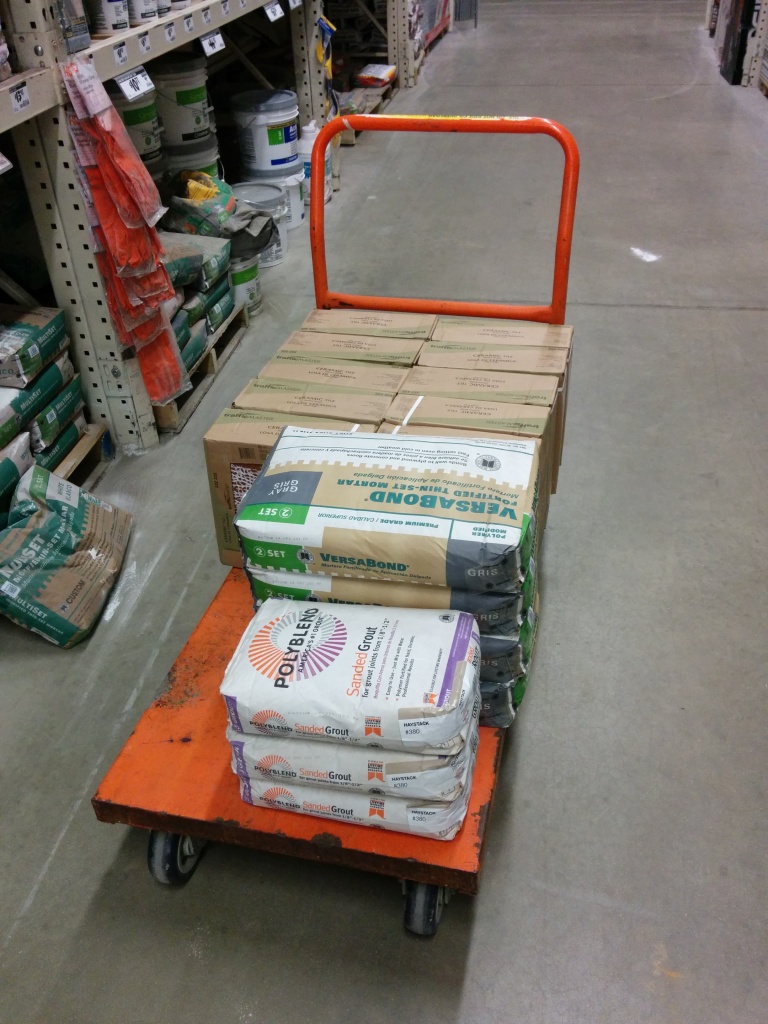
For the mortar, we settled on VersaBond Gray 50 lb. Fortified Thin-Set Mortar which cost us $14.47 a bag. Since each bag covers 100 square feet, we purchased 11 bags (to be on the safe side) for a total cost of $160. Below are the pictures from Home Depot’s website for this product.
The trickiest part about selecting grout (that stuff that goes between the tiles) is making sure that the color matches with the tile. After some back and forth, I settled on the Polyblend #380 Haystack 25 lb. Sanded Grout from Home Depot. Each bag ($14.49) covers around 680 square feet so I bought 2 of them for a total of $29.
Last but not least, I went with the 3/16 inch Job-Tough Tombstone Style Tile Spaces (500- Pack) from Home Depot for the cute little tile spacers. They go for $6 a pack and can be enough unless you plan on finishing the tiles in 1 day, then we recommend you buy 2 packs for a total of $12.
Labor: By putting in the elbow grease yourself, you can save anywhere from $2-3 a square foot. Just to give you an idea-for a 1,000 square foot space that amounts to $2000-$3000 in savings. For a smaller space like a kitchen, the savings can be anywhere from $200-$300. Hey, every penny counts when you’re dropping 10K on a kitchen right?
Note: If you need to cut any tiles you will need a small manual or electric tile cutter (ex. QEP Rip Ceramic Tile Cutter @ $30).
Directions
- Thoroughly clean the floor where you plan to tile. Do not leave any dirt, debris, or adhesive that might have been stuck on the floor from previous tiles/material. Mop and let it dry.
- In a large bucket, and using your drill with the mixing paddle insert, mix an entire bag of mortar according to the instructions on the package. Side with caution when adding water because if you mix too much water you will need to add more mortar which will throw off your mix and cause your bucket to overflow. The perfect consistency is not to loose and not too thick but in between. It takes patience to achieve so don’t get discouraged if you don’t get it right after the first mix.
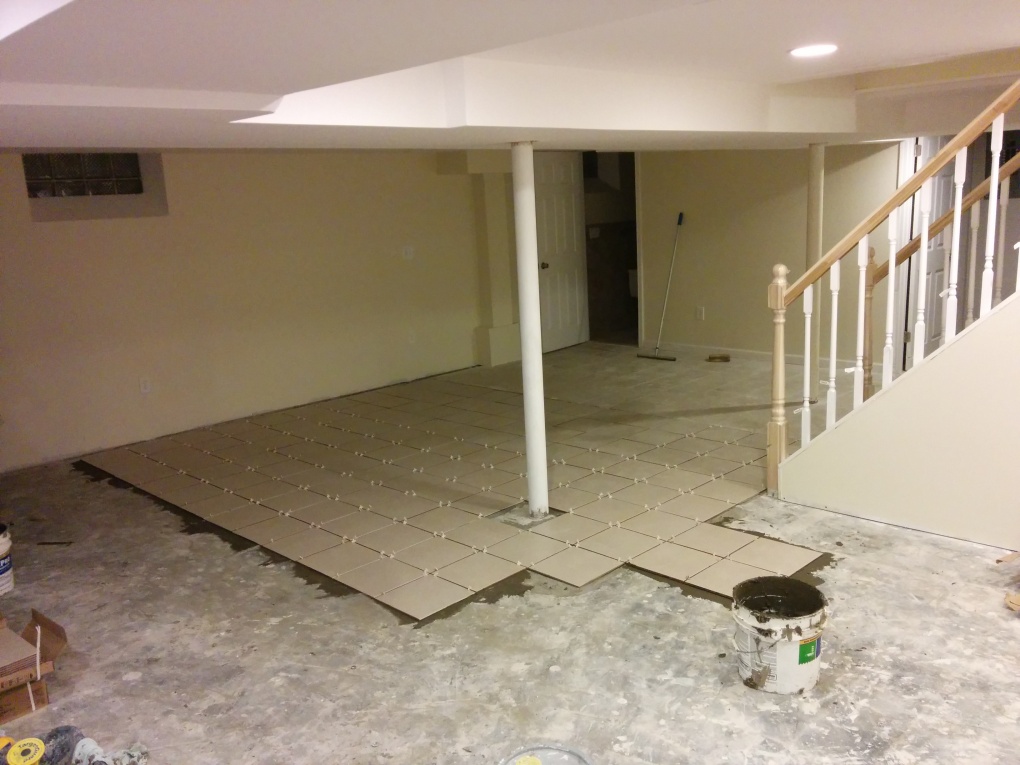
- Have a design in mind as you start tiling because it will make the process much easier. I personally started with 3,2,1 and then started going row by row. There are plenty of options to choose from so it’s really up to you but regardless your design should be in such a way that the tiles are centered in the middle of the room.

- Begin by spreading an even layer of mortar on the surface. Push your tile into the mortar (not too hard) until you feel it is firmly set. Use your tile spacers to properly align your tile as you continue to lay them down.
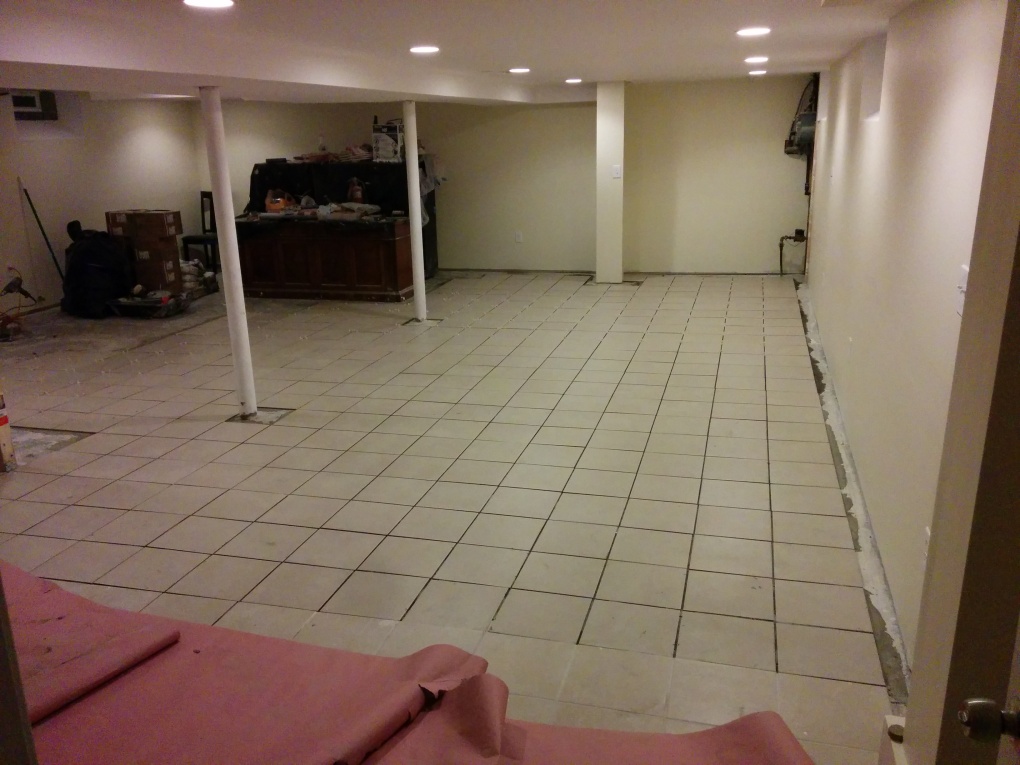
- Once all of your tiles have been laid down, let them dry and settle for 24 hours before removing the spacers and grouting.
- Mix the grout according to the instructions and apply using the rubber grout float across the tile cracks, making sure the cracks are filled and level.
- Remove any excess grout with a wet sponge and let sit for 30 minutes before wiping down the tile with a wet sponge again. Let the grout set for a day and use a dry soft sponge or cloth to remove any grout haze on the tile.
- Use a thin brush to apply the sealant over the grout lines and let it dry overnight.
- Once you are done sealing the grout you are officially done! You can now clean up and begin the fun part of decorating and filling up your space with furniture or storage.




If you liked this post please follow us and share!




Pingback: Cozy Kitchen Series Part 3: Installation