DIY Rustic Wooden Shelving

img_7585

This post is a detailed DIY tutorial for building reasonably-priced, open shelving using a combination of components from IKEA and Home Depot like the one we had in our updated kitchen. Initially, we were going to purchase the IKEA EKBY shelf system but they only had black, white and aluminum options for the actual shelf. Since we wanted to have rustic, woody elements to break up the modern features of our kitchen, we opted to use the EKBY brackets (which you can buy separately) with wood that fit our style and design. If you are wondering why I chose these lumber pieces specifically it is also because they are the perfect width and fit for the EKBY brackets.

The cost of IKEA EKBY shelving varies based on sizing with the standard 31″ shelf costing $19.99 and the larger 46″ shelf costing $29.99. Because we needed a total of 6 standard shelves, that would have put us at around $200 for both the brackets and the shelves. Instead, I was able to purchase eight, 10ft pressure-treated lumbers and cut them to my specifications for a total of $60. With the 6 bracket sets that put us at under $130 for all of our shelves so we saved over $60 in the process. Not only are these versions cheaper to make but you can build and install these shelves in 5 easy steps and without sacrificing on wood preference. Let’s get started, shall we?

Supplies
IKEA Shelf – EKBY BJÄRNUM (two available sizes, 7.5″ at $7 and 11″ at $10)
Home Depot WeatherShield – Pressure Treated Lumber (5/4 x 6 – 10ft at $7.47)
Drywall Anchors & Screws (10 1/2″ – 70 Pack $11.98)

Tools
Saw
Drill
Screw Driver
Small Level
Drywall Anchors
Measure Tape

Directions

1. Measure your space to determine the desired length of your shelves taking into account that the brackets will add about 1/2 inch total to the length.

2. Cut your lumber accordingly and fit them into the brackets to complete the shelf unit. To build one shelf, you will need two pieces of lumber for each pair of brackets.

3. Have someone hold the completed shelf up to the wall while you mark the points where you will install the shelves corresponding to the holes in the EKBY brackets.
CAUTION: Before you mark the holes or drill through them, lay a level on the shelf to make sure it is straight.

4. Proceed to drill through the markings and place drywall anchors into these holes.

5. Have a helper hold up the shelf  again while you fasten it to the wall using screws and a screw driver or drill.

img_1116

img_0928

img_1117

img_0930

img_0931

img_1128

If you liked this post please follow us and share!

Instagram


Fall Harvest Herb Bouquets

img_7208

It’s nearing the end of October and the weather here is finally taking a chilly turn. With all the things that need to get done, including preparing for baby #2’s arrival in a few short weeks, tending to our garden has been one of those things low on our priority list. We really wanted to maximize our harvest this year and preserve what has managed to stay alive but we are just so short on time that we have to be realistic. All those green tomatoes and jalapeños may not be jellied or pickled this year but we at least wanted to dry some herbs for use through the winter. When I found myself bringing basil in but not having the time to clean and dry them, I placed them in a vase on the kitchen counter until I could find the time to tend to them. To my delight, not only did they thrive in their new home but they gave off the loveliest aroma. As you can see, I got a bit carried away and started making more herb arrangements to put around the house. I guess some good can come out of procrastination 😉

If you need to bring your herbs in before they completely die out but can’t preserve them immediately, consider making small bouquets out of them. With regular water changes, they should last up to a week or longer. And the best part? They make such beautiful decor! The pop of vibrant green has really brought life to our home. You can use vases, teacups, jars; any pretty glass you have on hand. I made simple, single herb arrangements but the possibilities are endless.  So hold off on lighting those pumpkin spice candles just a bit longer and consider bringing the fresh scents of basil, thyme, lavender, or whatever else you grow into your home. Nothing beats the clean, natural fragrance they give off!

img_7662-copy

img_7674-copy

 If you liked this post please follow us and share!

Instagram


Cozy Kitchen Series: Reveal & Tour

As promised, today is the day we present you with our completed kitchen. You’ve already read enough in the other three posts so we won’t bore you with trivial chatter here but we just wanted to let you know that we will be doing a few more posts covering some of the DIY details of our kitchen from the rustic open shelving to the LED lighting so keep an eye out for that. And now for our humble gallery. We hope you enjoy the transformation as much as we did 🙂

img_7529

img_7538

img_7513

img_7626

And the details…

img_7599

img_7611

img_7585

IMG_7558.jpg

IMG_7556.jpg

Thank you for following along! If you missed our journey please check out Part 1, 2 & 3 of our kitchen renovation project.


 If you liked this post please follow us and share!

Instagram


Cozy Kitchen Series Part 3: Installation

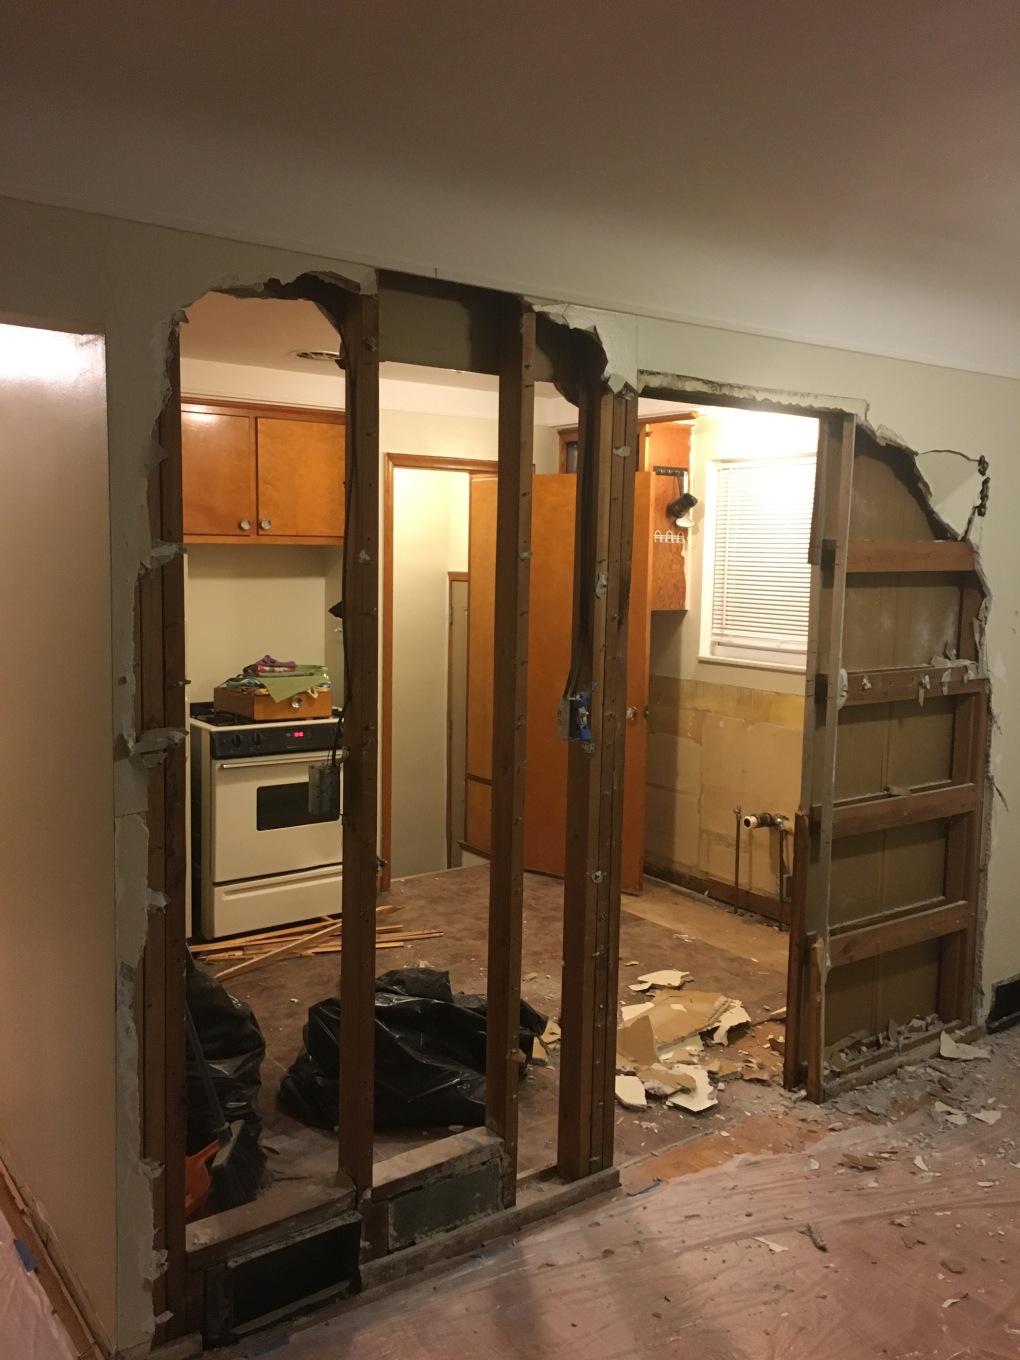
Welcome to the third and final post (kind of) of our kitchen renovation series. For those who followed us through Cozy Kitchen Series Part 1: Planning and Cozy Kitchen Series Part 2: Demolition, we are excited to share a visual diary of how we installed the flooring, cabinetry, drywall, and backsplash before the final cleanup and reveal. We hope that our journey has inspired you to hold off on calling a contractor (for some things) and tap into your inner-handyman/woman and your inner-interior designer 🙂

Flooring
When starting a home renovation project, you want to make sure that the base of the space (aka the floor) is completely flat and level. If it is not, everything installed on top of it will be crooked, which will distort the look of the space. On top of that, you will create more work for yourself because your cabinets will need extra shimming and so on. For a more detailed how-to on tiling please refer to my basement tile post  Don’t Fear the Tile to help you with this step.

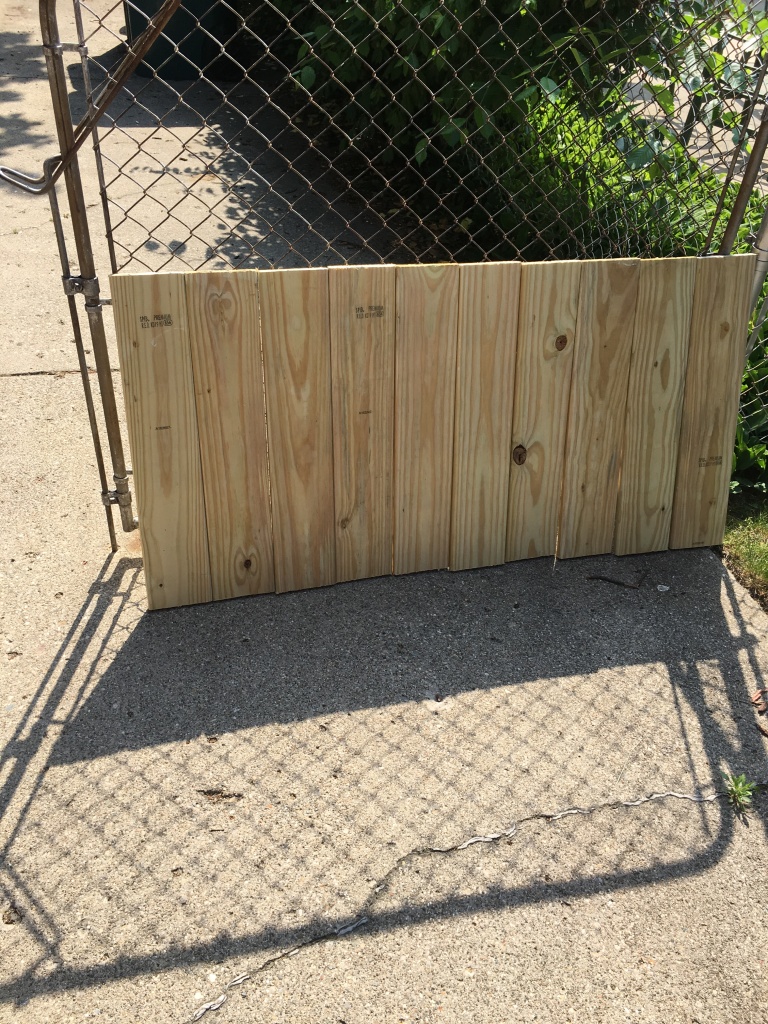
Although I had tiled before, I had never dealt with the removal of laminate tile. I’m not sure if it was the way it was installed but it was a pain! So much so that I had to remove the entire plywood subfloor beneath it. At first, I thought I could remove the laminate and salvage the plywood subfloor so that I could install the cement boards and tile on top of it. Things, however, didn’t go according to plan. The subfloor was so damaged that I had to purchase a circular saw in order to cut out the laminate and plywood subfloor to replace it completely. It was a messy and time-consuming task that I was not prepared for. This is why I think it’s very important that you are aware of and flexible enough to deal with the unexpected.

Cabinetry
Because we purchased our cabinets from IKEA, assembly was a big part of this project. You do have the option of choosing an IKEA-approved contractor to handle the installation if you don’t have the time to do it yourself, but the instructions are pretty self-explanatory and the cabinets aren’t difficult to assemble at all. It took me between 3-4 hours to assemble all 7 of the cabinets and once I had assembled one, the rest were a breeze. One thing to note here is that if you are not installing them right away, you will need sufficient space to assemble and store them until you are ready. Lucky for us we had the basement to do this in, which helped us keep the kitchen clutter free. If you have a clean attached garage that would work great too. After I assembled the cabinets and installed them in the correct order on our freshly tiled floors, the countertop people from Home Depot came out to measure for the countertop and later installed it when it was cut and ready (it was a two week wait in case you’re wondering). Some things you just leave to the professionals!

Drywall
I didn’t have too much to drywall for this kitchen except for some patches behind the sink, the hideous hole in the ceiling “vent” that needed covering, and around the supporting beams and walls that were torn down. Drywalling is quick and easy until you get to the mudding and sanding part. The awesome thing is you can pretty much drywall an entire room in a few hours and be done with it. The rough part of drywalling is needing to apply mud to the seams and sanding them 3 times until all the separate pieces look like one big seamless wall. Other than the fact that you need some strong arms to get you through the sanding, there isn’t much required of you to be able to put up drywall. But if you don’t feel confident and you have no experience drywalling then YouTube can be your best friend 😉

Below is a graphic that sums up the steps of drywalling courtesy of This Old House.
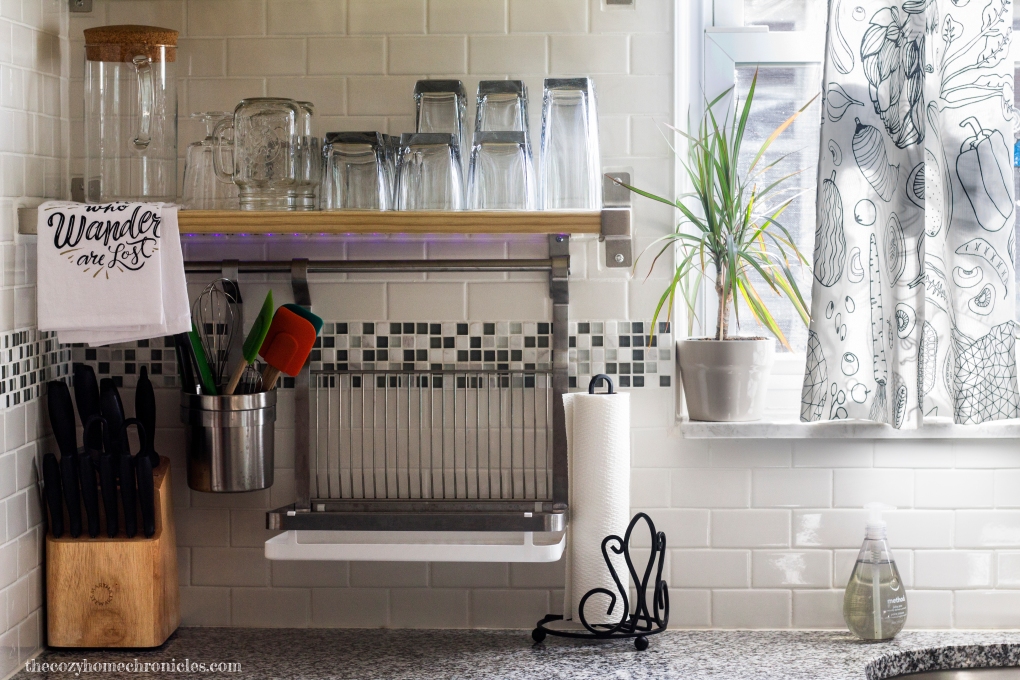
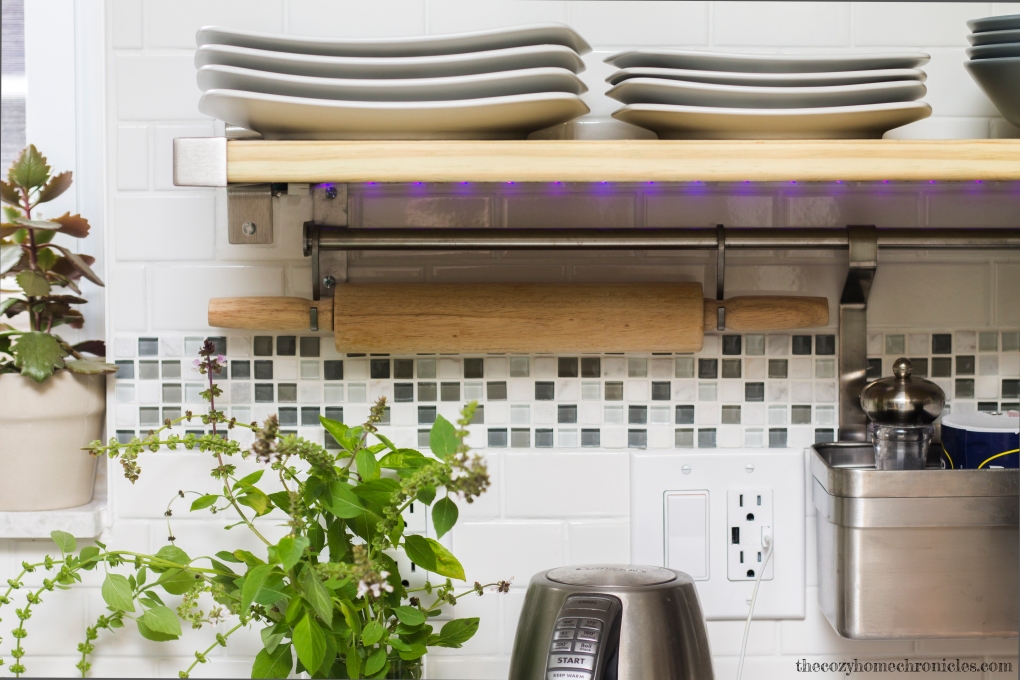
finishing-drywall-overlg

Backsplash
This would have been my favorite step if it wasn’t for the self-imposed due date. I worked around the clock for 2 weekends to finish this part of the project. Again, you can refer to our tile post Don’t Fear the Tile if you aren’t familiar with tiling. The only difference when tiling a kitchen backsplash wall is that you need to be careful with your application of tile adhesive/mastic. Because gravity will be working against you, you will have to score the surface with a blade before applying a light amount of adhesive and laying down the tiles. For me the hardest part of backsplash tiling was our indecisiveness. Yes, indecisiveness. We seriously went back and forth for weeks trying to settle on a backsplash tile. There were just too many beautiful ones to choose from! After considering our countertop design and the look we were going for, we finally settled on white subway tile for under $3/sq. ft with a strip of bluish/grayish accent tile. We didn’t originally plan to tile an entire wall but as we got closer to installing the backsplash, we realized it would look really nice to have a feature wall where our window and open shelving would be.

Well, there you have it! A detailed overview of our kitchen renovation and all the planning and work that went into it. Of course, as a homeowner, there is no such thing as being completely done with work around the house. We are still figuring out some things like how to organize all our stuff and what to replace our main light fixture with but we are so happy with the results and we really mean it when we say, you can totally do something like this if you wanted to. I know we promised a full kitchen reveal but I decided to put that in a separate post so that you aren’t overloaded with images. Check back tomorrow for the final reveal and in the meantime, feel free to ask for clarification, support, budgeting advice; basically anything kitchen-renovation related and we will be happy to answer you to the best of our ability.

If you liked this post please follow us and share!

Instagram


Pumpkin Spice Milkshakes

img_6903

We love autumn and pumpkin spice everything just as much as the next person but this year we had a bad experience with a pumpkin spice latte. Weeks of anticipation ended in utter disappointment as we found ourselves with a beverage that was sickeningly sweet and unbearably oily. After a few sips we tossed it out. I said, then, that we would skip buying these specialty beverages from outside (along with all the sugar, fat, and calories that come with them) and try to make healthier versions at home. I haven’t attempted to make a pumpkin spice latte yet, but being that we are both ice cream fiends and Michigan weather can be unpredictably warm (it’s 80 degrees today), I put together this delicious milkshake that screams pumpkin pie and butter pecan ice cream in ice-cold fashion. This recipe makes enough for two servings but can certainly be adjusted if you want to make more and you can also tone down the spices as you fit. Now what are you waiting for? Your pumpkin spice sweet tooth is calling 😉

img_6915

Pumpkin Spice Milkshakes

  • Difficulty: Easy
  • Print

Ingredients
2 1/2 cups quality vanilla ice cream (we use Turkey Hill All Natural)
1 tablespoon pumpkin puree
1/2 cup milk*
1/2 teaspoon ground cinnamon
1/4 teaspoon ground nutmeg
1/8 teaspoon ground cloves
1/8 teaspoon ground ginger
homemade whipped cream
toasted pecans for garnish
pure maple syrup for garnish

*We like our milkshakes on the thicker side so feel free to adjust the recipe and add more milk if you like a thinner milkshake.

Directions
In a blender, combine ice cream, pumpkin puree, milk, and spices. Blend until smooth. Pour into glasses and top with homemade whipped cream, toasted pecans, and a drizzle of maple syrup. Serve and enjoy!

img_6932

If you liked this post please follow us and share!

Instagram


Inspirational Wallpaper: October

IMG_4638 copy.jpg

October. It’s the beginning of the end but also a beginning in its own right. Despite the earth slowly decaying before our very eyes, it’s a magnificent site to behold. Brilliant fiery hues of red, orange, and yellow take the place of green as the air becomes crisper and cooler. Let us welcome all change as we welcome the warm colors of autumn. Because autumn is so much more than pumpkin-spiced lattes and apple crisp (those are nice, don’t get me wrong). It’s about preparing for the growth and rebirth that will come after the cycle of life and decay has completed itself. What a thought to end the week on huh? Happy Friday and Cheers 🙂

For download and printing: hello-autumn

If you liked this post please follow us and share!


Lebanese Cauliflower Stew

img_6825

As the weather has started to cool down, I find myself turning more to preparing soups and stews for dinner. Particularly Lebanese stews, which are flavorful and hearty, and have always been some of my favorite meals growing up. No matter what the main ingredient is, I can eat the leftovers for a week and not get sick of it. They are that good! If you saw our post on the Lebanese Beef and Potato Stew, you’ll notice that this recipe is very similar. The only difference is that the star of this dish is sweet, golden-fried cauliflower or arnabeet and the broth is much tangier due to the extra lemon juice. I hadn’t made this recipe in a while but when I saw large cauliflower on sale at the local market, I decided it was time for this stew to make a reappearance on our table and an appearance on this blog as I continue to share our favorite family dishes. I hope you enjoy this one as much as we do 🙂

Lebanese Cauliflower Stew

  • Difficulty: Easy
  • Print

Ingredients
2 large cauliflower heads
1.5 lbs beef stew chunks
8-10 cups water*
2 small bunches cilantro
1 garlic head, peeled
2-4 lemons
Vegetable oil for frying
Salt and pepper to taste

*I am very liberal when it comes to the amount of water I use in preparing the broth because I end up skimming a lot so naturally it gets reduced and concentrated as time passes.

Directions

  1. Thoroughly wash your cauliflower and cut them into medium-large florets. The smaller you cut them the more they break up in the stew and you definitely want some cauliflower bites.
  2. In a large stockpot, bring the beef stew chunks and water to a boil and then let simmer, skimming the fat and impurities continuously until the broth is clean. Once the broth is clean, reduce the heat, cover and let simmer until the meat is tender (about 2 hours).
  3. In a food processor, pulse the cilantro and peeled garlic until you have a rough paste. 1/2 of this will go directly into the clean broth. The other half you will save for step 6.
  4. In the meantime, prepare a pot for frying and a tray for draining the oil (paper towel works just fine).
  5. Once the oil is hot, begin frying the cauliflower in batches until they are a beautiful golden brown. Salt them as they come out and let them drain from any excess oil.
  6. Prepare a pan with a bit of vegetable oil and sauté the other half of the cilantro-garlic paste until fragrant. Do not let them burn. Fish out the beef stew chunks from the broth and toss in the pan with the sautéed cilantro-garlic paste. Once browned, return to the stock pot.
  7. Transfer your cauliflower into the broth and let simmer for another 30-45 minutes until the cauliflower are tender.
  8. Season the stew with salt, pepper, and lemon juice to your liking. The broth should have a mellow sweetness from the cauliflower and a vibrant kick from the lemon, garlic, and cilantro combination.
  9. Serve with a side of basmati rice and fresh crunchy radishes.


img_6797

img_9707

img_6821

If you liked this post please follow us and share!

Instagram