


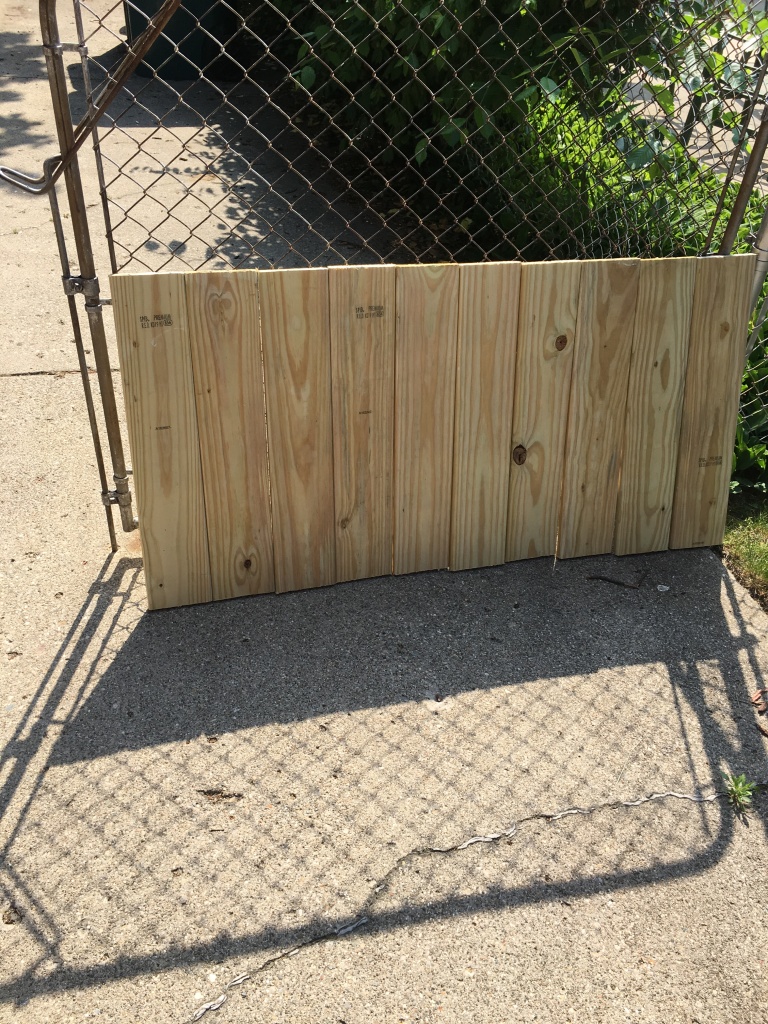
This post is a detailed DIY tutorial for building reasonably-priced, open shelving using a combination of components from IKEA and Home Depot like the one we had in our updated kitchen. Initially, we were going to purchase the IKEA EKBY shelf system but they only had black, white and aluminum options for the actual shelf. Since we wanted to have rustic, woody elements to break up the modern features of our kitchen, we opted to use the EKBY brackets (which you can buy separately) with wood that fit our style and design. If you are wondering why I chose these lumber pieces specifically it is also because they are the perfect width and fit for the EKBY brackets.
The cost of IKEA EKBY shelving varies based on sizing with the standard 31″ shelf costing $19.99 and the larger 46″ shelf costing $29.99. Because we needed a total of 6 standard shelves, that would have put us at around $200 for both the brackets and the shelves. Instead, I was able to purchase eight, 10ft pressure-treated lumbers and cut them to my specifications for a total of $60. With the 6 bracket sets that put us at under $130 for all of our shelves so we saved over $60 in the process. Not only are these versions cheaper to make but you can build and install these shelves in 5 easy steps and without sacrificing on wood preference. Let’s get started, shall we?
Supplies
IKEA Shelf – EKBY BJÄRNUM (two available sizes, 7.5″ at $7 and 11″ at $10)
Home Depot WeatherShield – Pressure Treated Lumber (5/4 x 6 – 10ft at $7.47)
Drywall Anchors & Screws (10 1/2″ – 70 Pack $11.98)


Tools
Saw
Drill
Screw Driver
Small Level
Drywall Anchors
Measure Tape
Directions
1. Measure your space to determine the desired length of your shelves taking into account that the brackets will add about 1/2 inch total to the length.
2. Cut your lumber accordingly and fit them into the brackets to complete the shelf unit. To build one shelf, you will need two pieces of lumber for each pair of brackets.
3. Have someone hold the completed shelf up to the wall while you mark the points where you will install the shelves corresponding to the holes in the EKBY brackets.
CAUTION: Before you mark the holes or drill through them, lay a level on the shelf to make sure it is straight.
4. Proceed to drill through the markings and place drywall anchors into these holes.
5. Have a helper hold up the shelf again while you fasten it to the wall using screws and a screw driver or drill.


If you liked this post please follow us and share!
![]()

6 thoughts on “DIY Rustic Wooden Shelving”