If you live in the Midwest and you’re looking for a picturesque place to vacation, hike, or unwind then we have the perfect place for you. There is a hidden gem located in Ohio, called Hocking Hills State Park, and it is only a 4-5 hour drive from many bordering states. We know what you’re thinking. Ohio?! What can possibly be in Ohio besides cornfields and farmhouses?! Well, this.

Yes, this exists in Ohio. And with a little bit of planning ahead you can refresh your soul and enjoy a relaxing getaway with a gorgeous view. There are plenty of activities for children and adults alike including hiking, fishing, canoeing, swimming, horseback riding and just all around enjoying nature. We have been visiting Hocking Hills since 2012 and have experienced its beauty both in the summer and winter. After our latest trip this past August, we decided to share a little bit about one of our favorite vacation spots for no other reason than we find it awesome and think you should visit. Our first adventure post…here goes!
Lodging
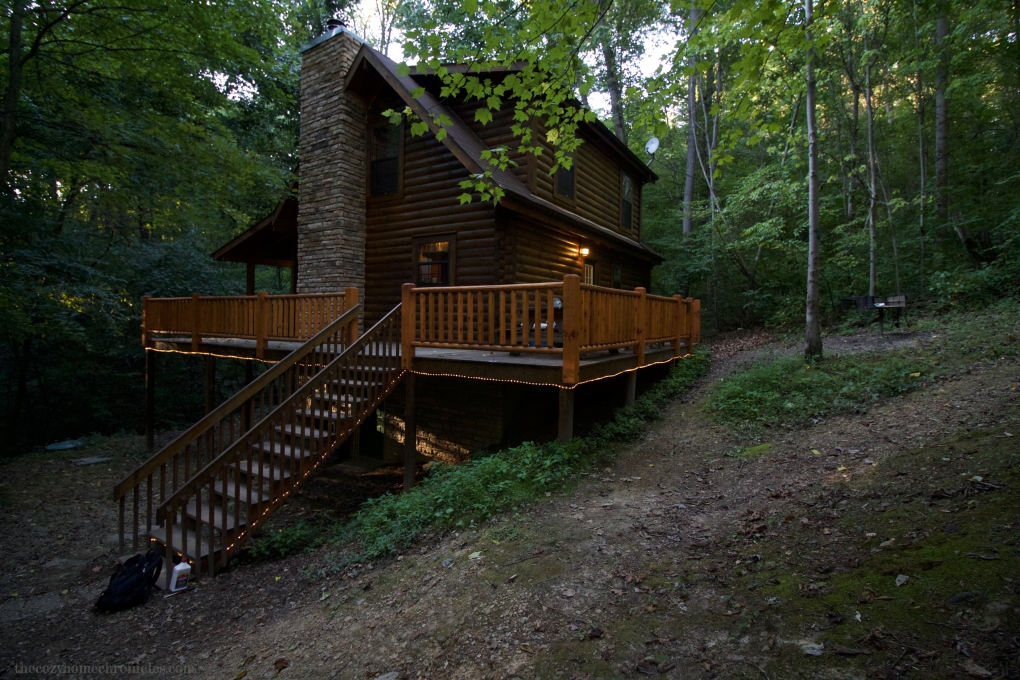
Where you lodge makes all the difference when you stay in Hocking Hills country. While there are hotels and motels you can stay in, we feel that the experience simply isn’t the same if you don’t stay in a log cabin. Rustic and cozy, these secluded cabins truly feel like a home away from home. There are so many different ones to choose from based on family size and amenities (like if you want a jacuzzi on your porch) but our personal favorite that we always come back to is Cabins by the Caves. Some cabins that you may come across online look dingy, tacky, and outdated but these ones are from it. The interiors have always been clean and inviting and the woods surrounding them are just serene. They are also very reasonably priced considering you’re getting a whole home to yourself. And if you go with a group and choose to share a cabin with friends or family, you’ll save even more. Just know that these cabins get booked far in advance (especially weekends and holidays) so if you’re thinking about a trip in the summer then consider booking soon.
Food
If you do choose to rent a cabin then there’s likely a full kitchen inside and this is where that extra bit of planning comes into play. It’s amazing how a simple meal plan, grocery shopping, and a cooler can really enhance your experience. Who wants to stress about what to eat when you’re on vacation? Most of these kitchens come equipped with everything you’ll need to cook (some even have outdoor grills like ours) so just do a bit of prep work before you leave and make life easier for yourself. I made a meal plan a few days before we left and did the shopping and chopping the day before. My advice is to pick easy meals that are healthy and not too involved. You don’t want to be cooking a five-course dinner on vacation either. If your cabin comes with a grill then plan your meals around that. Burgers, steaks, portobello mushrooms, peppers, etc… You name it, you can throw it on the grill.
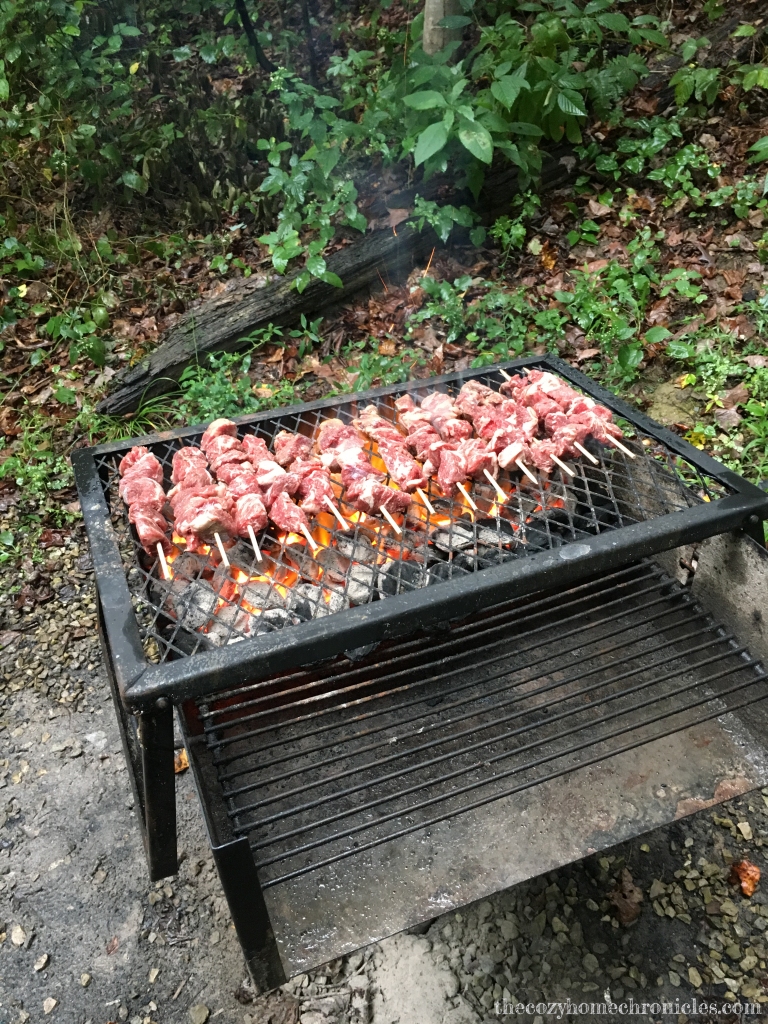
To give you an idea, I made pizza dough the day before we left so that when it came time for dinner one of the nights, all I had to do was roll out the dough and top the pizzas before popping them in the oven. I also packed a gallon-sized ziplock bag with diced carrots, celery, and onions and added tuna, mustard, and mayo for a quick lunch of tuna salad sandwiches after one of our hikes. In the evenings when we had a sweet tooth, I would spoon homemade cookie dough that I made before we left and we’d have fresh, homemade chocolate chip cookies with cold milk. Having the meals decided and mostly prepped ahead of time really made the trip much less stressful.
Activities
We aren’t going to list every single activity there is to do because you can find all of them here but we will share some of the things we did and enjoyed along with some tips and tricks we learned for next time. One of the highlights of our trip was renting a pontoon from the Lake Logan Marina to ride around the lake for a few hours. While we thoroughly enjoyed the warm summer breeze and the scenery, it was a bit unnerving having babies on board. Our suggestion is that if you have young children to pack some toys to preoccupy them as they get restless pretty quickly. Also we hadn’t planned on boating until we drove by the small marina and so by the time we were out on the lake we realized it was lunchtime and we were starving. Next time we would plan for a picnic on the water because it would make for a memorable and fun experience. And why not?
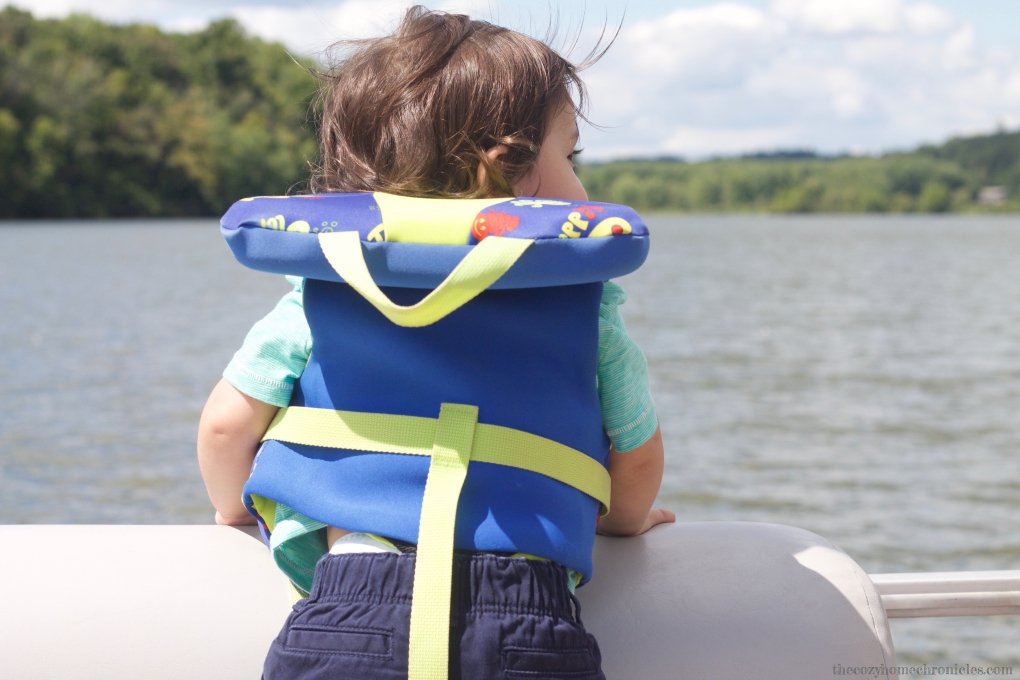
Our little hobbit soaking in some sun and mist.
Out of all the activities we definitely hiked the most (you can’t really zip-line or ride horses with babies). We don’t know how we would have done it without a baby carrier for our 14-month old because only one of the caves had a semi-paved trail for handicap access. Also some of the hiking trails (The Rock House & Cantwell Cliffs) are more treacherous than others so we did not include them in our plans for safety reasons. We recommend you skip them too if you have babies with you. You can also plan on your daily schedule looking a bit different (surprise surprise) if you’re traveling with little ones. When we used to go before we had children, we would just hike carefree for hours. This trip we had to divide the trails over a couple of days to accommodate nap time and baby attention spans. Because of that our days ended up looking something like this:
Afternoon Day 1: Ash Cave
Morning Day 2: Old Man’s Cave
Afternoon Day 2: Swimming at Lake Logan
Morning Day 3: Cedar Falls
Afternoon Day 3: Boat ride on Lake Logan
Morning Day 4: Conkle’s Hollow
It wasn’t such a bad thing though. By breaking it down, we got to appreciate the beauty and uniqueness of each trail and waterfall and we also drastically reduced the occurrence of fussiness and meltdowns. In between activities we would return to our cabin to rest up and eat so that we would have the energy to go back out again. Our cabin was fairly close to all of the hiking trails/parks and the scenic drive through hilly farm country was something we didn’t mind especially because our son was super excited to see all the horses and cattle.
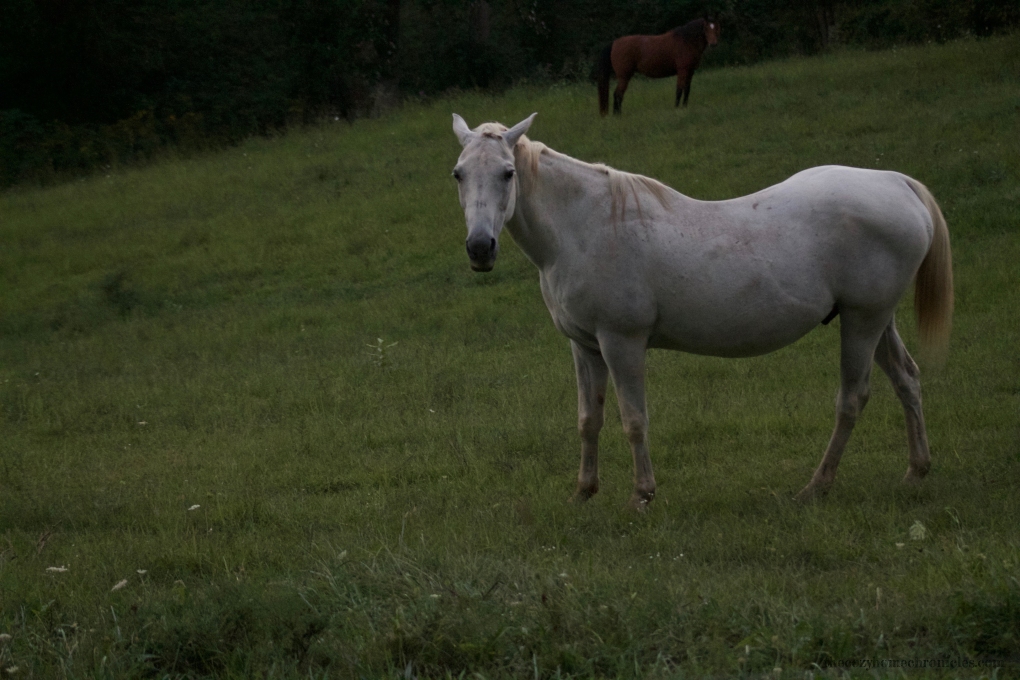
Stopping by the side of the road to say hello to this beautiful horse.
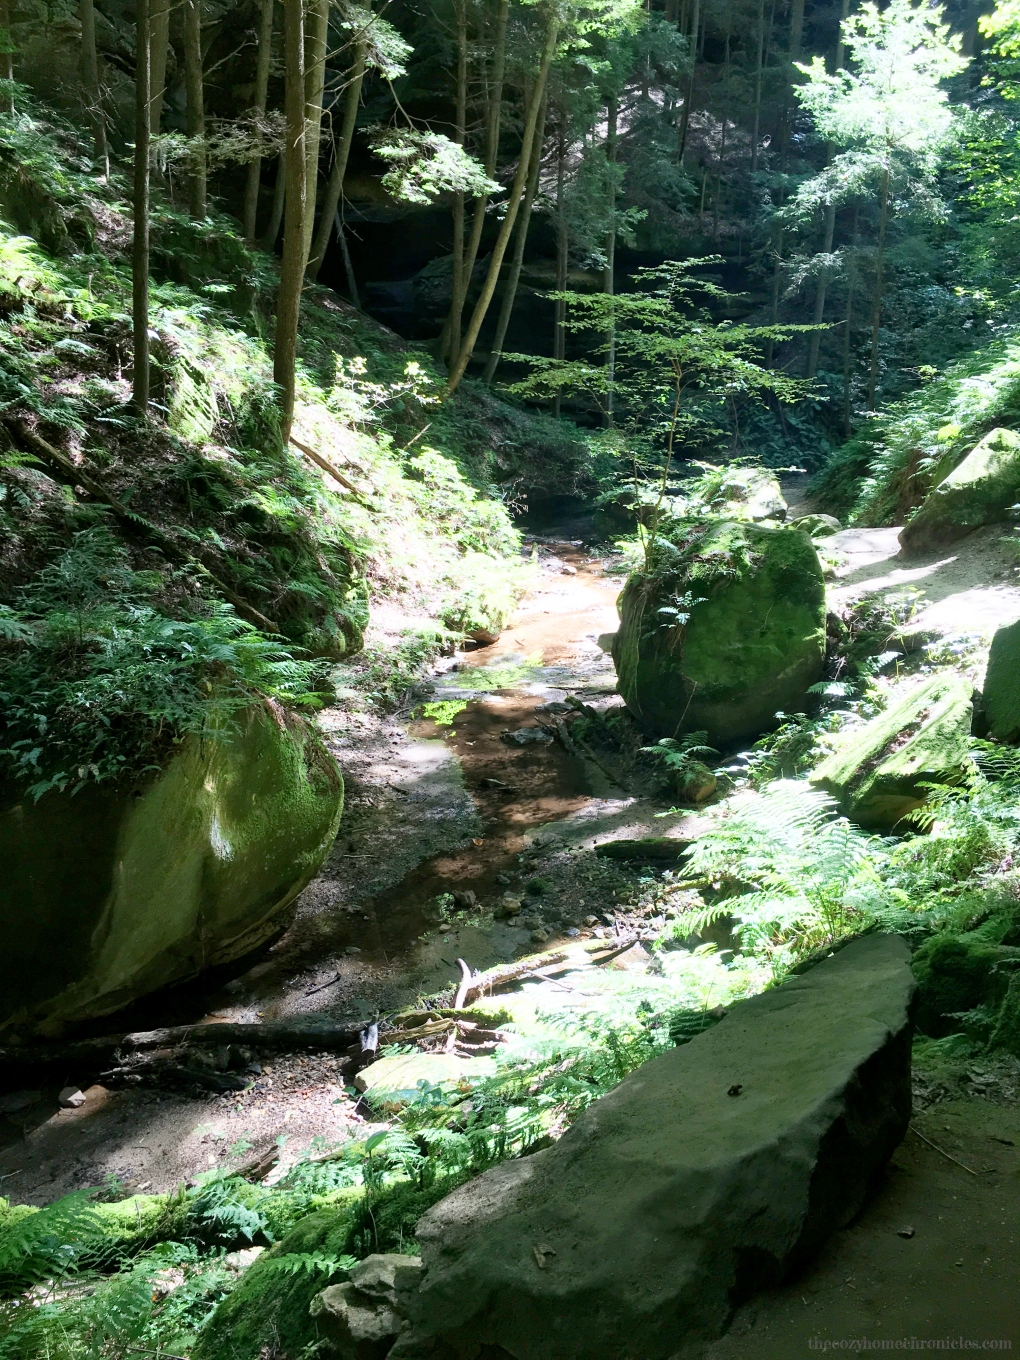
Well that pretty much covers all of the finer details of our trip. You surely must be wondering what is so special about this place that we keep coming back year after year. For that explanation we will just let our pictures do all the talking…
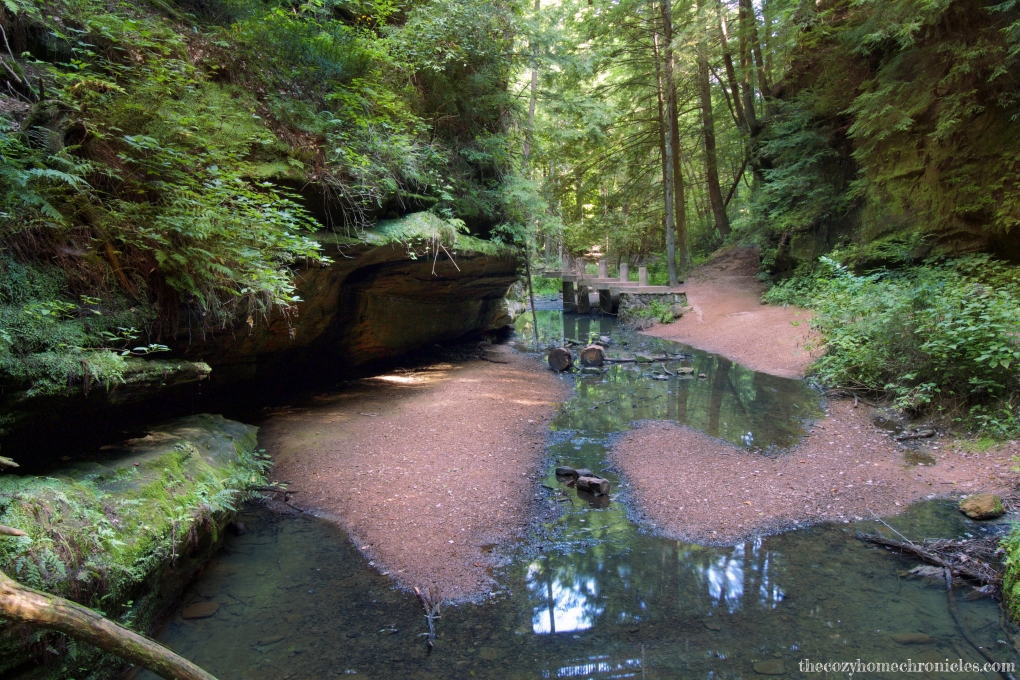
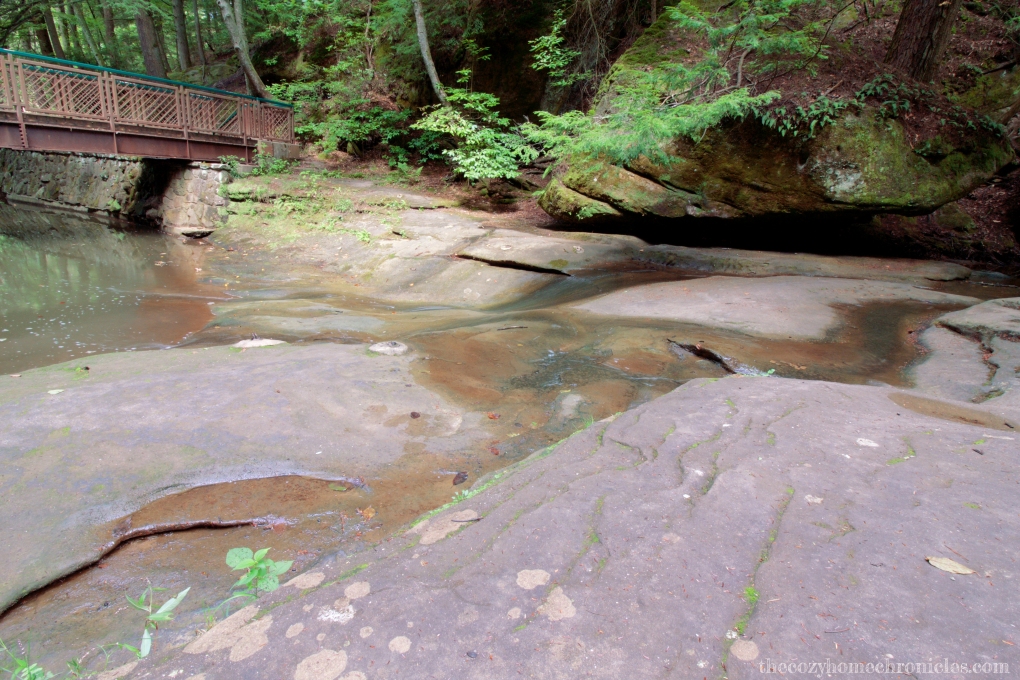
Ash Cave
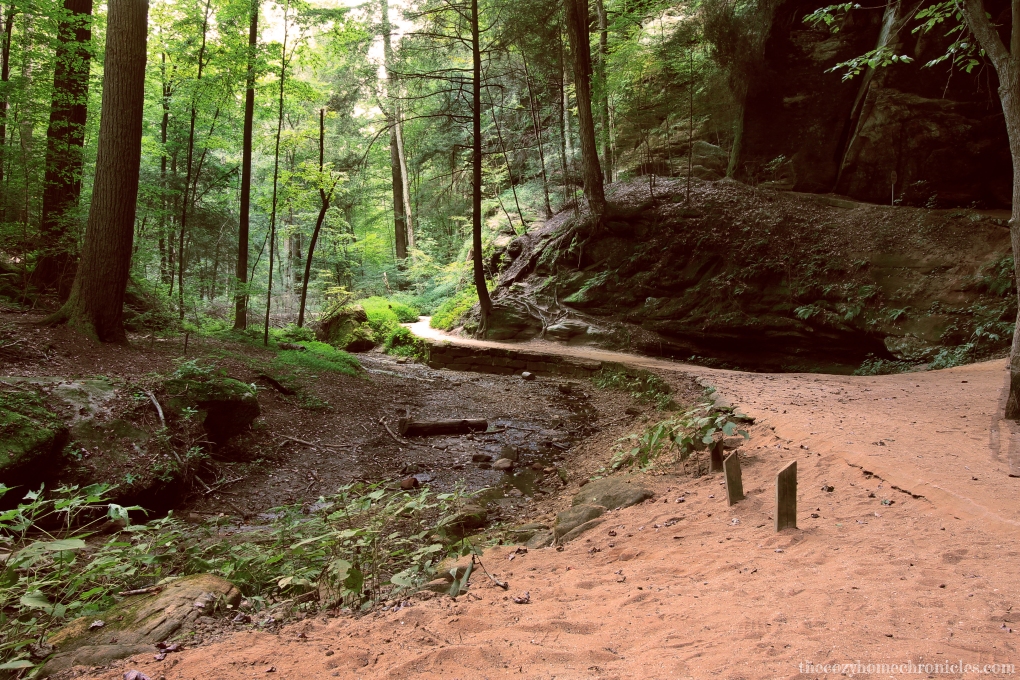
Old Man’s Cave


Taking time for a splash at Old Man’s Cave Lower Falls.
Cedar Falls

Lake Logan


Conkle’s Hollow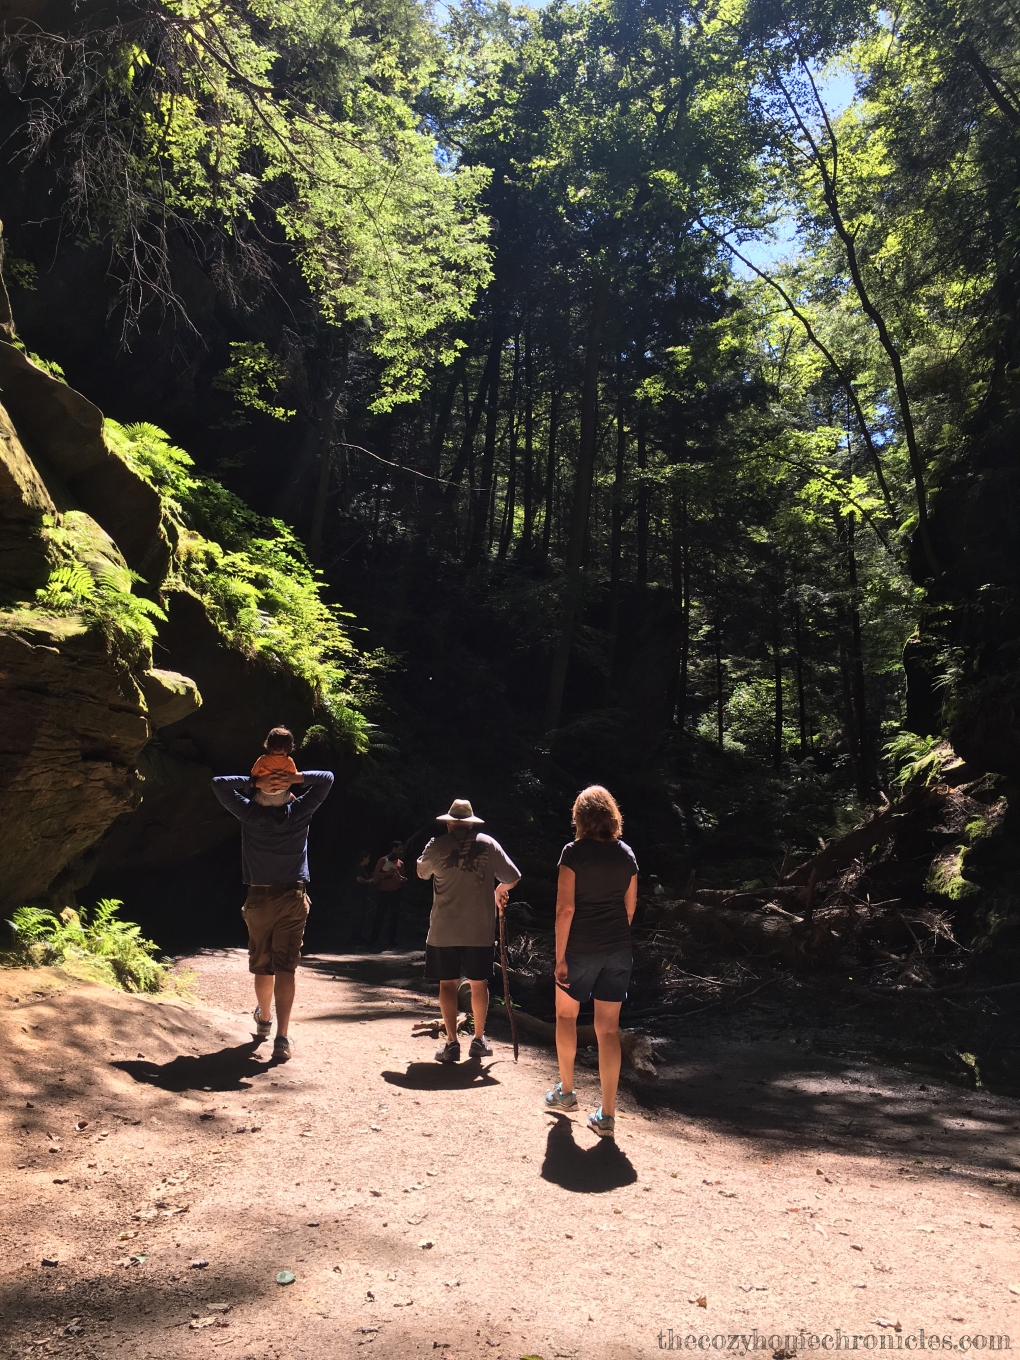
Do you have any family favorite vacation spots? We’d love to hear all about it in the comments below 🙂
And as always! If you liked this post please follow us and share!