Healthy Homemade Butterfingers

img_9645

My brother recently brought over a PB&J  Chobani Flip for me because he’s experimenting with “healthier” snacking and wanted me to try it out. Ignoring the fact that it had 18 grams of sugar, the crunchy peanut topping was quite good and reminded me instantly of the popular candy bar Butterfinger; something I haven’t had in a long time. Although we both love all things peanut butter and chocolate, we have chosen to stay away from processed foods especially made by Nestle. Of course I couldn’t leave my sweet tooth hanging so I sought to create a healthier, homemade version of the candy bar. And that is exactly what I did… in the form of a granola bark.

img_9198-1

Plain granola bark without the peanuts or chocolate drizzle on top.  

img_9633

Granola and roasted peanut cluster bark

I did look up how to make homemade Butterfinger but all the recipes I found either required a candy thermometer or even unhealthier store-bought candy corn. Ain’t nobody got time for that! All I did for this recipe was create a sweet, nutty, and crunchy granola as a substitute for the crispy textured inside of the candy bar and made it into a bark for easy assembly. At first, I tried making a batch of granola with regular peanut butter but I felt that I could not control the flavor as I desired so I used PB2 instead and experimented with different combinations of maple syrup, vanilla extract, and salt until I felt I achieved that distinctive Butterfinger taste and texture. You’ll be pleasantly surprised at how simple this recipe is and the best part is that it has real wholesome ingredients and none of the preservatives! Just know that this bark is addicting but it does store well in the fridge so try to save some for your friends and family. They’ll be happy you did 🙂

Healthy Homemade Butterfingers

  • Difficulty: Easy
  • Print

Ingredients

Granola
1 1/2  cups rolled oats
1/2 cup coarse crushed salt roasted peanuts
6 tablespoons PB2 powder
3-4 tablespoons water
1/2 teaspoon salt
1 teaspoon vanilla extract
1/4 cup pure maple syrup
2 tablespoons vegetable oil

Butterfinger bark
1/2 cup of quality milk chocolate, melted
1 1/2 cups of crunchy peanut granola
1/4 cup salt roasted peanuts (optional)

Directions
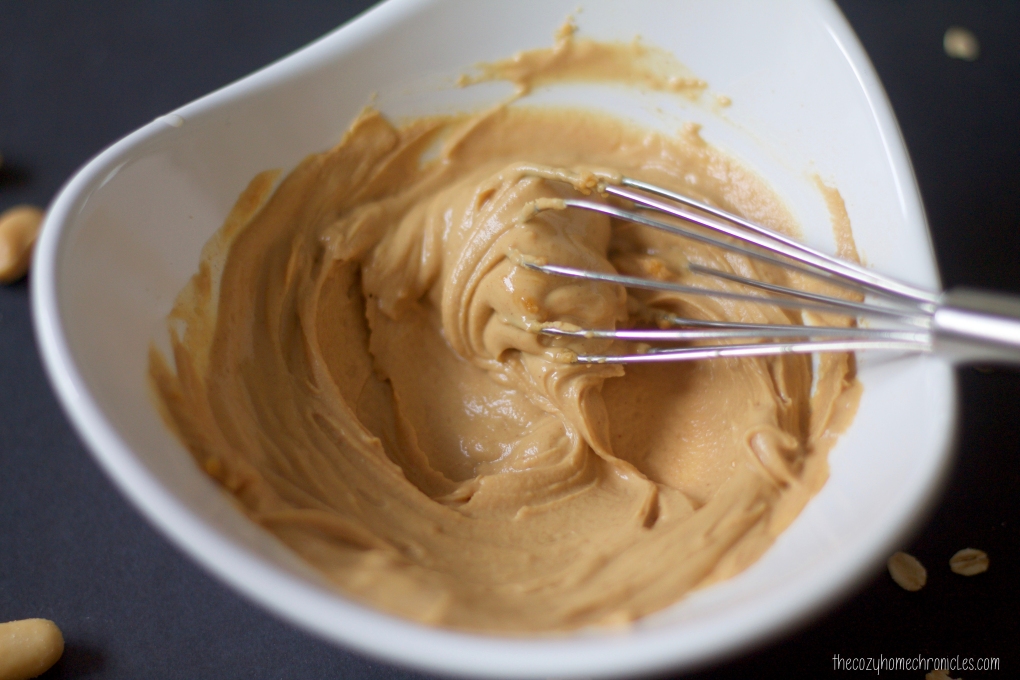
1. In a mixing bowl, combine PB2 and water. Stir in the salt, vanilla extract, maple syrup, and oil until smooth.
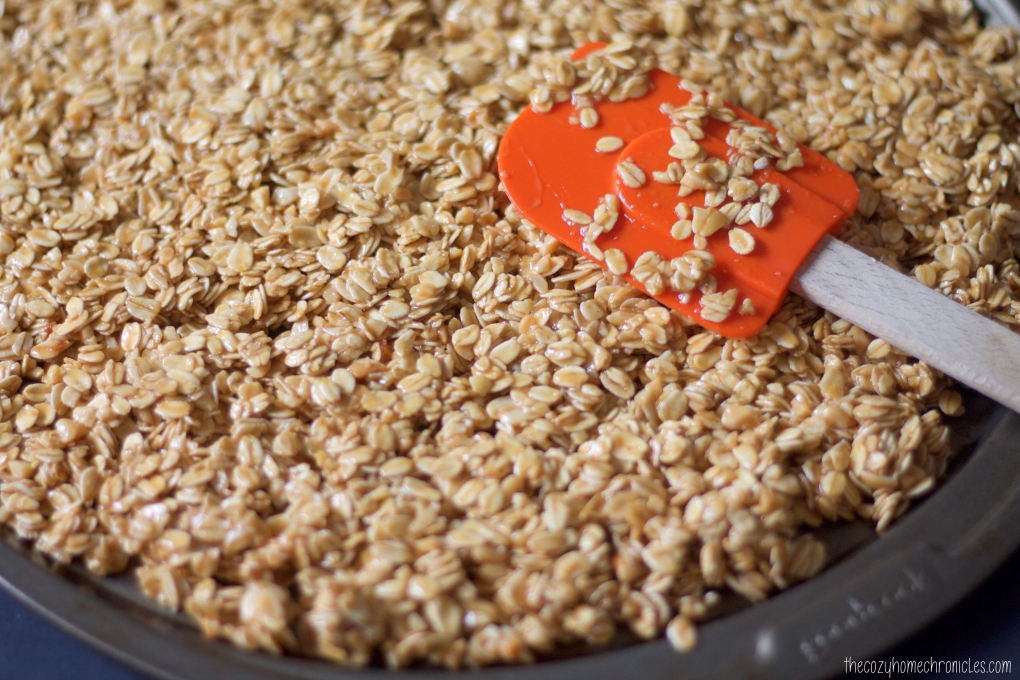
2. Add in rolled oats and crushed peanuts and combine until evenly coated.
3. Spread mixture on a thin baking sheet and bake at 250F for 30 minutes stirring every 5 minutes until evenly golden brown and crunchy.
4. In a double boiler or in the microwave, melt your milk chocolate and spread half of it thinly and evenly on a silicone baking sheet or parchment paper.
5. Immediately top with a generous amount of crunchy peanut butter granola and peanuts  (optional) then drizzle with remaining chocolate. Refrigerate until firm before peeling off the silicone or parchment paper and breaking the bark into pieces. If you have extra granola you can store in an airtight container for snacking at a later time 😉

img_9154

img_9161

img_9165

img_9648

Have you ever tried to make a copycat candy recipe? Do share in the comments below. And as always…

If you liked this post please follow us and share!

Instagram


IKEA Hack: DIY Rustic Bread Tin Box

img_9537

We eat A LOT of bread… possibly too much of it but we are hobbits so that’s probably not going to change anytime soon. Although we finished renovating our kitchen this past May, there is still some work to be done in terms of organizing and decorating. One of the things that needed to get checked off of our to-do list was finding a way to preserve and store our leftover bread. When we searched for bread storage online, we immediately fell in love with the charm of those rustic farmhouse bread tins. Of course it would have been easy to click purchase and have one delivered straight to our doorstep for $45 but where’s the fun in that? Instead we took our time getting ideas until we came up with an easy DIY bread tin. Not only is it way cheaper than any bread tin you’ll find in store but it’s super easy to make and customizable too. IKEA has two different tin options that you can use for this project and both are under $15. 

The Beromlig that we settled on came with two sizes for $8.99 and we used the larger one to make the bread tin box (we will probably turn the smaller one into a cookie tin). That’s a steal considering simple tins like the one pictured below on wayfair.com are going for $26.99 at sale price. Besides the choice of tin, you also have the option to pick any font you want. We went for a classic look with “Old School Alphabet” stencils that we found at a local Michaels. Lastly, you’ll need to settle on an ink color from the many pretty shades that are out there. Why permanent marker you ask? Well we did try acrylic paint and it peeled off too easily. Although permanent marker can come off with rubbing alcohol (we checked!), it does not come off with a gentle wiping using a wet cloth. I suppose you can use spray paint or some other fancy medium but for a simple and inexpensive home decor item,a  good old Sharpie will do the trick. Alright, let’s get started!custom_imageMaterials
Beromlig Storage Tin
 or Hemsmak
Letter stencils
Permanent marker
Washi or painter’s tape

img_9524-copy

Directions

1. Wipe the inside and outside of the tin clean with a damp cloth and dry thoroughly.
2. Arrange and level your letters on the tin and tape them in place using washi or painter’s tape.
3. Fill in the letters with any color permanent ink you choose.
4. Let dry for 10 minutes before removing the stencils.
5. Find a happy place for your bread box and fill with delicious breads 🙂

img_9485

img_9497-copy

img_9527

img_9515-1

What projects and adventures are you working on right now? Please join the conversation below in our comment section, we would love to hear from you!

If you liked this post please follow us and share!

Instagram


Our One Year Blogiversary Giveaway

giveaway

The beginning  of the year is always an exciting time as many take the opportunity to wipe the slate clean and embrace new adventures, opportunities, and challenges. This past year was an eventful one for us; we started this blog, completed our first and long awaited kitchen renovation, and added a new addition to our growing family. It has been a wonderful experience sharing our ordinary lives and passions with such a wonderful blogging community. We have come across some pretty awesome people doing some pretty awesome things and we are grateful for the opportunity to share, inspire, and grow alongside all of you. In celebration of our one year blogging anniversary and as a thank you to all those who have followed along and supported us, we are giving away two $25 gift cards to IKEA.

We chose IKEA because it is one of our favorite places to go to for home and DIY inspiration (seriously we are there all the time), not to mention all the yummy eats that remind my husband of his memories growing up in Sweden. IKEA products are practical, economical, and beautiful and we could not be happier with the latest addition to our IKEA home: our IKEA kitchen. So if you’re looking to renovate, remodel, organize, or just freshen up your home then you won’t want to miss out on this opportunity. All you have to do to enter is:

1) follow us on instagram (if you aren’t already)
2) like the giveaway photo
3) tag two IKEA-loving friends in the comments below the photo.

It’s that easy. Just be sure to read the rules and disclosures down below. May the odds be ever in your favor 🙂 And Happy New Year!! We pray that 2017 brings you many blessings, successes, and joyous moments.

Rules and Disclosure: This giveaway is not associated with WordPress, Facebook, Twitter, Instagram, Pinterest, or Google. Giveaway begins Friday 1/6/17 at 9:30am EST and runs through Sunday 1/8/17 until 5:30pm EST. We will announce a winner next week and appreciate your patience as we verify all the entries. This giveaway is not sponsored or endorsed in any way by Instagram or IKEA. US residents only. You must have a valid email address to participate. By entering, entrants confirm they are 18+ years of age, release Instagram of responsibility, and agree to Instagram’s term of use. Giveaway accounts not eligible. We ask that PRIVATE accounts are made PUBLIC during the giveaway in order to be entered.

If you liked this post please follow us and share!

Instagram