A few months ago we started a series called Mindful Homekeeping in order to share simple homekeeping practices, DIYs, and products that we feel are mindful of the environment, body, and soul as we journey toward a more sustainable lifestyle. Because we live in a time where convenience and cost drive consumption, we really wanted a space to think critically about our practices and what we can do to make healthy, meaningful but also economical choices. Many of the topics we will cover are changes that we successfully implemented and wanted to share in the hopes of motivating you to consider making them too. In this post we will be addressing a practice that is commonplace in American households: buying and drinking bottled water. Now before you go off thinking that this is such an insignificant part of your life it isn’t worth examining…you are mistaken. Your actions can absolutely make a difference.
 *This post contains affiliate links for your convenience.*
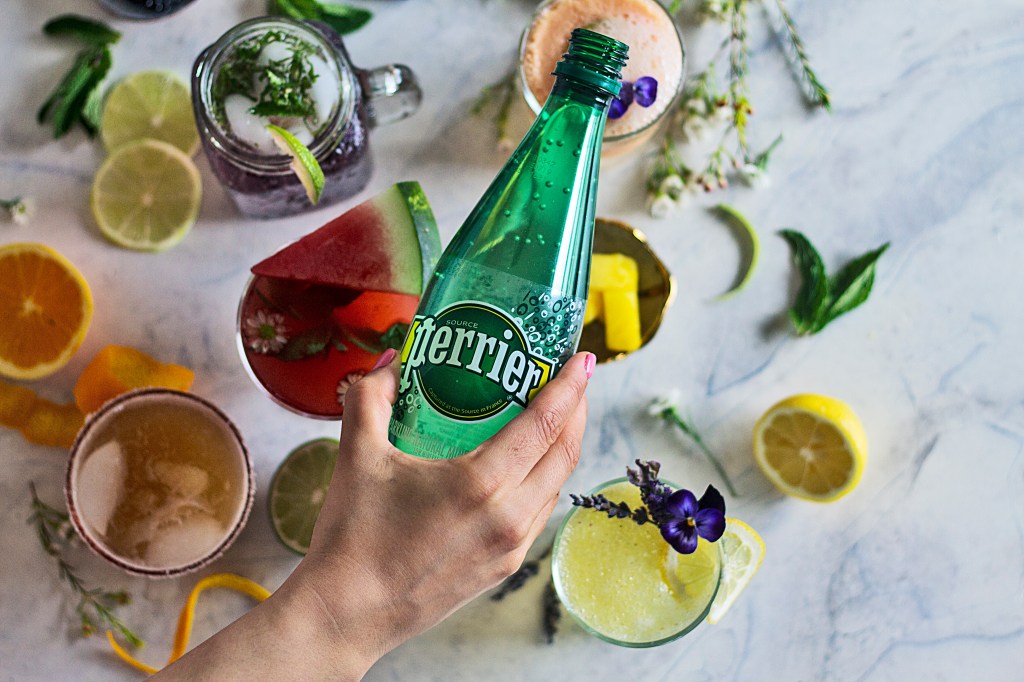
Bottled water has always secretly angered me. In an environmental anthropology class I took back in undergrad, we read and talked a lot about the environmental impact of Nestle and other companies that turned a free natural resource into a multi-billion dollar industry. It especially hit home for me because we live in the Great Lakes region and I was beyond bothered that a corporation could just own something that should belong to all people. And then the whole Flint water crisis and Dakota pipeline happened and it really brought the issue of clean, accessible water to the forefront. We pledged then that we would no longer purchase bottled water except on rare occasions {read as “never if we can help it”}. While we have always kept glass bottles filled in the fridge for ourselves, we were still keeping bottled water on hand for visitors. After our pledge, we invested in a larger collection of glass bottles to accommodate guests as well. Most of our collection is from IKEA and the carafes range anywhere from $1.99-$4.99.
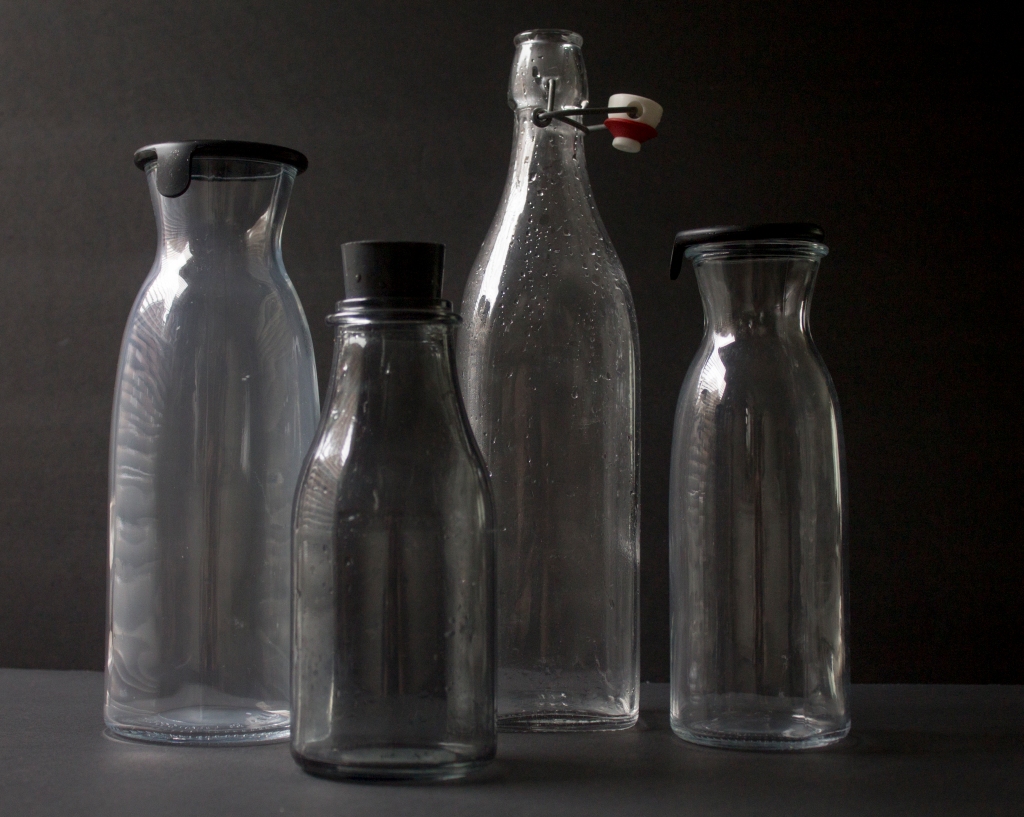
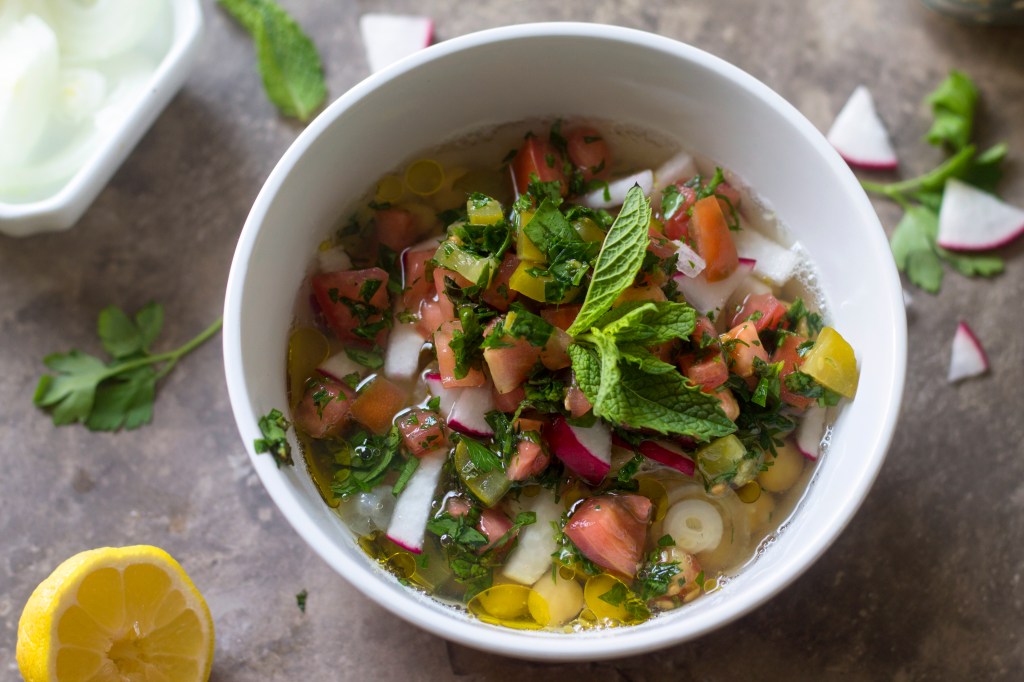
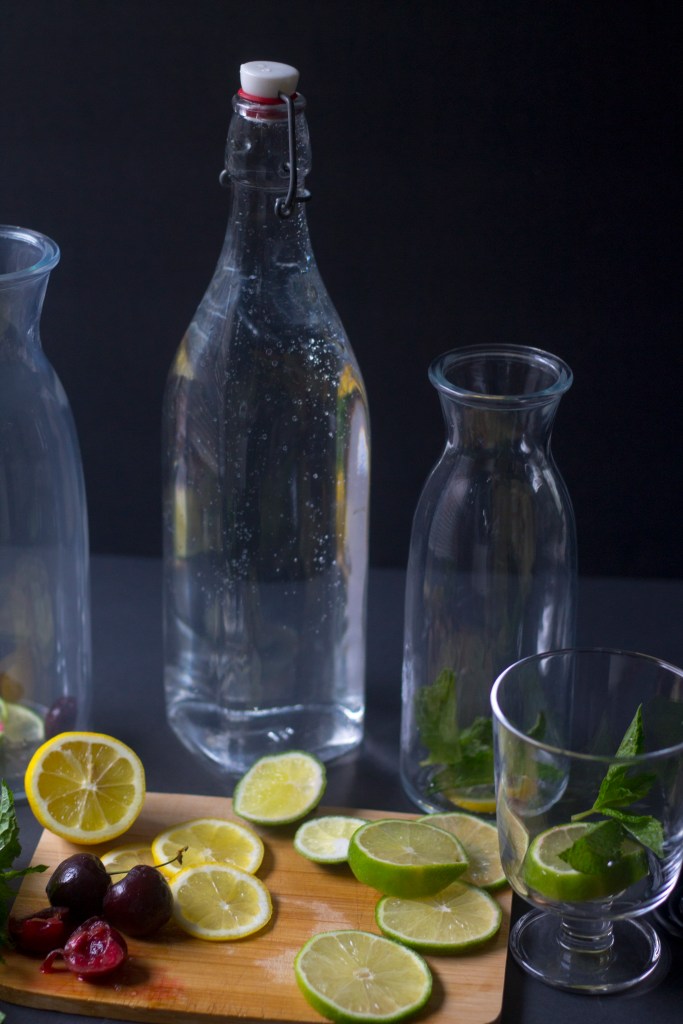
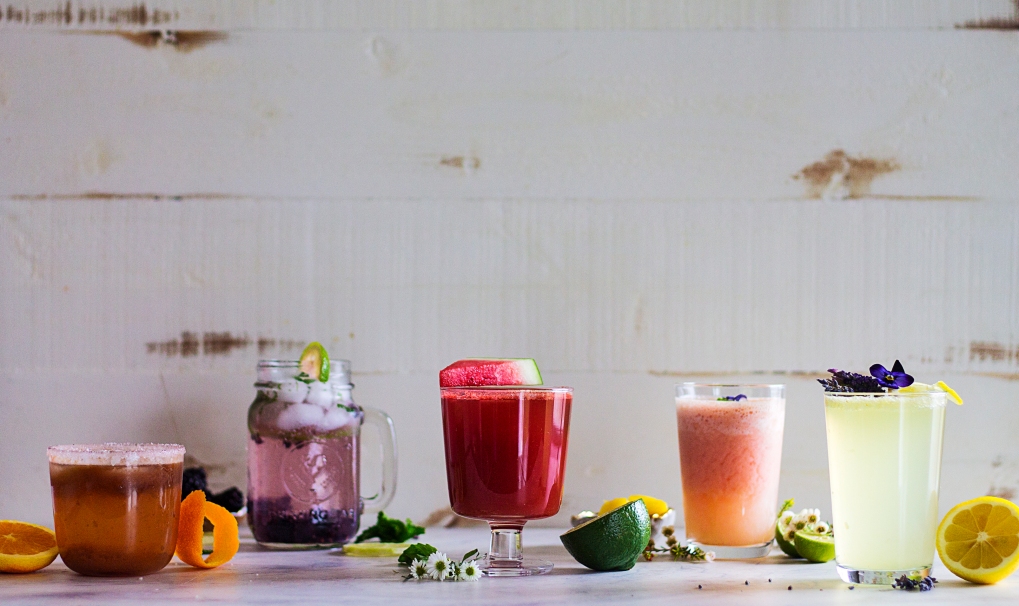
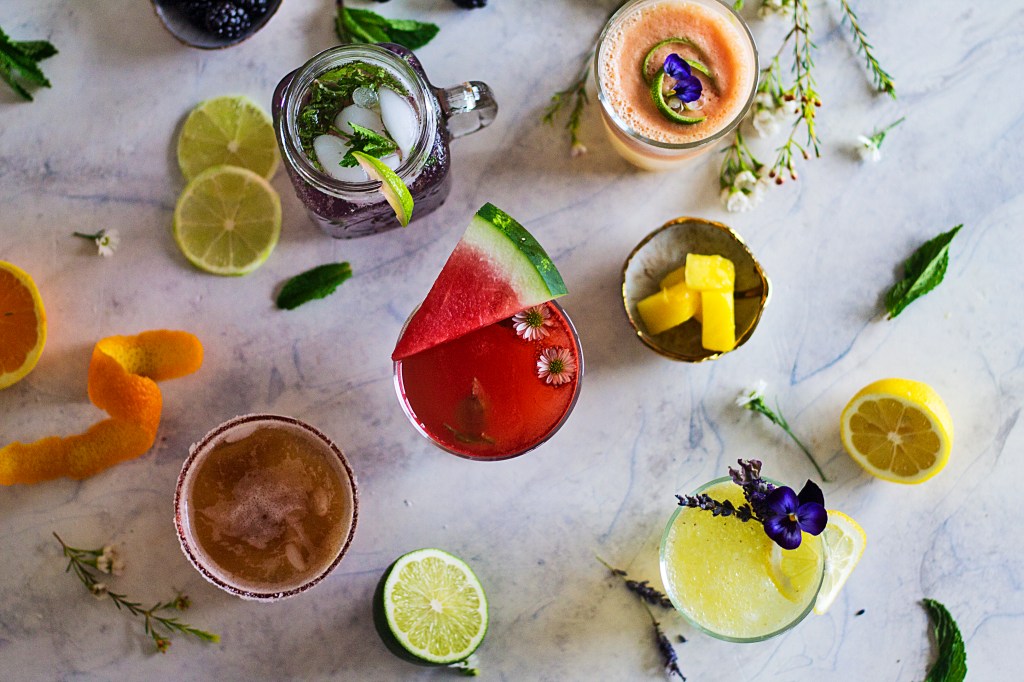
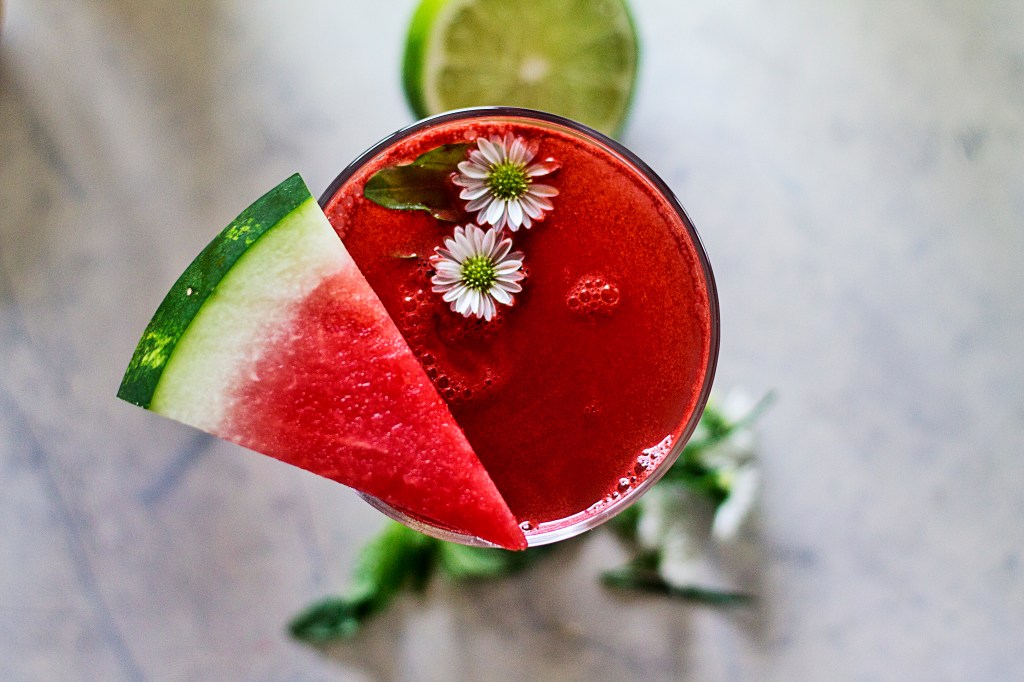
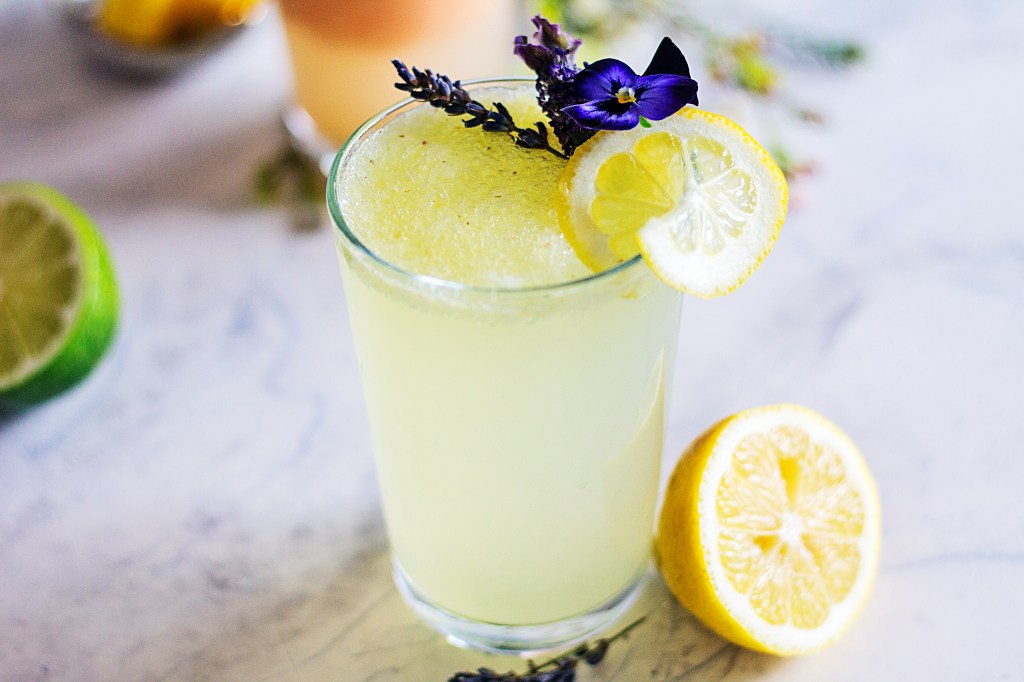
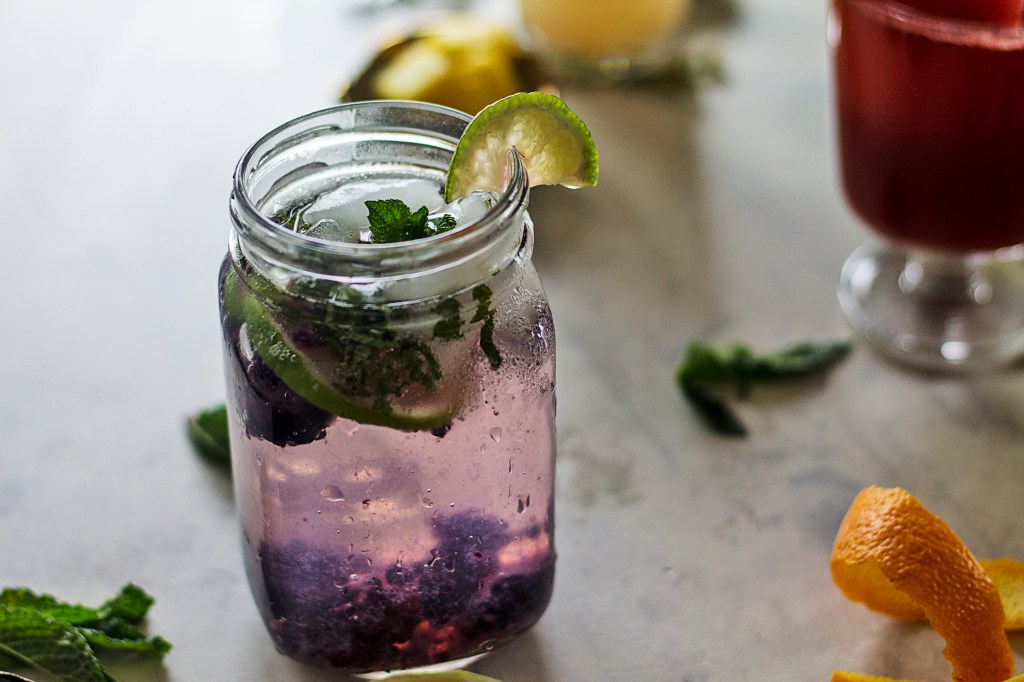
Why are we telling you this? Because with the cost being so cheap there’s really no reason not to completely make the switch. All you need to do is make a small investment in reusable bottles/carafes/pitchers {the cost will depend on the size of your family, we spent around $10} and then make a habit of filling them regularly. When one empties, you clean and refill it while you enjoy the next bottle. Expecting company? Fill a pitcher ahead of time and put it in the fridge. Going for a run? Fill up your canteen with cold water from the refrigerated carafes and refill the carafes for later. These simple practices can easily become habits that eliminate the need for drinking plastic bottled water. Heck you don’t even need to necessarily buy anything. I can think of plenty of glass you can upcyle {think milk jugs, cold-brew coffee, juice bottles} to use for the purposes outlined here. The best part about filling your own glass bottles ahead of time is that you can switch things up by making colorful and refreshing fruit waters. There’s no limit to what you can create once you start mixing up fruit, herbs, and citrus. I recently made a cherry, lime, mint water and it was DELICIOUS. Definitely beats boring plastic bottled water any day!

If you are still not convinced, here are just some of the many reasons you should give up bottled water. You can read the sources for these facts in-depth here and here.
- The recommended eight glasses of water a day, at U.S. tap rates equals about $.49 per year; that same amount of bottled water is about $1,400.
- Eighty percent of the water bottles we buy end up in landfills, the absolute worst place for them to be.
- Plastic leaches into the water it holds, which has been linked to health issues like reproductive problems and different types of cancer.
Of course we don’t want to be too rigid. Plastic bottled water can have its time and place. We just don’t think it should be every time you reach for a drink of water. To conclude we will leave you with a goal and two action items that you can work toward:
Goal: Reduce plastic bottled-water consumption
Action item 1: Remove plastic bottled water from your grocery lists
Action item 2: Build collection of sustainable water bottles that you can refill over and over again
If you’re still thinking “it’s too hard to make the transition,” try starting with one glass bottle in your fridge and reach for that instead of your plastic bottle. Then as your plastic bottle supply depletes you can slowly build your collection of sustainable water bottles. We know that making these changes are not easy but they definitely make a difference and that is something you can feel good about.

If you liked this post please follow us and share!


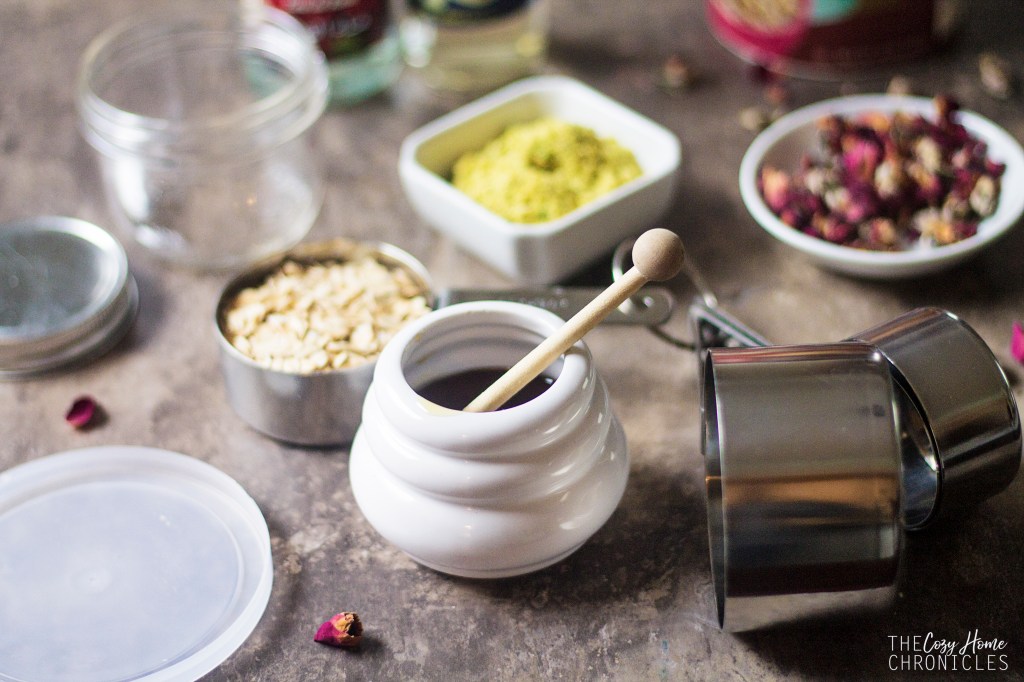
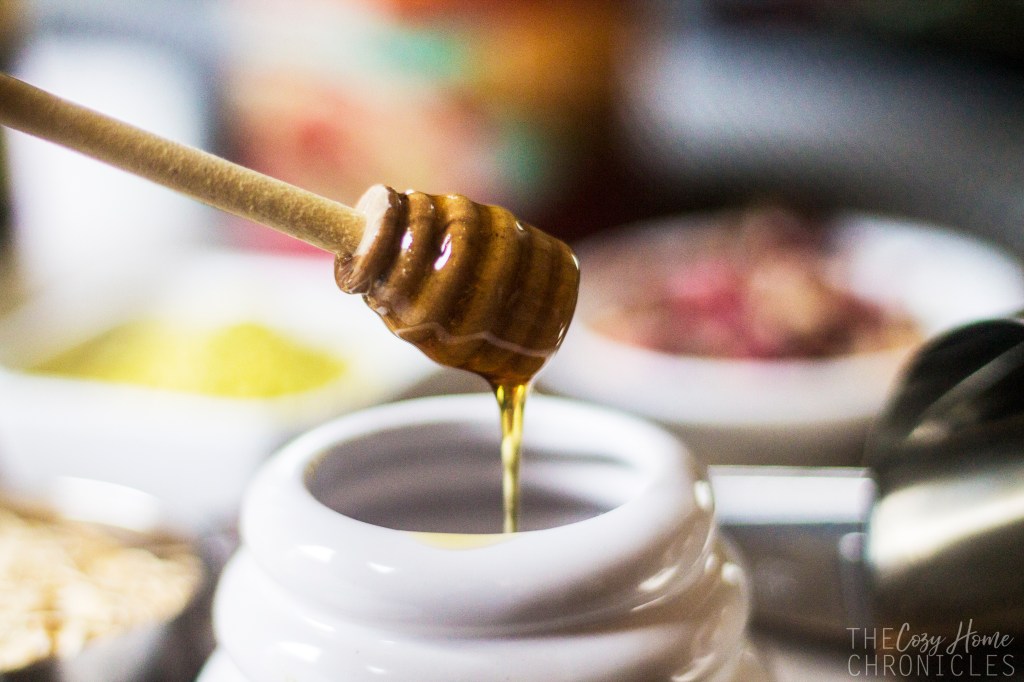
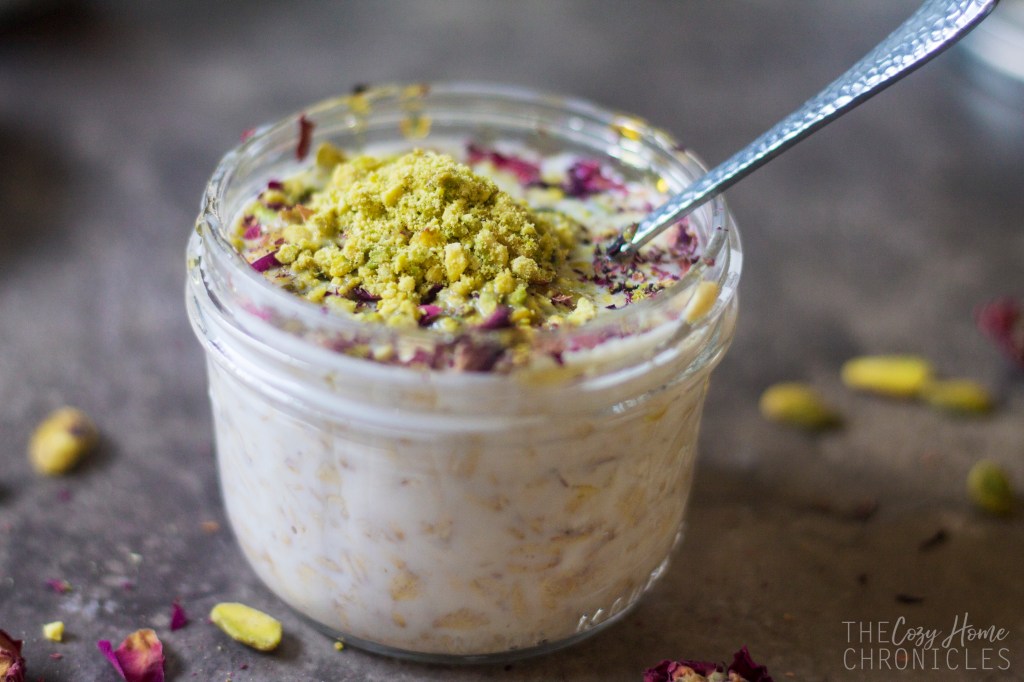
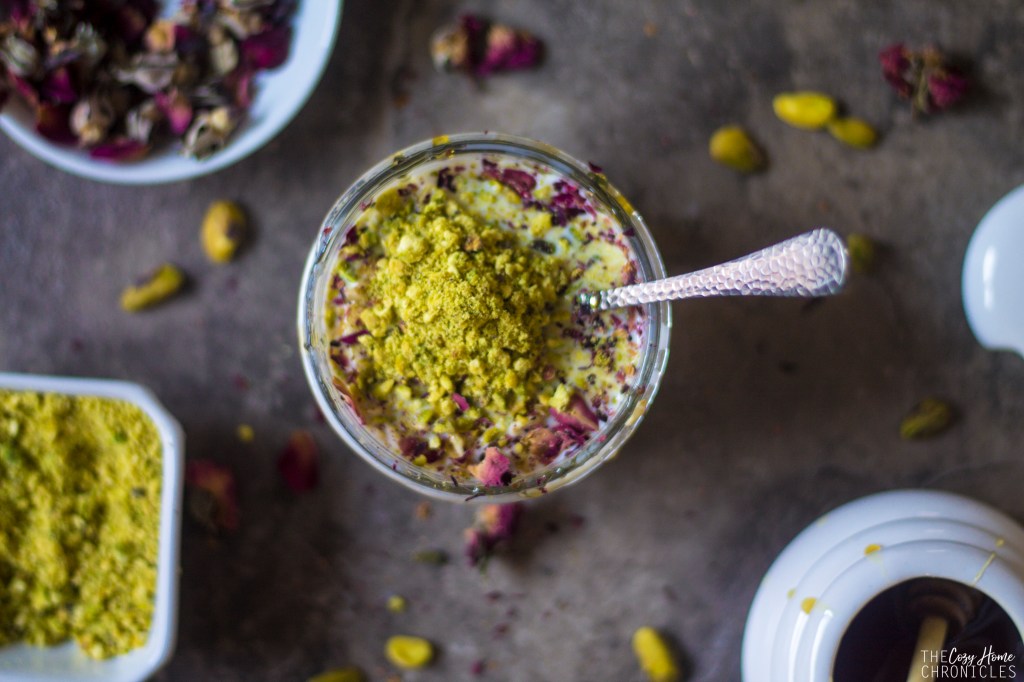
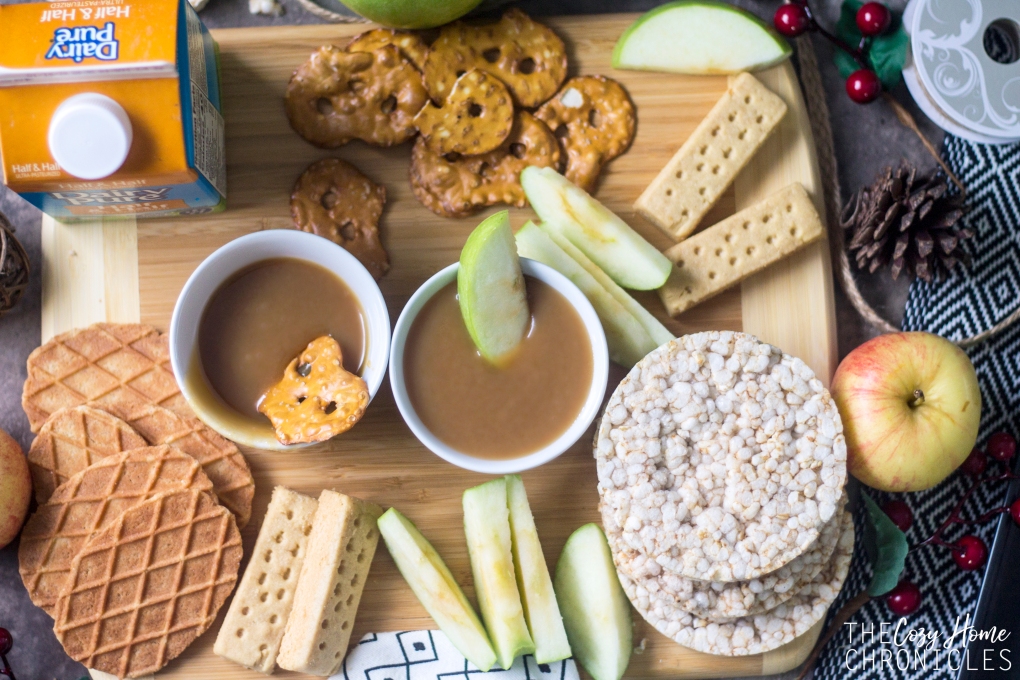
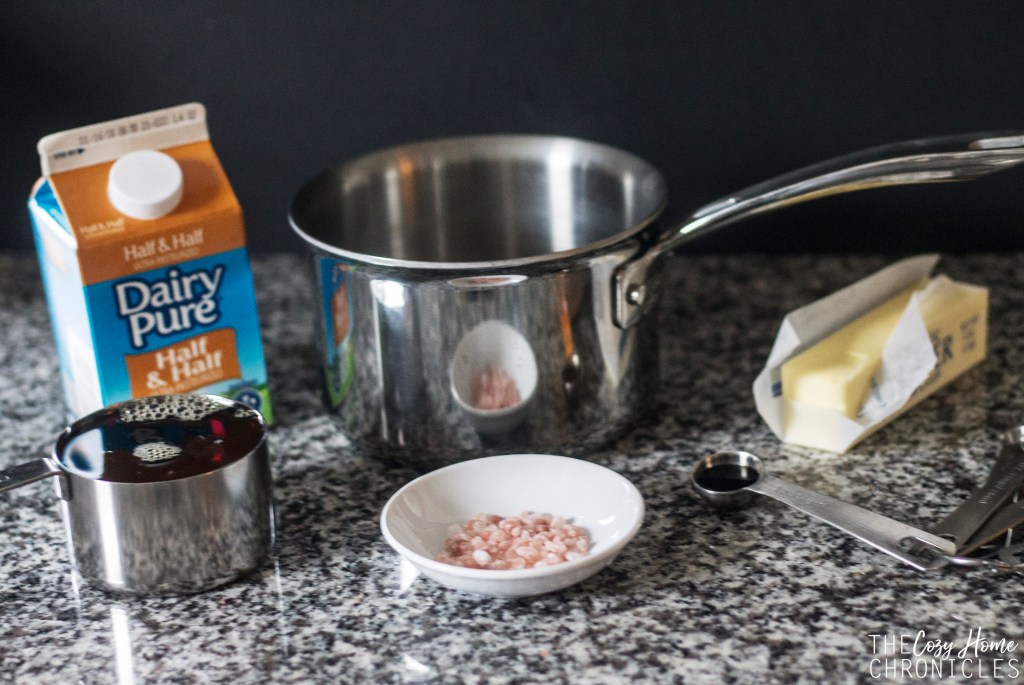
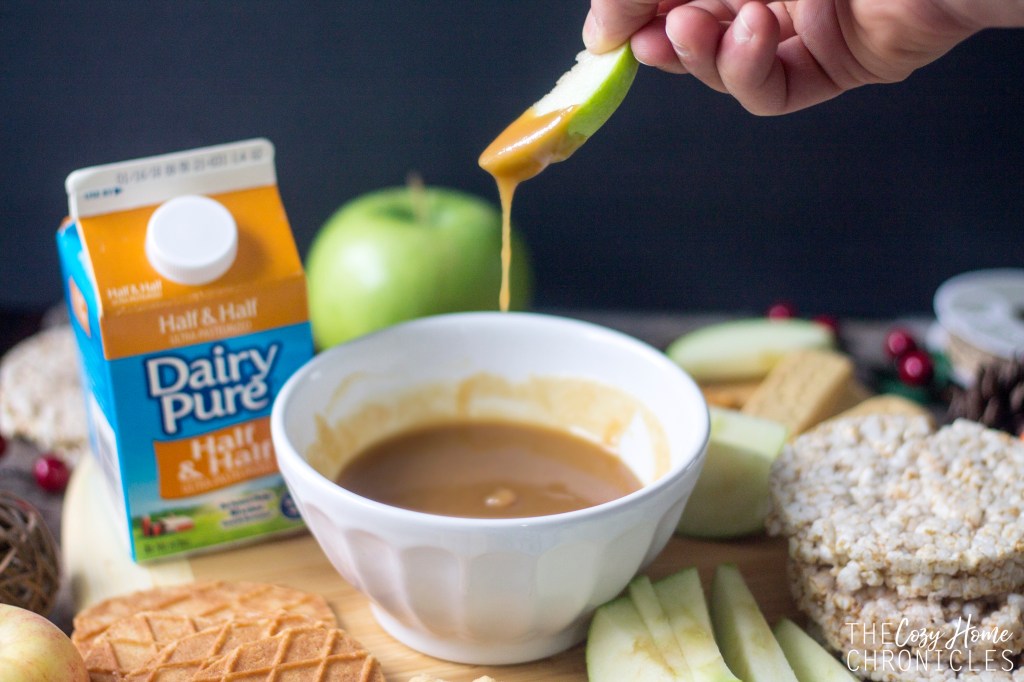
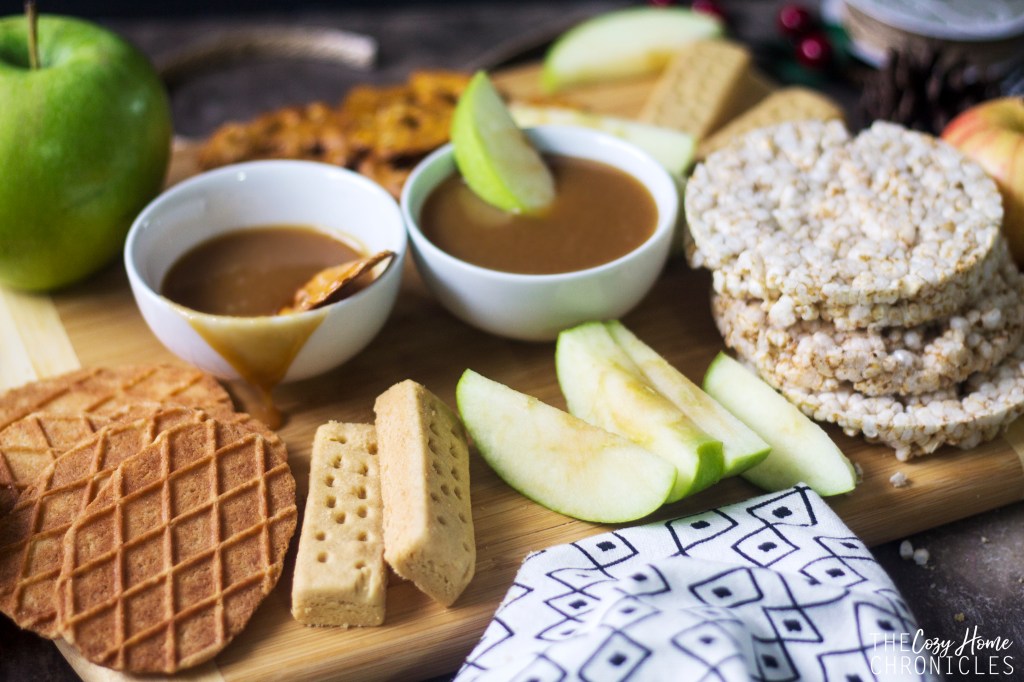
 Everyone knows that food brings people together and while this is true, it doesn’t mean you have to prepare a three-course dinner to have a successful family gathering. A simple snack will more than suffice and that’s exactly what we have for you today. A delicious, naturally sweetened caramel dip that pairs well with your choice of wholesome snacks like apple slices, pretzels, and rice cakes. The best part about this caramel dip, is that it’s easy to make in a pinch. With just 5 ingredients and in under 20 minutes, you will have a decadent dip that would satisfy any sweet & salty tooth. And not just any ingredients. This dip is made with ingredients you can feel good about feeding your family; from the