Don’t Fear the Tile

IMG_20140427_130054
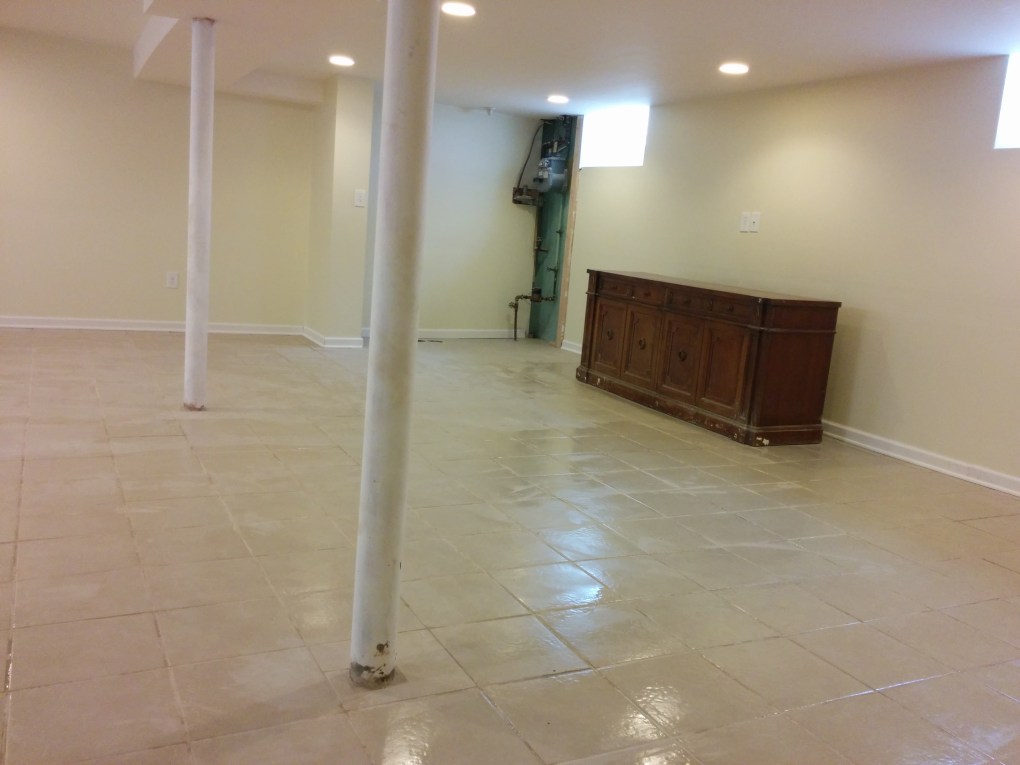
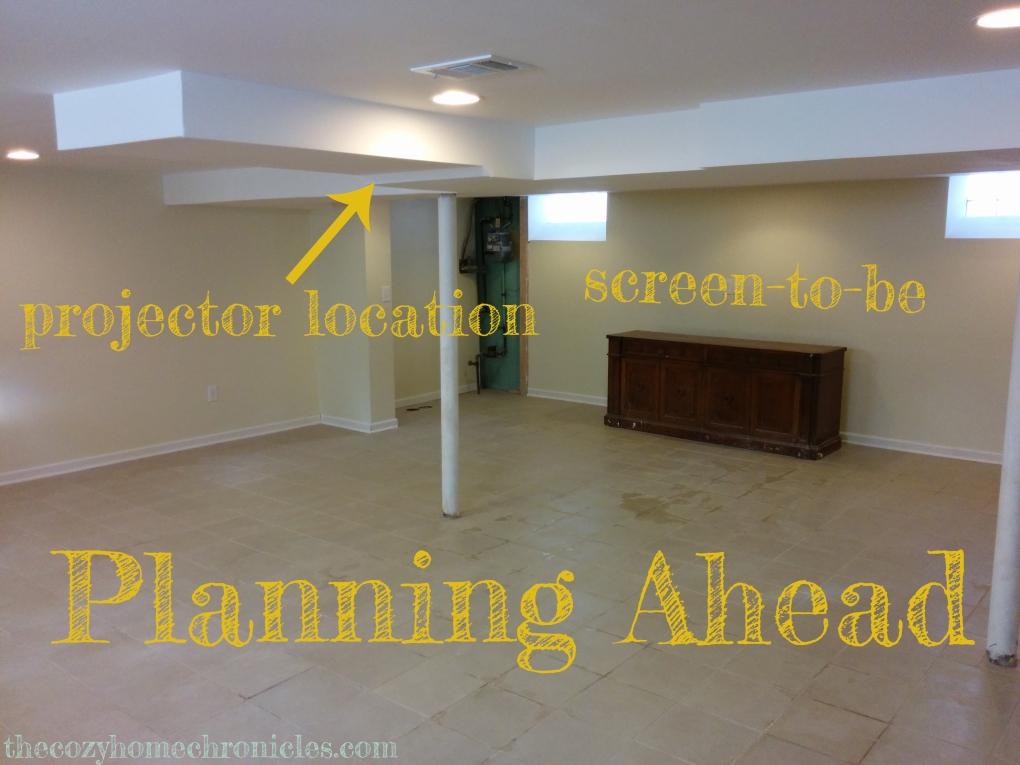
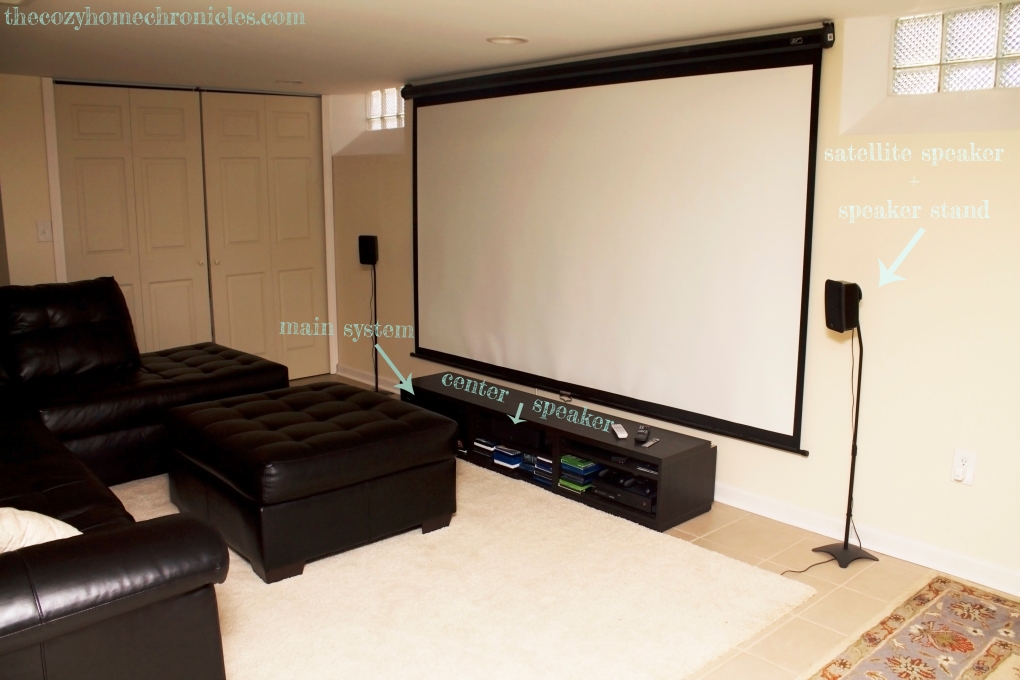
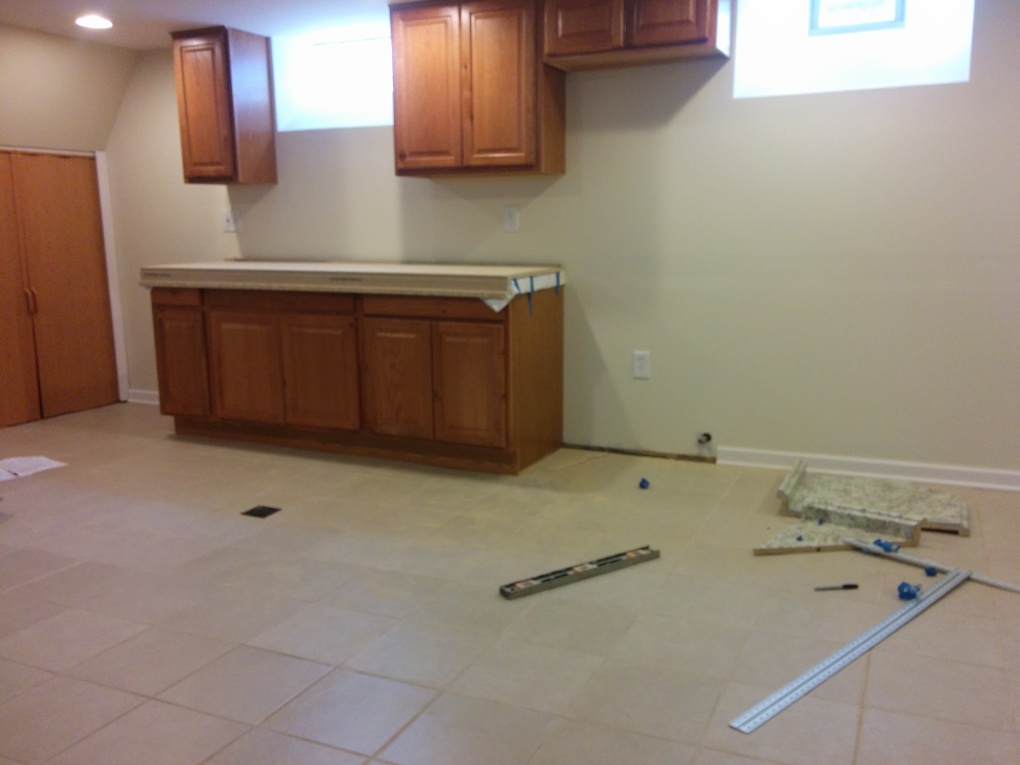
I know we have been MIA but for good reason. We recently started remodeling our kitchen and we are doing pretty much everything ourselves from demolition to tiling to cabinet installation (which means some fun new posts coming soon). This means writing has been on hold for the most part as we juggle chasing after our kinetic 10-month old in between piles of schoolwork and construction. This is a post we have been wanting to do for a while but we just weren’t sure how we felt about encouraging you to tile on your own. Maybe our first tiling success was a fluke, we thought. Considering how many people furrowed their brows over the thought of us tiling, you can’t blame us for being cautious. But having tiled our entire basement in 2014 and now our kitchen in 2016, we are confident enough to encourage you to skip the contractor and try tiling for yourself. So if you’re getting ready to start a major renovation and are thinking about picking up your phone to dial a contractor, stop for a moment and listen to what we have to say. It’s normal to be skeptical about your handy skills and worry that an attempted DIY would end badly for you. You know? That worst case scenario that pops in your head telling you your work will be so bad you’ll have to pay twice as much because you will need to hire someone to fix it up. While that might be true for some things, it is not the case for tiling. Yeah, yeah, we know what you’re thinking. We had plenty of people tell us we were crazy for wanting to tile the basement ourselves. “It will be so uneven,” they said. Not so. We are nowhere near professionals and prior to renovating our basement we had not installed a single tile in our lives. Not only were we able to tile a 1,000 square feet on our own but we did a dang fine job too. With the both of us (plus my father-in-law and brother-in-law helping on occasion) putting in a couple hours of labor after work hours, we were able to complete the project in 5 days. With our kitchen remodel, I was able to tile and grout a 10×11 kitchen in just 2 days working after work hours. Still not convinced? Keep reading to see just how easy it is. And if budget is important, get ready for some major savings!

Supplies
Tiles
Mortar
Grout
Tile Spacers

Tools
Power Drill
Mixing Paddle
Big Trowel
Small Trowel
Rubber Grout Float
Level
Cleaning Sponges
Grout Sealer
Empty Buckets
Clean towels or rags

Below is a more detailed explanation and cost-breakdown of the supplies we picked out:

Because we were tiling our basement, we wanted tiles that were both durable and inexpensive. After a bit of research, we settled on TrafficMaster from Home Depot for $0.57 a square foot.  For the 1,000 square feet area we tiled, we ended up buying 68 cases of tile, which put us at $582. Always buy an extra case of tiles to have as backup in case some break or you need to replace some in the future.

tiles

For the mortar, we settled on VersaBond Gray 50 lb. Fortified Thin-Set Mortar which cost us $14.47 a bag. Since each bag covers 100 square feet, we purchased 11 bags (to be on the safe side) for a total cost of $160. Below are the pictures from Home Depot’s website for this product.

The trickiest part about selecting grout (that stuff that goes between the tiles) is making sure that the color matches with the tile. After some back and forth, I settled on the Polyblend #380 Haystack 25 lb. Sanded Grout from Home Depot. Each bag ($14.49) covers around 680 square feet so I bought 2 of them for a total of $29.

Last but not least, I went with the 3/16 inch Job-Tough Tombstone Style Tile Spaces (500- Pack) from Home Depot for the cute little tile spacers. They go for $6 a pack and can be enough unless you plan on finishing the tiles in 1 day, then we recommend you buy 2 packs for a total of $12.

Labor: By putting in the elbow grease yourself, you can save anywhere from $2-3 a square foot. Just to give you an idea-for a 1,000 square foot space that amounts to $2000-$3000 in savings. For a smaller space like a kitchen, the savings can be anywhere from $200-$300. Hey, every penny counts when you’re dropping 10K on a kitchen right?

Note: If you need to cut any tiles you will need a small manual or electric tile cutter (ex. QEP Rip Ceramic Tile Cutter @ $30).

Directions

Read More


Home Theater System on a Budget

IMG_9367

So after many years of renting apartments and one-story condos, I finally had my own place.  And what do you do when you discover that you have an empty basement? You build your own Home Theater! Right? Because, why not?

If you need more convincing, here are some reasons why building a home theater might be a great idea:

  • You enjoy television and gaming on big(ger) screens
  • You thoroughly want to enjoy your movie nights (think Lord of The Rings Epicness)
  • You don’t want a TV with average sound quality
  • You can’t afford a 120″ HDTV because last time you checked you didn’t have $130k to burnVizio 120 inch Tv.PNG

If any of those reasons resonated with you, you might be happy to hear that with a bit of elbow grease, you too can have the home theater of your dreams without the ridiculous price tag. Let’s get started!

Total Cost = $1,370 (tax not included)
Setup Time = 2-3 hours

What you’ll need

Note: You will always find “better” and more expensive products out there. What I have is a balanced system that allows for a great picture and sound at a very reasonable price.

Tools
Builder’s level
Pencil
Power Drill
Screws
Screwdriver
Allen Wrench
Drywall Anchors
A helping hand

Preparations and Planning

  • This design is for a 10×10 space and the sound system we chose has the perfect wiring for this size space. If you are working with a larger space you might want to pay attention to that.
  • Designate a location for your projector where you will have a distance of at least 7-10ft from the screen to ensure an enjoyable viewing experience. I positioned the projector 10ft away from the wall that I wanted to install the screen on and I am very happy with the quality of the picture.
  • Decide if you want to have your projector mounted to the ceiling or have it portable. If you choose the portable route, you will need some kind of stand to position the projector on when in use. I went with the ceiling mount for safety and aesthetic purposes so you will find directions for ceiling installation further down.
  • Make sure you have an electrical outlet to plug your projector into especially if you are going to mount it to the ceiling. I installed one while I was finishing the basement because I knew that I eventually wanted to put up a projector.
  • When it comes to adjusting distance, viewing angle, focus and such, the benQ projector I picked has an enormous amount of configurations. So why benQ, you ask? Because most projectors won’t be as flexible when it comes to positioning! This projector will allow you to zoom in/out and shift the lens, which is very helpful when you don’t have the perfect room or space to set up a projector.

IMG_20140427_130039

Directions

A. Projector (if you are not attaching it to the ceiling you can skip to part B)

  1. These steps will cover fastening the projector to the ceiling mount. Note that the mount bracket comes with two separate parts that connect (see figure 1). The top piece is for securing to the ceiling wall and the bottom piece (the mount arms) is for securing to the projector.
  2. The first step requires you to connect the projector to the mount arms very carefully [The entire mount bracket comes with an extendable metal bar that is helpful if you have a high ceiling. I installed this in the basement (low ceiling) so there was no need for the extender. If you look at the above picture for the mount, you can see that there are 3 mount options. I went with the first one which skips adding the extender to the mount and installs the bottom mount piece directly to the top piece]. This was by far the longest and most time consuming step in this project and requires a great deal of patience and care to install the screws, through the holes in the arms, into the projector. You will need to tighten them well without damaging the projector’s pre-screwed holes. I was able to install 3 screws on the arms and skipped the fourth because it was difficult to align the 4th arm to the projector. Is it sturdy though? Even with just two screws I wouldn’t be worried.

    Mount with new labels

    Figure 1

  3. After deciding on where you want to install the projector [I made sure there was a wooden bracket/stud where I was mounting the projector] you will need to hold the top mount piece in position and trace the holes with a pencil.
  4. Proceed to drill two small holes over your marks then hold up the top mount piece while you drill it securely in place with the screws. [Note that you can adjust the projector using the tilt and rotation adjustment options in the top piece so don’t worry if it isn’t 100% level as you are mounting it. As long as you are aligned with the wall in front of you, you will be fine.]
  5. Once you have finished securing the top piece of the mount to the ceiling you can hook the two pieces (top piece+bottom with projector) together and tighten using the allen wrench. Now on to the screen!

    Projection design.PNG

    Figure 2

B.  Projector Screen

  1. Next you will need to install the 120 inch projector screen. You first need to make sure it is positioned in the center focal point of your projector (see figure 2). Once you have your position all set, you will need to mark with a pencil the upper right and left corners of the wall where you will secure the projector screen ends.
  2. Drill a hole in each of the marks you made (2 total) and screw a drywall anchor in each hole.
  3. When you have finished you will need to use a screwdriver to gently screw two heavy duty screws in place, leaving 1/2 inch distance between the wall and the screw head. Now, with a helping hand, hook the projector screen end caps (see figure 3) onto the screws. Make sure the screen is level horizontally and vertically against the wall.

    Screen install.jpg

    Figure 3

  4. At this point you can turn on the projector and fine tune the alignment on the ceiling mount bracket. You can also fine tune the zoom on the projector. This will be different for every installation since the distance to the screen, the projector height and mount is never identical.

C. Surround Sound System

  1. Installing the 5.1 surround sound system isn’t complicated as the package comes with all the wiring you need. Here’s what comes in the box: 4 Satellite Speakers, 1 Center Speaker, 1 Subwoofer, 5 black & 5 red tip wires + Subwoofer Cable
  2. Connect each of the four satellite speakers to a speaker stand and place one satellite speaker in each corner of the space. Connect the wires from each speaker to your main sound system.
  3. Install the center speaker right below your projector screen and find a good location for your subwoofer. The manufacturer recommends a close (but not too close) location to your seating area. See figure 4 for reference on how I placed my speakers and subwoofer.

    Speaker setup

    Figure 4

  4. After installing and connecting all your wires back to the main system, you will have to turn it on and open the sound settings to adjust everything. This can take 15-20 minutes to get it right.
  5. Using your projector as a screen, assign every speaker a location. For example: Satellite speaker #3 is the Front Left speaker while Satellite speaker #4 is the Front Right speaker and so on. After doing this for all the speakers, you have to fine tune the sound by using a Sound Level device [or if you are a smartphone owner just download one of the many free apps on iOS or Android] to calibrate the speakers. To do this properly, you will need to be sitting in the middle of the space where you are installing the speakers. The Denon guide will walk you through this step-by-step if you get stuck.
  6. Last but not least connect the 15 ft HDMI cable from the projector to the Denon sound system. From there, connect the second HDMI cable from the Denon sound system to your Blu-ray, Apple TV, Xbox or whatever it is that you are using and turn on your devices to make sure it’s all working fine.

IMG_9141

Once you are done with the setup, all that is left to do is clean up and complete your space with a nice rug (to hide all the wires), comfy seating, decor, and a budget friendly Ikea TV stand (to hide your central speaker and organize any devices, games, or DVDs you have).

IMG_20140615_154914

Of course, don’t forget to take a moment to…

IMG_20140615_154901

Now call up some friends or family, pop some popcorn, pull out FIFA 16′ or Inception and revel in the thought that you will never need to spend money at the movies again. Seriously, we have only gone out a couple times in the two years since we put this together and that was for The Hobbit and Interstellar! Let us know what you think about this project and if it is something you would consider doing. Until next post, may an evening star shine down upon you 😉

IMG_9368

Below are two short clips showing the sound, picture and overall setup taken with an iPhone 6s.

Home Theater Demo #1 from sammyandsufi

Home Theater Demo #2 from sammyandsufi

If you liked this post please follow us and share!


Install a kitchenette in less than 4 hours

IMG_8409

Back to some exciting DIY for this week’s blog post.

From the minute we decided our house was “the one,” we knew that we would be finishing our basement. Creating a space where we could host family and friends was something super important to us, so it was a no brainer that we would need a small kitchen to warm up food and stock our ice cold Izzes and Dr. Betters for those game nights and birthdays. In just 4 hours on a Memorial Day Weekend, my wife and I put together a little kitchenette for the basement. So if you’re looking for tips or inspiration on how to install a kitchenette or replace a small-sized kitchen, follow along as we go through all the details of how we purchased, prepared, and put it all together in record time.

Total Cost (Cabinets, Countertop, and Sink)= $1,037.94
Prep Time: 3-4 hours
Dry Time: 8-24 hours

Cost Breakdown
Counter-top (8ft) = $95
Counter-top Endcaps = $12.98
Base Cabinet (36in) = $195
Base Sink Cabinet (36in) = $136
Base Cabinet (12in) $99
All-in-one Double Sink = $119
Top Cabinet (36in) = $209
Top Cabinet (30in) = $83.30
Top Cabinet (12in) = $73
Cabinet Screws = $8.26
Painter’s Tape = $3.93
Liquid Nails = $3.47

Tools you will need
Jigsaw (Ryobi)
Power Drill
Tape Measure
Light Hammer
Marking Pencil
Shims
Builder’s Level

Plans and Preparations
Before we get into the installation process there is one super important step to pulling this off successfully: PLANNING. The planning step involves three parts:

  1. Measuring your space
  2. Designing your kitchen
  3. Picking out cabinets and appliances

When it comes to designing the space you have to remember that things can spiral out of control if you don’t measure accurately and purchase standard cabinets that can be installed against the studs in the walls. If you don’t have a stud-finder, invest in one. They last forever and cost only around $20. We used the Ikea kitchen designer tool (it’s free) to input the measurements of the space (ceiling height, walls, door, etc) and figure out how many cabinets we would need. For our design we opted for a simple, straight clean line with a rustic farm table across.

After we settled on the design, we picked out our countertop and wood cabinets (in medium oak) from the Home Depot in-store selection. They had a 10ft and a 8ft long countertop but we opted for the 8ft because we did not want our kitchenette to be bigger than 7ft.  Home Depot has a really nice selection of laminate countertops with a faux marble look and 1) if you’re working on a tight budget or 2) you don’t care because it’s just a basement kitchen, this is the route to go! We did call a contractor for an estimate on granite countertops and it would have cost us a pretty penny so we decided we would save that for when we remodel the main floor kitchen. Plus for the cost of the granite alone, we were able to do a decent sized kitchen.

Countertop pic 1

For the base cabinets we purchased (2) 36 inch and (1) 12 inch cabinet which put us at 84 inches (7ft). Below is the order in which we aligned them per our design. Note that one of the 36 inch base cabinets is a sink base cabinet, which means that it is intended for use with a sink installed on top and thus lacks a drawer.

For the top wall cabinets we purchased a 12 inch, a 30 inch and a 36 inch cabinet.

Once you have your measurements, the final design, and cabinets & countertop, you can begin the simple installation process.

Installation

1. This first step is ESSENTIAL. You will  need to make sure all the cabinets are LEVEL as you place and fasten them. I cannot emphasize the importance of this.

2. Find the studs in the wall and fasten the cabinets against the wall using two cabinet wood screws for each cabinet (one on top and one the bottom). After fastening them to the wall, you will have to secure them together using the wood screws (see picture below courtesy of Home Depot)  join cabinets

3. Once all of the cabinets are secured in place, you can begin to 1) cut the counter-top to the desired length and 2) cut out the area for the sink.IMG_20140803_140939
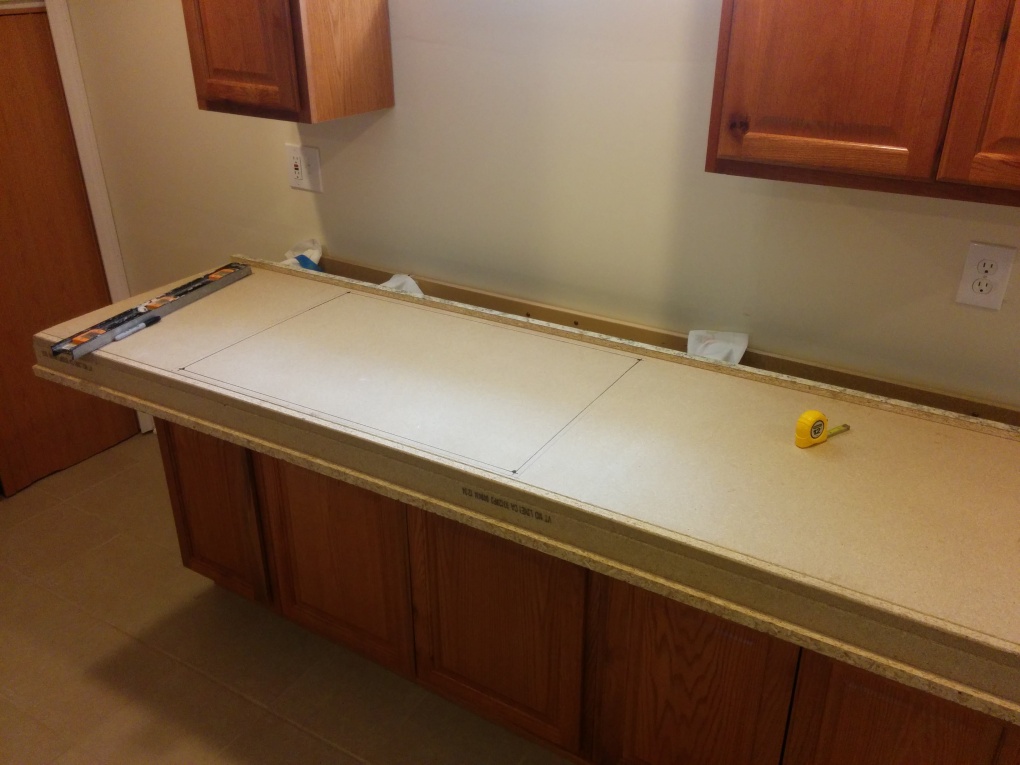
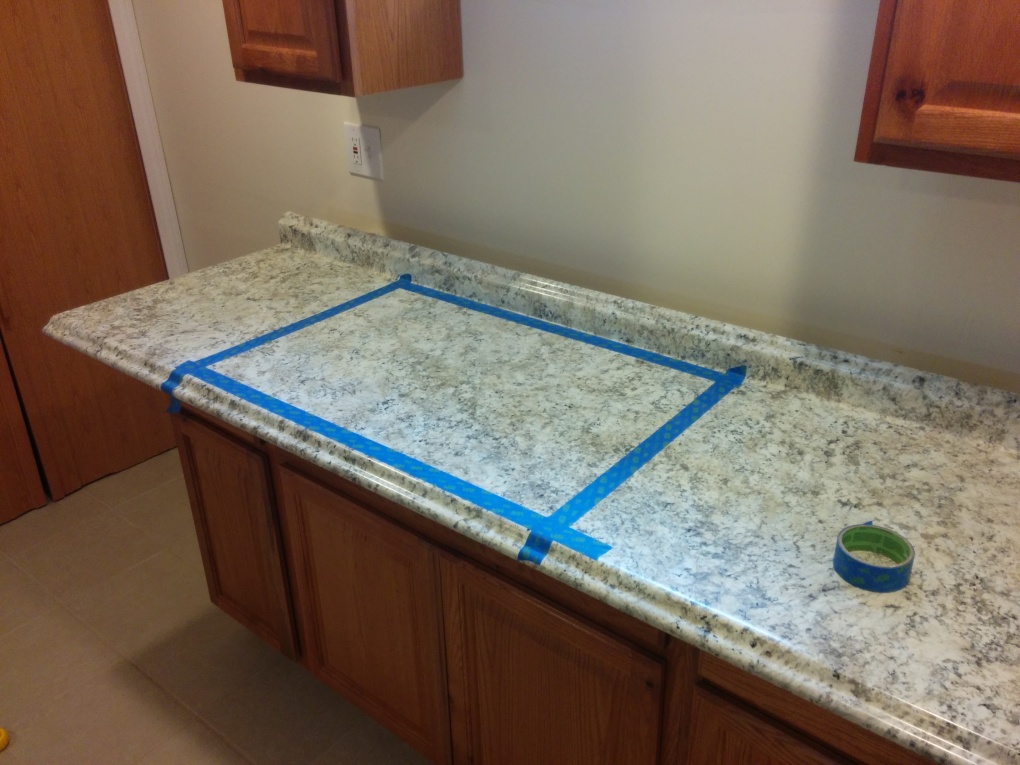
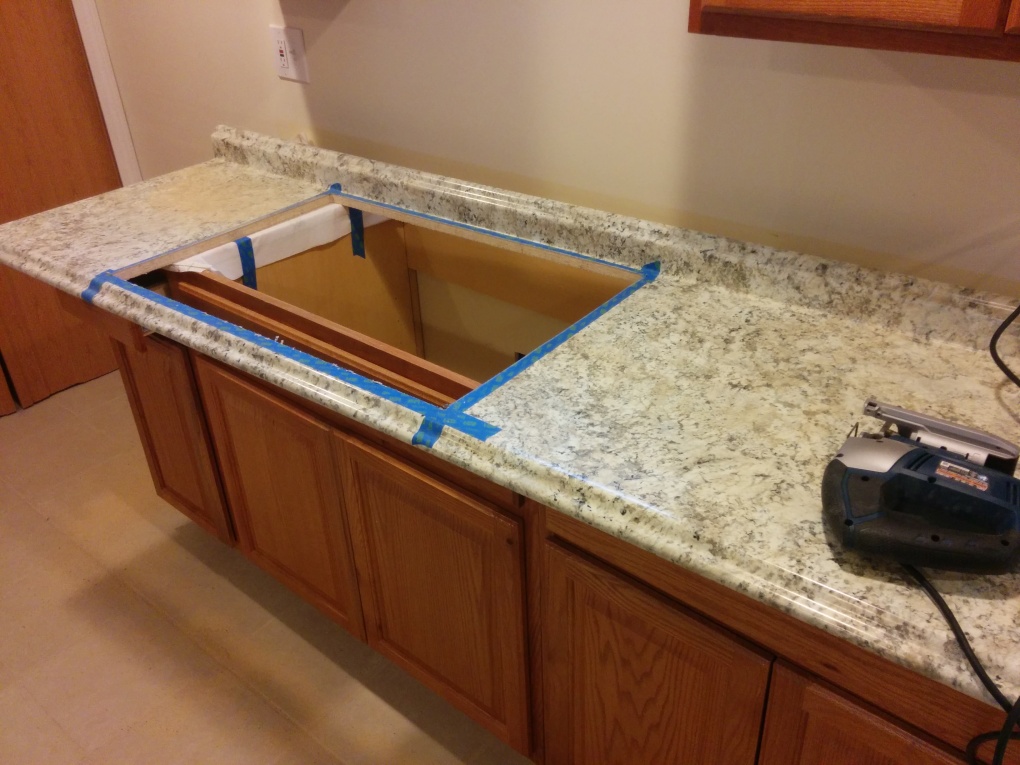
Before you cut the counter-top, make sure you have it fastened to a solid surface and completely stable.

  • Measure the counter-top at least twice to make sure you are going to cut it at the right place and mark very clearly on the unfinished side where you will cut it. WARNING: If this step gets ignored you will have to buy another counter-top, there is no way around it.
  • You will also need to measure the finished side and lay painter’s tape over your marks. This is necessary so that the jigsaw does not damage the finished surface when you are making the cuts (see pictures below).
  • To cut out the area for the sink, I drilled a small hole in one corner of the markings so I would be able to use the jigsaw from that starting position. If you don’t do this, it will be really hard to cut through in the middle of the countertop.

IMG_20140803_142512IMG_20140803_142714IMG_20140803_144140

4. Once all your cuts are made, you can go ahead and glue the countertop to the base cabinets using a generous application of Liquid Nails. (Note: make sure you don’t scratch the countertop when flipping it or when placing it on a different surface.)

5. If you’ve chosen to include a sink in your plans as we have, you can install this after the glued countertop has dried (minimum 8 hours). 99% of all-in-one sinks come with directions so follow them closely as each sink may be different. Our sink came with fasteners at the bottom that you twist and adjust easily against the countertop. It was super easy and didn’t take us more than 10 minutes to put in. To get the sink running we hired a professional plumber to connect things at a later time.IMG_20140803_144230IMG_20140803_212644

6. Finish up the space with your choice of appliances and an awesome Ikea table and you are all set to start planning your next dinner party or movie night 🙂

Reflections and Tips

  • Can’t decide on a design? A Sunday stroll through Ikea’s kitchen showroom with some hot sticky Kanelbullar is the perfect way to get inspired.
  • Plan your project ahead of time to coincide with big savings offered by major retailers. As I mentioned earlier, we did our kitchen on Memorial Day Weekend so we got a great deal on our cabinets(15-25 % off the listing price) and appliances. Labor Day and Black Friday are also great times to plan around.
  • When designing your kitchen, choose a layout that takes advantage of pre-existing plumbing (and electrical outlets) so you are not stuck hiring a plumber to do costly rerouting.
  • Installing a kitchen sink is a little tricky and you can either do it before or after you finalize the countertop. I did this step after I had glued the countertop to the base cabinets which meant I had to work in a tight, cramped space. If I had the chance to do this installation again, I would install the sink before mounting it and gluing it to the base cabinets.

If you liked this post please follow us and share!

signature3


Hide a Basement Pole in Plain Sight

diypole

One of the projects you’ll hear a lot about from us is our basement project. Long story short, we bought a ranch that needed some TLC just before our wedding and we have been working on it ever since. We fixed some minor things on the main level just in time to move in and shortly after we began the 9 month long basement renovation. Everyday, after work and school hours, we would change into costume and take up hammers and paint brushes in a bid to reclaim our homeland. Well, sort of. Anyway, as we neared the final stretch, one of the things we noticed was that, after all our hard work, the weight-bearing poles stood out like SORE THUMBS. We thought long and hard, did our research, and in the end came across these awesome pole-wraps from Home Depot. We wanted to save space so the pole-wrap was perfect because it wasn’t too bulky and it also fit with the woodsy clean look we were going for. You can stain these poles if you want but we like the bare wood look so we kept them as is. With that being said, here’s what you’ll need and how to do it!

Total Cost= $242.50
Pole Cover (3)= $44.28 x 3= $132.84
Pole Cap and Base (3)=$32.93 x 3= $98.79
Liquid Nails (2)= $3.47 x 2= $6.94
Painter’s Tape(1)= $3.93

Prep Time: 1 hour
Dry Time: 8-24 hours

Directions

  1. Thoroughly wipe and clean your basement poles from any dust/glues and let them dry. If you don’t do this step, the glue won’t stick properly
  2. Buy the pole cover package from your local Home Depot – * *Note that they come in multiple sizes and materials, so measure the pole before you pick one up. The brand is “POLE-WRAP,” pretty self-explanatory. We picked out 96×12 in Oak.
  1. Don’t buy just any adhesive, make sure that it works for binding wood & metal. I personally opted for Liquid Nails (which has never failed me). I used two tubes for 3 poles, and yes, I was excessive.
  2. Measure the pole’s width and use that measurement to cut any excess pole cover with a utility knife. You’ll want to do this before applying any adhesive as it will be stickier and messier to do later.

liquid nail

  1. Apply adhesive evenly on the inside of the pole cover and carefully wrap it along the pole. Use painter’s tape to wrap around pole cover tightly until the adhesive sets and dries. We let our poles dry for a full day before we finished the look with pole caps.
  2. Apply adhesive to the bottom and top of each pole cap and place carefully around the pole. Apply plenty of pressure to make sure they are firmly in place. Use painter’s tape to keep the caps in place while they dry and set.
  3. Enjoy how awesome your space looks with this minor DIY makeover. Seriously, it made such a difference!


If you liked this post please follow us and share!