A squeaky bed can be a real nuisance. When my wife was studying for her PhD qualifying examinations this past winter, she would stay up really late while the baby and I would sleep together much earlier. When she would finally join us at 2 or 3 in the morning, she always woke us up crawling into bed with a loud creak. After weeks of interrupted sleep and having to soothe a disgruntled baby, I finally decided to look into resolving this rather “loud” issue.
A little investigation led me to the main culprit: the bed’s boxspring. When I opened up the boxspring, I was surprised by how flimsy it was. It was basically a big cardboard box framed with wood. The smartest option it seemed was to replace the cardboard and reinforce the structure of the box using sturdy, quality plywood and screws. It was a fairly easy and inexpensive project (under $40) that has successfully eliminated all squeaks and creaks (hooray!). You can even do it for cheaper if you go with a thinner plywood board but I wanted something a bit thicker. So if you’re looking to fix a squeaky bed and are not sure about completely replacing the boxspring or trying other suggestions like lubricating the springs, open the boxspring up first and see what you’re dealing with. If the material looks cheap, chances are this fix is the right one for you.


Supplies
(2) Sheathing Plywood Boards
Wood or Drywall Screws
Liquid Nail
Tools
Staple Gun
Gloves
Caulk Gun
Flat Head Screwdriver
Directions
1. Measure the boxspring and head over to Home Depot to purchase and custom cut the plywood for your bed frame size. I had the plywood cut for a queen-sized boxspring: 60 inches wide by 80 inches long (see Figure 1). For me to get an exact size I purchased 2 plywood boards and had them cut so each piece was exactly half (30in x 80in) of my queen bed frame size.
2. Remove your mattress and flip the boxspring frame over to remove the staples and nails from the corners of the cover attached to the frame along with the cardboard until all that remains is the wooden frame (see Figure 2).
3. Investigate the frame to make sure the studs are sturdy. Also, double check to see if the original nails/screws are in good condition. If you find any weak links go ahead and add more screws to tighten the joints.
4. Apply liquid nail liberally along your frame taking care to stay in the center to prevent the glue from oozing out of the sides when you place the plywood boards (see Figure 3).
5. Immediately place the custom cut boards on the freshly glued frame. Do this one board at a time so you don’t make a mistake aligning the plywood to the boxspring frame (see Figure 4).
6. After you have placed the plywood boards on top of the boxspring frame, go ahead and secure the plywood to the frame using wood screws. I left a foot of space between each screw and made sure to drill the screws into the boxspring frame and not into empty space (see Figure 5 & 6).
7. Let the glue dry for at least an hour.
8. Cut the corners of the plywood off at an angle if they extend beyond the frame as it can be a hazard and get in the way of completing step 9.(see Figure 7a & 7b).
9. Using a staple gun, secure the fabric cover over the boxspring (see Figure 8).
10. Catch up on your beauty sleep with squeak and creak-free slumber.
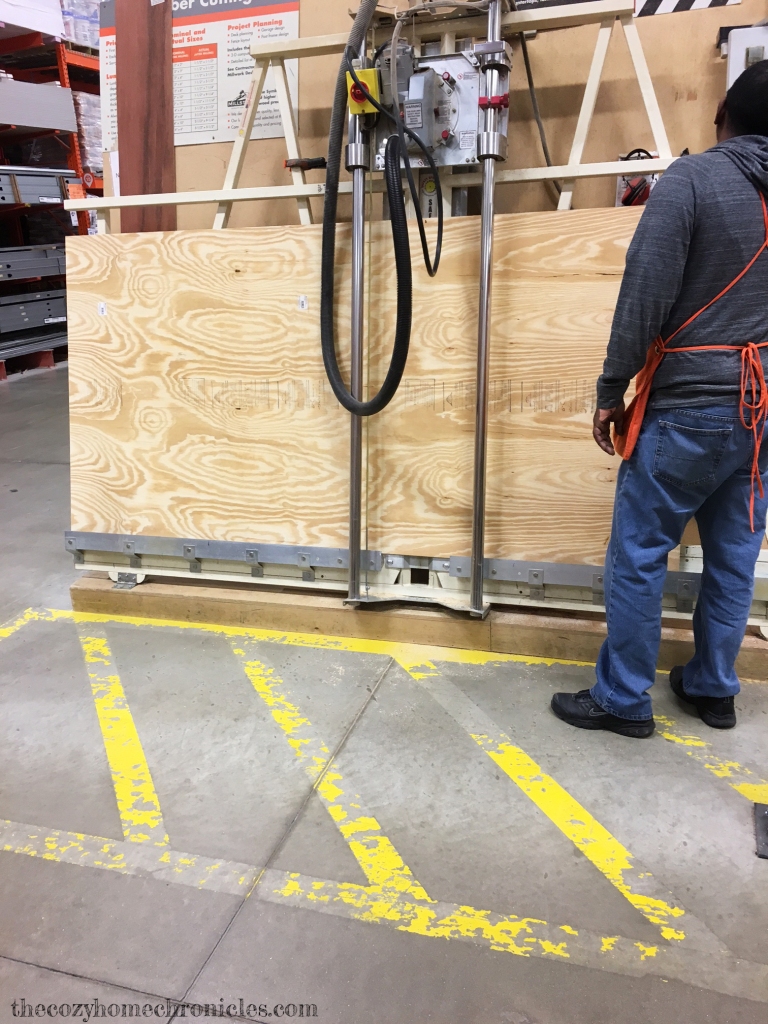
Figure 1
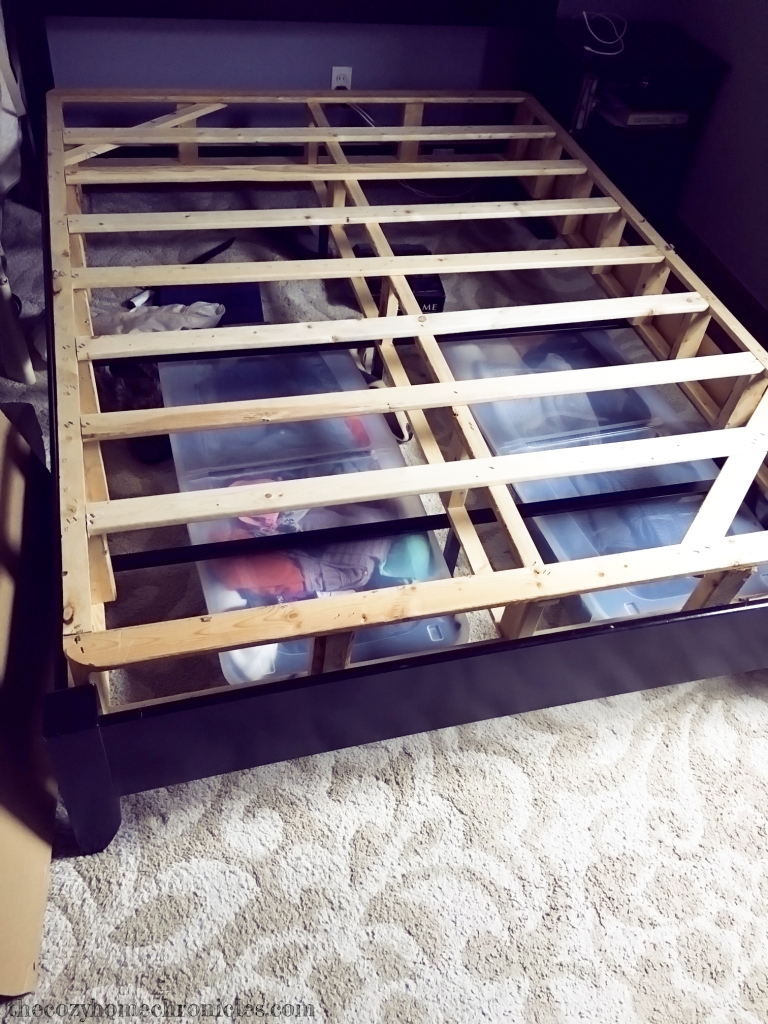
Figure 2
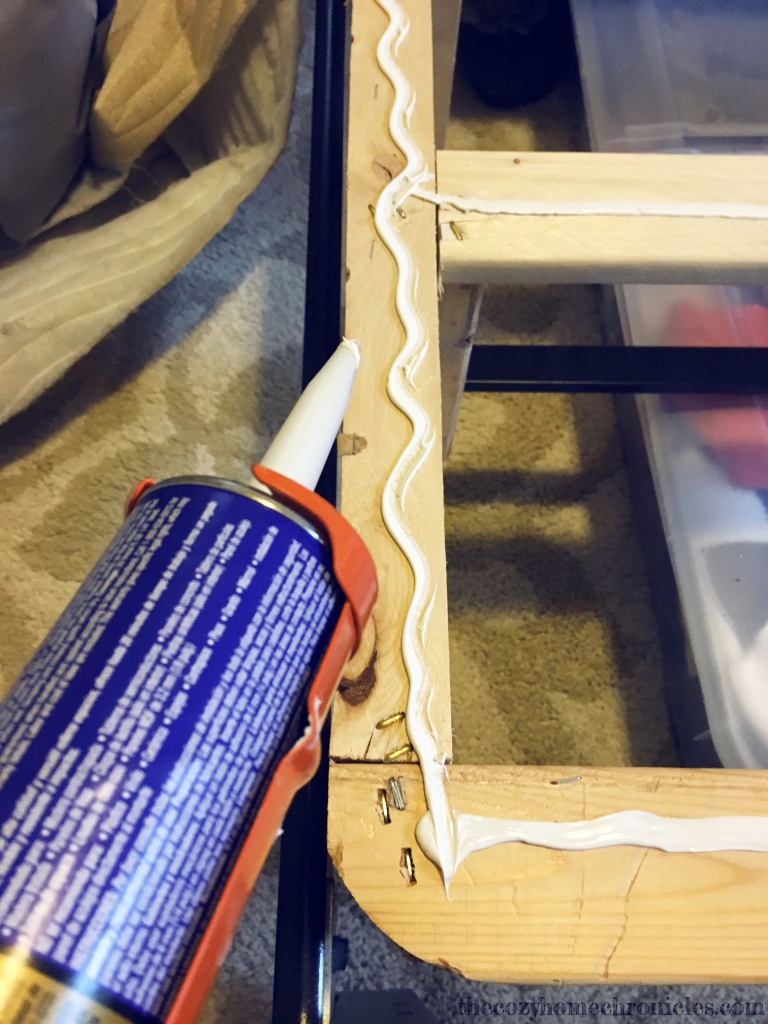
Figure 3
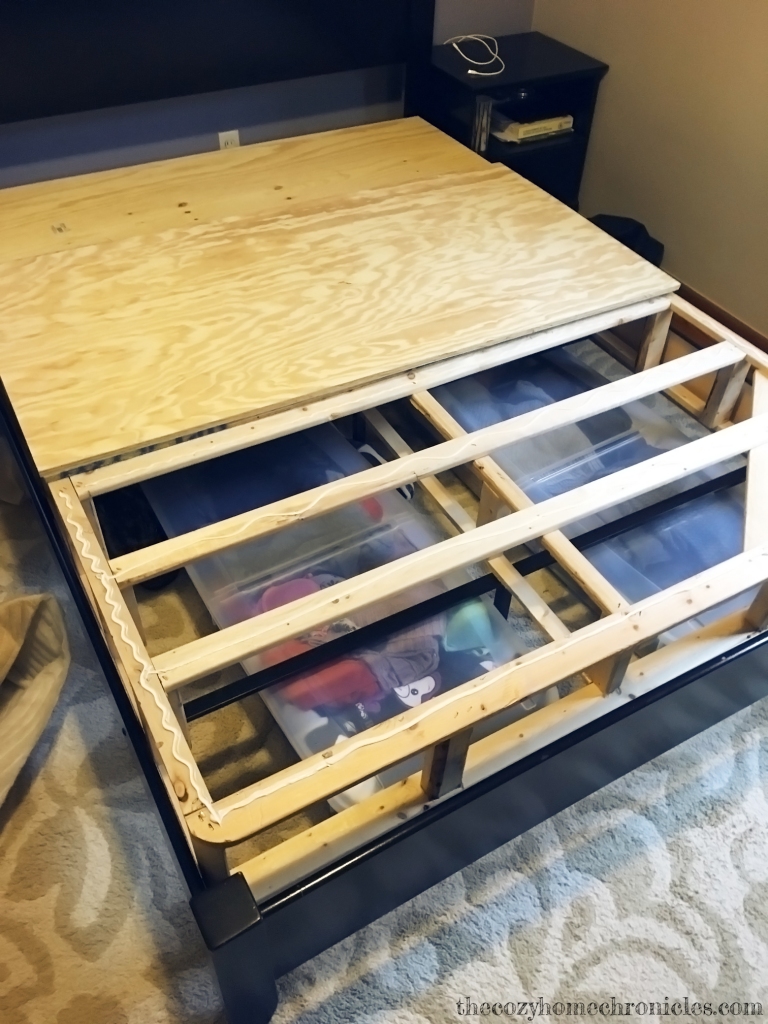
Figure 4
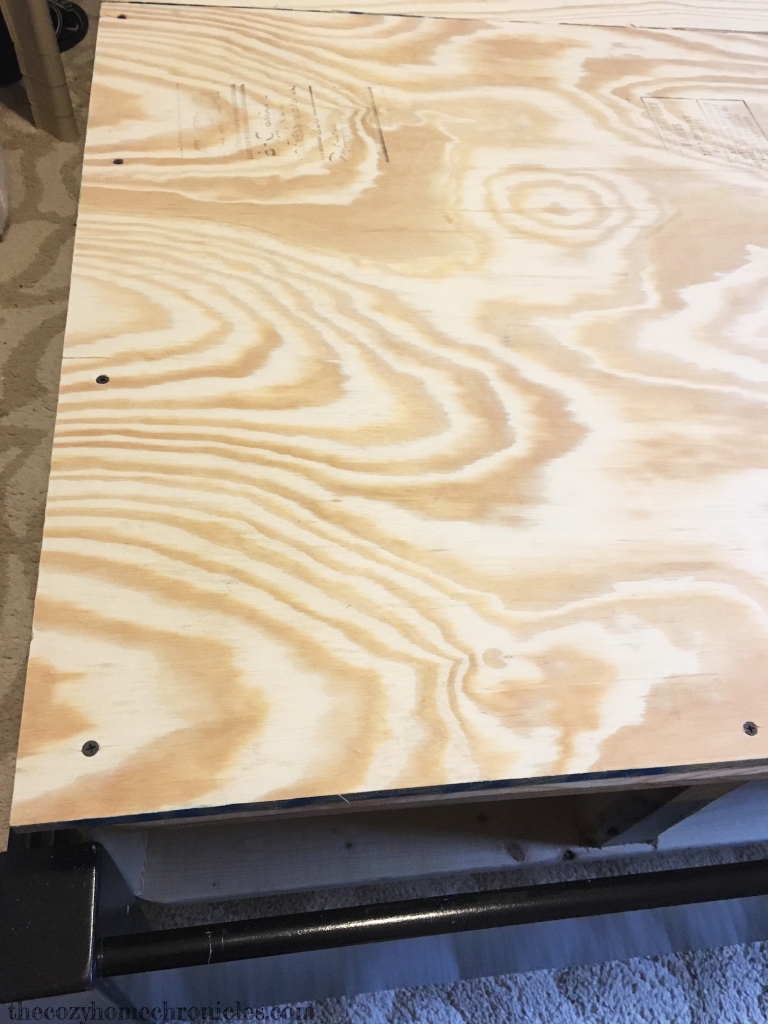
Figure 5
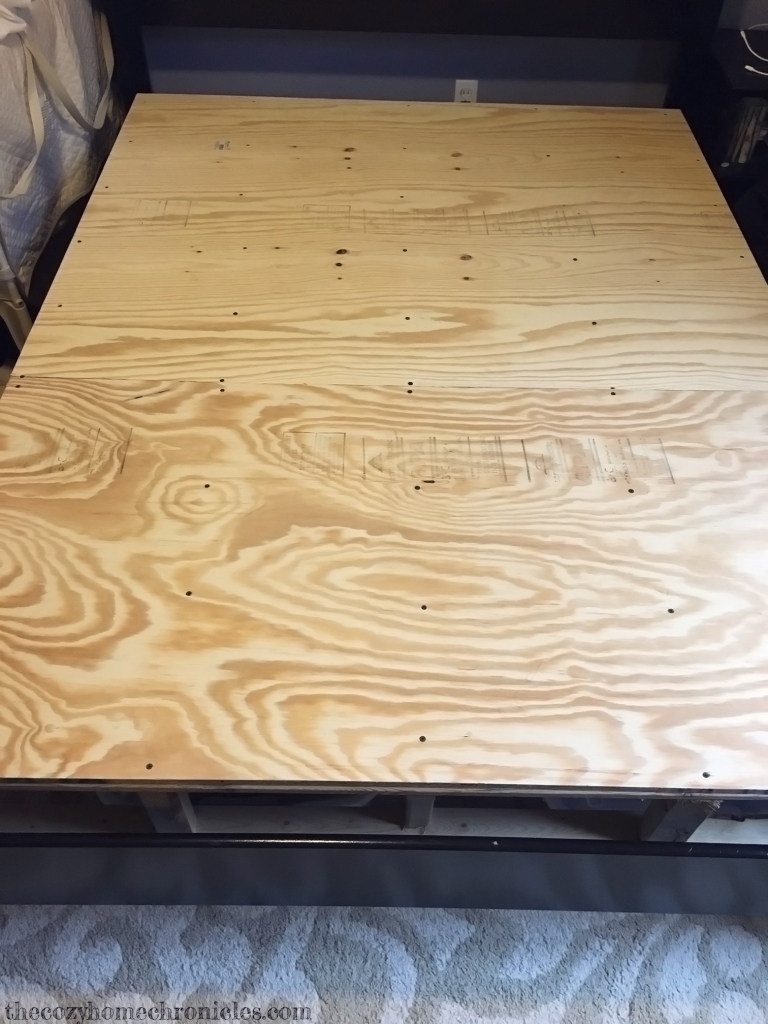
Figure 6
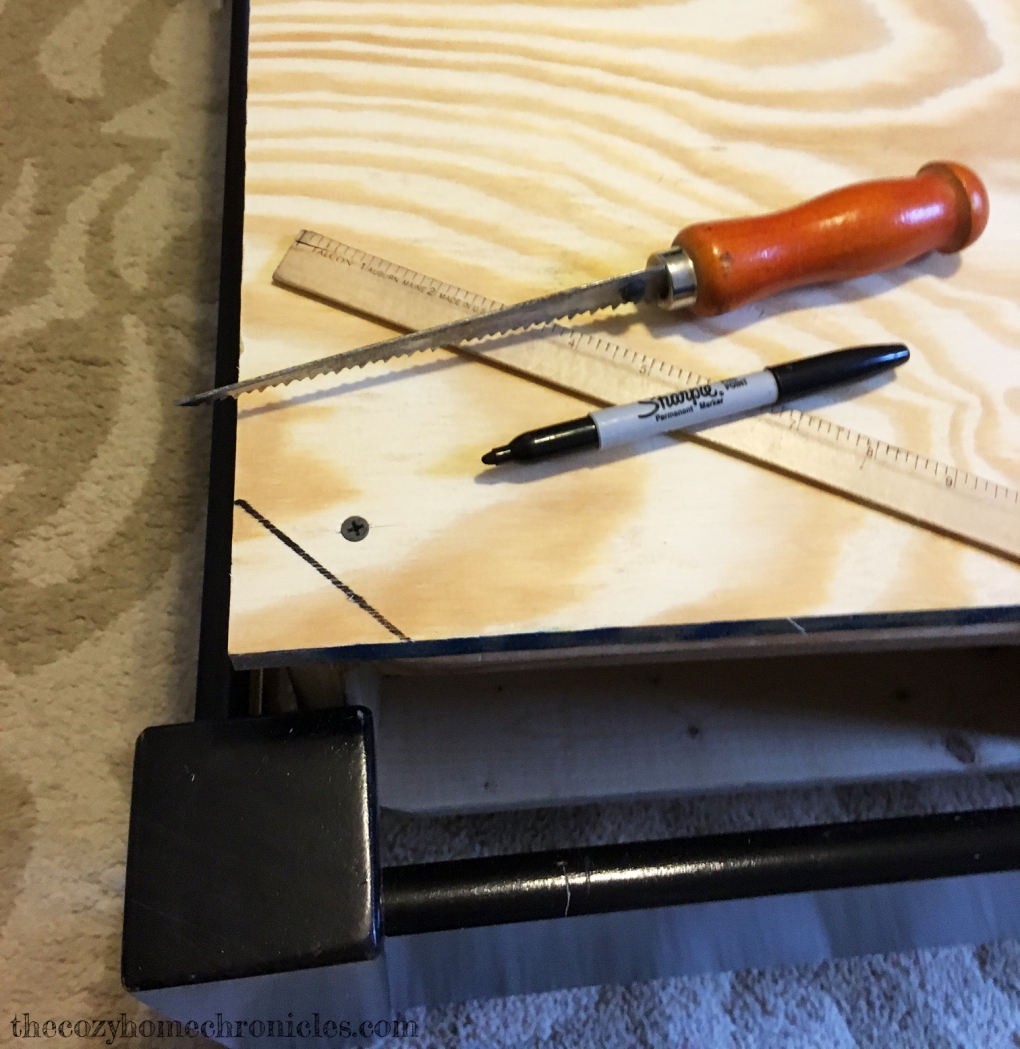
Figure 7a

Figure 7b
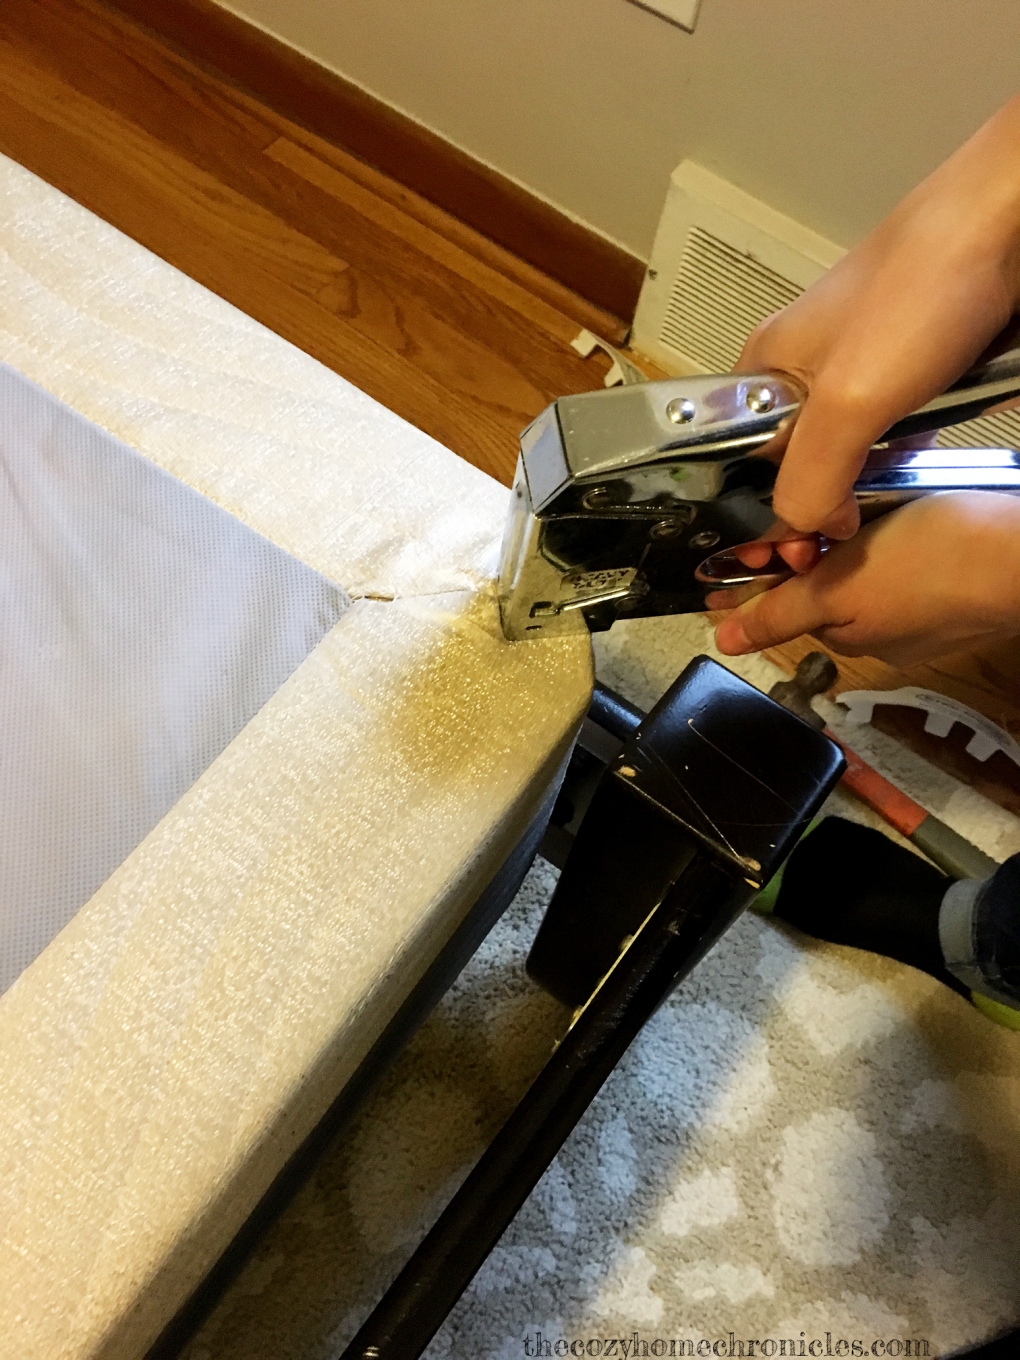
Figure 8
If you liked this post please follow us and share!
![]()


 6. Once you have settled on your design, all that’s left to do is to hang up your scarves and enjoy the awesomeness that is hassle-free scarf organization.