As you may be well aware of, maintaining a home requires not only constant work but some level of organization in order to cultivate a sense of peace and stability. Sometimes organization can be found through specific practices such as meal planning or journaling, other times it can be found in the design of a space that maximizes storage and efficiency. In our home we try to maintain a happy balance between both practice and design. Before having children, doing laundry was manageable because we could fold and put our clothes away in our bedroom without any interruptions. Now with two little ones, we can’t afford to bring the laundry up to fold unless we want our clothes scattered all over the main floor. We found that even though we had scheduled days for doing specific loads, our laundry room was just not equipped to deal with us sorting, folding, hanging, and ironing our clothing in one space. There was no counter-space to fold and no shelving to store laundry baskets and cleaning supplies. Something had to be done!
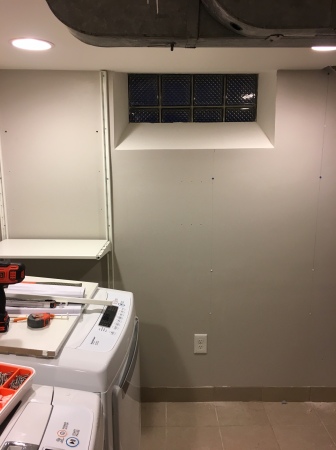
Here’s what our laundry room looked like before:

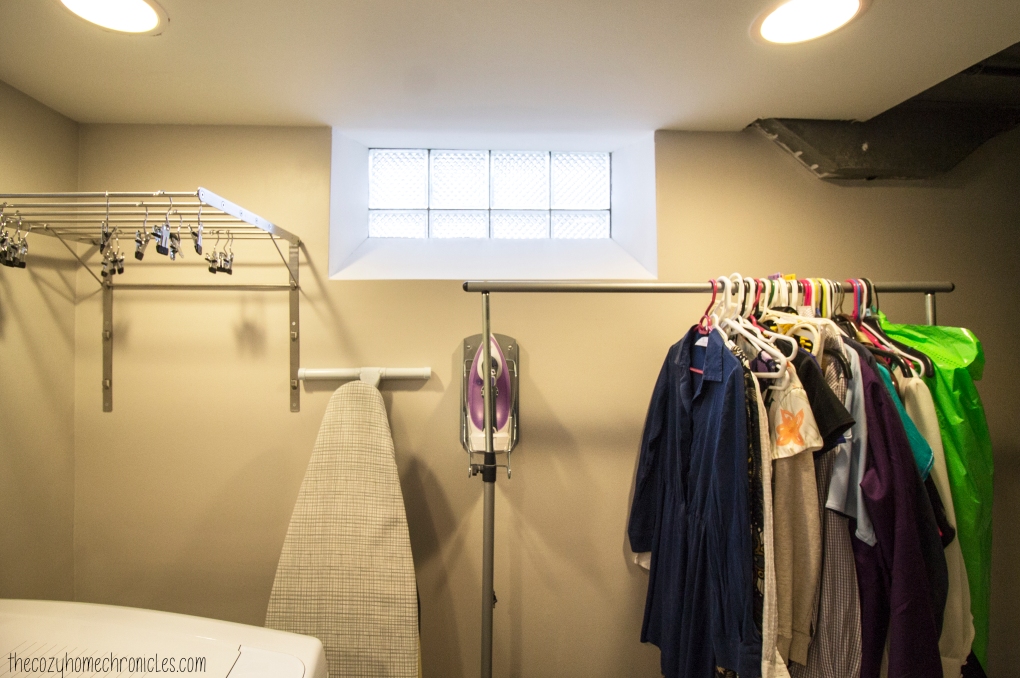


When we first bought our house, there was virtually no laundry room. There was just an old washer and dryer sitting in a dark and dusty, cement-walled basement. When we finished our basement in 2014, we made sure to include a space for laundry although we never put much more than a shelf and a sink cabinet. Fast forward to three years later and the realization that our laundry room was wasting valuable space. After much research and number crunching we decided that IKEA’s Algot system provided us with all of the features we were looking for at a very reasonable price. The Algot has a variety of options that accommodate any need from hanging rods to pull out drawers to drying racks. We are very familiar with the system because we had used it to replace our master bedroom and nursery closets but had never considered using it on an open wall. Until now.
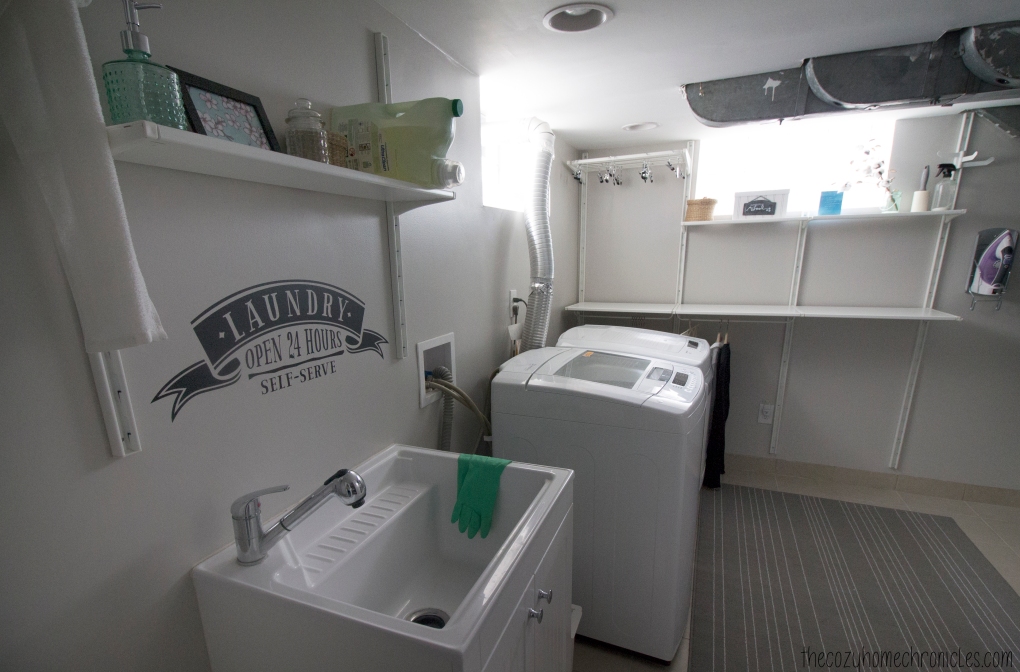
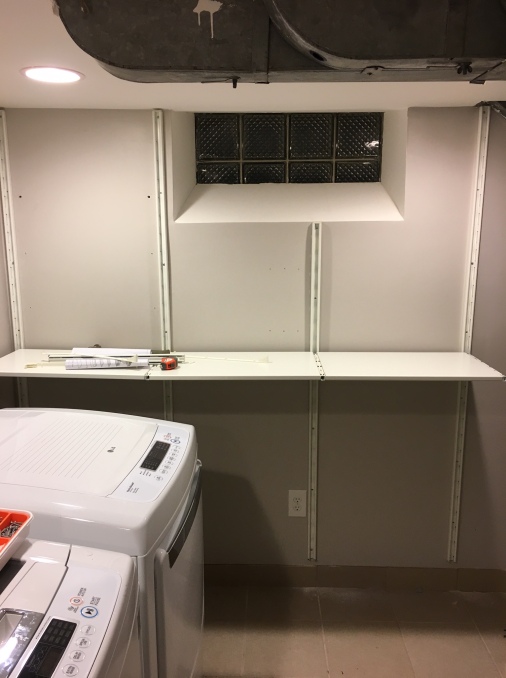
In total, we spent $177 for the design we chose and we are very happy with the outcome. The system gave us the shelf space, hanging space, and counter space we desperately needed to deal effectively with laundry all in one space. If you are considering this system but are hesitant about what it will cost you, you can get 100% accurate pricing by designing your space through the Algot planner.
Here’s what our laundry room looks like after:
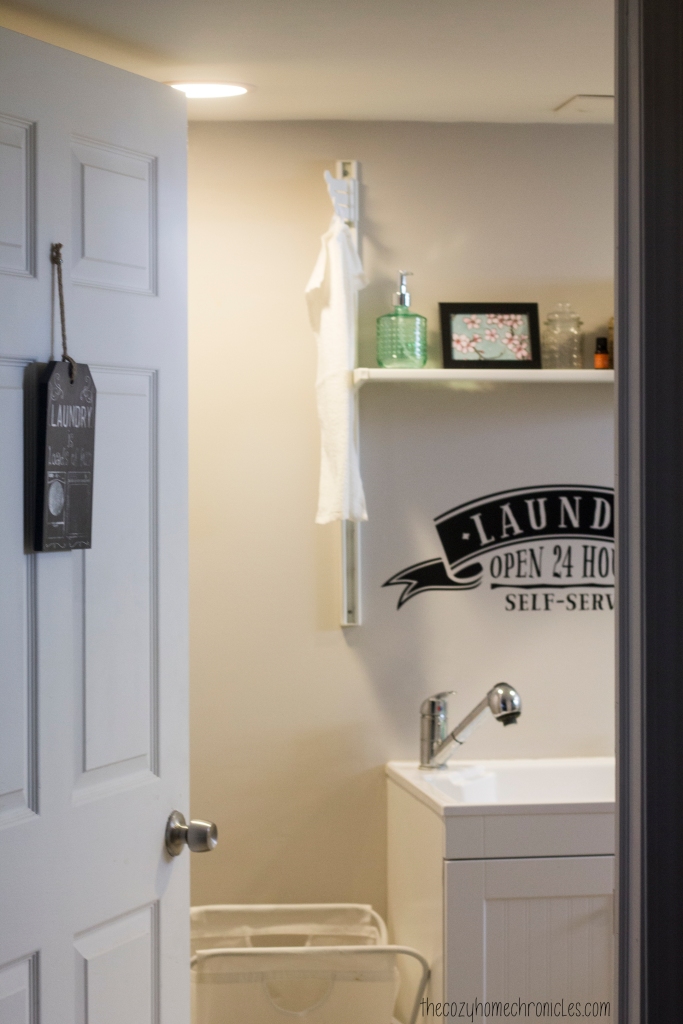

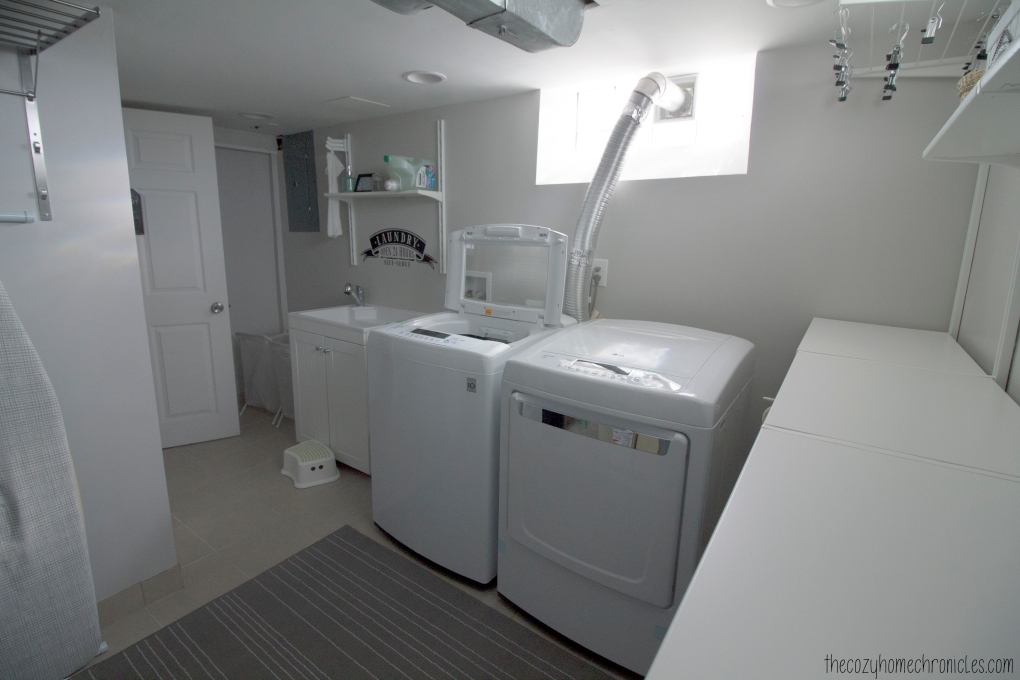
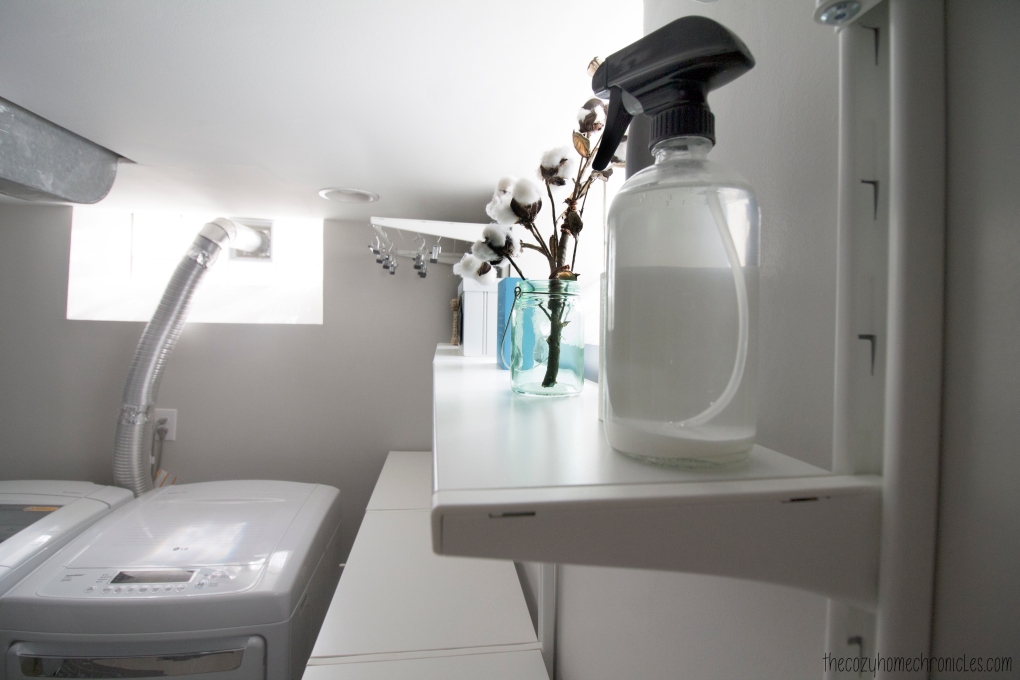
Of course a remodel wouldn’t be complete without some fresh new decor. Not only did we want a space that is efficient but we also wanted one that is cozy and pleasant to work in. Below we are sharing some of our favorite, simple decor ideas.

- Laundry Wall Decal: We had such a hard time settling on one from MyDandelionDecal’s impressive 5-star rated shop but in the end chose a piece that was classic and inviting. The lovely shop owner has set up a 20% off code exclusively for our readers so if you’re interested in supporting a small business while decorating your home, the code is COZYCHRONICLE20
- DIY Wool Dryer Ball Basket: Since we do not use dryer sheets, we needed something to keep our dryer balls from rolling all over the place. Armed with a paint pen, a clearance-priced metal plaque, and a white crate, I was able to put together this adorable storage box for under $10.
- IKEA Ljusnan Seagrass Baskets: These baskets add such a rustic touch and are perfect for storing clothes pins and essential oils.
- DIY Framed Wall Print: IKEA’s $0.99 Fiskbo Frame meets Michael’s $0.69 scrapbook paper for an inexpensive pop of color and pattern.
- Cotton Stem Bouquet: Who else thinks fresh cotton when they think of laundry? This inexpensive mint green jar is the perfect pair to Kirkland’s cotton stem.


As with all things in our home, this laundry room is still a work in progress. One thing that we still have yet to do is designate and design a corner for our cleaning tools. In due time! At this stage in our busy lives, however, this update gives us all the things we needed. It just goes to show you, a space doesn’t have to be fancy to get the job done.
If you liked this post please follow us and share!







 Last but not least, throw down some plush

