DIY Framed Chalkboard Wall

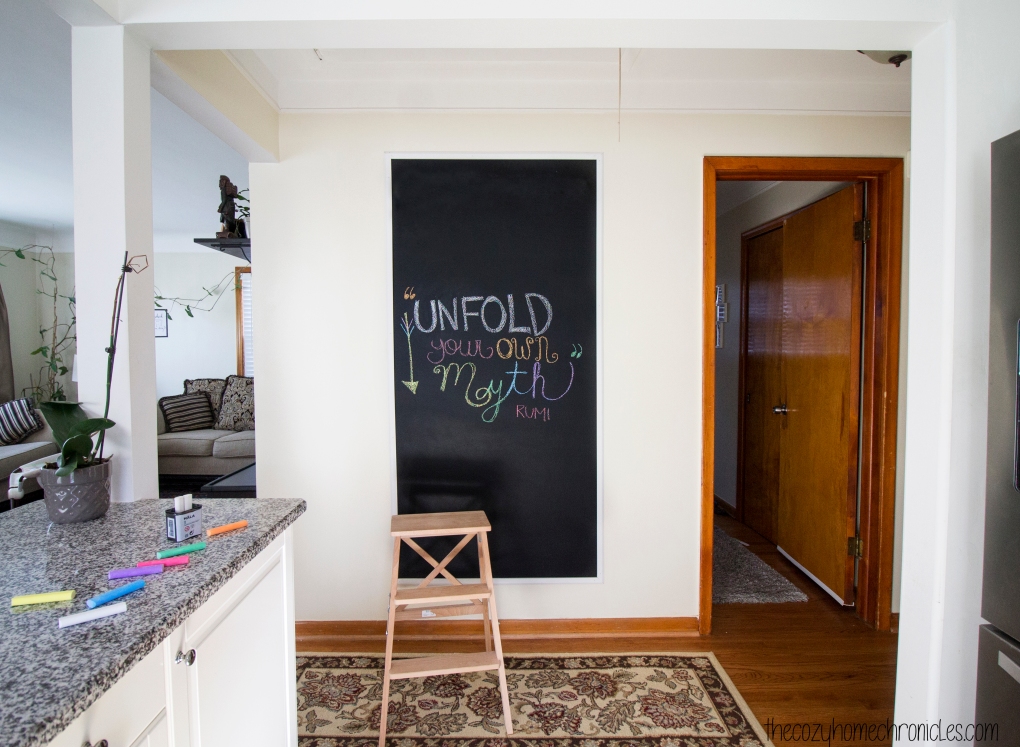
Our son is getting to the age where he can almost color without trying to eat his markers and crayons (the keyword there is almost), however, he still attempts to scribble on the wall any chance he gets. Despite getting him a small IKEA table for all of his creative pursuits, he seems not to want to be confined to paper so we figured if coloring on the walls is what he wants then coloring on the walls he shall get. We have always been admirers of chalkboards…the rustic kind that you see in old schoolhouses in black and white movies. We figured a chalkboard would not only be nice for doodling and writing the dinner menu on but also as a fun educational medium to teach letters, words, and concepts.

IMG_9985

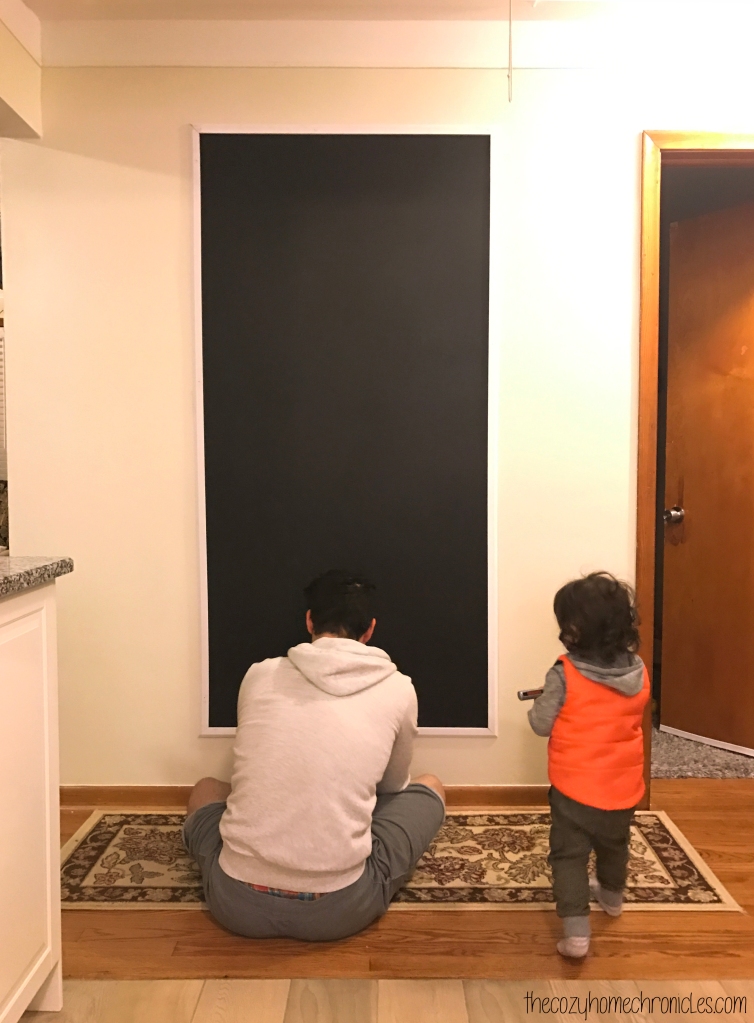
We did toy around with the idea of painting an entire wall, which has become popular these days, but in the end we decided a 6ft x 3ft area was plenty of space for all of us to use. Plus since we chose to put it in the hallway, adjacent to the kitchen, we wanted to preserve some wall space just in case we wanted to add wall art or organizers for a command center in the future. The awesome thing about making your own chalkboard wall is that for $10 of chalkboard paint, you can get a little over 100 sq. ft of coverage. That’s a steal when you consider that chalkboards the size of small picture frames are going for that and much more. The other really nice thing is that you can frame the painted area to achieve that authentic chalkboard look and you can do so using any type of wood you like in any stain you want. We went with an inexpensive white moulding from Home Depot that we nailed directly to the wall. We’ve come across DIY framed chalkboards that involve painting another medium and then hanging it up. Not only is a large chalkboard heavy and impractical to hang but it would be dangerous if you have little ones in your life. Just something to think about if you are not sure how you feel about painting a wall with chalkboard paint.

The only thing you need to be mindful of is if you have kids in the house then you will want to time your painting after their bedtime so the paint can dry without handprints all over it. Other than that, this chalkboard wall is super easy to put together and loads of fun. Our son loves scribbling on it, I love practicing my handlettering, and of course baba loves leaving silly doodles for us to wake up to. Yes, we are not ashamed to admit it… this chalkboard was as much for us as it was for our son.

Supplies
Chalkboard Paint ($9.67)
Wood Moulding
Trim Nails

Tools
Paint Roller
Paint Tray
Paint Tray Liner
Blue Painters Tape
Hammer

Chalk options
Chalkboard Wall Safe Markers ($12.95)
Regular Chalk from IKEA  ($0.99)

Note: If you end up taking on this project using similar dimensions to our chalkboard then know that you will have leftover paint. Don’t you fret though, we will probably come up with another DIY project to make use of it.

IMG_9973.jpg

Directions
1. Measure the area you want to paint and outline the area with pencil.
2. Apply the painter’s tape over your outline, pressing down firmly as you go so you don’t have any air pockets where the paint can seep through.
3. Mix the paint using a paint stick and pour 1/4 of the paint in the paint tray.
4. Gently dip your paint roller in and start painting your designated area in a “W” pattern. Make sure you don’t use too much paint on your roller as it will start dripping and take away from the smooth surface of the board.
5. Let dry for 4 hours before applying a second coat.
6. After the final coat is painted, let it set for 3 days (per instructions on the paint container) before writing on it.
7. Test your new board with the writing medium of your choice: old-fashioned chalk or chalkboard marker.

IMG_2460

IMG_2465

IMG_3138

IMG_9929

IMG_9954

IMG_9988 copy


Have you been wanting to put up a chalkboard wall? If so, what’s been stopping you?

If you liked this post please follow us and share!

Instagram


IKEA Hack: DIY Rustic Bread Tin Box

img_9537

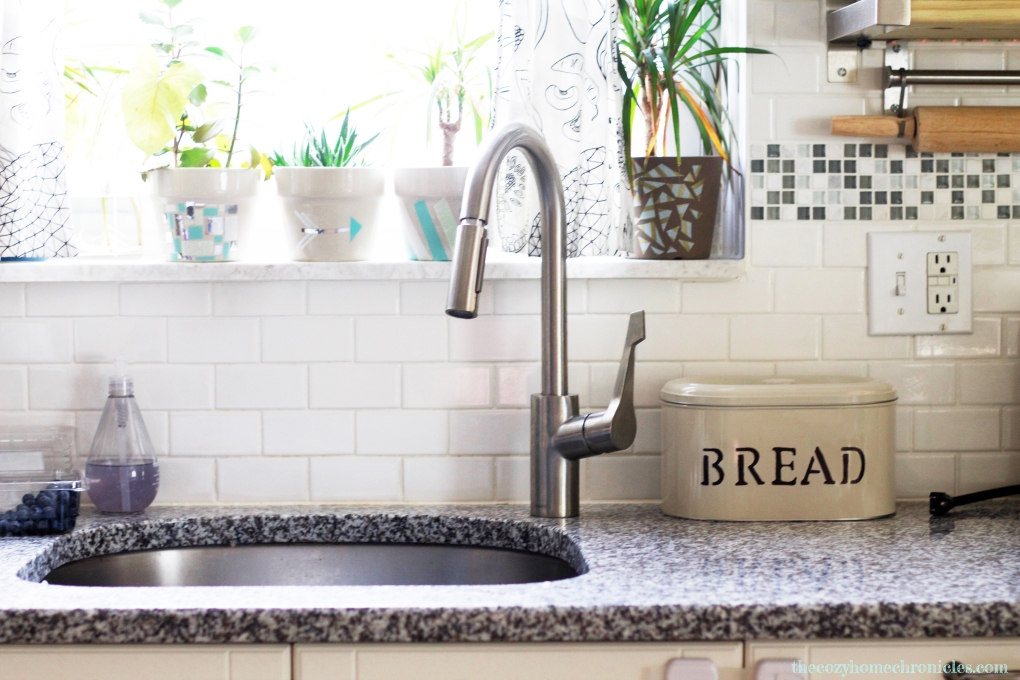
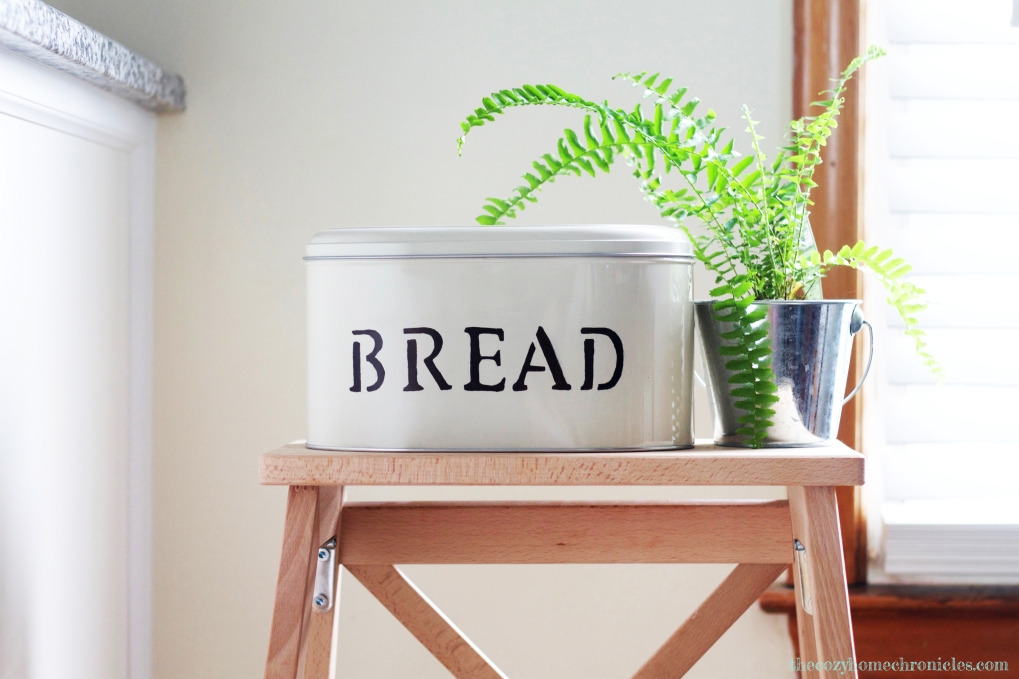
We eat A LOT of bread… possibly too much of it but we are hobbits so that’s probably not going to change anytime soon. Although we finished renovating our kitchen this past May, there is still some work to be done in terms of organizing and decorating. One of the things that needed to get checked off of our to-do list was finding a way to preserve and store our leftover bread. When we searched for bread storage online, we immediately fell in love with the charm of those rustic farmhouse bread tins. Of course it would have been easy to click purchase and have one delivered straight to our doorstep for $45 but where’s the fun in that? Instead we took our time getting ideas until we came up with an easy DIY bread tin. Not only is it way cheaper than any bread tin you’ll find in store but it’s super easy to make and customizable too. IKEA has two different tin options that you can use for this project and both are under $15. 

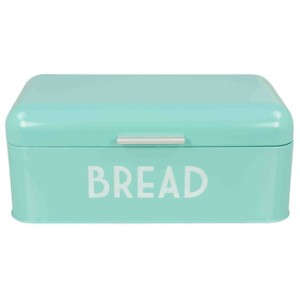
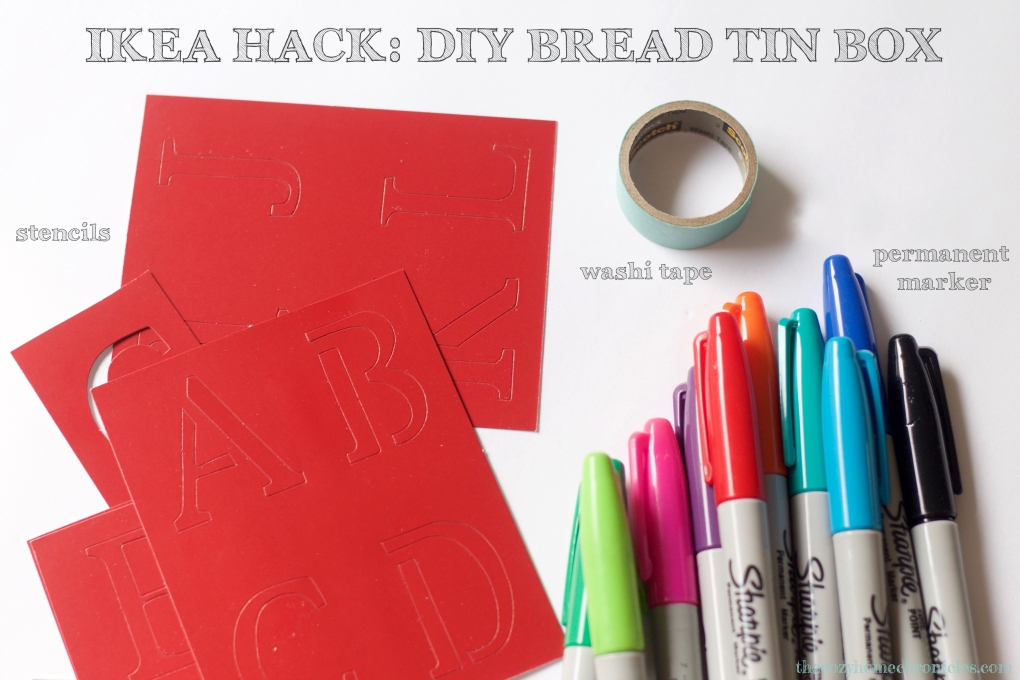
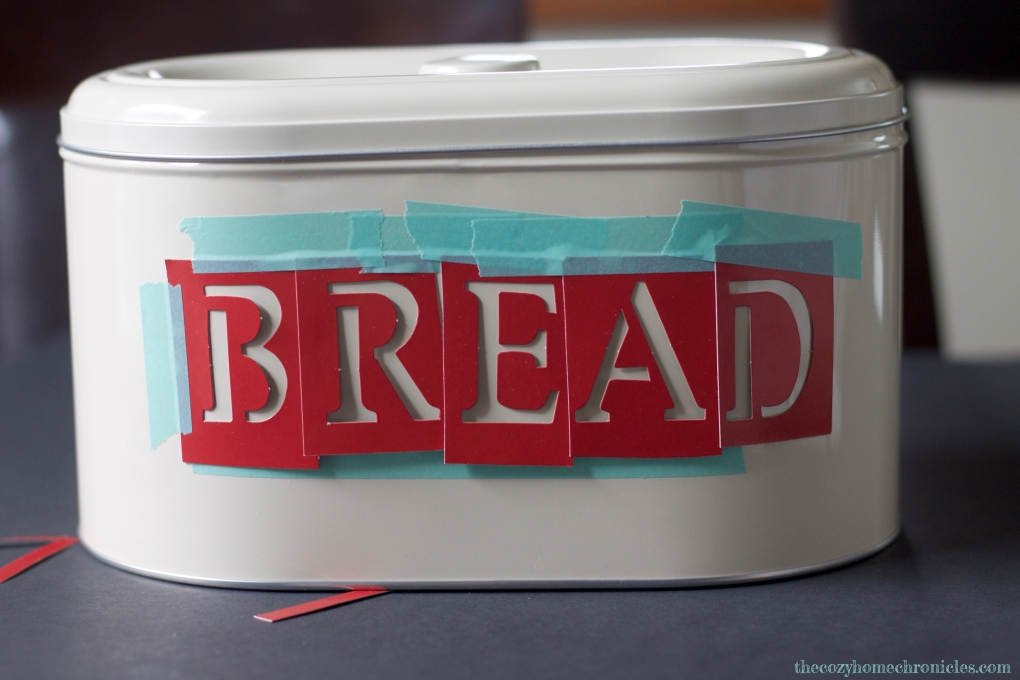
The Beromlig that we settled on came with two sizes for $8.99 and we used the larger one to make the bread tin box (we will probably turn the smaller one into a cookie tin). That’s a steal considering simple tins like the one pictured below on wayfair.com are going for $26.99 at sale price. Besides the choice of tin, you also have the option to pick any font you want. We went for a classic look with “Old School Alphabet” stencils that we found at a local Michaels. Lastly, you’ll need to settle on an ink color from the many pretty shades that are out there. Why permanent marker you ask? Well we did try acrylic paint and it peeled off too easily. Although permanent marker can come off with rubbing alcohol (we checked!), it does not come off with a gentle wiping using a wet cloth. I suppose you can use spray paint or some other fancy medium but for a simple and inexpensive home decor item,a  good old Sharpie will do the trick. Alright, let’s get started!custom_imageMaterials
Beromlig Storage Tin
 or Hemsmak
Letter stencils
Permanent marker
Washi or painter’s tape

img_9524-copy

Directions

1. Wipe the inside and outside of the tin clean with a damp cloth and dry thoroughly.
2. Arrange and level your letters on the tin and tape them in place using washi or painter’s tape.
3. Fill in the letters with any color permanent ink you choose.
4. Let dry for 10 minutes before removing the stencils.
5. Find a happy place for your bread box and fill with delicious breads 🙂

img_9485

img_9497-copy

img_9527

img_9515-1

What projects and adventures are you working on right now? Please join the conversation below in our comment section, we would love to hear from you!

If you liked this post please follow us and share!

Instagram


Kitchen Undershelf LED Lighting

led-lighting

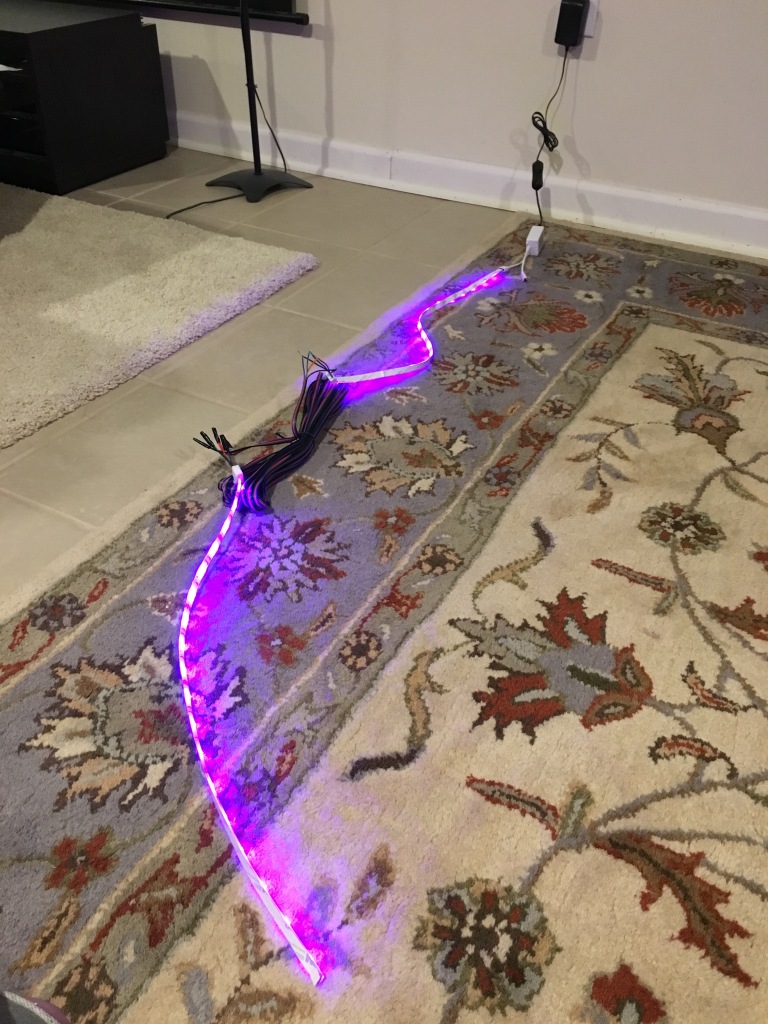
In the three wonderful years we’ve lived in our starter home, we’ve done many DIY projects, with our kitchen renovation being the biggest. So it should come as no surprise that we have a TON to write about. I’ve written about many of the more involved aspects of our DIY kitchen project in other posts but one feature I have not talked about is the LED lighting I installed under our open shelving. This was one of the more exciting parts of the whole project for me because I think LED lighting looks cool in kitchens (let’s be real…it does) and I liked the idea of having some light around when navigating the kitchen for a late night snack. Not to mention, LED lighting is such a simple and inexpensive addition that can really brighten up a space. Researching online and reading through DIY forums gave me an idea of what I needed to do and helped me to settle on the perfect product. There are many brands of LED lights out there but I purchased the Tingkam Waterproof 5m 5050 SMD RGB LED Strips which had great reviews on Amazon and some really cool features including a range of colors and lighting options. The installation was fairly straightforward and despite costing only $20, the lighting and adhesive were high quality. We are 6 months out from our renovation and have not had a single problem, thankfully.

img_0465

If you are considering installing LED lighting under open shelving, there are a few things you will need to consider. 1) Is there an accessible power outlet where you can plug-in the connected LEDs nearby? 2) Are there large spaces between the shelves where you will be installing the LEDS under? If there is a significant space between shelves, you will need to cut and splice wires using the LED connectors and extension cable. You will also need to think about aesthetics. 3) Where will you hide the extension cable(s)? Because I planned to incorporate LED lighting during the design stage of our kitchen renovation, I was able to do the electrical work and run the cable through the wall before I got to drywalling and tiling the backsplash over it. Once you’ve settled these minor issues, you’re all set to install the lights. Here’s what you’ll need:

Supplies
Lights $20.39
LED Connectors $9.49
LED Extension Cable
 $7.99
Butt Splice Connectors $6.55

71tval3m8ll-_sl1500_

Image via Amazon

Directions

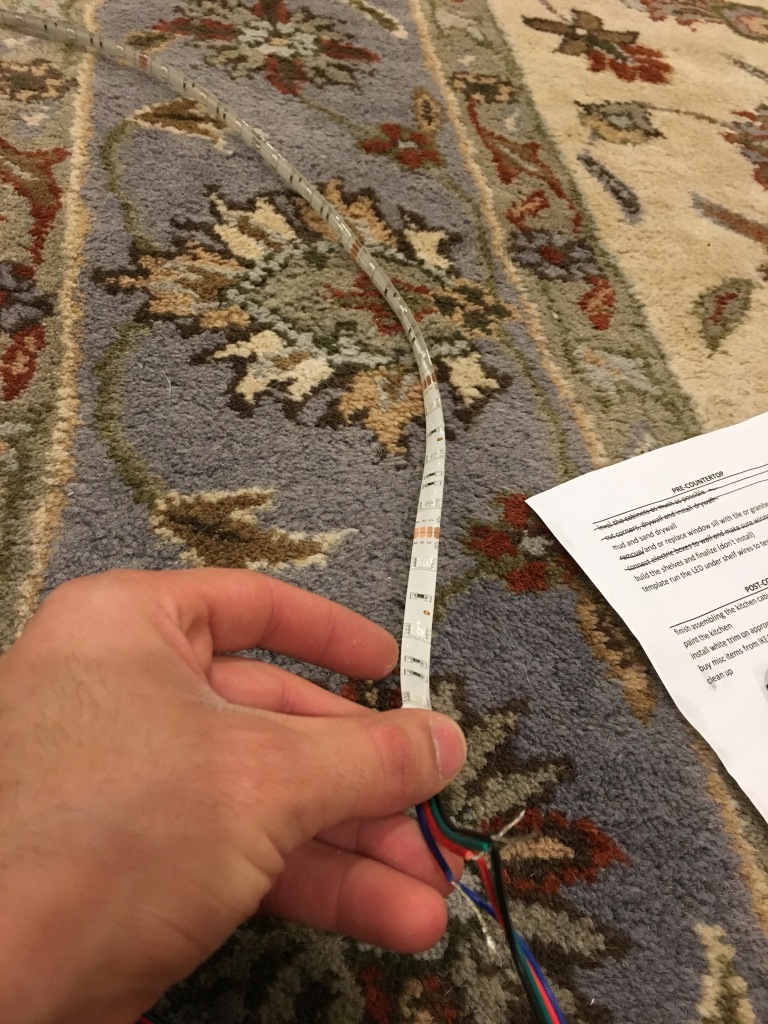
  1.  Measure your shelf and cut the LED strips according to the length of your shelf. For the specific LED lights I purchased, you can cut the strip along every 3 LEDs where there is a scissor line (figure 1).
  2. Connect your LED strips using the LED connectors (figure 2). If your shelves have a wall or other obstacle between them and you can’t just run them continuously you will need the extension cable listed under the supply section. Make sure to measure the space between the shelves before you connect the LED strips together so you know what length to cut your extension cable. To connect your lights to the extension cable you need to splice the wires (see figure 2).
  3. Splicing: 1) Peel back the LED strip to reveal the copper stripes and connect them to the waterproof clasp of the LED connectors. 2) Cut the connector wire in half and separate the black, red, blue, and green wires so that you can align them with the corresponding colored wires on the extension cable (figure 3). 3) You can either crimp the wires together using the butt splice connectors or twist and tape them with electrical wire (figure 4).
  4. Once you are done splicing the LEDs, you can secure the lights to the bottom of the shelves using the self-adhesive backing. To get the best results, make sure your surface is completely dry and clean. If you are planning on hiding the wires then disconnect the LED lighting strips before you adhere them to the shelf and run the wires through the walls as needed (see figures 5-6).
  5. Now you can plug the LED lights in and enjoy experimenting with all the colors and settings (figures 7-8).
img_0985

figure 1

img_0991

figure 2

img_0984

figure 3

img_1141

figure 4

img_1012

figure 5

led

figure 6

img_8899

figure 7

img_8894

figure 8

Have you incorporated or considered incorporating LED lighting into any of your home renovation projects? Let us know in the comments below!

If you liked this post please follow us and share!
Instagram