Dress your plants: DIY Washi Tape Planter Art

ujb

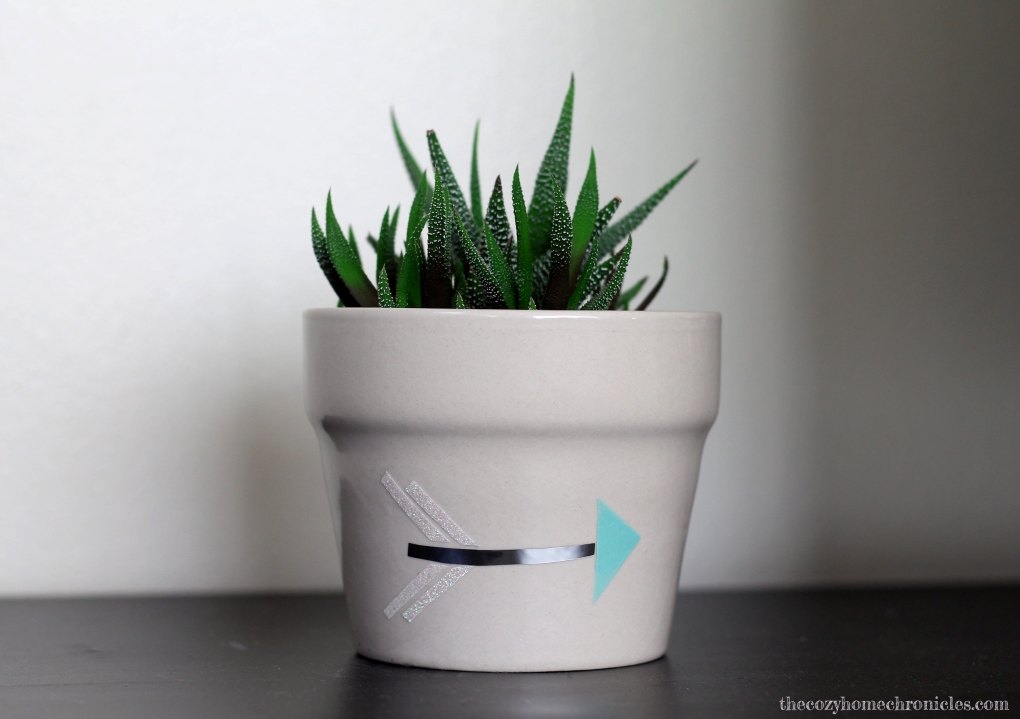
This month, the wonderful Igor and Judith at Urban Jungle Bloggers are on the lookout for creative, inspiring and unusual planters for dressing up plants. We took this as a challenge to transform our neutral, minimalist IKEA pots into something a bit more bright and cheery for our eclectic space. Plus with the holidays around the corner, we thought it would be nice to offer a simple DIY gift idea for that special plant-lover in your life.

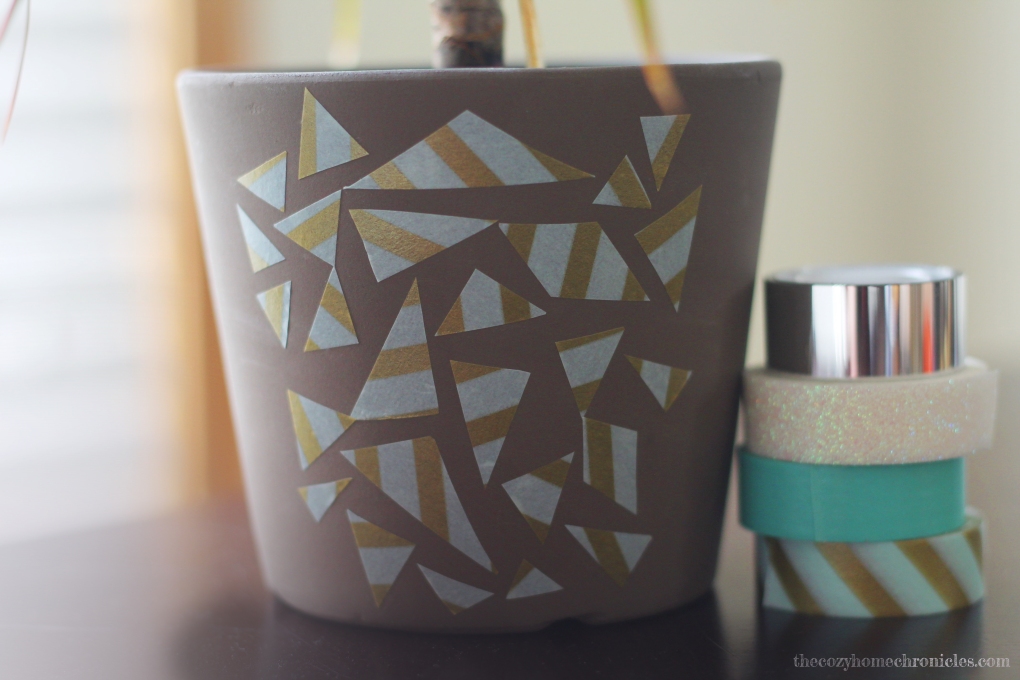
We’ve seen many cool Washi Tape projects before but had never attempted one until now. Not only is Washi Tape super versatile but the variety of colors, patterns, and textures it comes in makes for endless crafting possibilities. Aside from the planters, tape, and scissors, all you really need for this project is your imagination. To get your creative juices flowing, we are sharing the simple designs we came up with when we put our scissors to the tape. Although it was tedious, we found it much easier to work with smaller pieces of tape with regards to the curvature of the pot (hence the mosaic look!). Despite the time it took, we really enjoyed watching the abstract design emerge as we added piece by piece. 

Supplies
Planters
Washi Tape
Scissors
Mod Podge
IMG_8264.jpg

Directions
1. Design your planters. There’s no limit to what you can think up and create.
2. Cut and stick your Washi Tape pieces on the planter according to your design.
3. Seal your design with Mod Podge.

img_8281

img_8280-1

img_8286


img_8283

img_8269What are some ideas you have for decorating planters in your home? If you attempt this project please do share the finished product with us on instagram under #chcdiy 🙂

If you liked this post please follow us and share!

Instagram


Ramadan Decor: Moon-Phase Garland

The month of Ramadan is set to begin this week and I have been brainstorming countless ways to make it more special and festive for our family. Decorating is obviously one really fun way to do this (especially if you have young children) but it seems the selection of Ramadan decor out there is a bit too generic (think green and white and palm trees). Since as Muslims we follow a lunar calendar, and Ramadan begins and ends with the sighting of the new moon, I thought it would be really nice to capture the beauty of phases of the moon. Not only is this garland super cute and simple to put together but making it is a great way to bring the family together for a creative activity that inspires reflection on the wonders of astronomy.

IMG_2167

Supplies
Paper (plain white textured and assorted colors)
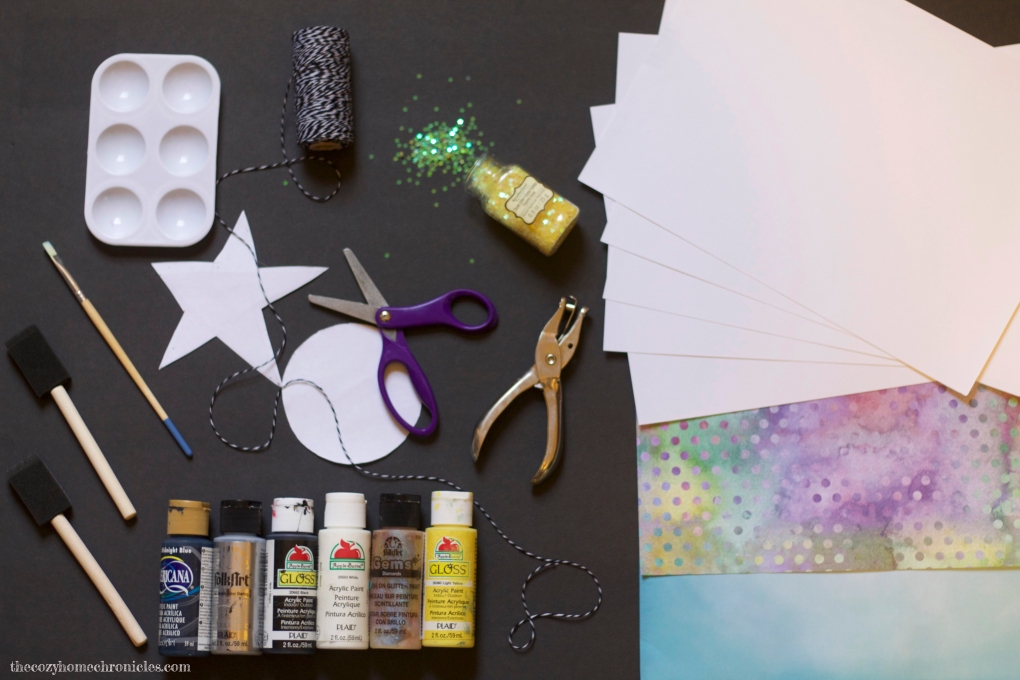
Acrylic paints (Any shades of gray, white, clear glitter, and yellow)
Paint brush and foam brushes
Scissors
String
Adhesives (tape and glue)
Mini clothespins
Glitter

Directions

IMG_2073

Gather your supplies

IMG_2087

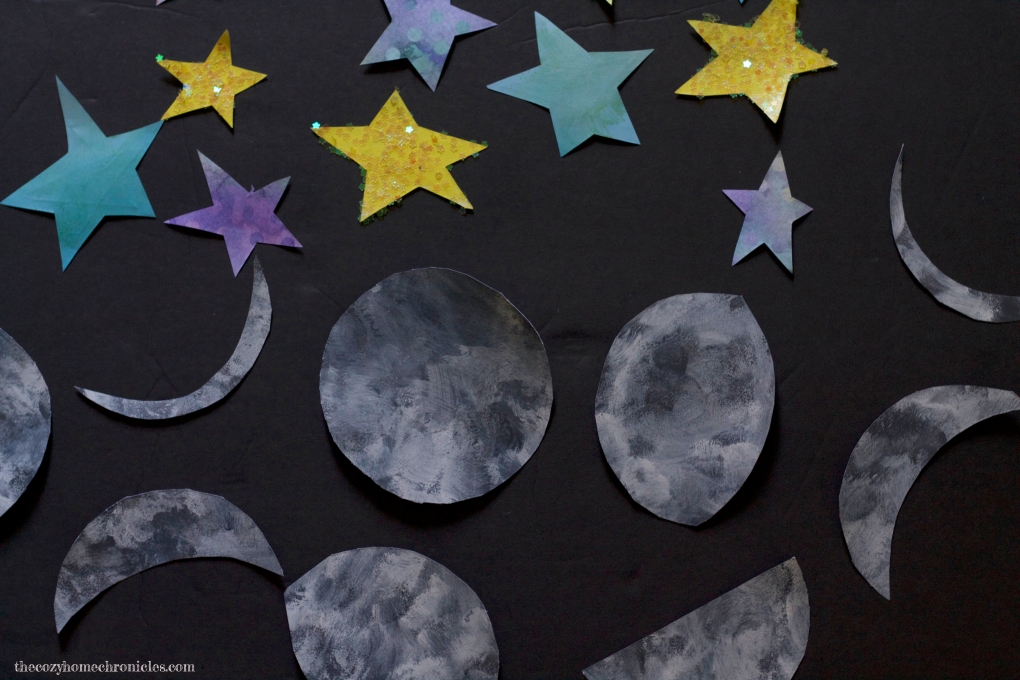
On the textured white paper, paint with the foam brushes beginning with the darkest gray colors and ending with white.

IMG_2091

Make sure you let each layer dry before painting the next. By the time you are done, you will have a pattern that resembles the surface of the moon.

IMG_2092

Cut out  6 circles to the size of your liking. You don’t want them too big so the garland doesn’t droop when you hang it. My circles had a radius of about 2 inches.

IMG_2099

Cut 5 of your 6 circles down until you have the 9 moon phases. These pieces will be arranged just like this on the garland.

IMG_2105

Cut out some rustic looking stars and decorate with glitter (optional) and arrange the pieces for assembly.

IMG_2146

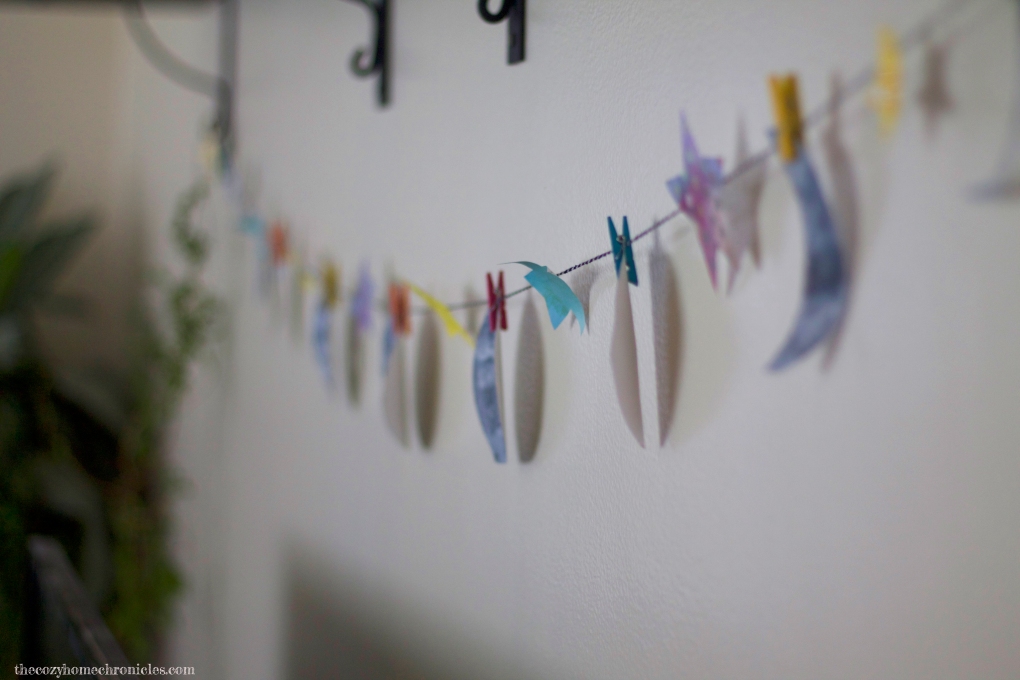
Using glue, tape, clothespins (or a combination of them), assemble your stars and moons on a sturdy piece of string, making sure they are evenly spaced.

IMG_2157

Hang up your beautiful garland prominently in your family room.


IMG_2167.jpg

Enjoy the lovely view!

“Indeed, in the creation of the heavens and the earth and the alternation of the night and the day are signs for those of understanding [3:190].”

If you liked this post please follow us and share!

Instagram