DIY Anthropologie-Inspired Fringe Wall Art

Earlier last month, I shared a DIY upcycling project that I created for a four week creative challenge that I participated in back in January. In this post, I’ll be showing you how to make my decor for week two’s challenge “On the Wall.” First let me start by saying that while I love my own creative process, one thing I really enjoy is the challenge of recreating products that already exist for much cheaper. Seriously, if you’ve ever wanted something that was way out of your price range but thought maybe you could make it at home then I’m your person! Like, if there was a career path or job title for Expert Home Decor Replicator, I’d be the first in line but until such a day here I am making copycat Anthropologie wall art for my own home and blog.

39685805_004_b1

Image via Anthropologie

Do you want to take a guess how much these Solar System Wall Art pieces are going for? Do you even want to know? Try $78-$198. Yep, you read that correctly. How about making one for less than $20? If that’s a yes and you want to know just how, keep on reading for the full scoop. Here’s what you’ll need:

Materials
Gold Floral Hoops or Macrame Rings
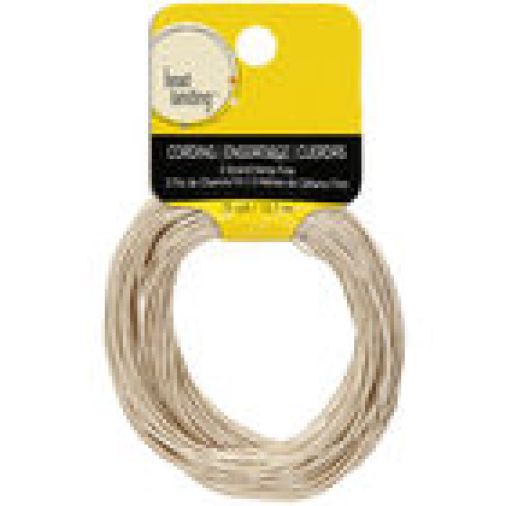
Natural cord
Wooden or stone beads
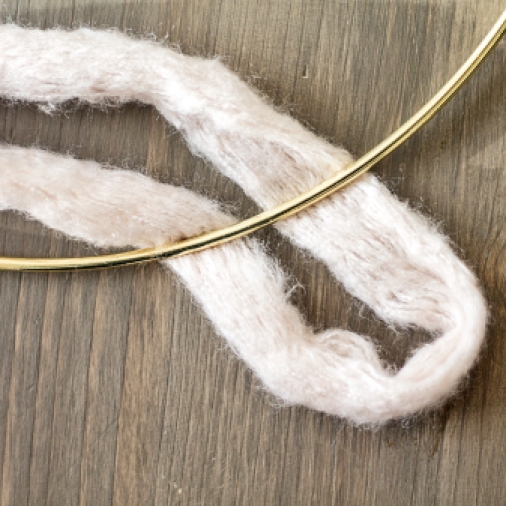
Premier Jazz Yarn


Note: For this specific design, I used 2 floral hoops: a 6in and an 8in. I also used the jazzy yarn in the color “mushroom.” You can use any color or even a variety of colors to create a custom piece for your space. 

Directions

  1. Hold the two gold rings parallel so they’re touching (small ring inside the large) and tie them together using the natural cord. Wind the cord around the rings until the rings are secure and then double knot the cord leaving at least 7 inches for the beads and loop. For extra security, you can add a dab of hot glue to the knot.
  2. String the wood beads on the cord, secure with a knot, and create a small loop for hanging.
  3. Cut out 6-10 strands of the premier jazz yarn, keeping in mind that you want each strand to be twice as long as the final fringe since you’ll be folding it over. I wanted a staggered look so I cut out different sizes ranging from 20-35 inches (actually between 10-17inches).
  4. On the bottom end of the larger ring, secure the yarn by folding the strands in half and pulling the strands of the yarn over the ring and through the loop (see images below).
  5. Pull to tighten and trim the strands to your liking. Now hang and enjoy the view 🙂


anthropologiewallart

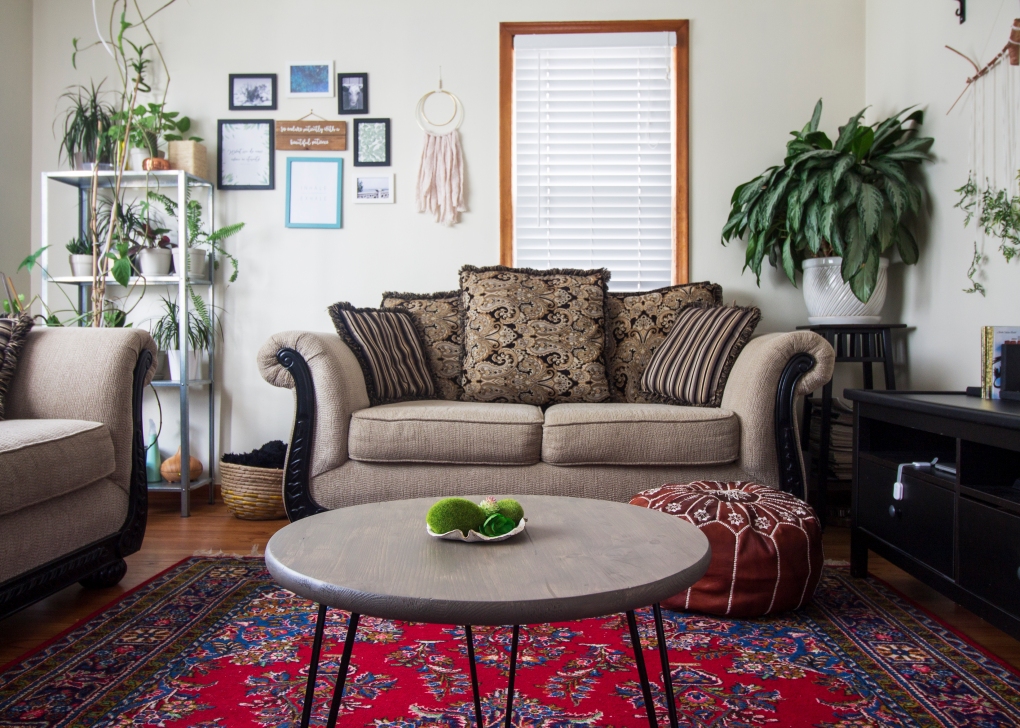
This was such a simple DIY wall decor and it really added a nice touch to our eclectic space. Would you make something like this for your home? Let us know in the comments below and as always, if you found this inspiring we would love it if you shared.
IMG_9856

signature3


DIY Garden Lattice Light Fixture

IMG_3179

After finishing our crazy and exhausting 6-week bathroom renovation challenge in May, you would think we would wait just a littttle bit longer before DIYing again. But, nope. We just can’t help ourselves. It seems there is never a shortage of problems that need creative solutions and for us one of those problems has been the lack of adequate lighting in the living room. For the last four years we have made do with two lamps on our end tables and let’s just say, the amount of light they offered left much to be desired. Making our own light fixture has been a goal of ours and so we have been mulling ideas over for quite some time. All we knew was that we definitely wanted something that gave off rustic, jungalow, boho vibes. When I thought of inspiration that embodied these elements, my mind always went back to the same place: The lobby of a hotel in Philadelphia where I stayed for an anthropology conference.

IMG_6043

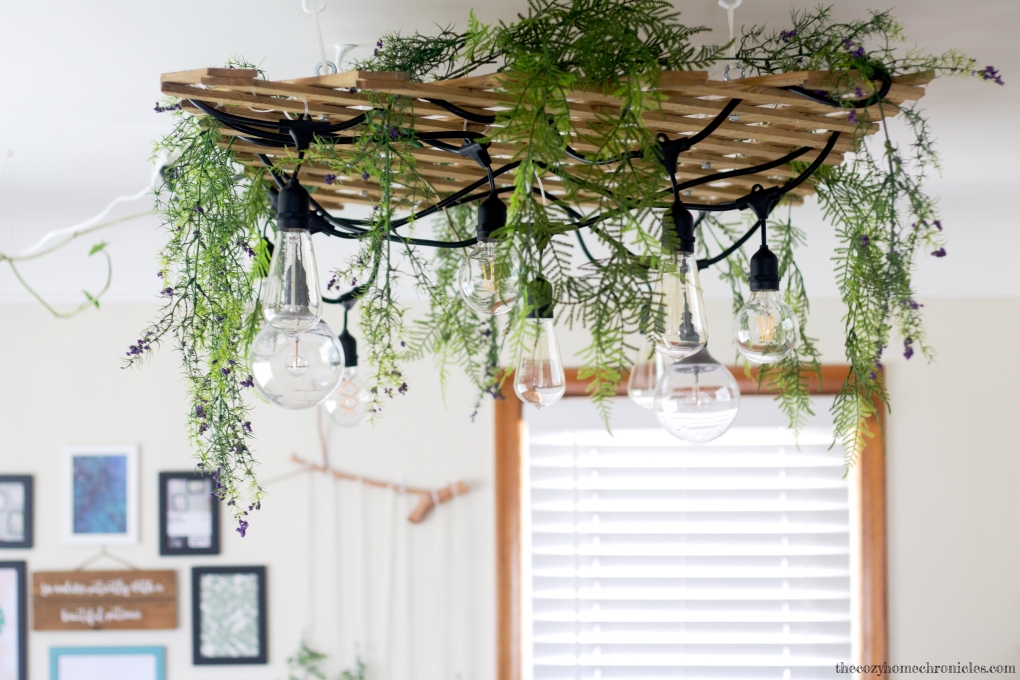
We also wanted something inexpensive; something we could make out of upcycled and thrifted materials. It didn’t take long for us to settle on the garden lattice sitting abandoned at the back of our garage. Not only did it give us the look we were going for but it also helped us solve another design problem: what to do with the overgrown arrowhead vine taking over the living room. And then, almost in what could only be described as divine intervention, something possessed my husband to stop at a garage sale where he found this set of 5 really cool Edison bulbs for $5 (normally they would go for around $7 a bulb). A few Home Depot trips later and we had settled on how to hang our new fixture. The funnest part of this whole process was seeing our random ideas become a reality. We are just so happy with the finished product and we love that it feels like a rustic garden in our living room. We like it so much, we just may consider putting another one up above the dining table 😉 Alrightie, here’s what you’ll need to make this fixture:

Supplies
Pressure Treated Lattice
(6) Ceiling Hooks – VersaHook
(10) Heavy Duty Cable Ties or Loop Wire and clamps*
(6) Metal Bolt – Everbilt 3/8 in. Eye Bolt with Nut
10 Vintage or LED Edison light bulbs
10 String Light socket
Faux Foliage

*Important: For safety purposes, make sure to use commercial cable ties with a tensile strength of at least 40 pounds or you risk the fixture falling down.

IMG_3170

Directions: 

  1. Cut the lattice to the desired size (we did 3ft wide by 5ft long) with a hand saw.
  2. On the lattice, choose 6 symmetrical points for hanging support and drill a hole for each. Secure the 3/8in eye bolts in each of the six holes.
  3. String the cable ties through the eye bolts and loop until completely secure. This is very important. You must not be able to open the loop or slide the tie back through the head.
  4. Measuring according to the location of the eye bolts on the lattice, drill 6 corresponding holes into the ceiling.
  5. Insert drywall anchors into the ceiling holes and secure the ceiling hooks by twisting.
  6. Just for a test run, install your fixture base by hanging the cable tie loops on the ceiling hooks. If everything looks good and sturdy then take it down and proceed with the next steps.
  7. Now for the fun part! Weave your string light sockets through the lattice and secure the wire in place with the remaining cable ties (you can use more if you like).
  8. Decorate your light fixture by arranging your faux foliage around the lattice either by weaving the stems through the lattice or using glue or a staple gun for a more permanent fix. Make sure to place the foliage a good distance away from the light bulbs or they can burn.
  9. Install your completed fixture by hanging the cable tie loops on the ceiling hooks.
  10. Finally, screw in your Edison bulbs, plug in the light, and enjoy the beautiful view!


IMG_3164

IMG_3171

With the lattice and the Edison bulbs as the base, you can customize this fixture for any home decor style with just a coat of paint and greenery of your choice. You can hang flower stems, eucalyptus, lavender, air plants, etc… The creative possibilities are endless. If you do attempt to make this, be sure to share and tag us so we can see 🙂

If you liked this post please follow us and share!

Instagram


DIY Spring Succulent Wreath

img_0143
Can you believe it’s March already?! I mean just last year we were gearing up to begin our kitchen renovation and now here we are off on new adventures and projects. Spring is certainly in the air here in Michigan as we have had several days of 55 degree weather in the last few weeks. We are now preparing to usher spring into our home and what better way than to spruce up our entrance. I was recently at Jo-Ann Fabrics getting ideas for some upcoming projects and I came across several pretty spring wreaths covered in moss, crawling vines, foliage, and succulents. These wreaths screamed Lord of the Rings (big fans here if you hadn’t figured that out already) but the price…they ranged from $30-$60! I knew I could make one for much less and that’s exactly what I did (with a lot more succulents too). This is such an easy and fun project and it really made the door stand out with a pop of earthy green. This wreath is also the perfect project to make with children and can even be turned into a learning activity. Our son, who is almost two years old, had so much fun picking up the succulents and moving them around as I tried to settle on the final design.

In other news, we are super excited to share that were chosen to be ambassadors for National DIY Day which is coming up on April 2nd. Aside from this post, we will have some more fun DIYs coming your way in the spirit of celebrating creativity and crafting. We will also be hosting a local event in the Metro Detroit area, building raised garden beds for a community garden (stay tuned for more info). And speaking of DIYing for a good cause… As National DIY DAY ambassadors we are proud to support AdoptAClassroom.org and their mission to give teachers a hand by providing much-needed classroom materials so that their students can learn and succeed. National DIY DAY and The Cozy Home Chronicles are committed to supporting classrooms and providing tools for students and teachers to enhance the creative learning experience.

You can support AdoptAClassroom.org by Texting a Donation Today! Text the word “Give” to (678) 582-8594 and you will be prompted through a secure system to make a donation of your choice!

Alrightie, let’s make that wreath!

Supplies
18′ Grapevine Wreath ($4.99)
Succulent Mat ($4.99)
Moss rocks ($3.49)
Greenery of your choice ($4.99-$9.99)
Hot glue gun & glue sticks

Total Cost: $23.45 + tax

I purchased my supplies from Michaels over the course of a few weeks and used my coupons to put my wreath at well under $20. From the greenery I purchased, I had enough leftover to make another wreath if I just purchase more succulents and a grapevine wreath. So for the price of a store-bought wreath, you can basically make two or even three wreaths.

img_0132

img_0151

Directions:

  1. Collect your succulents, moss rocks, and greenery and start placing them on your grapevine wreath until you are happy with the arrangement. You might have to move things around several times to get the desired look.
  2. Once you have settled on your design, you will need to glue each piece in place using a generous amount of hot glue, embedding the stem deep into the vine, and holding down for 20-25 seconds until firmly in place.
  3. Once all the pieces have been glued down and any excess strands of glue have been removed, you can hang your wreath on a hook or door wreath hanger.

IMG_3495

IMG_0160

IMG_0166

Share your spring stories with us below and If you liked this post please follow us and share!

Instagram


DIY Eid Stocking Stuffers

Untitled-2

Eid Al-Adha is less than two weeks away and I’ve been scrambling to get the house ready so that we can feel those celebratory vibes as summer comes to an end. I came up with the idea to make these Eid-themed stocking stuffers as both a way to fill with small gifts and eidiya (money)as well as decorate the home while marking the end of pilgrimage or haj that has come to pass. Despite brainstorming this project in advance, I am only now getting around to making them a reality. Now all that’s left for me to do is fill them up with some gift cards, sweet treats, and inspirational trinkets. If only there were more hours in a day! Thankfully these take only minutes to make so if you don’t feel like wrapping gifts, this is the perfect little project to make and the kids (and adults) will love having their own Kaaba filled with fun goodies. Let’s get started shall we!

Supplies
(6) 9in x  12in Basic Felt (black)
(1) 9in x  12in Basic Felt (white)
(1) 7/8in x 5yd gold sparkly ribbon
(1) 1/8in x 7yd ribbon (sub string)
Monogram letter stickers (gold)
Hot glue gun
Scissors
Hole puncher
Needle and thread (optional)

*Makes 3 stocking stuffers. To make 1 you only need 2 pieces of black felt. All of these materials can be purchased from Michaels or a local craft store.

Directions

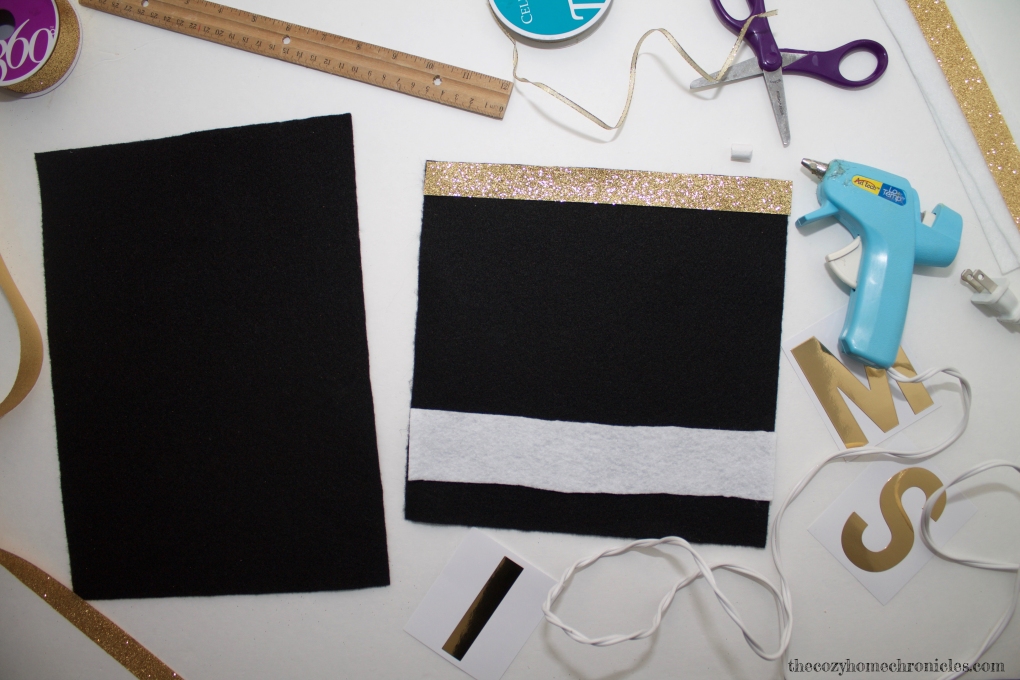
  1. Begin by cutting one of your black felt pieces down from 12in to 9in so that you have a 9×9 square.
  2. Line up both black felt pieces and glue them together (carefully) using your hot glue gun. Start with the bottom and move on to the sides but leave the top open (this is where the awesome stuffing happens). You can also sew the felt together with needle and thread but hot glue works just as well and takes less time. Let dry for 5 minutes.
  3. Cut out a piece of gold sparkly ribbon 9 inches long and glue along the top of your 9×9 felt piece.
  4. Cut out a piece of white felt 2inches thick (2×9) and glue about 2 inches from the bottom of your 9×9 piece.
  5. Place your monogram sticker centrally between the white felt and gold ribbon strip.
  6. At the top of the 9×12 black felt piece, punch two holes approximately  3.5in from the ends.
  7. Thread any thin ribbon or string through the holes, stuff them with some fun trinkets and gift cards, and hang them up for the family to enjoy.

IMG_4490

IMG_4492

IMG_4500

Let us know in the comments below if you made these and what you stuffed them with. We are always looking for new, creative ideas 🙂 And as always, if you liked this post please follow us and share!

Instagram