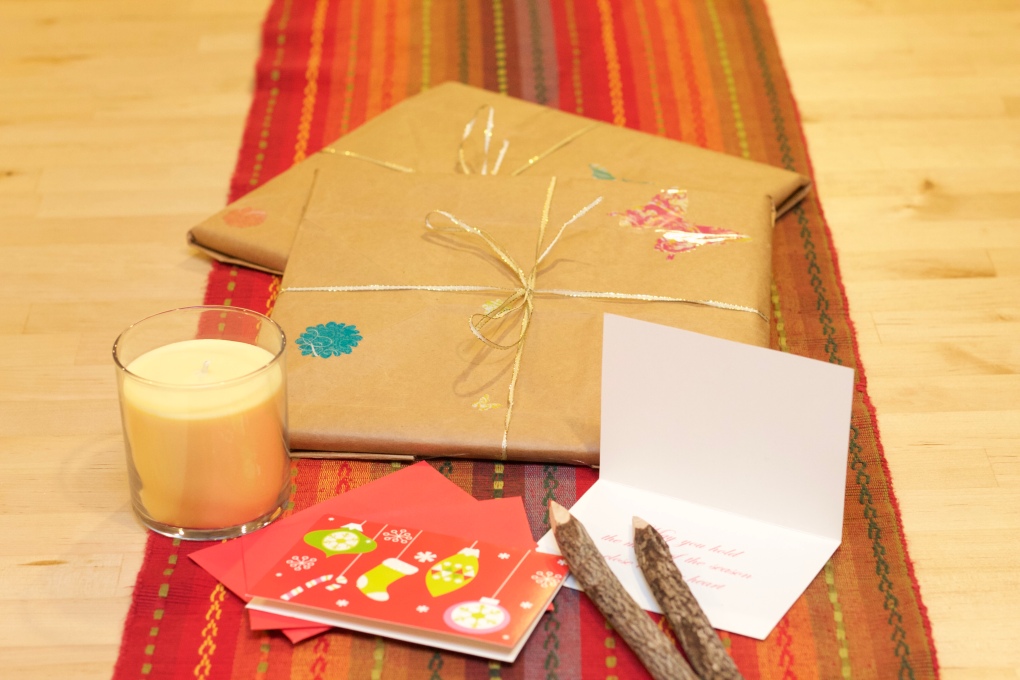
It’s finally the holiday weekend and that means we are inching ever closer to the start of 2018. We recently hit our 2 year blogging anniversary earlier this month and we thought it would be nice to celebrate with a short reflection and a makeover of the first post that ever went up on this blog. Why? Because sometimes, in the nitty gritty of blogging we can find ourselves questioning it all and in our tunnel vision of self-pity and negativity, we forget how far we have come. Comparison isn’t so bad when you’re looking at yourself and everyone loves a good before and after so here is ours.

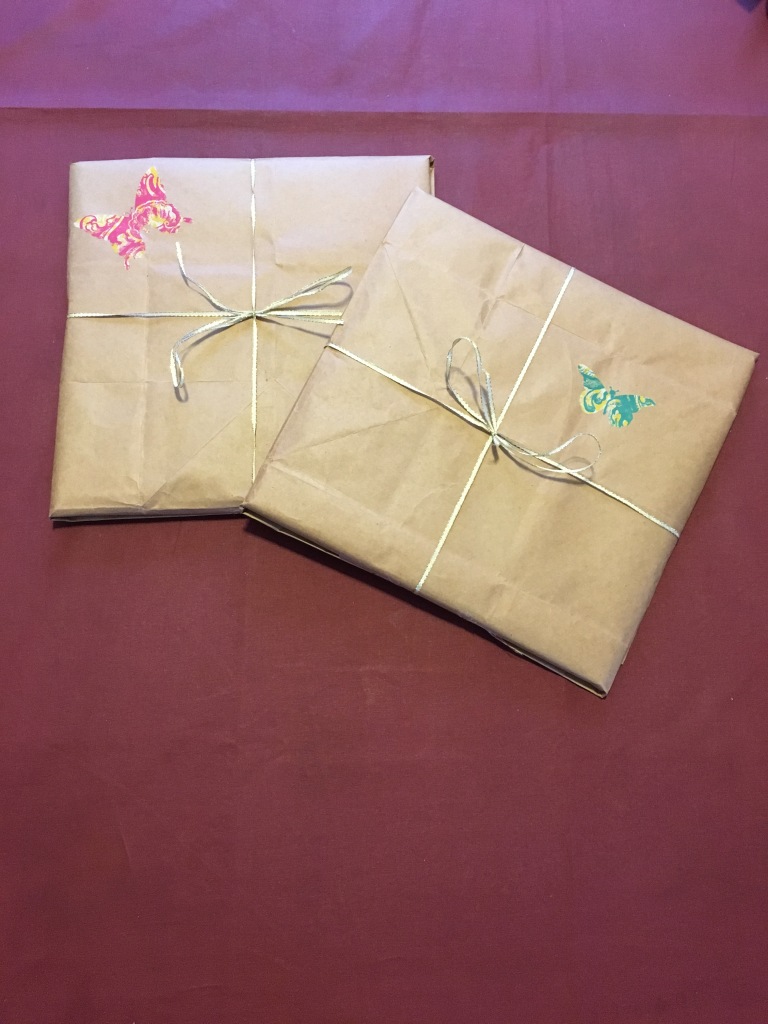
As you can see clearly, our styling and photography has drastically improved in the last two years. Our first post was written in 2015 just a week before Christmas and right before I was about to dive into a week of hell taking my PhD qualifying examinations (a 7 day, 40+ page writing endeavor). Since that first post, we have connected with some wonderful bloggers, participated in two One Room Challenges, built a small but amazing community, and even wrote our first sponsored blog post. There have been many times this year when we would feel frustrated with our engagement or turn-around time and even question what kind of blog we were aiming to be but looking back to our first post, I think the answer has always been there. DIYing is obviously something we are very passionate about as well as striving to live as simply and sustainably as possible and that’s exactly the commitment that our first post embodies. In this post, we will be sharing our revamped post with a little twist; using stencils to create beautiful gift wrap designs. For those of you who waited until last minute to wrap your gifts, you’ll want to hold off on that last minute Target run because this is such a simple way to add a personal touch to your gift wrapping and for next to no cost at all (depending on what your craft supply stash looks like). The wonderful thing about this gift-wrap is that it’s not just for Christmas; you can customize it to fit any holiday or occasion year round.
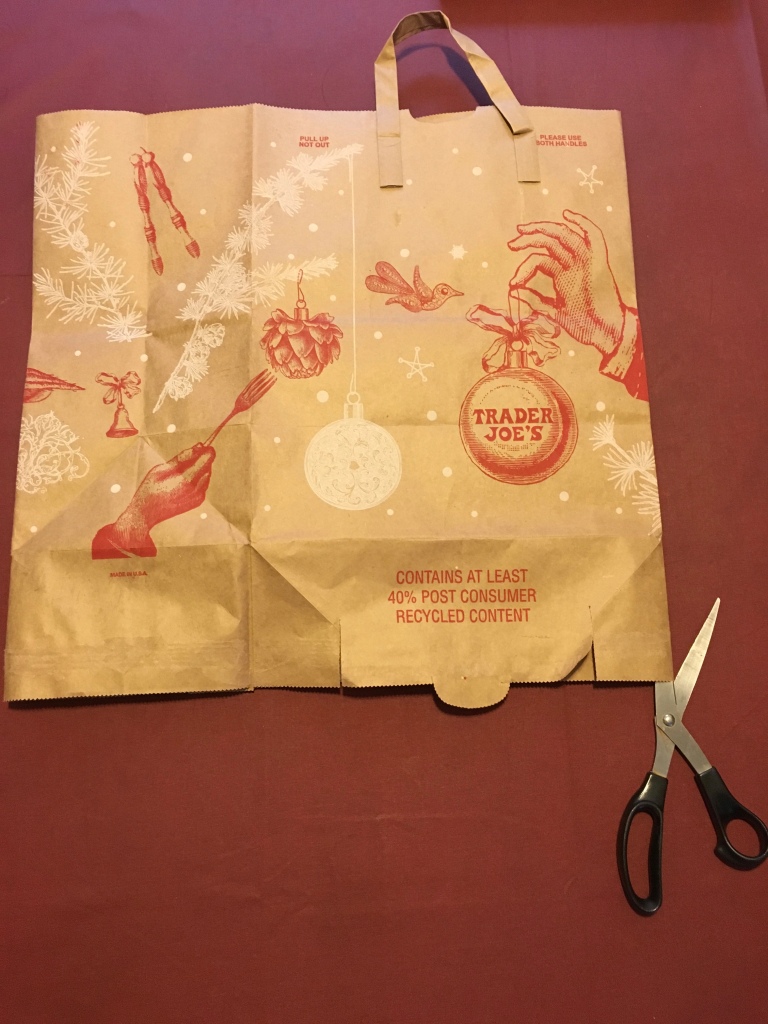
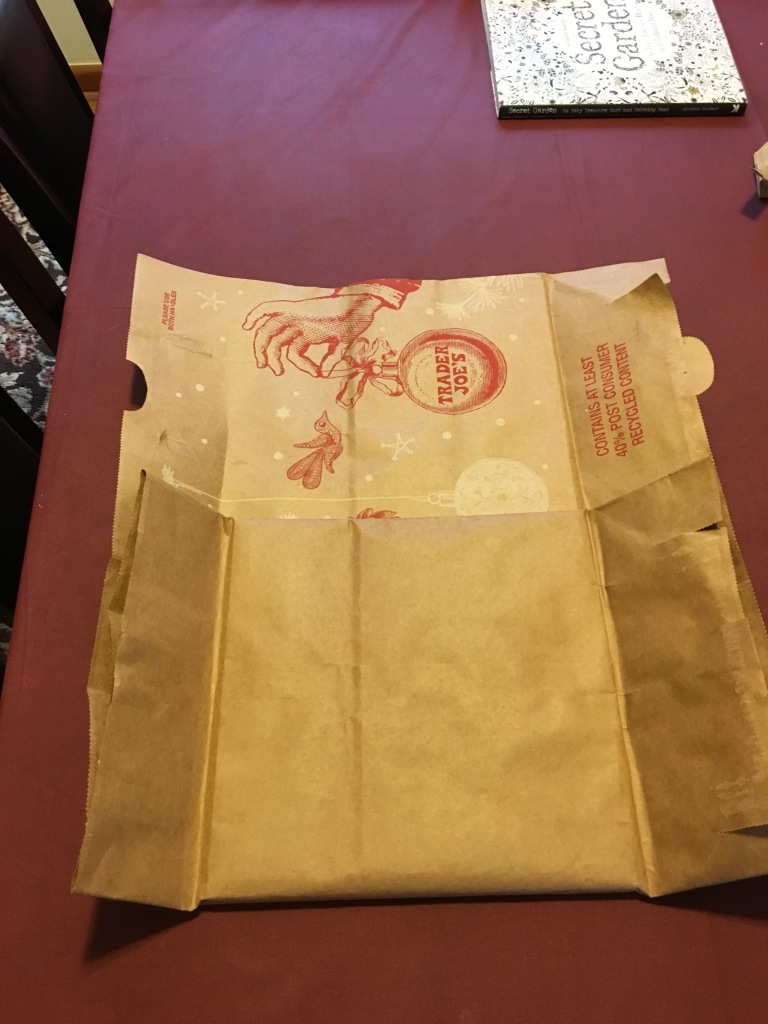
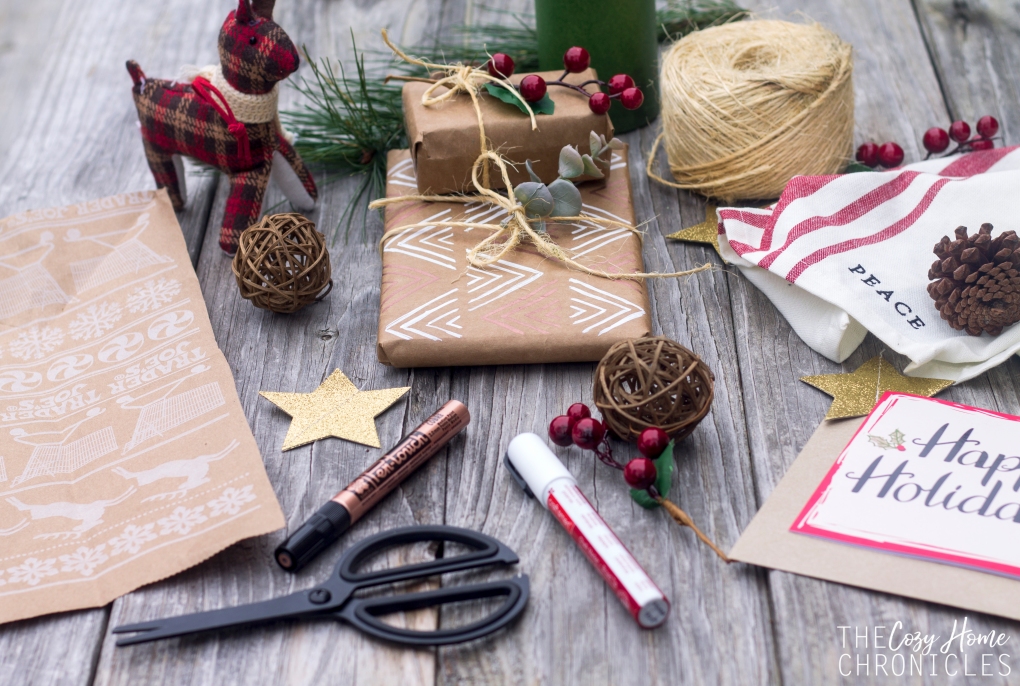
Supplies
Brown paper bag
Scissors
Stencils
Metallic Paint Marker, paint pens, or sharpies
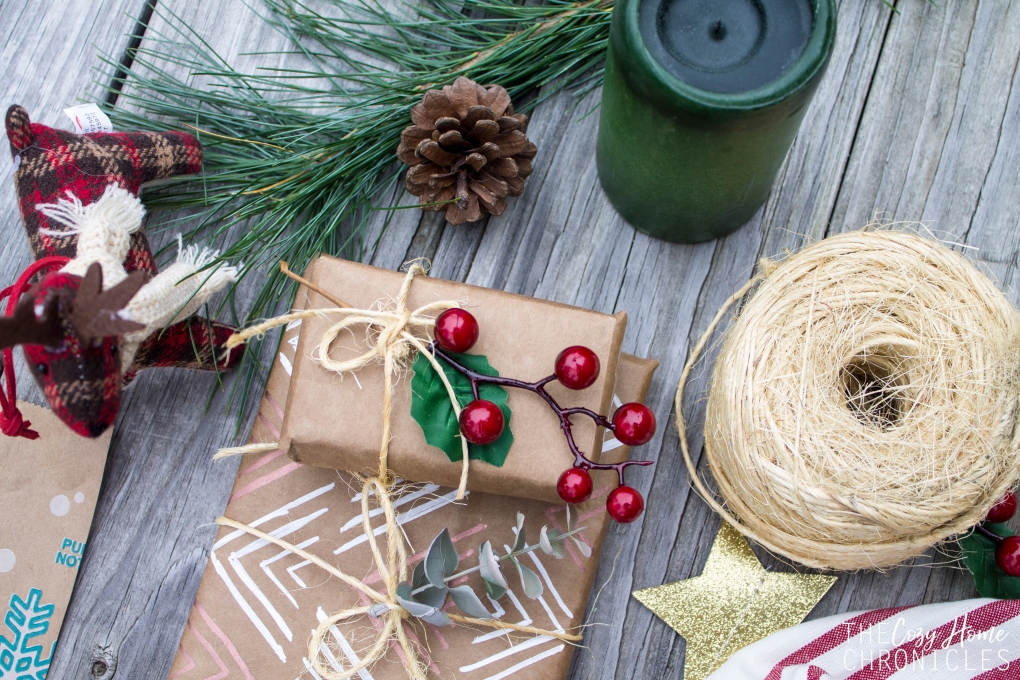
Twine
Embellishments such as eucalyptus, flowers, pine cones, etc..

Directions
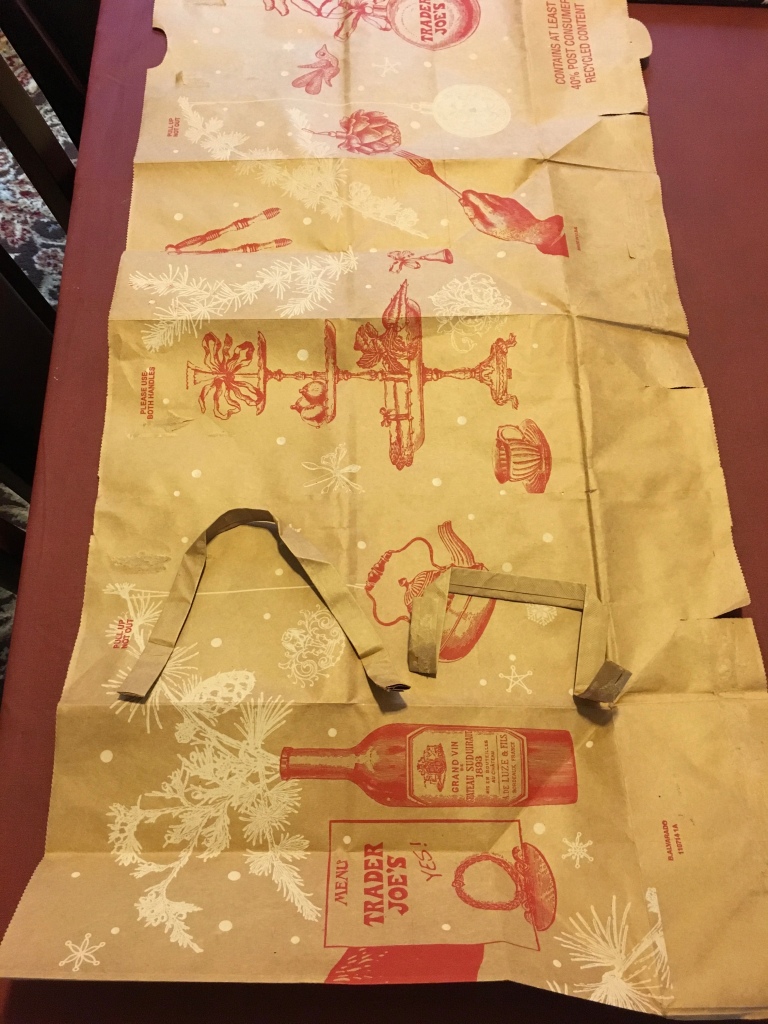
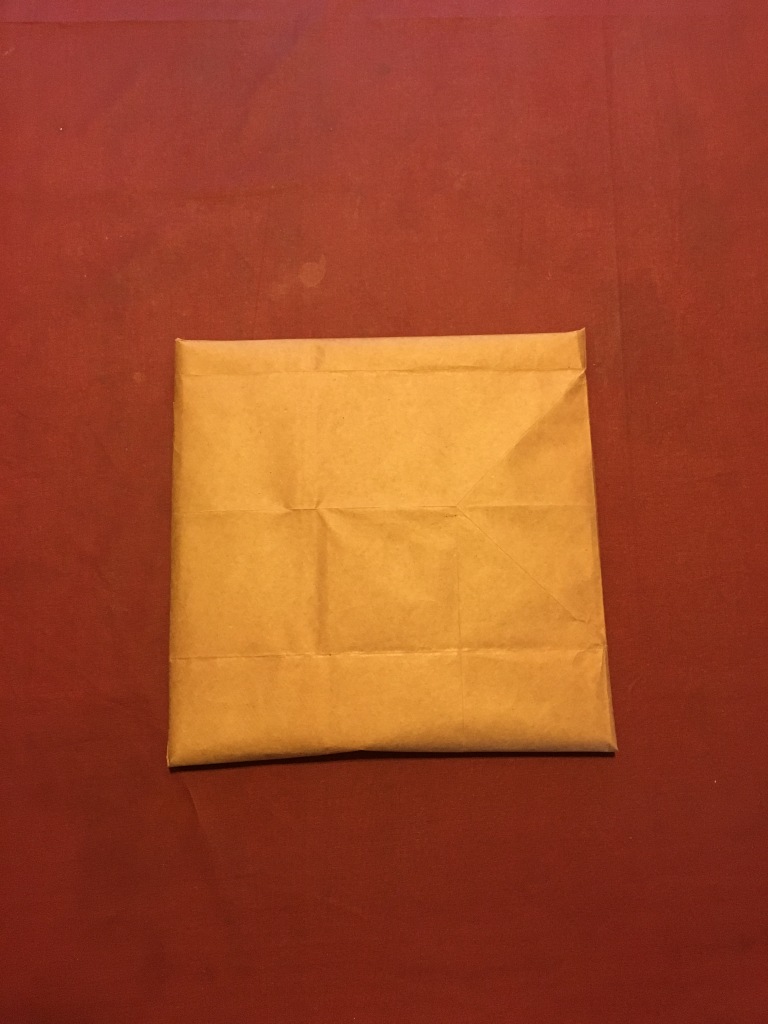
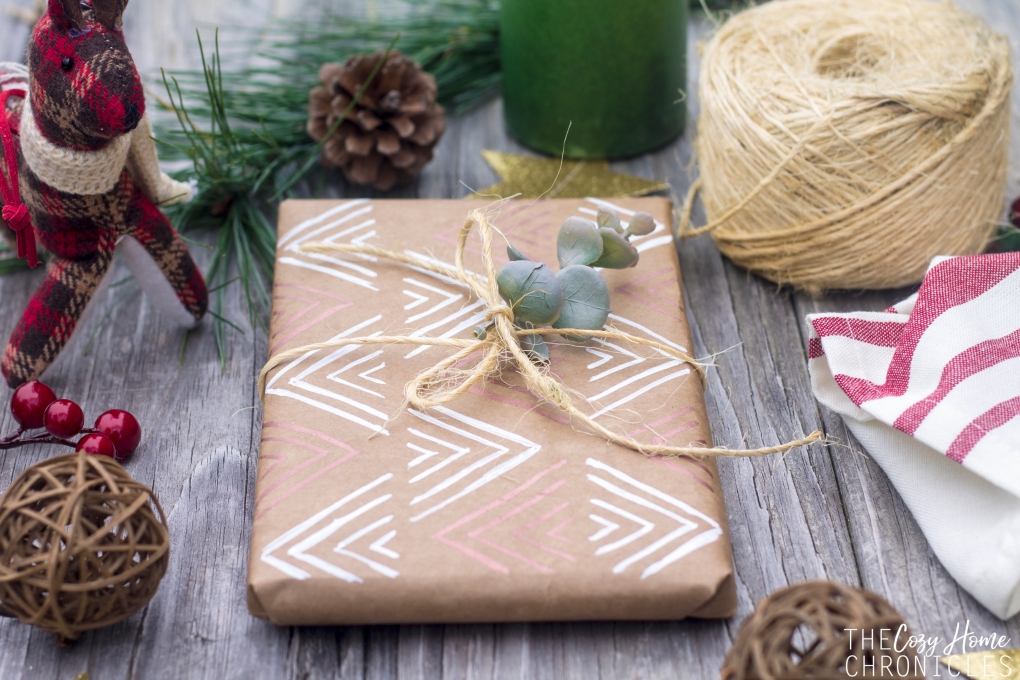
- Flatten your brown paper bag and cut down to the size you need.
- With a metallic paint pen, stencil in the blank side of the bag using the pattern of your choosing.
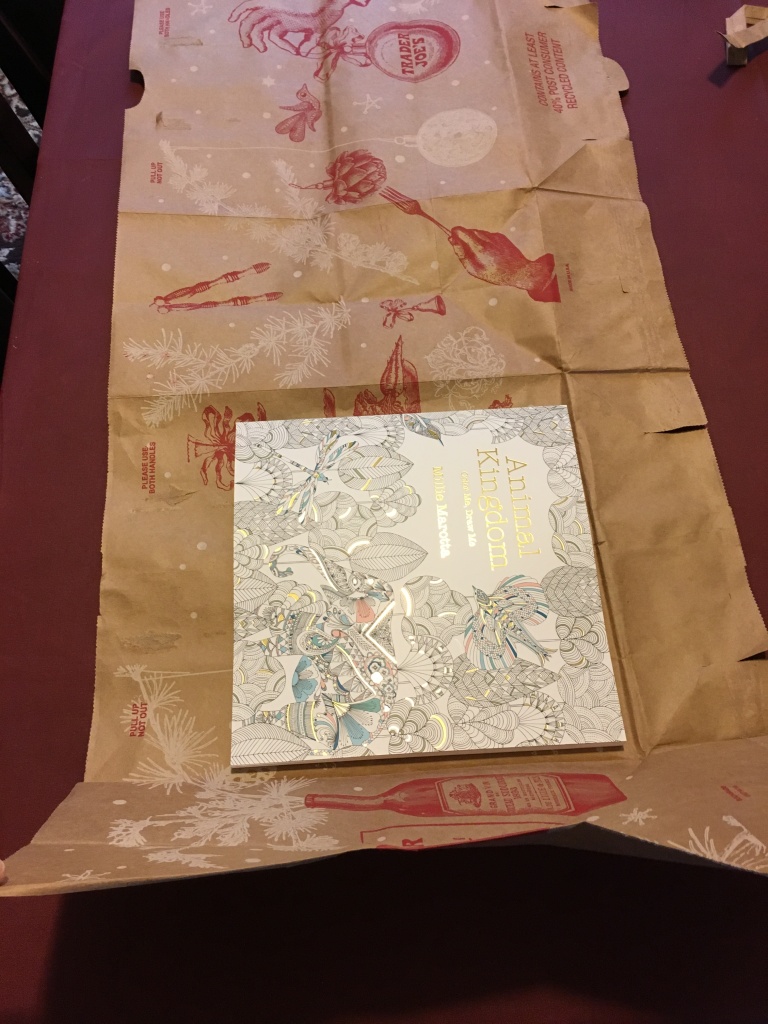
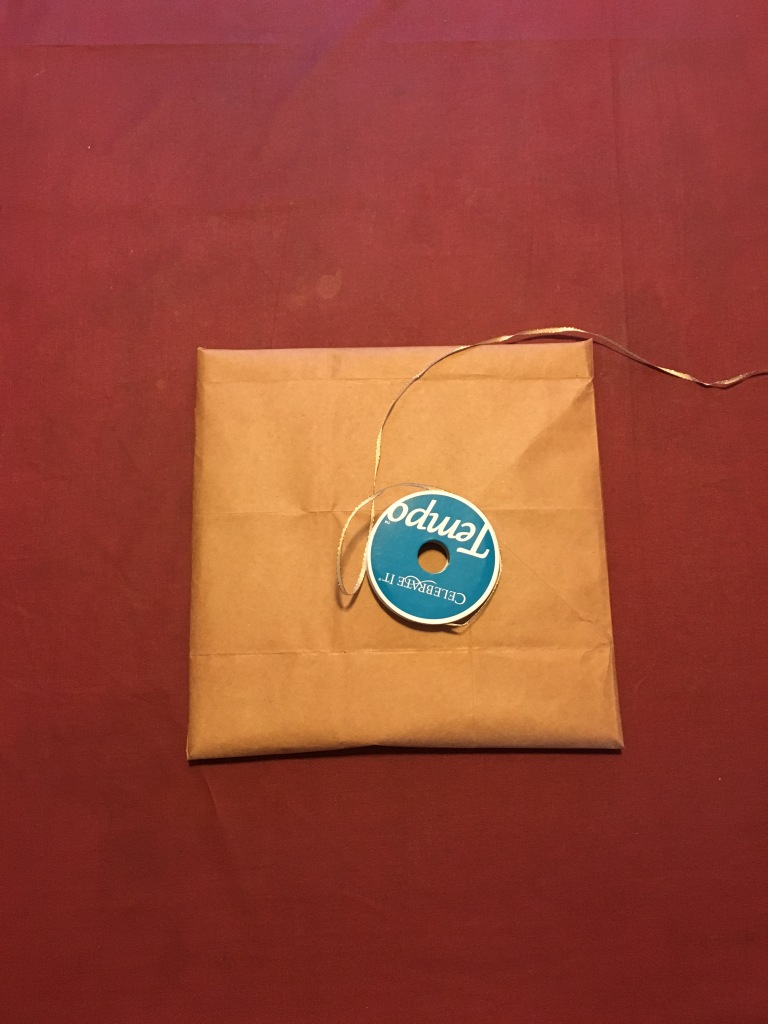
- Place your thoughtful gift inside and wrap nicely.
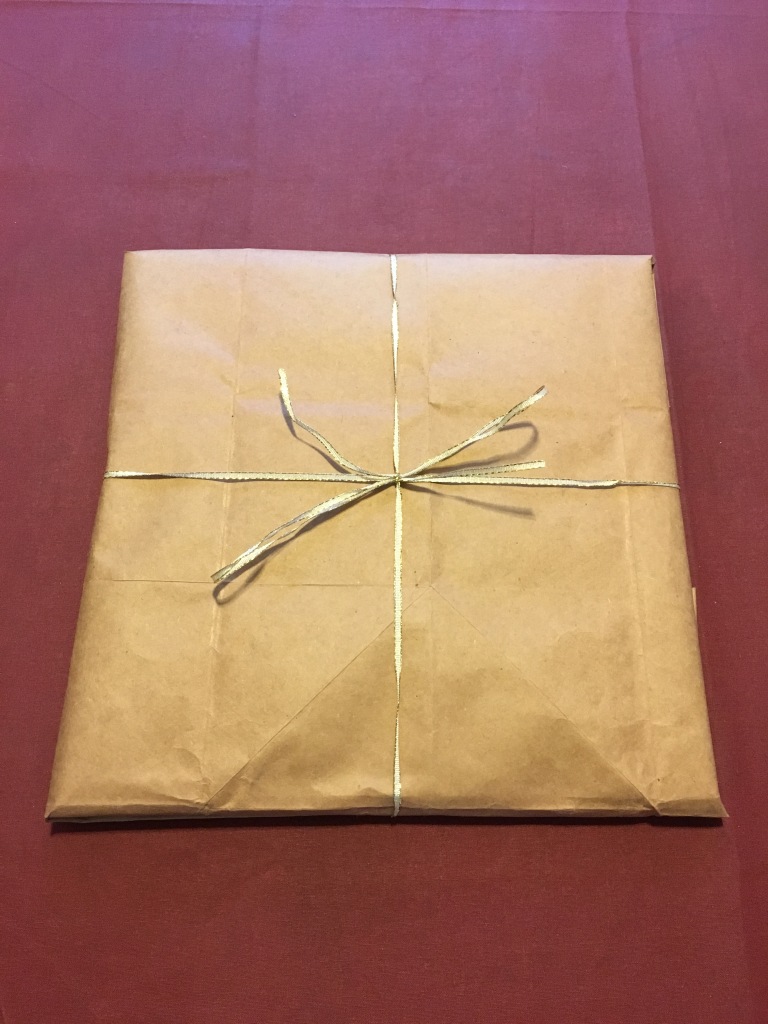
- Embellish with rustic twine, eucalyptus, pine cones, or holly.
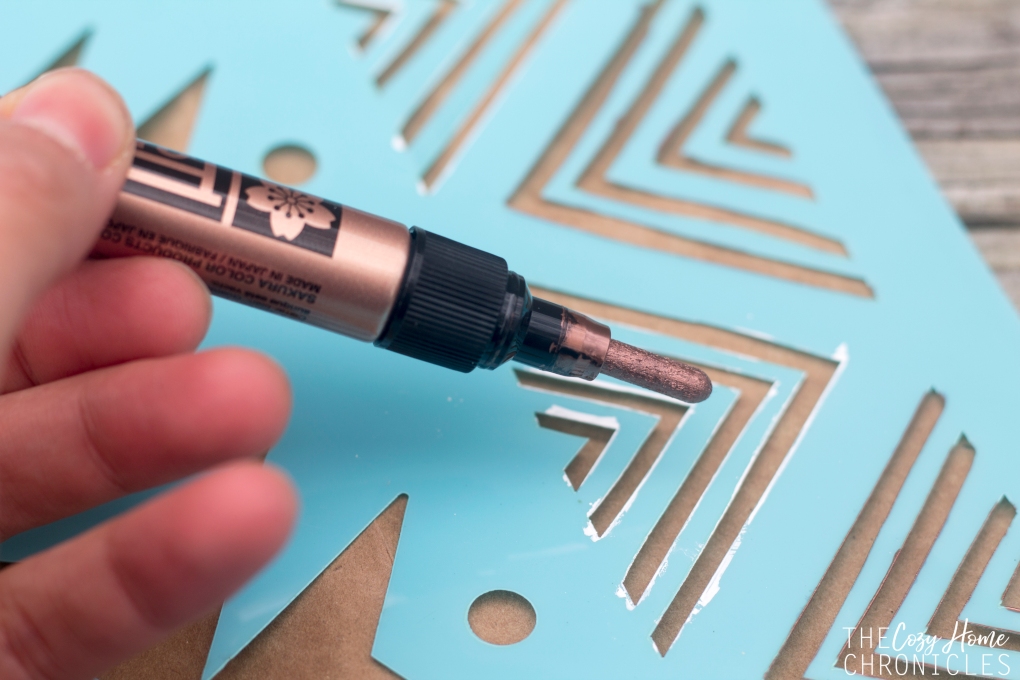
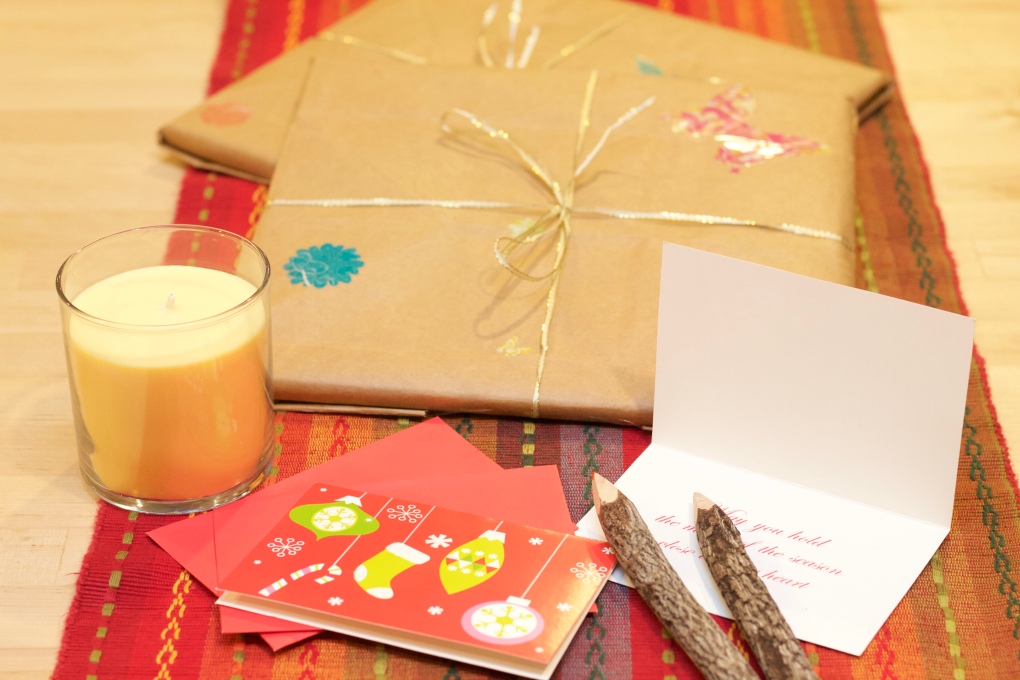
As you can see, I was going for a minimalist/bohemian look (surprise, surprise) with the copper and white pattern, twine, and eucalyptus accent. It’s almost too pretty to open!
So what does 2018 hold for us? It’s been really hard to answer this question because life is pretty busy with two kids and graduate school on our plates. We do know that we love what we do and we love sharing it with you. We hope that we can continue growing; growing ourselves, our skills, and our blog and hopefully inspiring you all along the way. We can say for certain that we will definitely be sharing more DIY projects, simple family recipes, our simple living journey, and parenting adventures but whether we can keep up with our 50 blog posts/year productivity will remain to be seen. If there are topics you would like to see more of here on The Cozy Home Chronicles, please feel free to leave your suggestions in the comments below. And for those of you new bloggers, those considering starting blogs, or even veteran bloggers wondering “what’s the point?”, keep on dreaming and working towards those dreams with your eyes on the journey and not solely on the destination.
“Tell your heart that the fear of suffering is worse than the suffering itself. And that no heart has ever suffered when it goes in search of its dreams, because every second of the search is a second’s encounter with God and with eternity.”-Paulo Coehlo, The Alchemist