

The month of Ramadan is just around the corner and this year is a busy time for us as we are expecting baby #3 in July. As you may already know, decorating the home for Ramadan is something we do every year and this year is no exception. We are, however, trying to be more conscious of our waste so I’m really focusing on using what we have and making what we don’t. That’s why I’m super excited to share this DIY Ramadan craft project featuring With a Spin’s cookie cutters. This project makes use of everyday ingredients in your pantry, can be customized to your style, and the finished product can be used year after year. Now that’s what I call a win-win-win. While, I love neutral minimalist tones, the kids wanted vibrant colors so that’s what we went with. The decorating possibilities are truly endless. Let’s make some salt dough ornaments!
Ingredients
2 cups all-purpose flour
1 cup salt
1 cup warm water
Tools
Lantern cookie cutter set
Islamic shape cookie cutter set
Rolling pin
Baking sheet
Directions
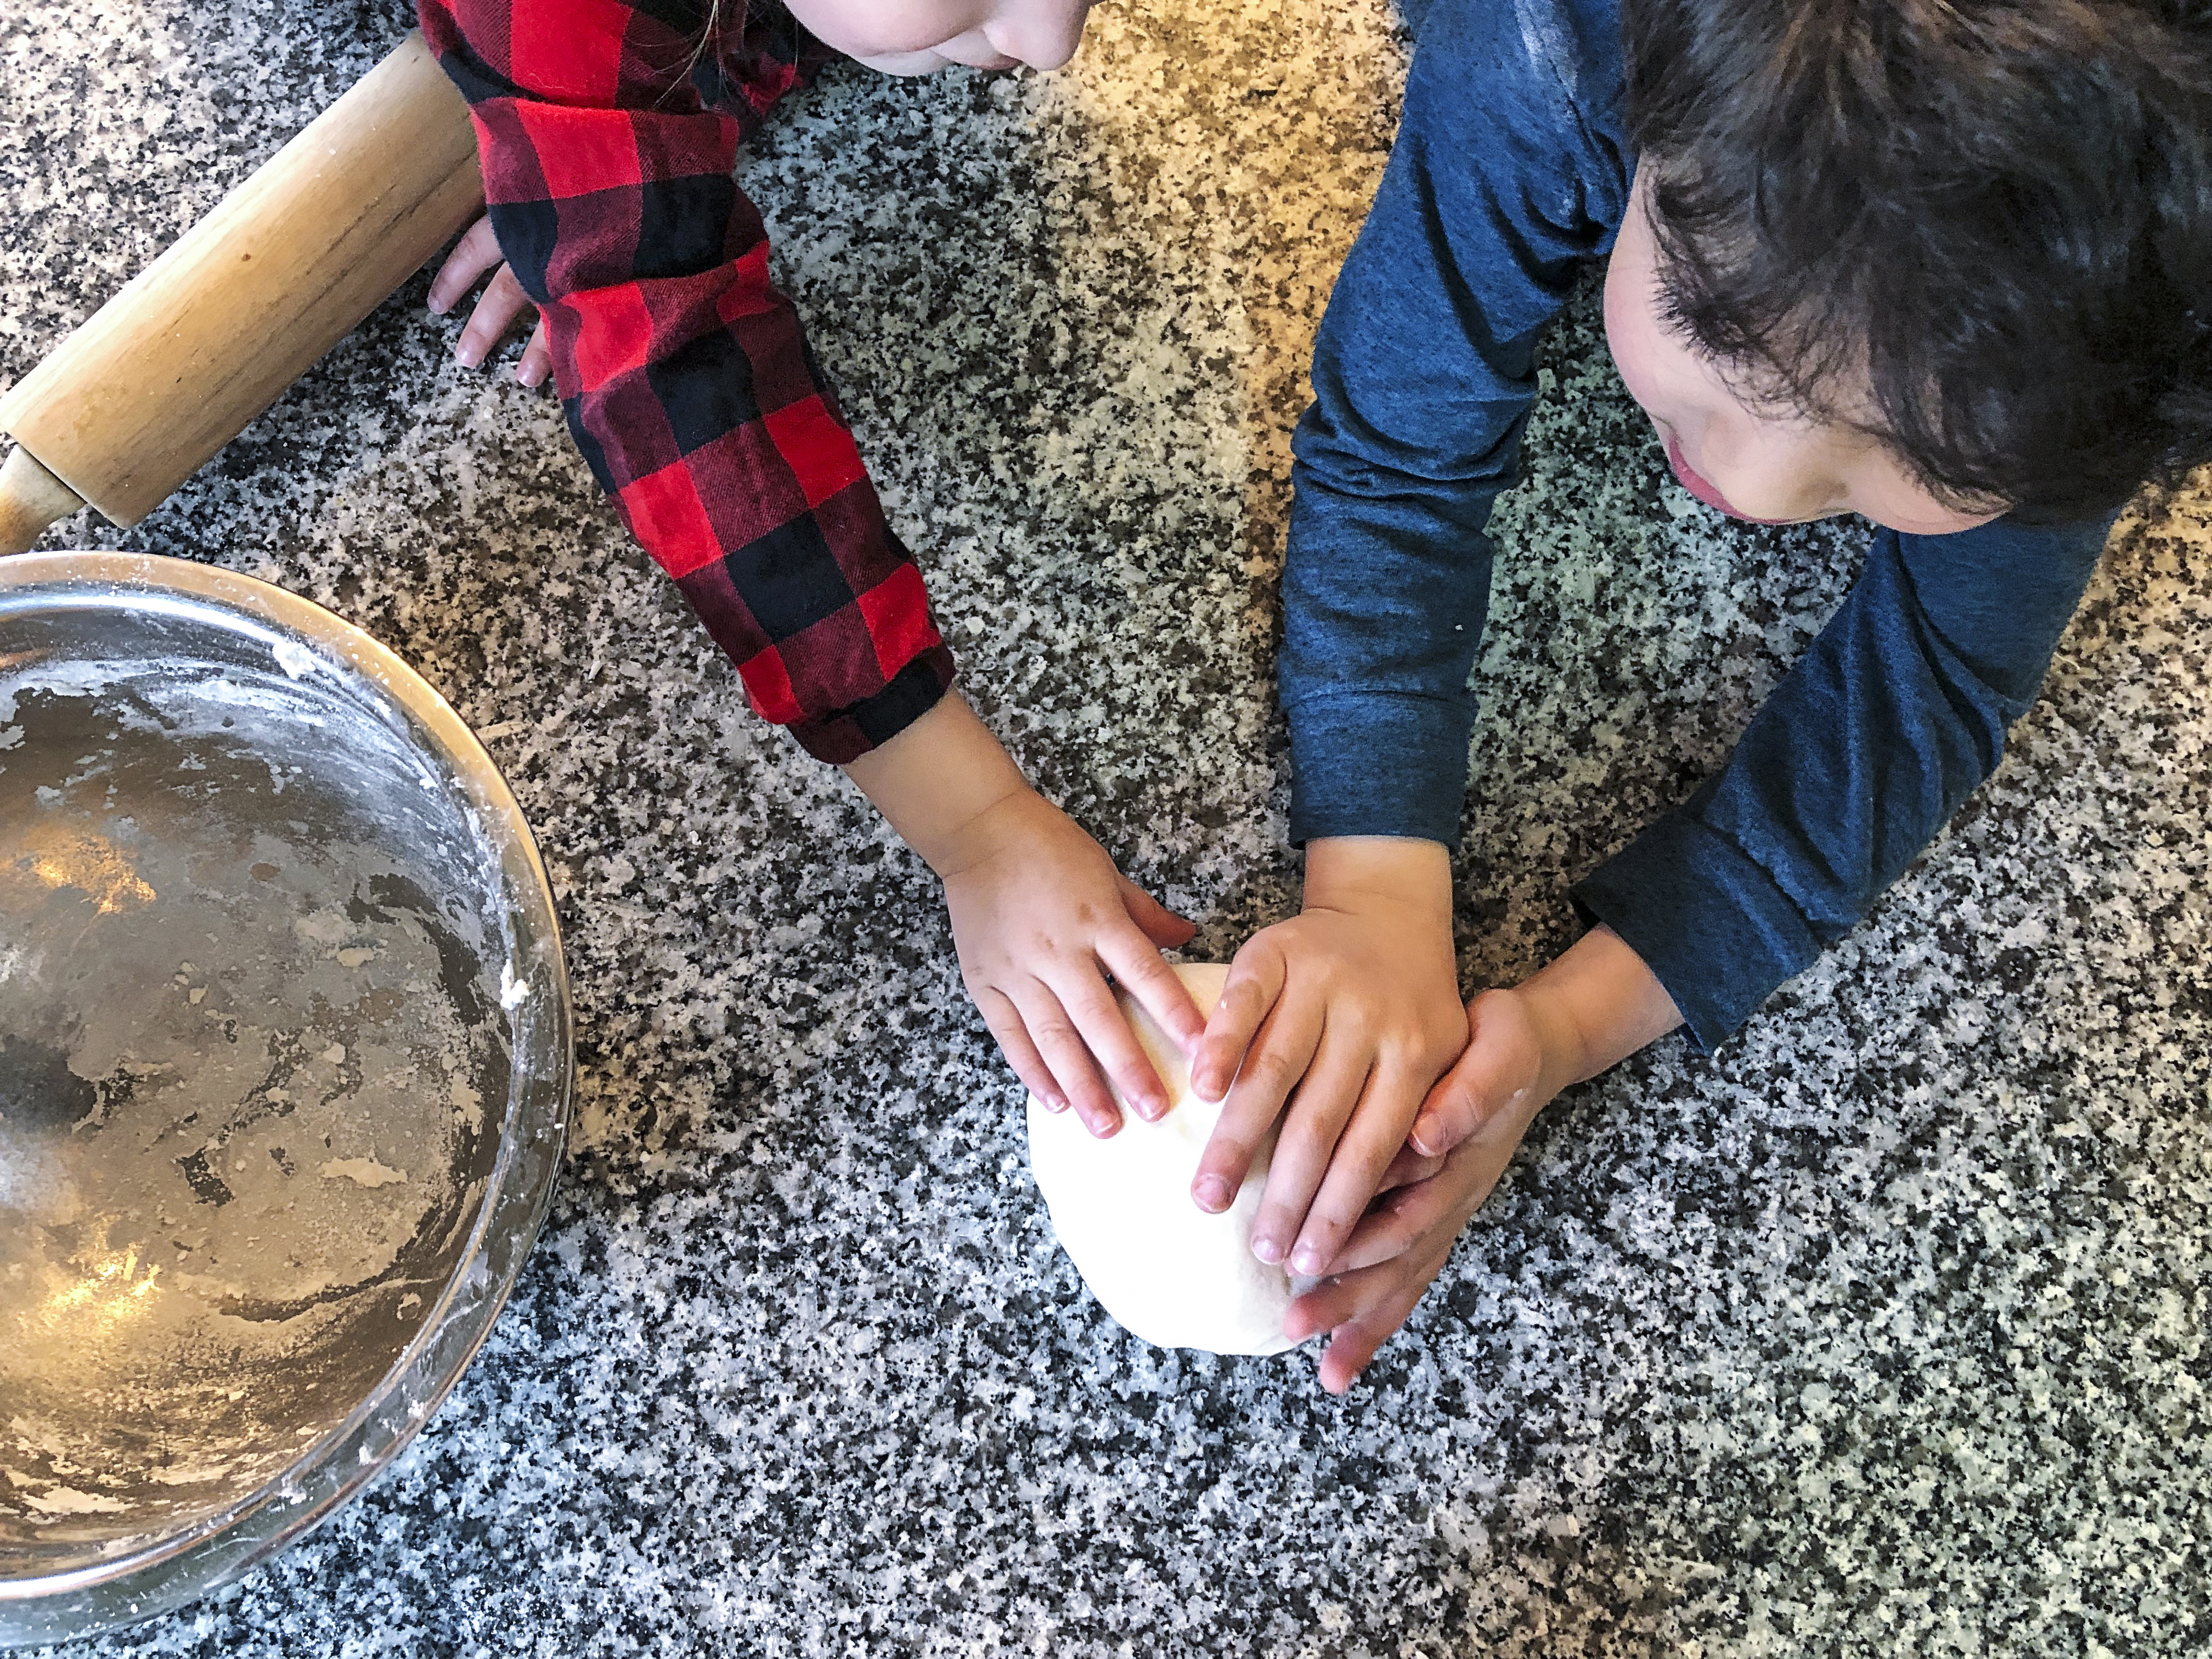
- Mix warm water into flour and salt mixture to form a dough. Knead for 10 minutes until smooth.
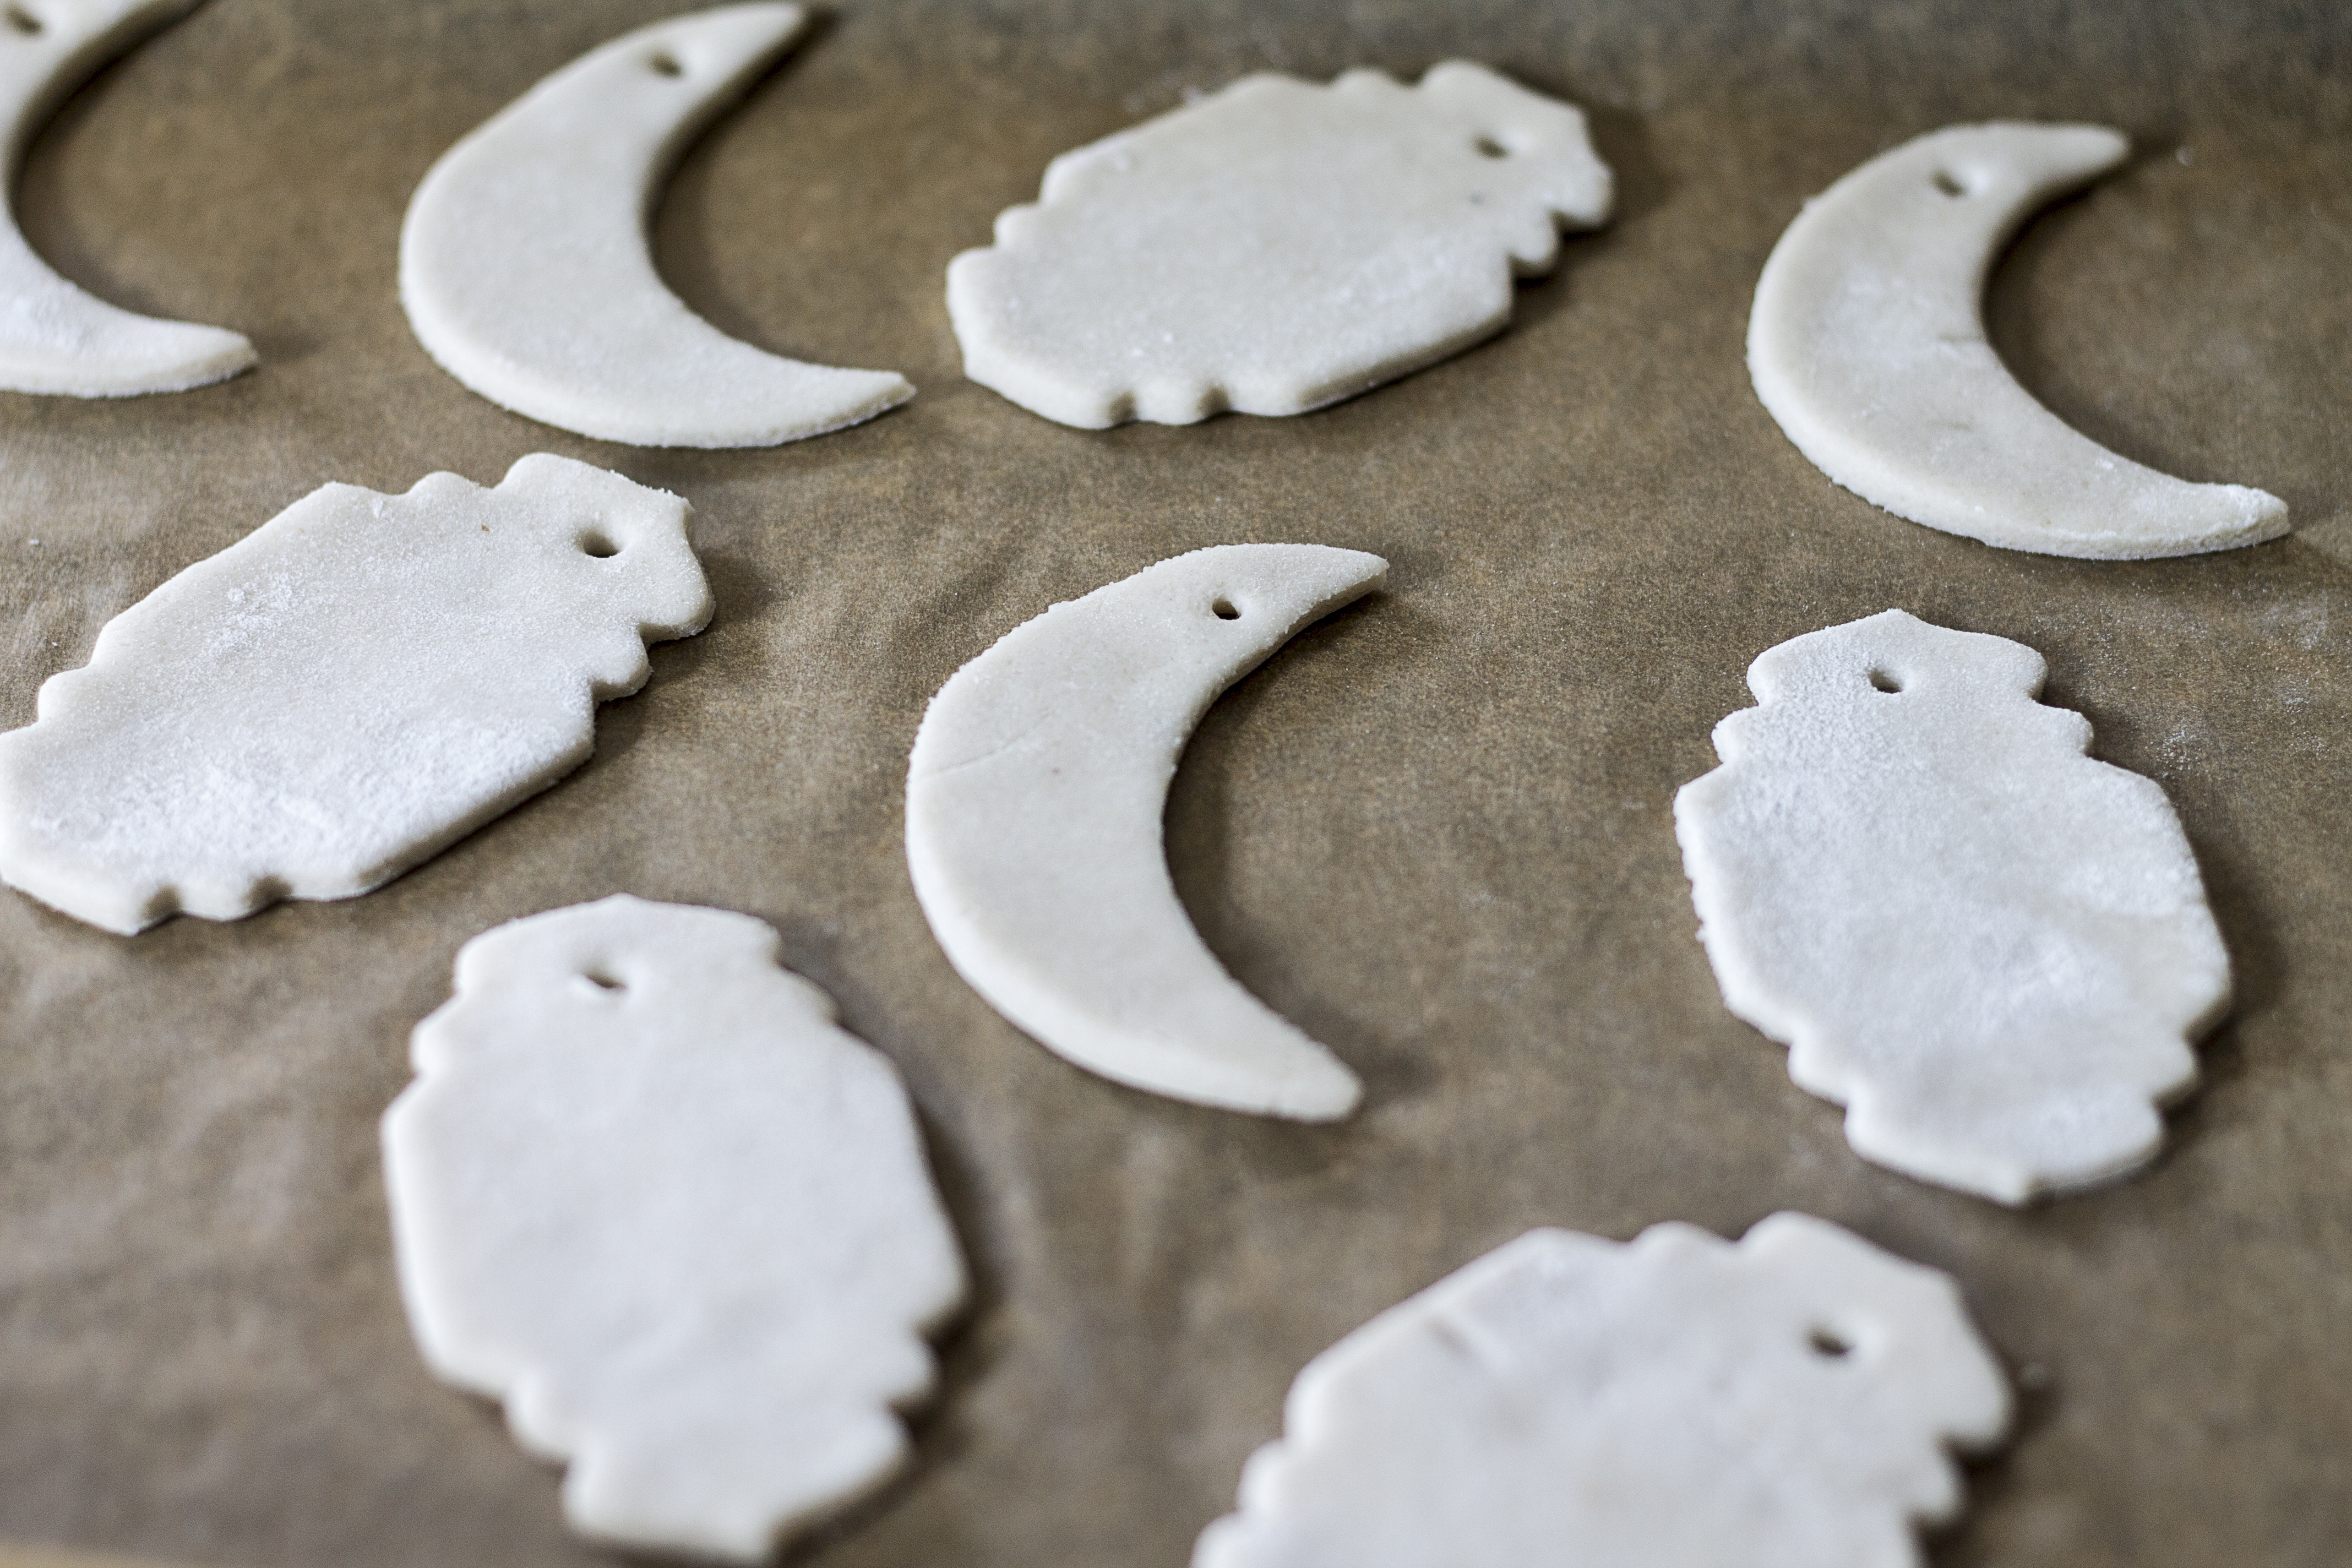
- Roll out dough about 1/4-1/2 inch thick and cut out desired shapes. Use a toothpick or skewer to punch a hole near the top of the shape for the string.
- Place shapes on a baking sheet and bake for 5 hours at 200 F.
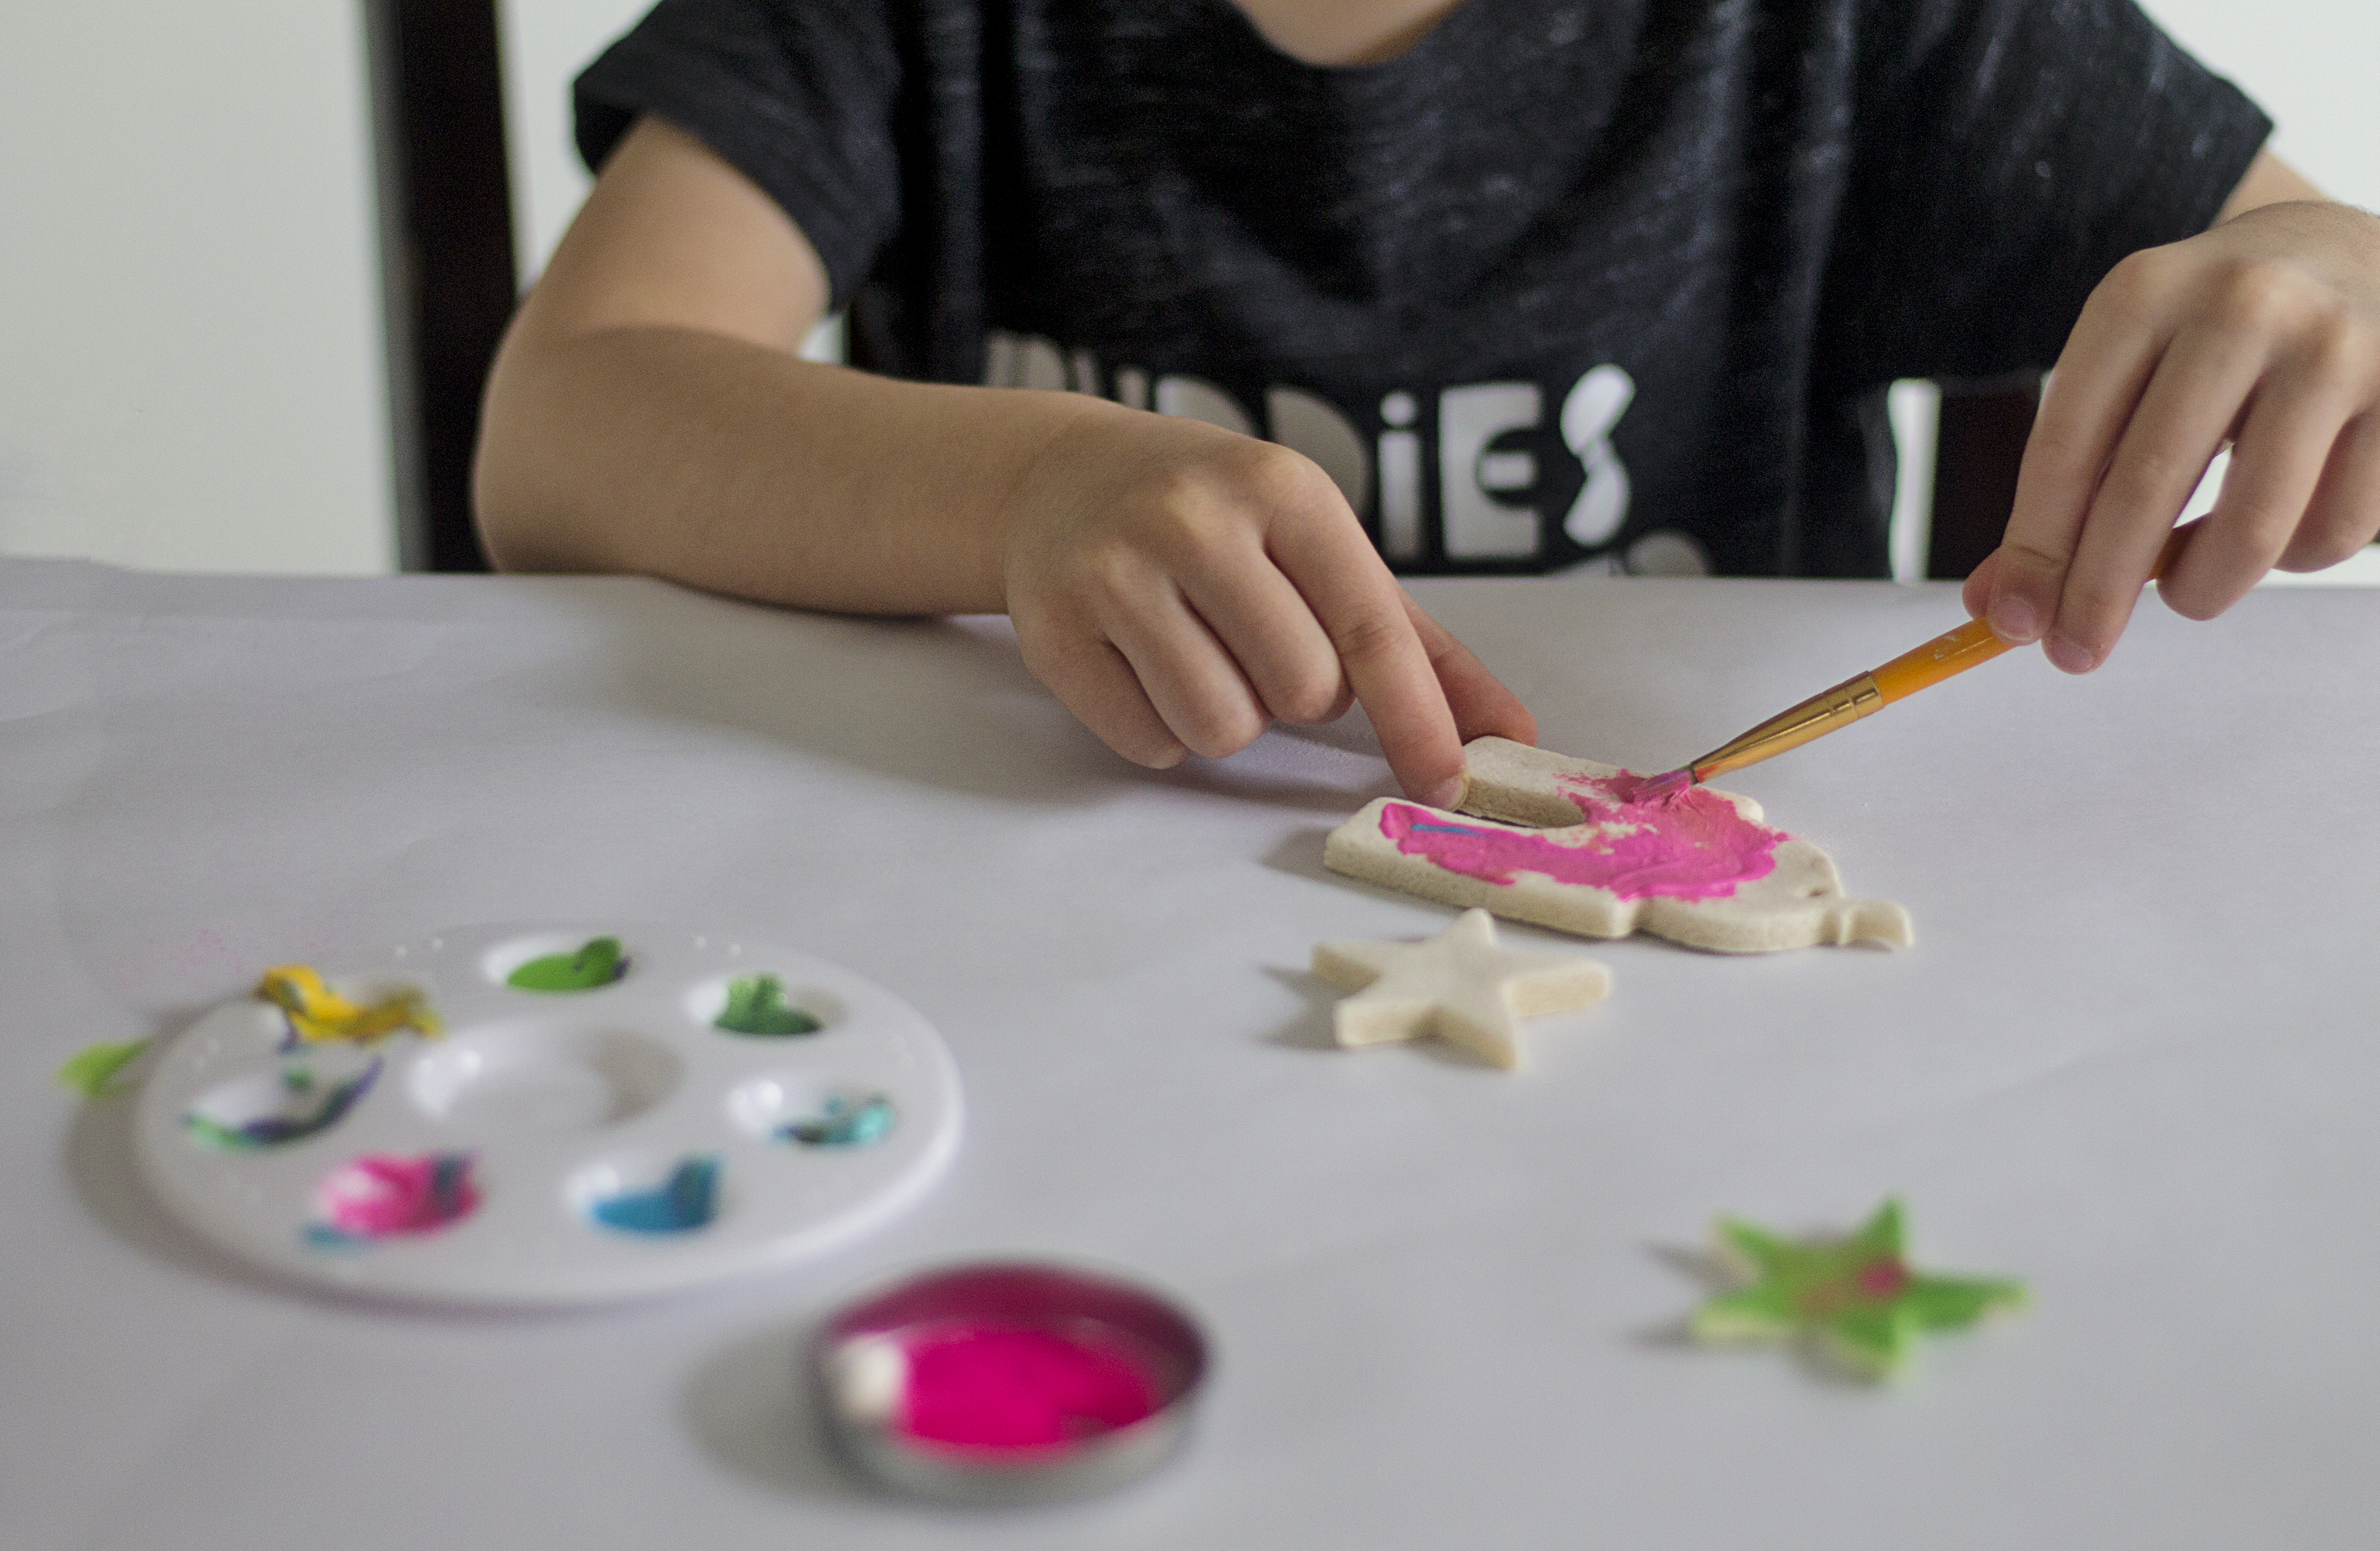
- Let cool overnight and paint with acrylic or craft paint.
- Thread with string to make individual ornaments for hanging or string several together to make a festive garland.
That’s it! This is such a simple and fun craft to make with the kids and a wonderful way to get them involved in the Ramadan spirit. If you liked this craft and found it inspiring, we would love if you shared it. If you make this DIY, be sure to share a picture of your creation and tag us on Instagram @thecozyhomechronicles.
For more related content, you can find us on Instagram where we share more of our day-to-day and Pinterest where we share our ideas and inspiration. If you have any thoughts or suggestions about this DIY project, feel free to leave a comment below. And as always…