DIY Fall Harvest Wreath

IMG_5649

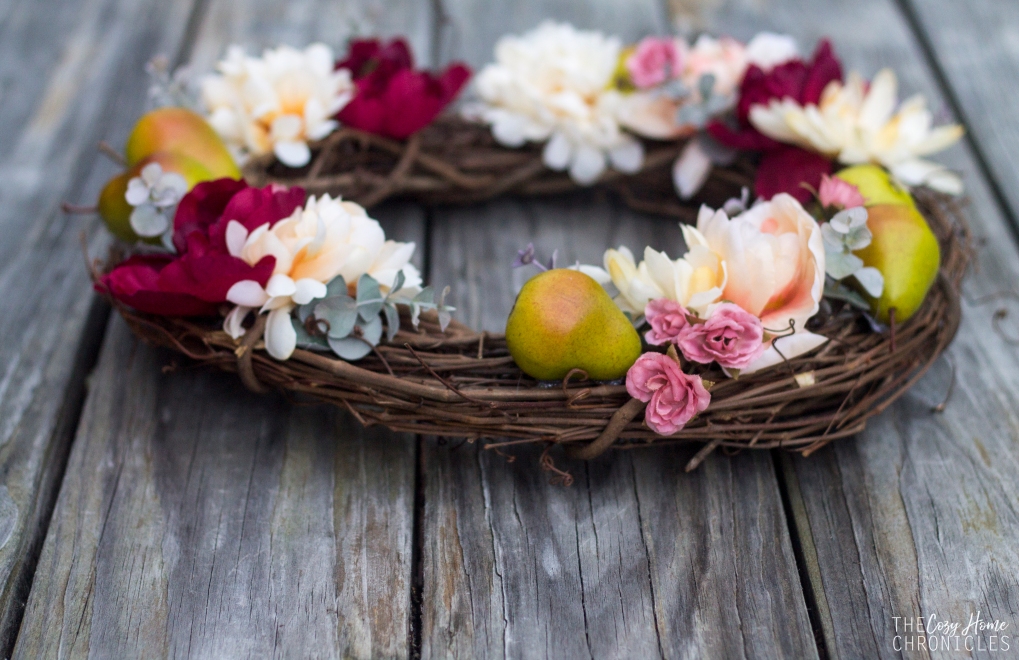
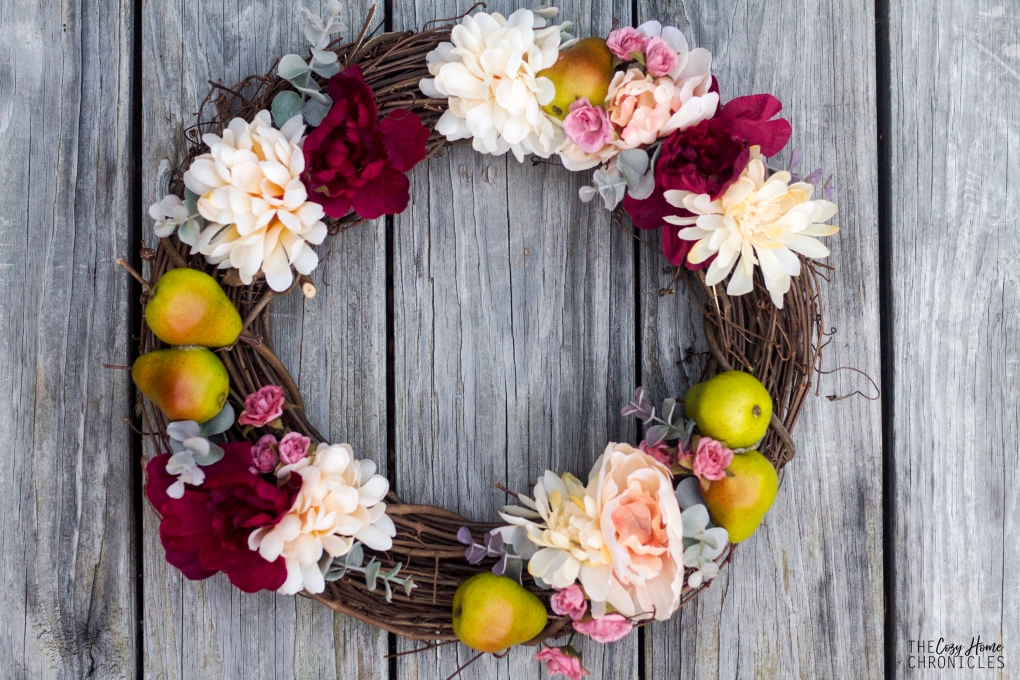
How is it already October?! In less than one month our daughter (aka Hobbit #2) will be turning one years old and we are feeling all the feels 😦 It doesn’t help that our days are filled with schoolwork and housework, with little time for much else. However, that doesn’t mean we can’t find a way to usher in one of our favorite seasons. As you’ve probably gleaned from our autumn tablescape post, we are really digging the more muted and subtle fall colors (think burgundy, peaches, grayish greens) and I really wanted to celebrate those colors in the form of a welcoming wreath. Between Michaels, Target, and Dollar Tree, I found all the elements that perfectly captured the look I was going for. I dare even say, “I nailed it.” My sister-in-law found it hard to believe that something so pretty could be made from Dollar Tree florals but it can and for well under $10 and 30 minutes too. So if you’re looking for ways to make a beautiful autumn statement but are tight on time and money then this is the perfect project for you 🙂 If you want to see how it’s made then you’re in luck because tomorrow I’ll be collaborating with the CraftBox Girls to bring you a live tutorial at 12 pm EST.  Be sure to tune in, say hello, and get some crafting inspiration 🙂

Supplies
18′ Grapevine Wreath ($3)
Faux Florals ($5)
Faux Pears ($5)
Eucalyptus ($3)
Hot glue gun & glue sticks

Total Cost: $16 + tax

IMG_5627

Pro tip: Don’t forget to use the Michaels app for coupons. I always use my coupon to save 40% off any regular priced item. With the supplies that I purchased, I was able to make 2 wreathes for the price of 1 putting the total cost per wreath at under $10.

IMG_5609

Directions:

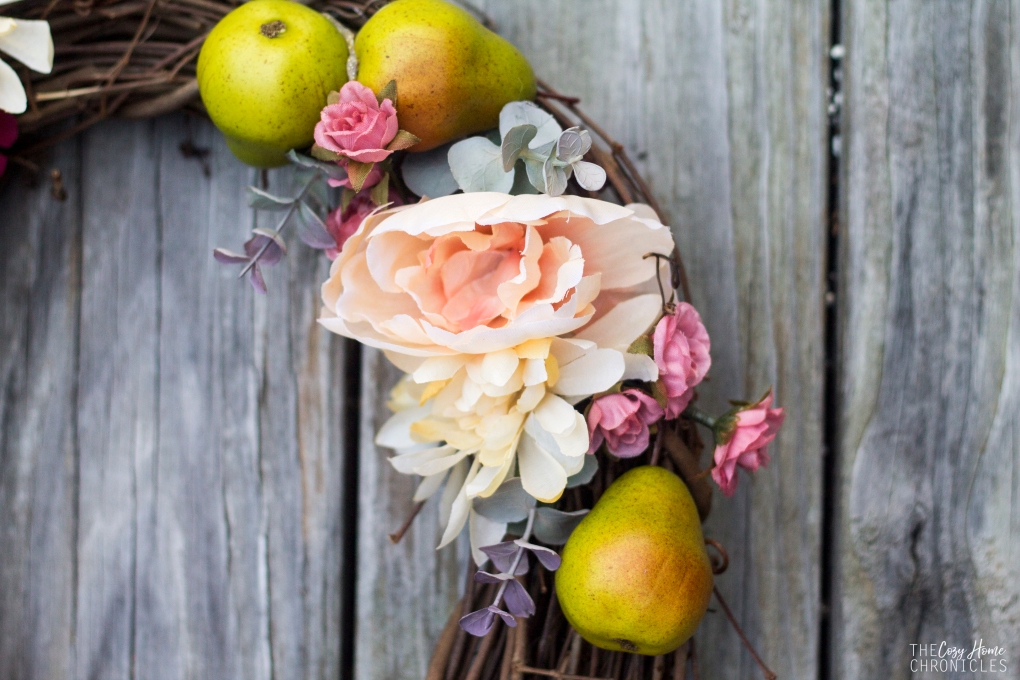
  1. Collect your florals, eucalyptus, and faux fruit and start placing them around your grapevine wreath until you are happy with the arrangement. You might have to move things around several times to get the desired look.
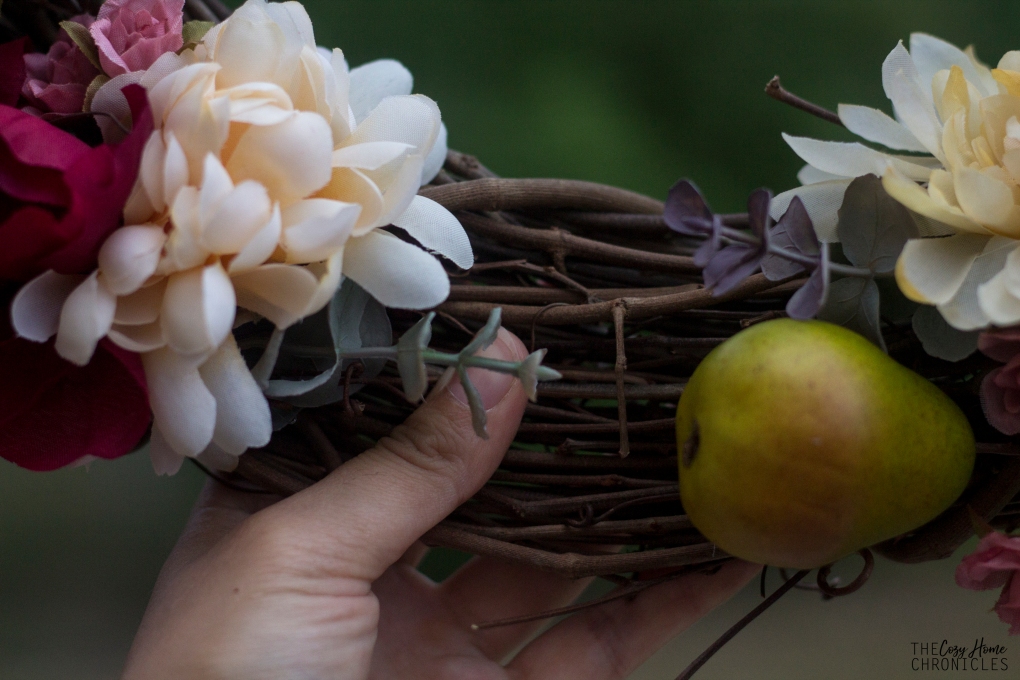
  2. Once you have settled on your design, you will need to glue each piece in place using a generous amount of hot glue, embedding the stem deep into the vine, and holding down for 20-25 seconds until firmly in place.
  3. Once all the pieces have been glued down and any excess strands of glue have been removed, you can hang your wreath on a hook or door wreath hanger.
IMG_5681

IMG_5669

IMG_5674

IMG_5672

Share your autumn stories with us below and if you liked this post please follow us and share!

Instagram


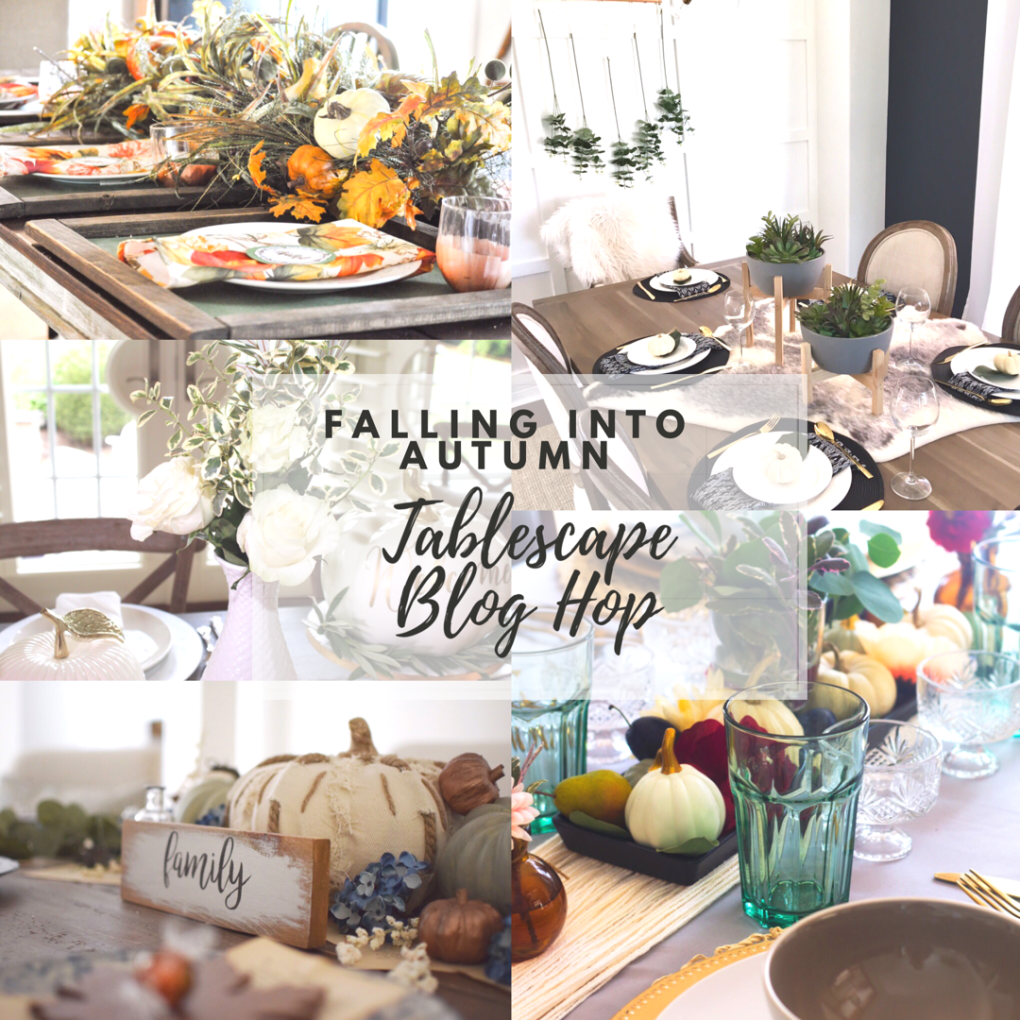
Falling into Autumn

Photo 2017-09-12, 4 12 12 PM

If you are coming here from Happy Haute Home, hello and welcome to our blog. It’s always wonderful to have new faces around here 🙂 Today we are excited to share with you our autumn tablescape which includes a fun and simple DIY table runner. Autumn is such a lovely time of year and I really wanted to create a space that celebrates the beautiful colors of the season while inspiring quiet introspection. Each season offers plenty to reflect on but there is nothing quite like reflecting on your harvest (physically and spiritually) and thinking about what can be improved upon for the next cycle when you begin anew.

“Every tree, every growing thing as it grows, says this truth, you harvest what you sow.”-Rumi

IMG_4417

If you haven’t guessed already from our latest home decor posts and Instagram feed, we are a tad into the bohemian look. Taken to it’s extreme, however, the boho theme can tend toward maximalism and appear a bit cluttered for our taste so I sought to create a clean design based on some of our favorite bohemian colors and elements: greenery, gold, yarn, textured glass, palm leaf, and patterned fabric.

IMG_4363

IMG_4367

IMG_4415

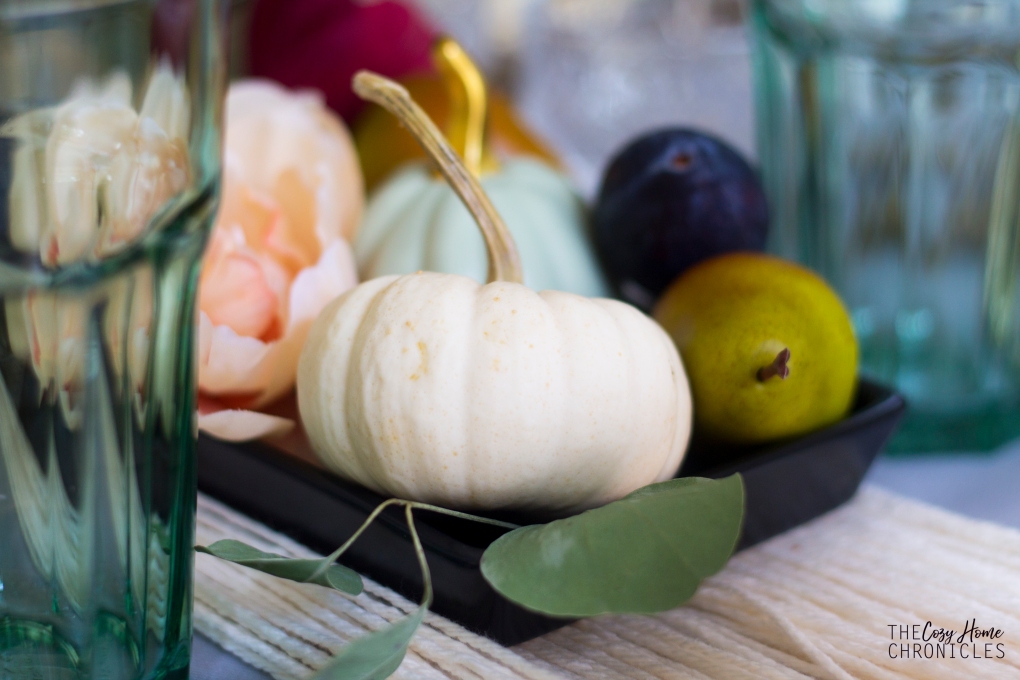
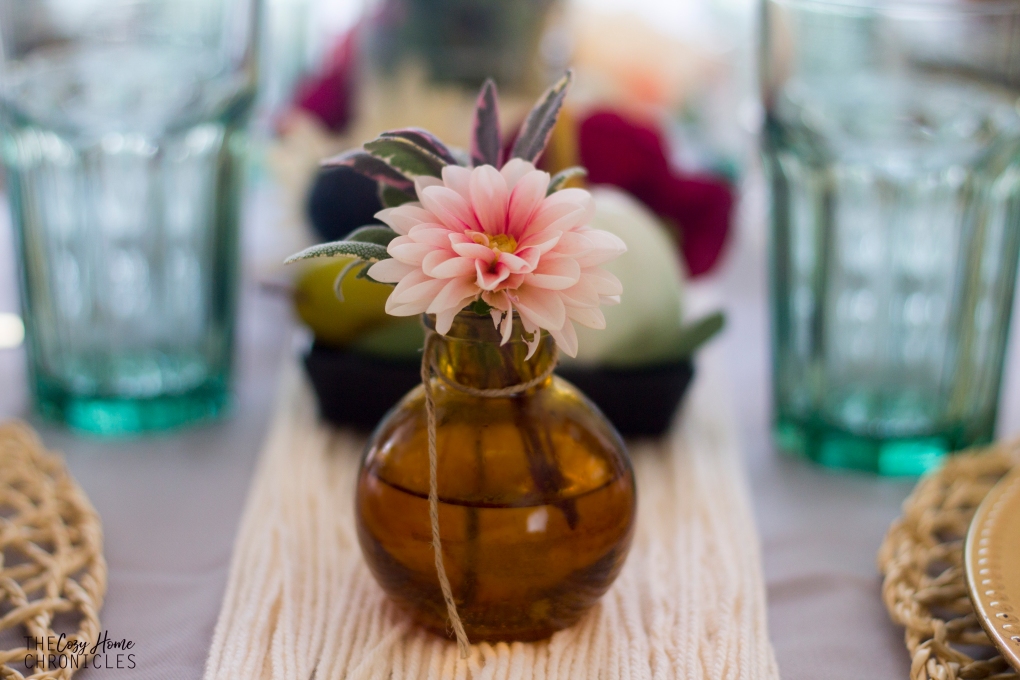
To pull this look together, I relied mostly on what I had lying around our home. For each place setting, I simply layered palm leaf placemats with gold chargers, white plates, and checkered napkins atop. For the centerpiece, I placed a small glass cup filled with eucalyptus and sage in the middle of a black candle dish and arranged white pumpkins, faux florals and pears, and real plums all around. For colorful touches, I included teal glassware, textured crystal, and gold flatware. I used my old amber essential oil diffuser bottles to showcase the dahlias and sage from our garden. The only thing I purposefully purchased for this tablescape (other than pumpkins) were the napkins. I really liked the flannel pattern and the farmhouse vibes they exuded, not to mention they were fairly inexpensive. For your convenience, I’ve included a list of the main sources down below for the all items I knew off the top of my head.


IMG_4397

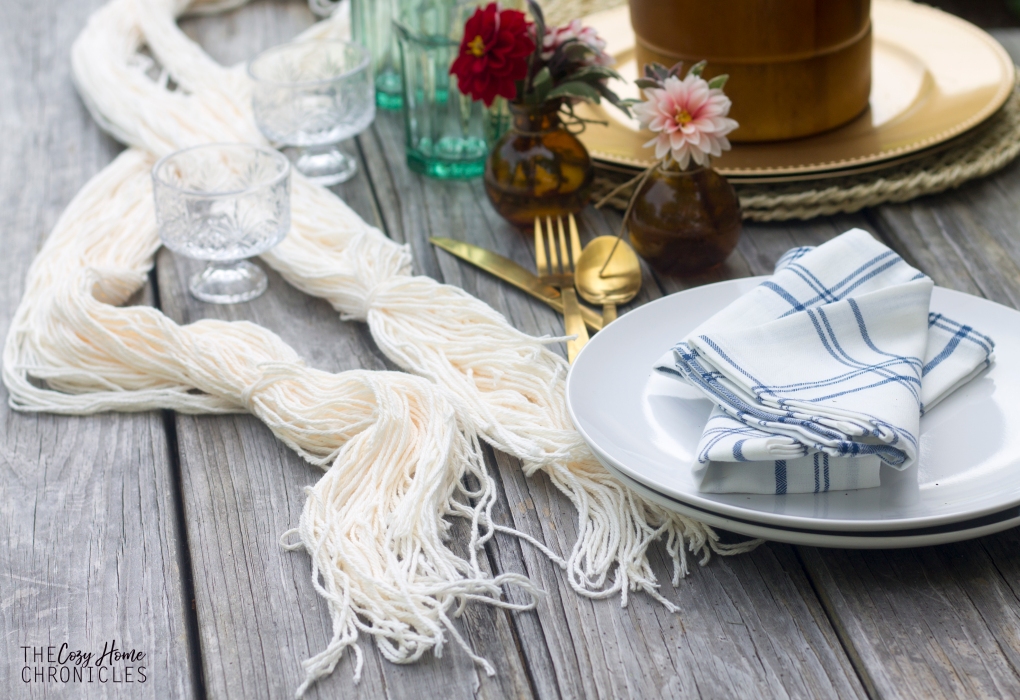
Of course my favorite part of this whole tablescape is the table runner that I made. I am happy to report that the finished product turned out exactly as I had pictured: an oversized tassel. All you will need to make this table runner is wool yarn and scissors. Simply unspool the yarn and cut into strips longer than the length of the table. The hardest part is making sure not to tangle the yarn as you lay the pieces side by side. When you’re happy with the width of your table runner (I used three rolls of yarn) then tie each of the ends together and voila!

IMG_4386

IMG_4428

Sources:
Checkered napkins: Target |$3
Faux Pears: Target|$5
Palm Leaf Placemat: IKEA|$3
Gold Charger: Dollar Store| $1
Eucalyptus: Trader Joes| $3
White Pumpkins: Farmers Market| $2

What do you think of the final result? I know it doesn’t include the fiery red, yellow, and orange hues normally associated with fall but we actually find it quite refreshing. I’ll be using this very same color palette to make an autumn wreath early next month so stay tuned for that. If you’re looking for more autumn decor inspiration that’s subtle and beautiful then you’ll definitely want to head on over to my friend at Harlow and Thistle and see her creative display. Also don’t forget to check out the rest of the stunning tablescapes in the Falling into Autumn Blog Hop linked below!


Happy Haute Home | Harlow and Thistle | Mint Candy Designs | Live Laugh and Craft | The Cozy Home Chronicles