LOW WASTE EID GUIDE 2021

Eid is just around the corner and we are back with another volume of Low Waste Eid. This is something I really enjoy putting together because I truly believe it’s important to rethink our holiday traditions in light of the climate crisis. Foil balloons, wrapping paper, and shiny toys for Eid are all nice on the surface but what happens when we are done with these things. Where do they go? Out of sight, out of mind is not an ethically justifiable position. Change takes time and while perfection is not possible, we must start somewhere. I hope this guide will be a source of inspiration to take that step. I hope you’ll see that Eid can be just as festive and special when we lessen our impact by making or upcycling gifts and decor. If you decide to make something from the guide or are inspired to create something from what you have on hand, please share and use the hashtag #lowwasteeid. I’ll be sharing your creations on my instagram as we get closer to Eid.

If you enjoyed this guide, please share it with your family and friends and please show these wonderful contributors your support by following them on instagram and engaging with their content.


Amanie
Areeba
Azima and Shazia
Bea
Farhana
Filsan
Hana
Hana S.
Momina
Nada
Nida
Tayyaba


DIY Upcycled Tea Tin Planter


February is coming to an end and we are a tad bit in disbelief. I know, this seems like a reoccurring theme over here but during this busy season of our life it’s difficult to fully grasp how quickly the time is flying. We did take some time off for a family vacation (there’s a post in the works) in January and it was just what we needed to reset for this new year but when we came back we dove head first into our semesters and it took some time to get back on our feet. We are now back in the groove of things and excited to share what we have been working on. Last month I was lucky to be a part of Salvage Dior’s January Creative Team on Instagram where each week I, along with my four teammates, were responsible for creating something new for our homes that fit within the following themes: 1) Upcycle, 2) On the Wall, 3) Child’s Play, 4) Coffee Table Decor. In this post I’ll be sharing the project I completed for the first week, an upcycled tea tin turned planter.

IMG_8994

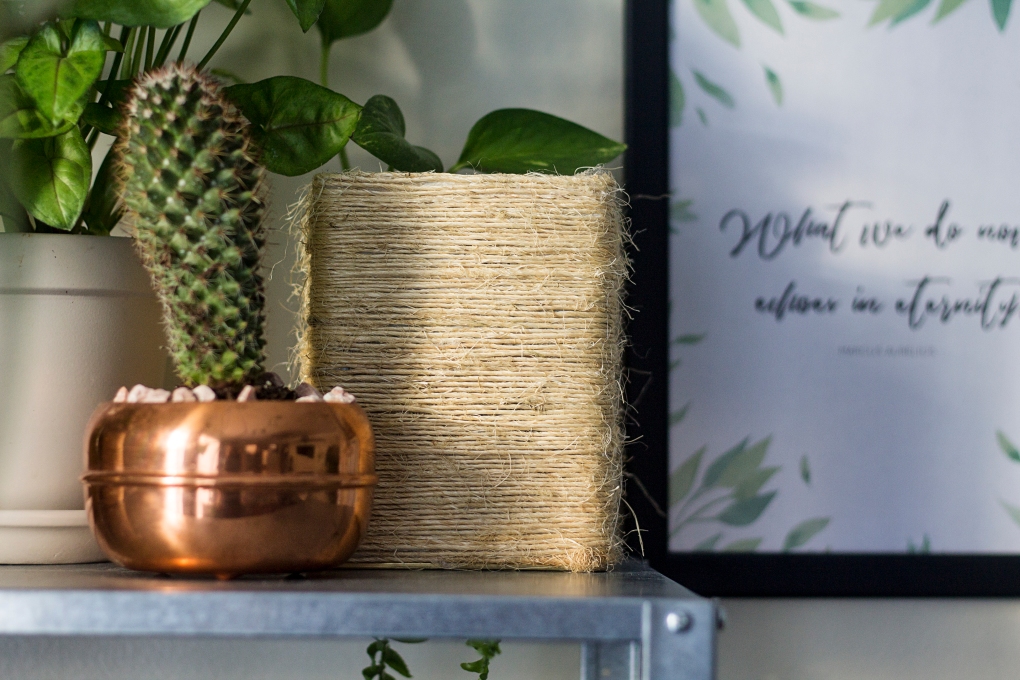
Loose leaf tea is something we drink quite a bit of in our home and I’m always left wondering what to do with the tins once they’re through. In the past I’ve used them as storage for spices and knick knacks but this time I wanted something a bit more creative. At the time we were also revamping our plant corner so I thought it would be nice to make some new planters for the Pothos and Sedum I was growing hydroponically. I was inspired by the recent trend in natural fiber textiles and wanted to create that woven look to contrast with the industrial shelving we chose for the plant’s display. If I wanted to buy what I was looking for, I could have easily spent anywhere from $6-25 a pot depending on the size. Instead, I was able to make this tea tin planter and some tin can planters for $0 because I had everything already on hand. The only thing that you would probably need to buy if you’re not DIY nerds like us is the bundling twine but that itself is very inexpensive ($3.98 for 525 feet). Alright, let’s make a planter!


If you are an avid DIYer, you most likely have a glue gun in your arsenal of crafting tools.

eb_loose_2

DIY Upcycled Tea Tin Planter

  • Difficulty: Easy
  • Print

Materials
Tea tins or tin cans, washed and dried
Bundling twine
Hot glue-sticks
Milk Paint (optional)

Tools
Glue Gun
Scissors
Drill (or a hammer and nail)

Directions

  1. Heat your glue gun and in the meantime use your drill to place drainage holes in the bottom of your tin. You can also use a hammer and a nail to do this or you can skip this step and just make sure to include a layer of small rocks beneath your soil for water drainage.
  2.  Glue the end of the bundling twine to the side of your tin at the very bottom and begin wrapping the twine around, making sure to glue the first 3 coils to the tin and to each other. As you wrap the twine, be sure to push the coils down tightly to close any gaps and give your planter a neat, elegant look.
  3. Continue wrapping the twine around, stopping midway to glue the coils down. Wind the twine around the tin until you reach the top and then cut the twine to length.
  4. Uncoil the twine a couple turns, then rewind it tightly against the tin using hot glue to secure the top two coils to the tin and to the adjoining coils.
  5. Take your scissors and trim off any noticeable twine hairs sticking out (see the time-lapse video below). At this point you can paint the planter and let it dry or go straight to planting and styling it!

IMG_8984

IMG_8998

If you liked this post and found it inspiring, we would love if you shared it. For more related content, you can find us on Instagram where we share more of our day-to-day and Pinterest where we share our ideas and inspiration. If you have any thoughts or suggestions about this DIY project, feel free to leave a comment below. And as always…

signature3


Build Your Own Raised Garden Bed

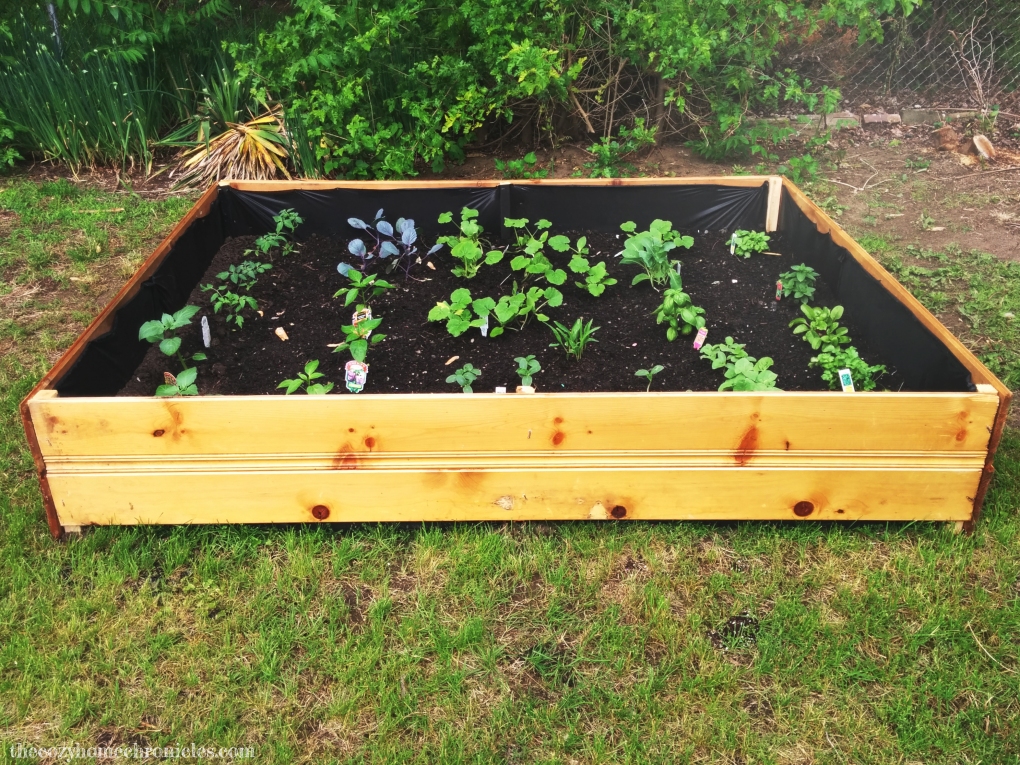
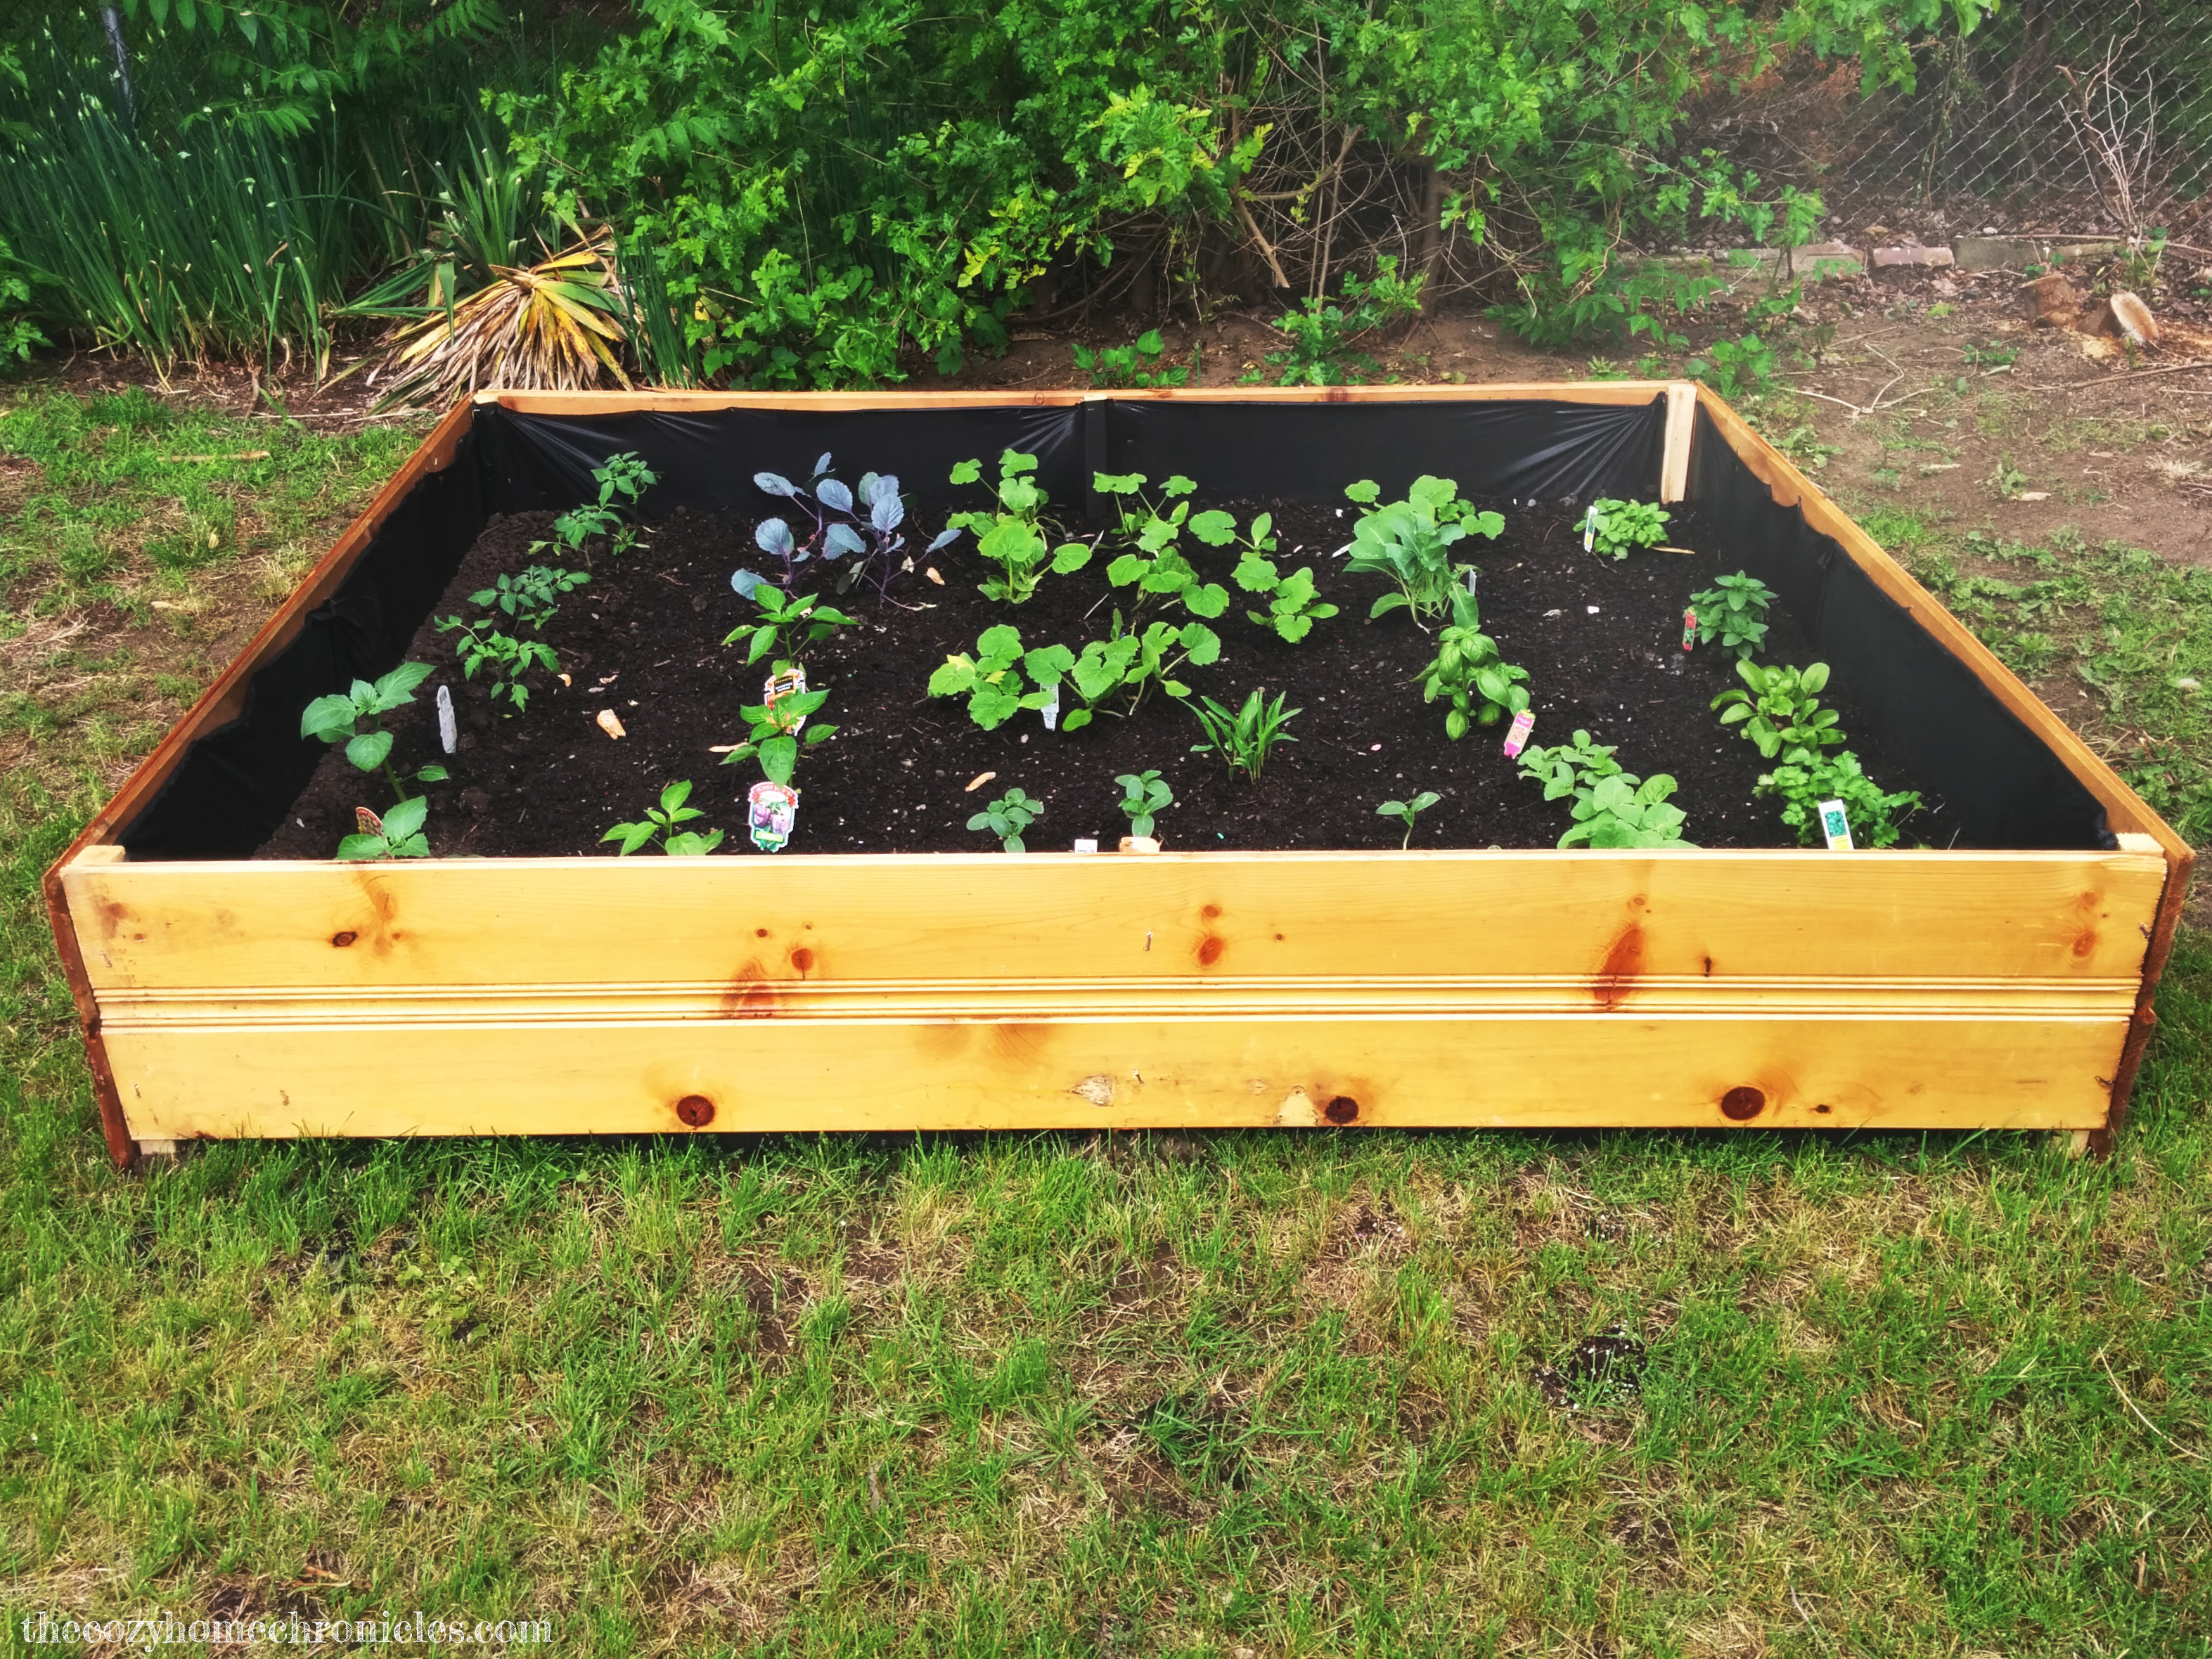
Spring is finally in the air here in Michigan and we are getting closer and closer to planting season, one of our favorite times of the year. Gardening for us is just so fun and fulfilling because it connects us to the beauty of nurturing and growth. If this is the year you decided to try your hand at gardening then starting with a raised bed might be the way to go. A custom raised vegetable/fruit/herb garden is not only easy to make but it takes a lot of the hassle out of gardening in terms of weeding and messes. It also makes for a beautiful backyard feature and less back-bending and back-breaking work.

garden bed copy copy

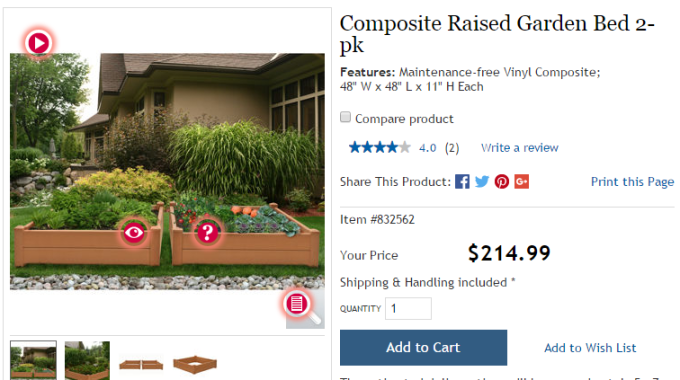
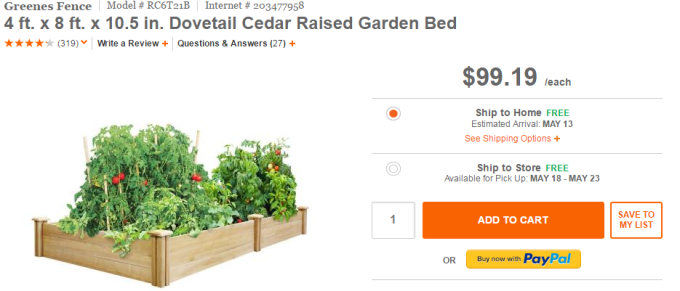
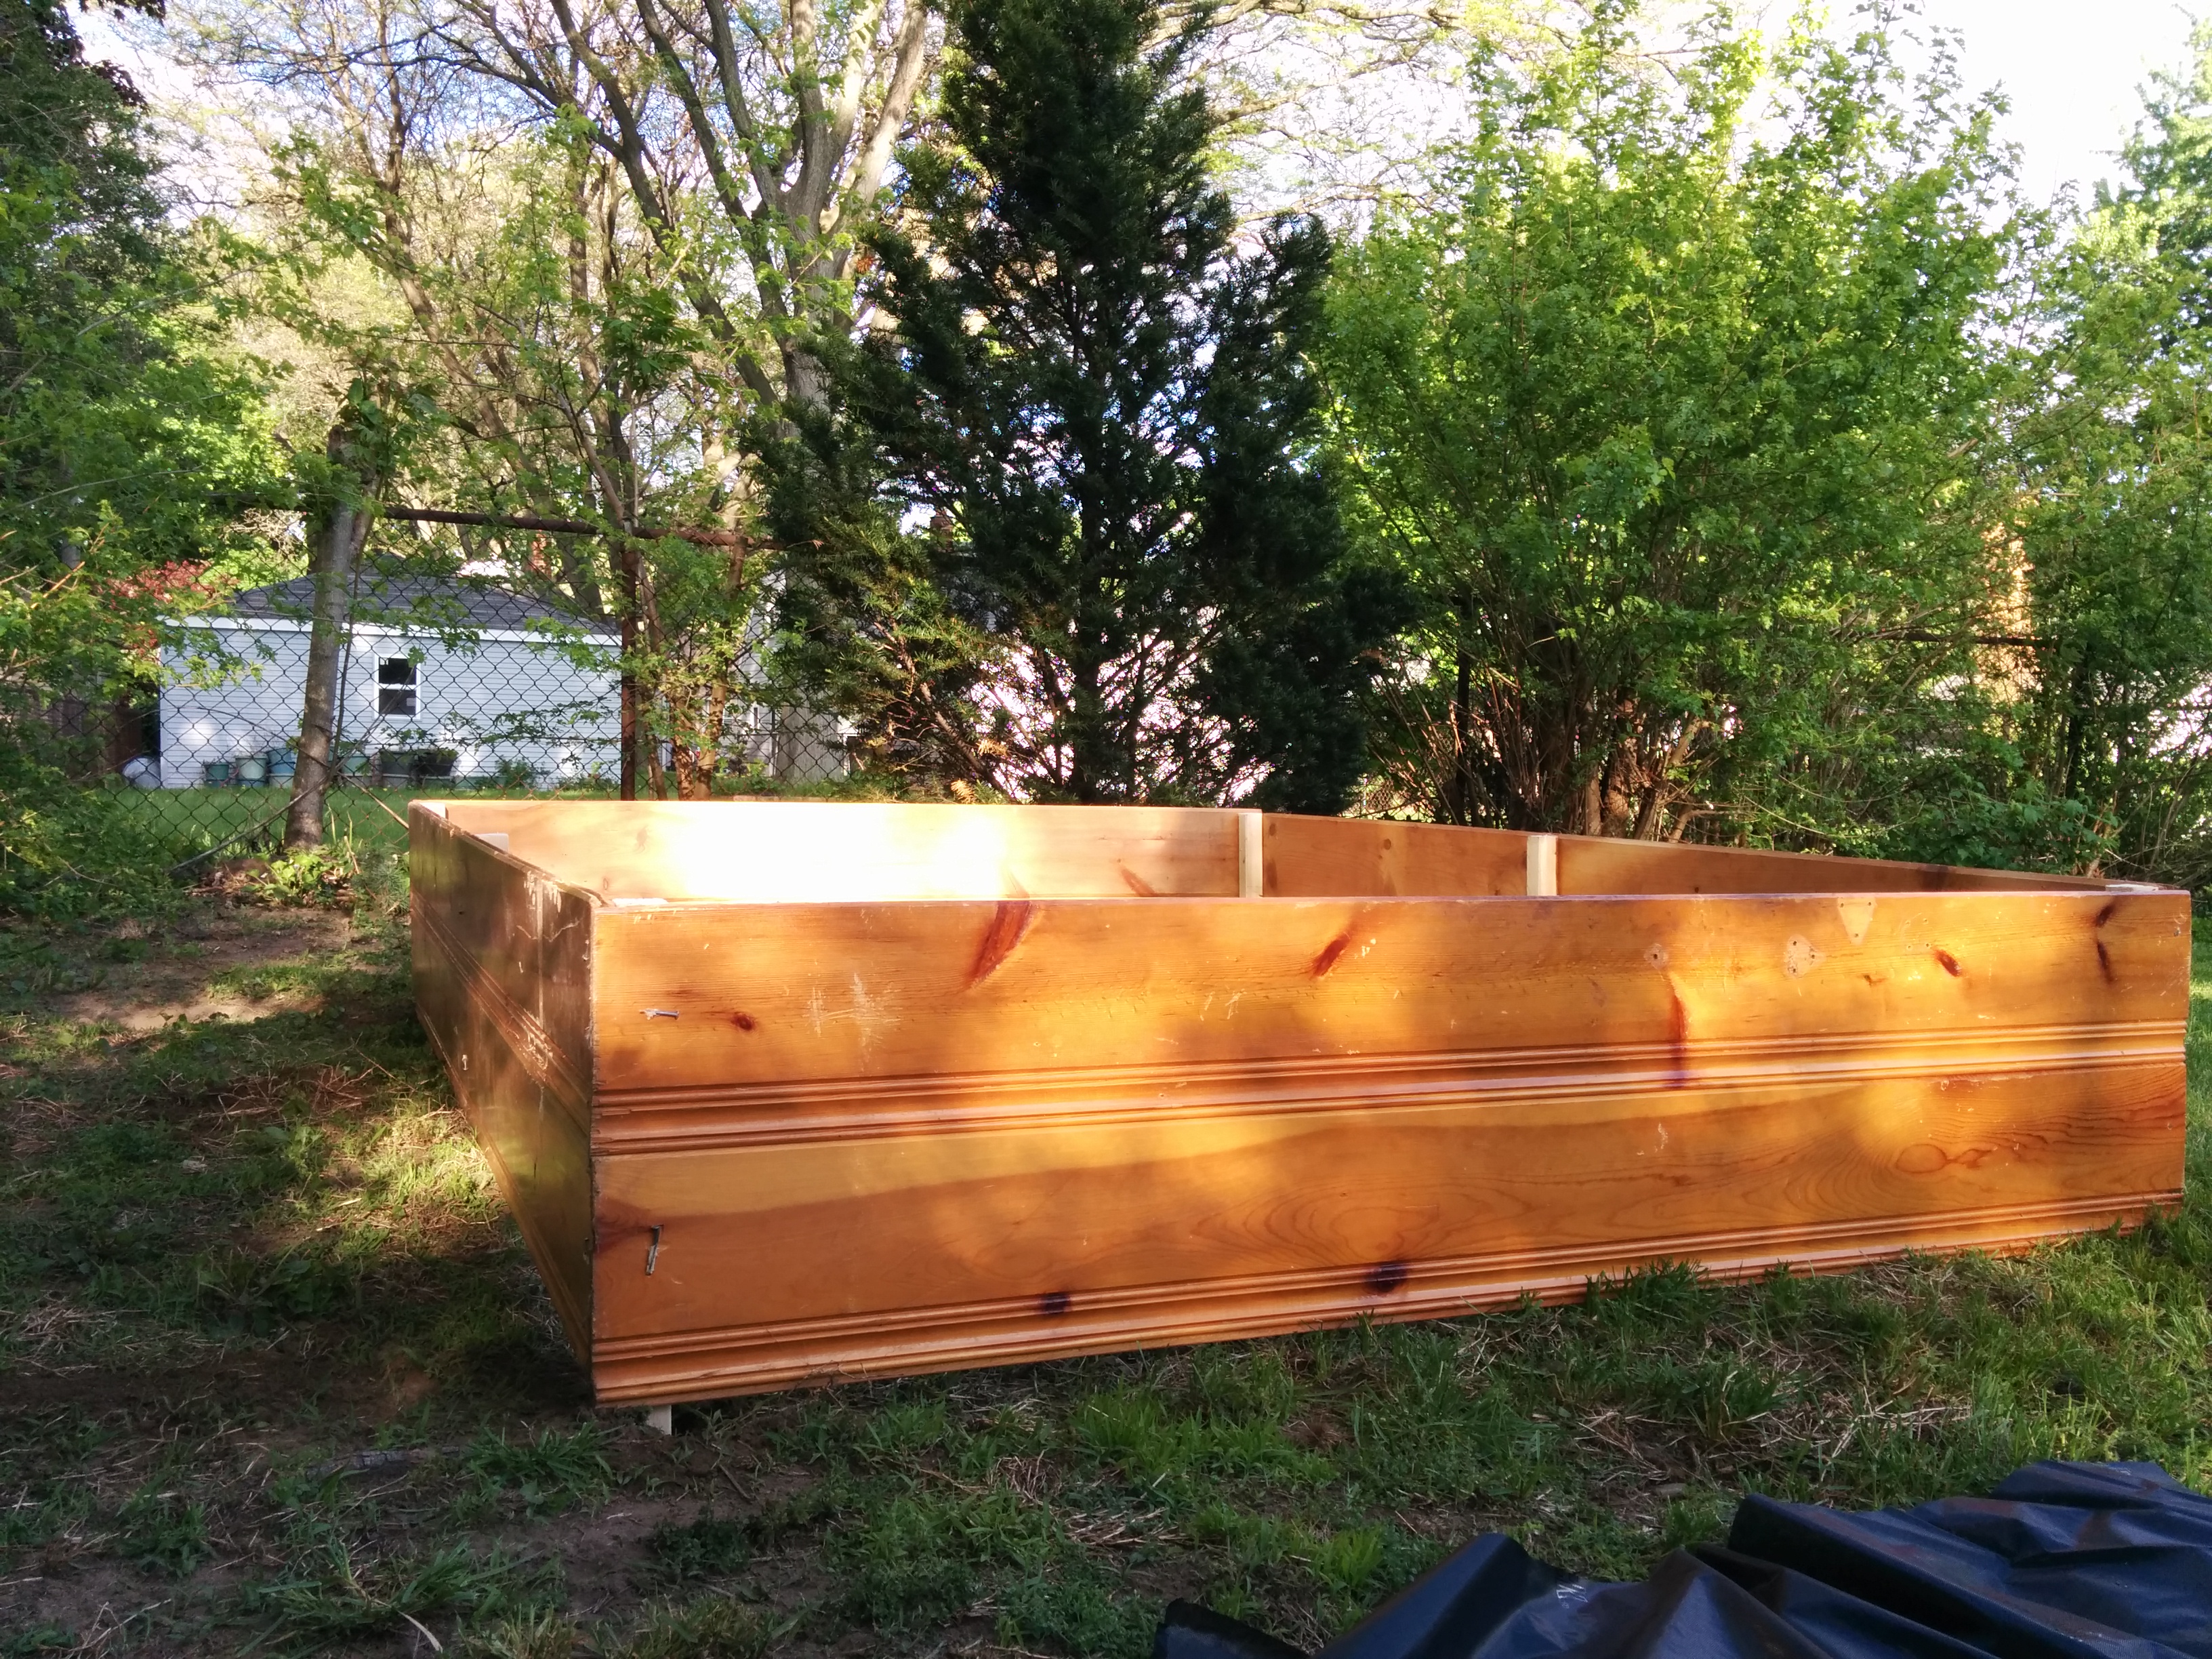
You can go about this project a couple different ways but the instructions I have provided in this post are for store-bought wood from your local Home Depot or Lowe’s. For our garden beds, we upcyled wood panels that we had stored in our garage from our early basement renovation and we personally recommend this route if you have unused wood just lying around. There is something extra rewarding about repurposing items and reducing waste and what better time to do that than during the environmentally conscience activity of gardening. Of course you can always buy a raised garden bed but where’s the fun in that? Not to mention, a store-bought garden bed can run anywhere from $100-$250 depending on the size and material. If you buy the wood yourself, you can have a similar garden bed for half the price and if you go the upcycling route it will cost you nearly nothing.

Costco Garden Bed

Costco – $107.50 / one

Home Depot Garden Bed

Home Depot – $99.19 / one

Lowes Garden Bed

Lowe’s – $118.00 / one


Now that we have you convinced (hopefully) to build your own garden bed, here’s what you’ll need:

Supplies for an 8ft x 8ft garden bed
8 2in x 6in x 8ft ($60)
2 2in x 2in x 8ft ($7.50)
1 Weed Blocker ($9.97)
1 box Wood Screws ($6.58)
Patience ($0.00)
Green Thumb (Priceless)

Note: I did not include the amount and price of soil in the supply list because that will really depend on the size of your bed. If you are unsure, this soil calculator is super helpful!

Tools
Staple Gun
Post Hole Digger
Miter Saw or Hand Saw
Power Drill

Directions

  1. Design the layout of your raised garden bed based on the shape and dimensions you want. Our wood panels were 6 ft long so our garden bed ended up being 6ft x 6ft.
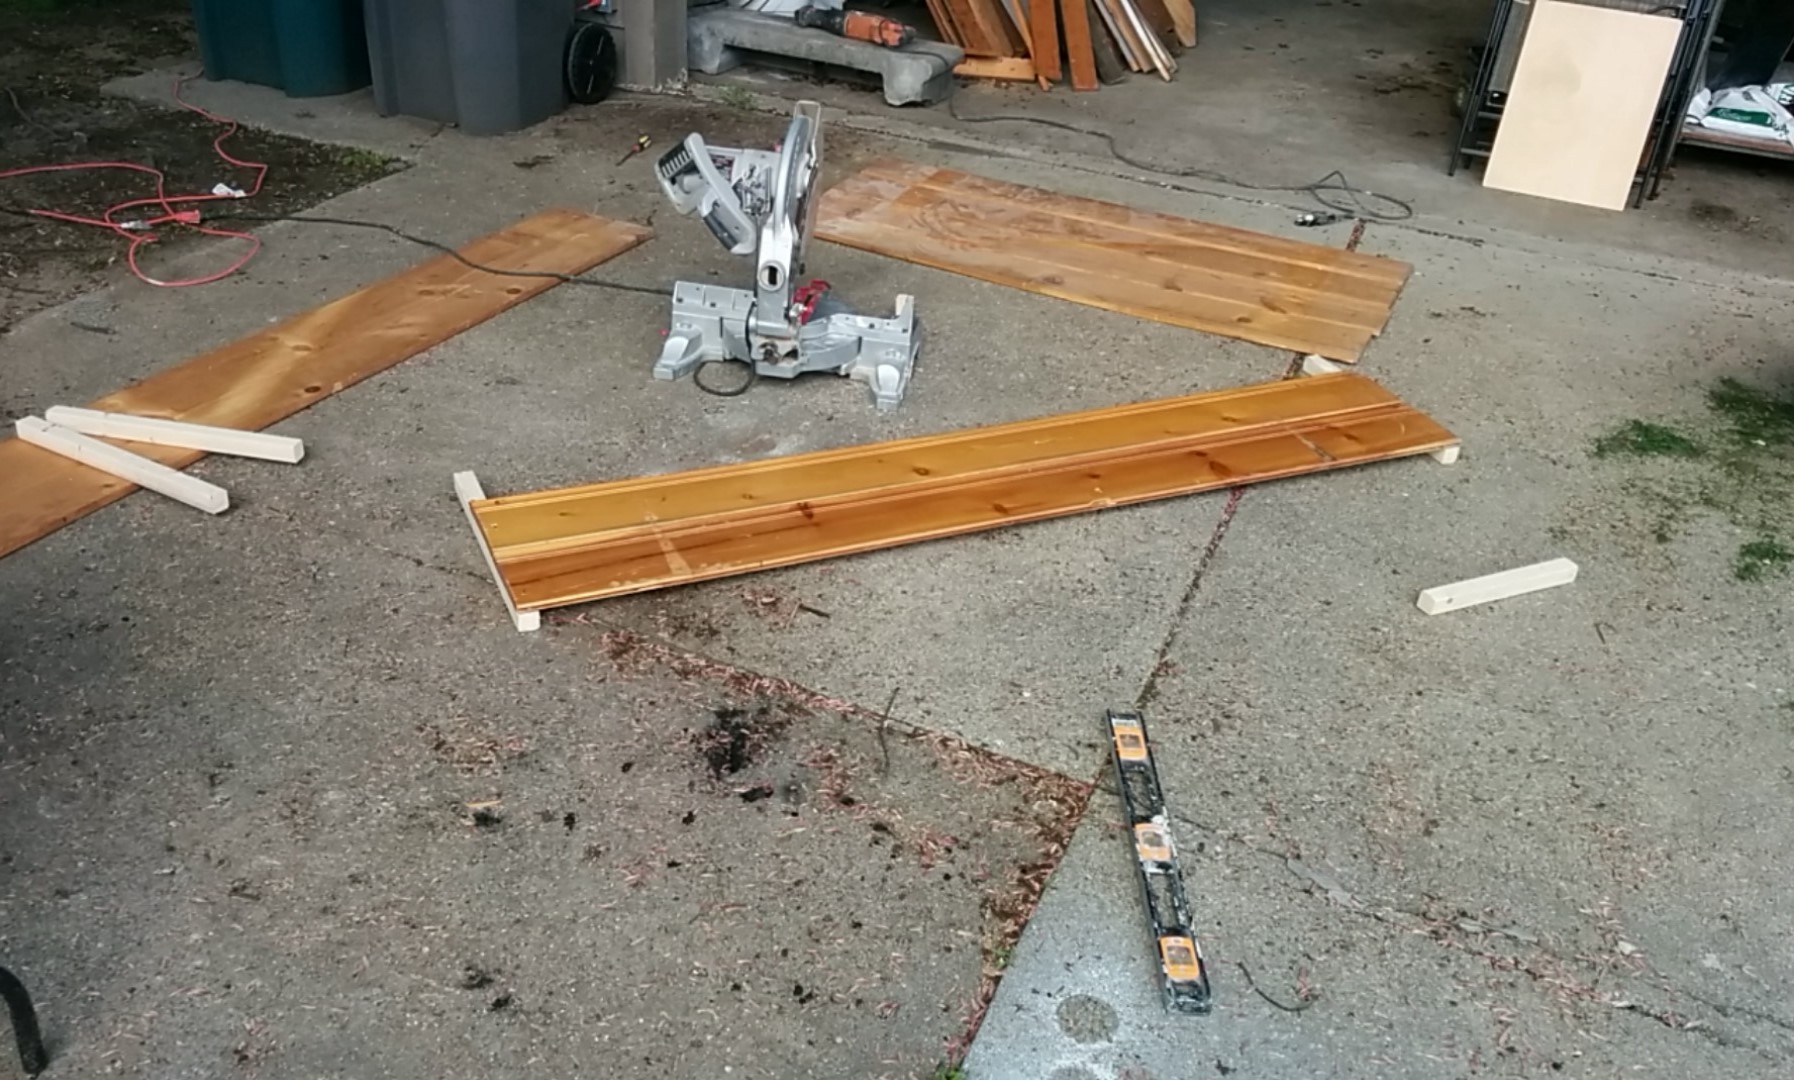
  2. If you chose a rectangular design and want to make cuts to the 2x6x8’s (or any other wood you are using), now would be the time to do so using a miter or hand saw. If you want a square 8ft x 8ft layout then just leave them as is. These pieces will be the side panels of your garden bed.
  3. Cut your 2x2x8s so that you end up with a total of six 2ft pieces (you’ll have some wood leftover). These will be the legs of your garden bed. You may notice that the garden legs are longer than the side panels and that is intended. The extra foot of leg is for planting the garden bed firmly in the ground.
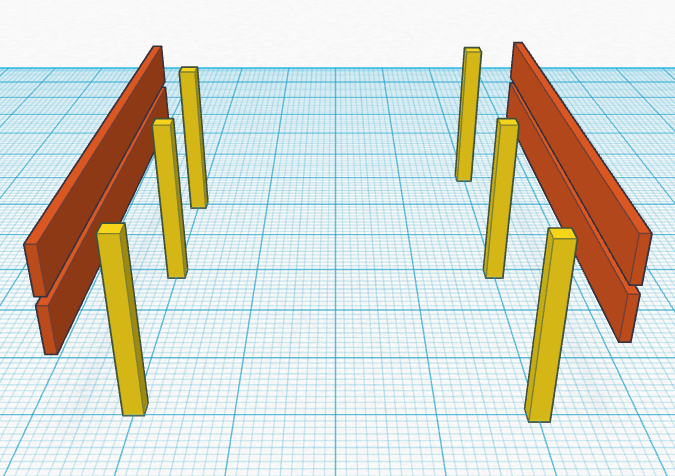
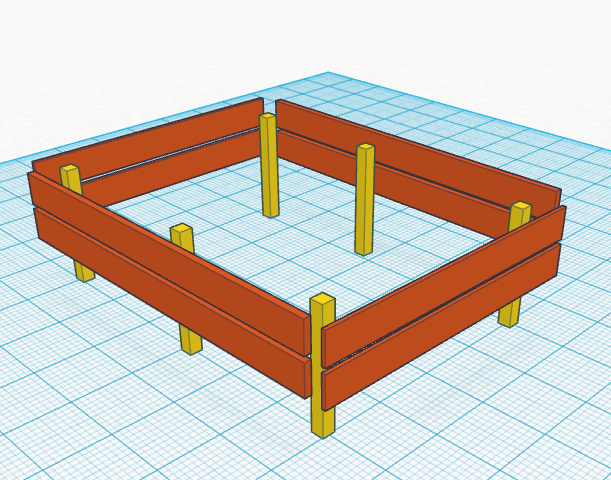
  4. Next, you will attach the side panels of your garden bed to the legs.The first thing you want to do is lay out two 2x6x8 pieces horizontally and parallel to each other so that there are no gaps between them. At equal intervals, starting precisely from the corner, attach the garden bed legs (2x2x2) to the sides using your drill. You will need 6 screws to do this: 1 in each of the two panels for each of the three legs.
  5. Repeat step 4 using two more 2x6x8s and the remaining 3 legs.
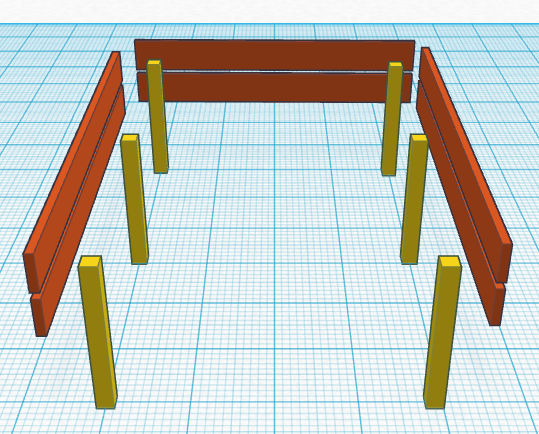
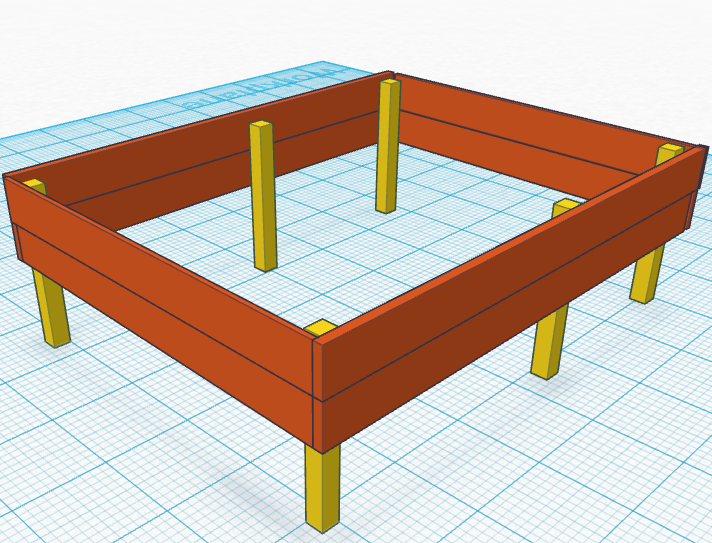
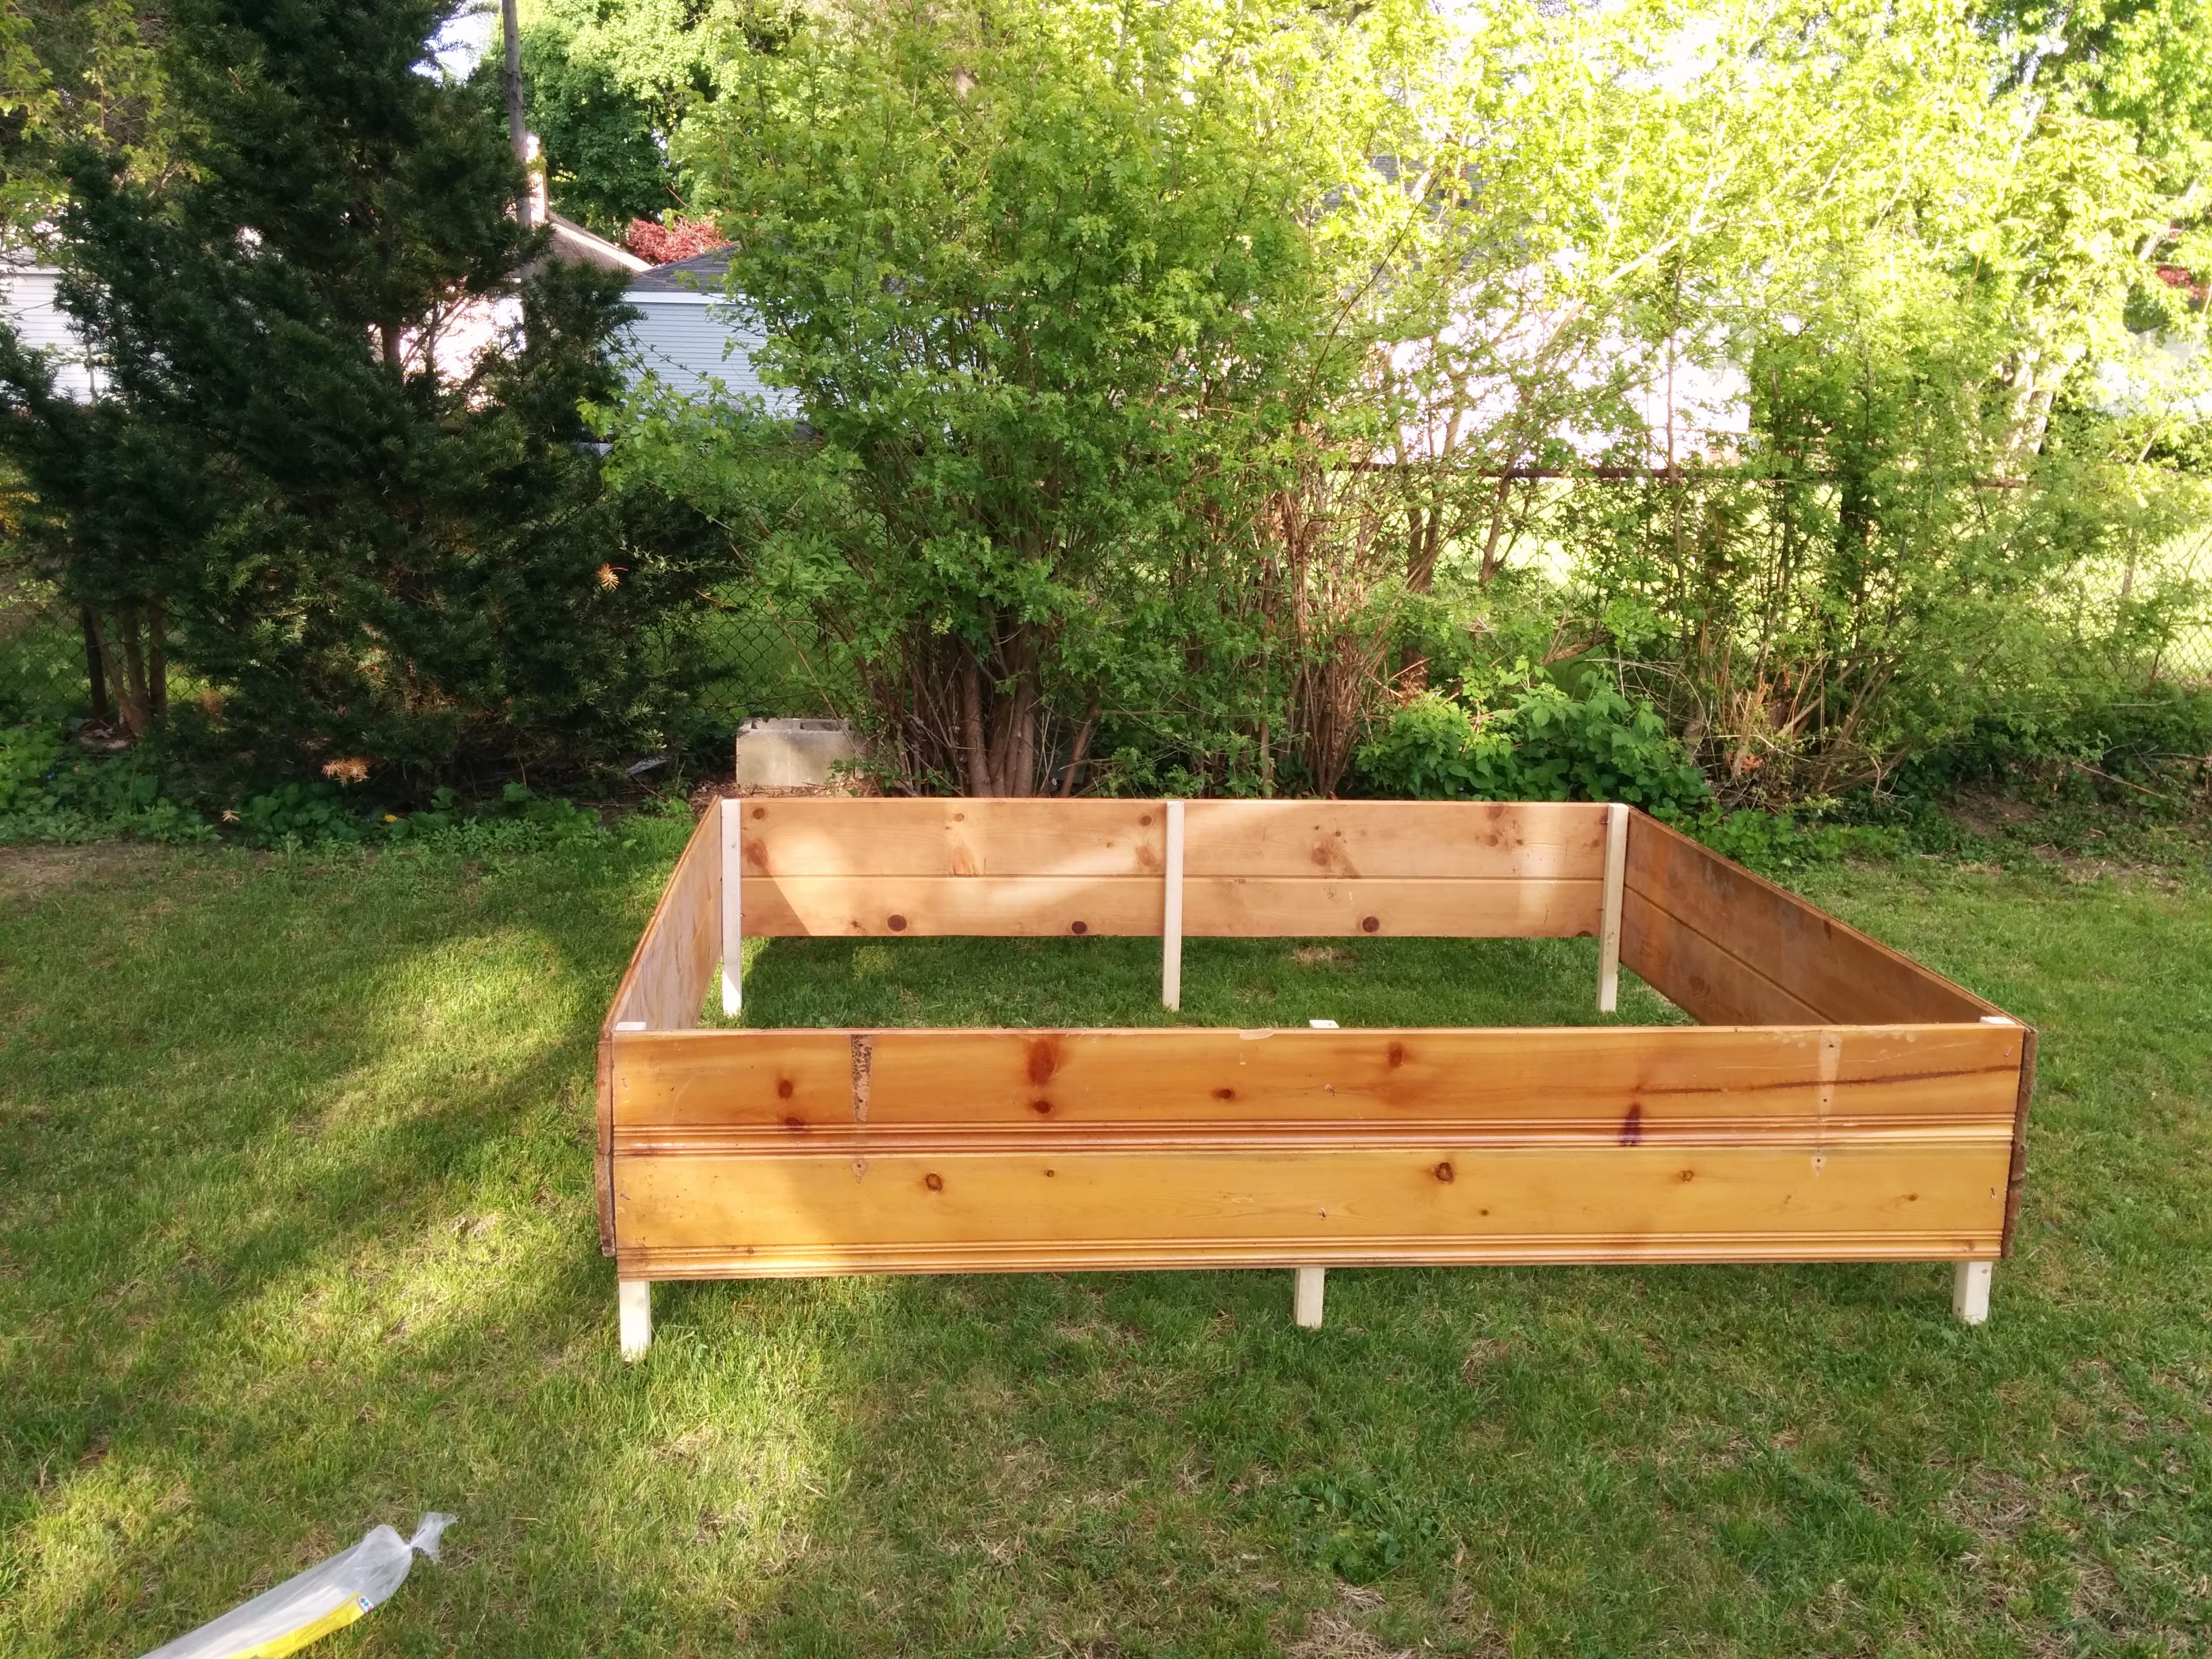
  6. Now you can complete the garden bed by connecting the remaining panels perpendicular to the side panels with the legs to form your square or rectangle. Make sure that the legs are on the inside of the garden bed. Once you have put together all the boards, your garden bed should look like the final image in the 3D model below.
  7. Use the post hole digger and dig 6 holes for your legs, making sure you measure the distances accurately between the legs so you won’t have to struggle putting them into the ground.
  8. Now you can go ahead and place the garden bed legs into their corresponding holes.
  9. This is an optional step but one we found helped drastically reduce the weeds. Lay the weed blocker down at the bottom of the garden bed and use a staple gun to fasten it to the sides of the bed. Do the same thing across all sides of the garden bed making sure to cover the entire surface area.
  10. Fill your garden bed with the soil mixture of your choice and you are all set to plant whatever your heart desires 🙂

And for the visual learner…

garden bed 1
garden bed 2
garden bed 3
garden bed 4
garden bed 5
garden bed 6

Snapchat-20140523061353IMG_20140523_184812IMG_20140523_190343Snapchat-20140523012215garden bed copy copy

Now sit back and enjoy the harvest to come.

If you liked this post please follow us and share!

Instagram


DIY Hanging Vase

This DIY project is the culmination of 3 very random happenings:

1) One of our New Year’s resolutions for 2016 was to find ways to incorporate more plants in our home. We love the sense of peace and purpose our plants bring to our home and we simply wanted to diversify our jungalow.

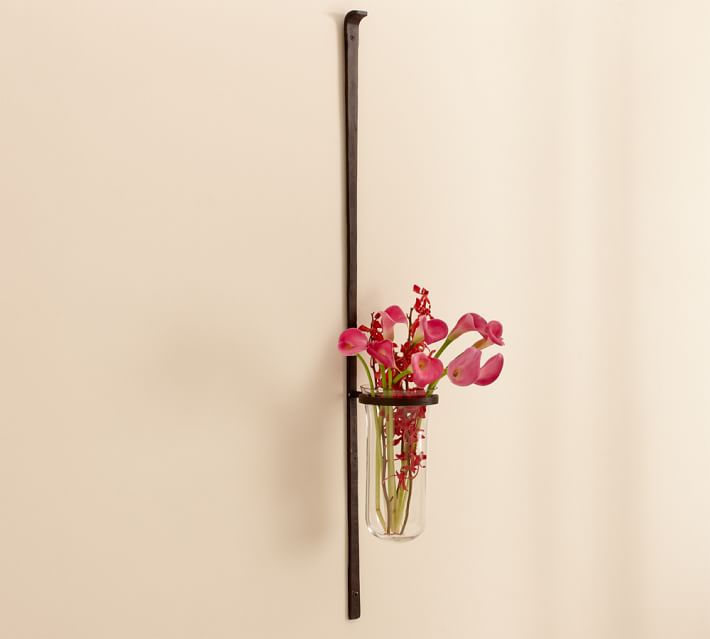
2) I came across these hanging vases while browsing the Pottery Barn website and really liked the concept (just not the price).

artisanal-wall-mount-vase-o

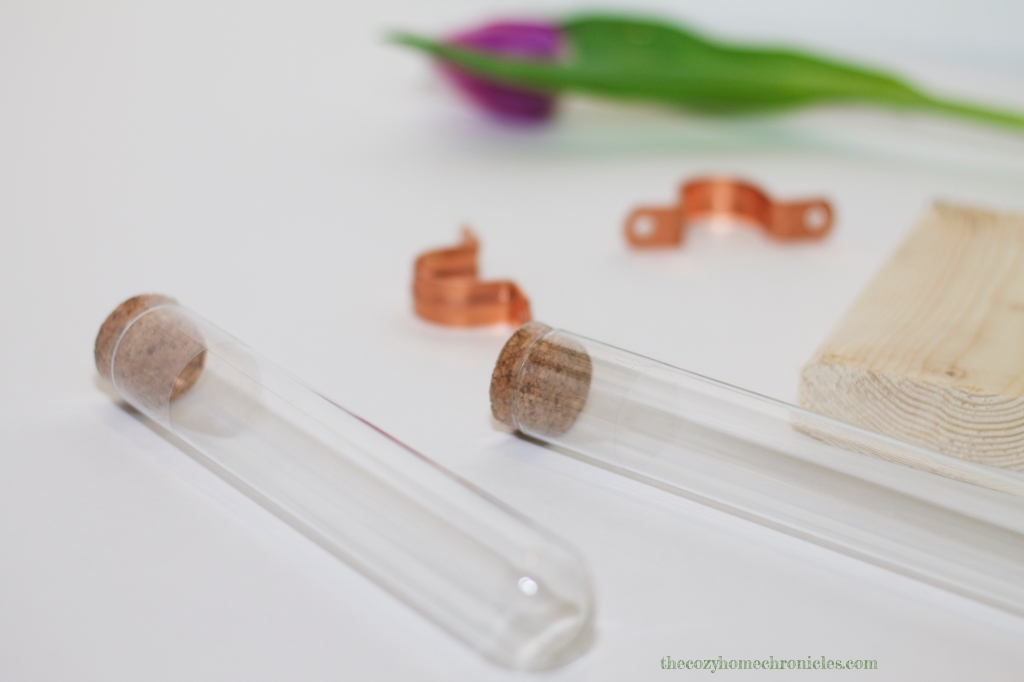
3) We can never resist the dollar section at Michaels and *somehow* ended up with 4 adorable glass test tubes for $1.50 a piece. If you have tubes around in your home (think spice tubes) that you aren’t using, this could be the perfect way to upcycle them 🙂

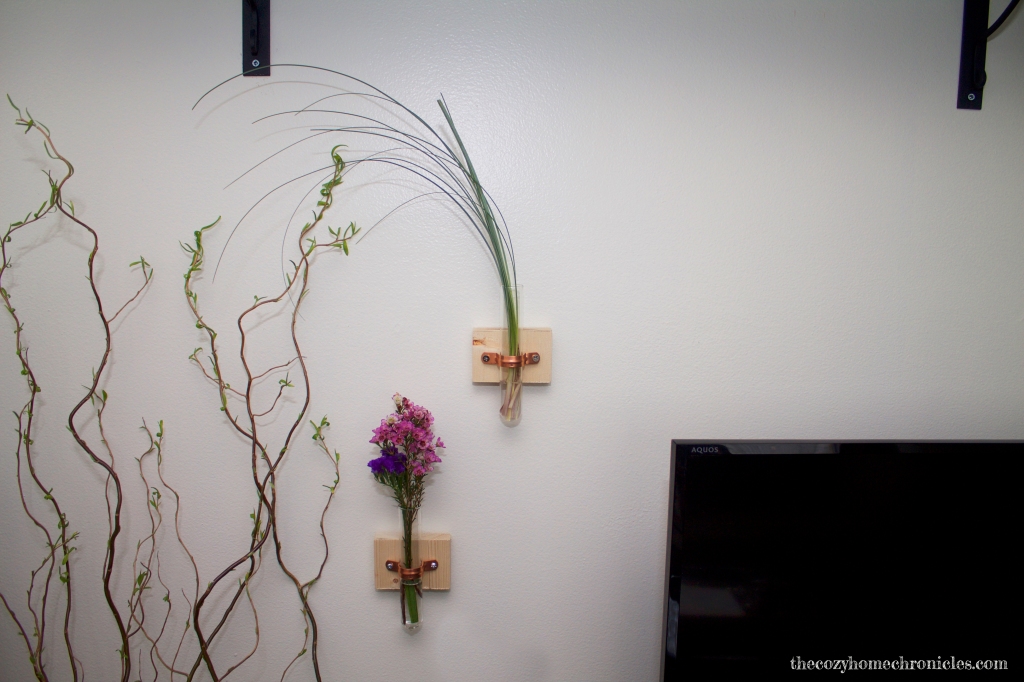
A few visits to the garage later and we had the perfect design for a hanging vase we had pictured in our mind. The finished product involves 4 hanging glass tubes that, while certainly smaller than the Pottery Barn Wall-Mount Vase, are far more economical ($15 compared to $69) and just as dazzling visually. If you’re looking for a budget-friendly way to incorporate more foliage without cramping your space with pots, this is the perfect solution for you!

IMG_0680

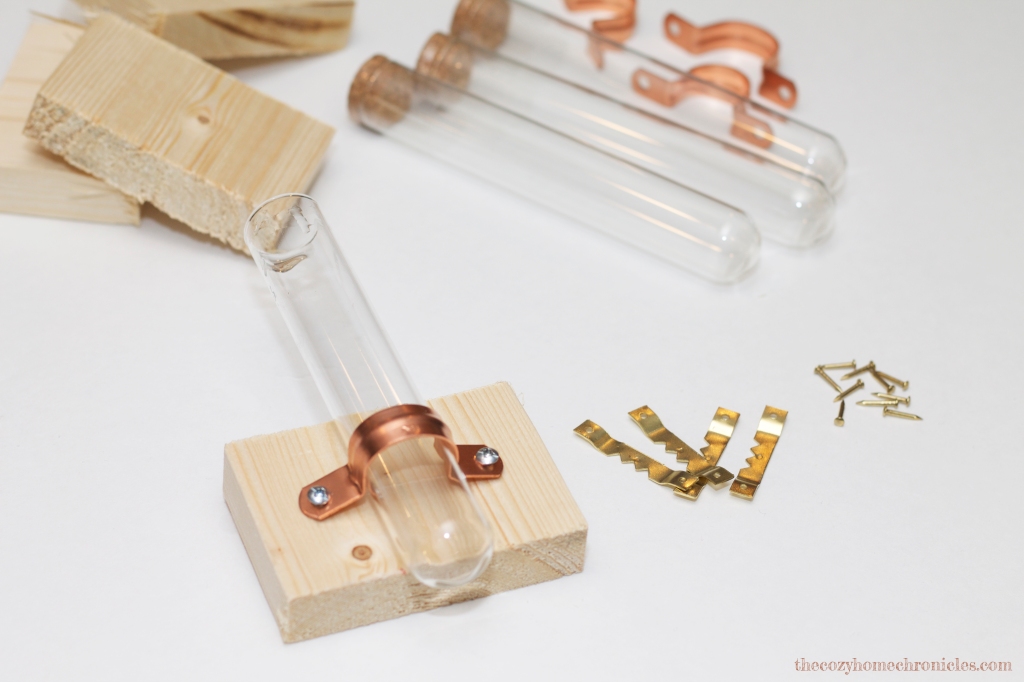
Supplies
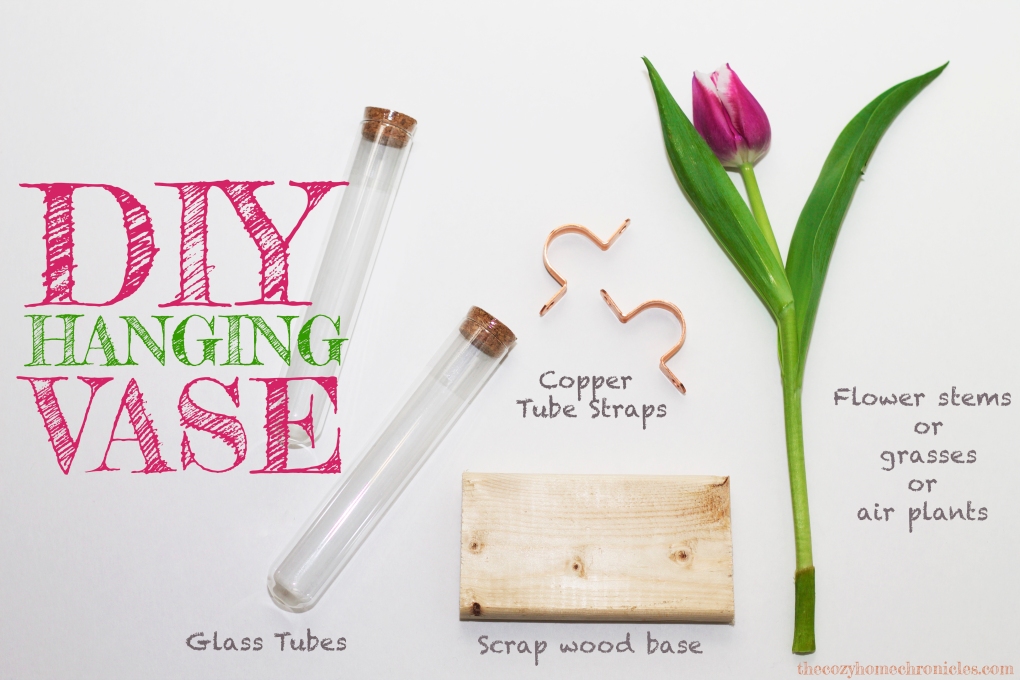
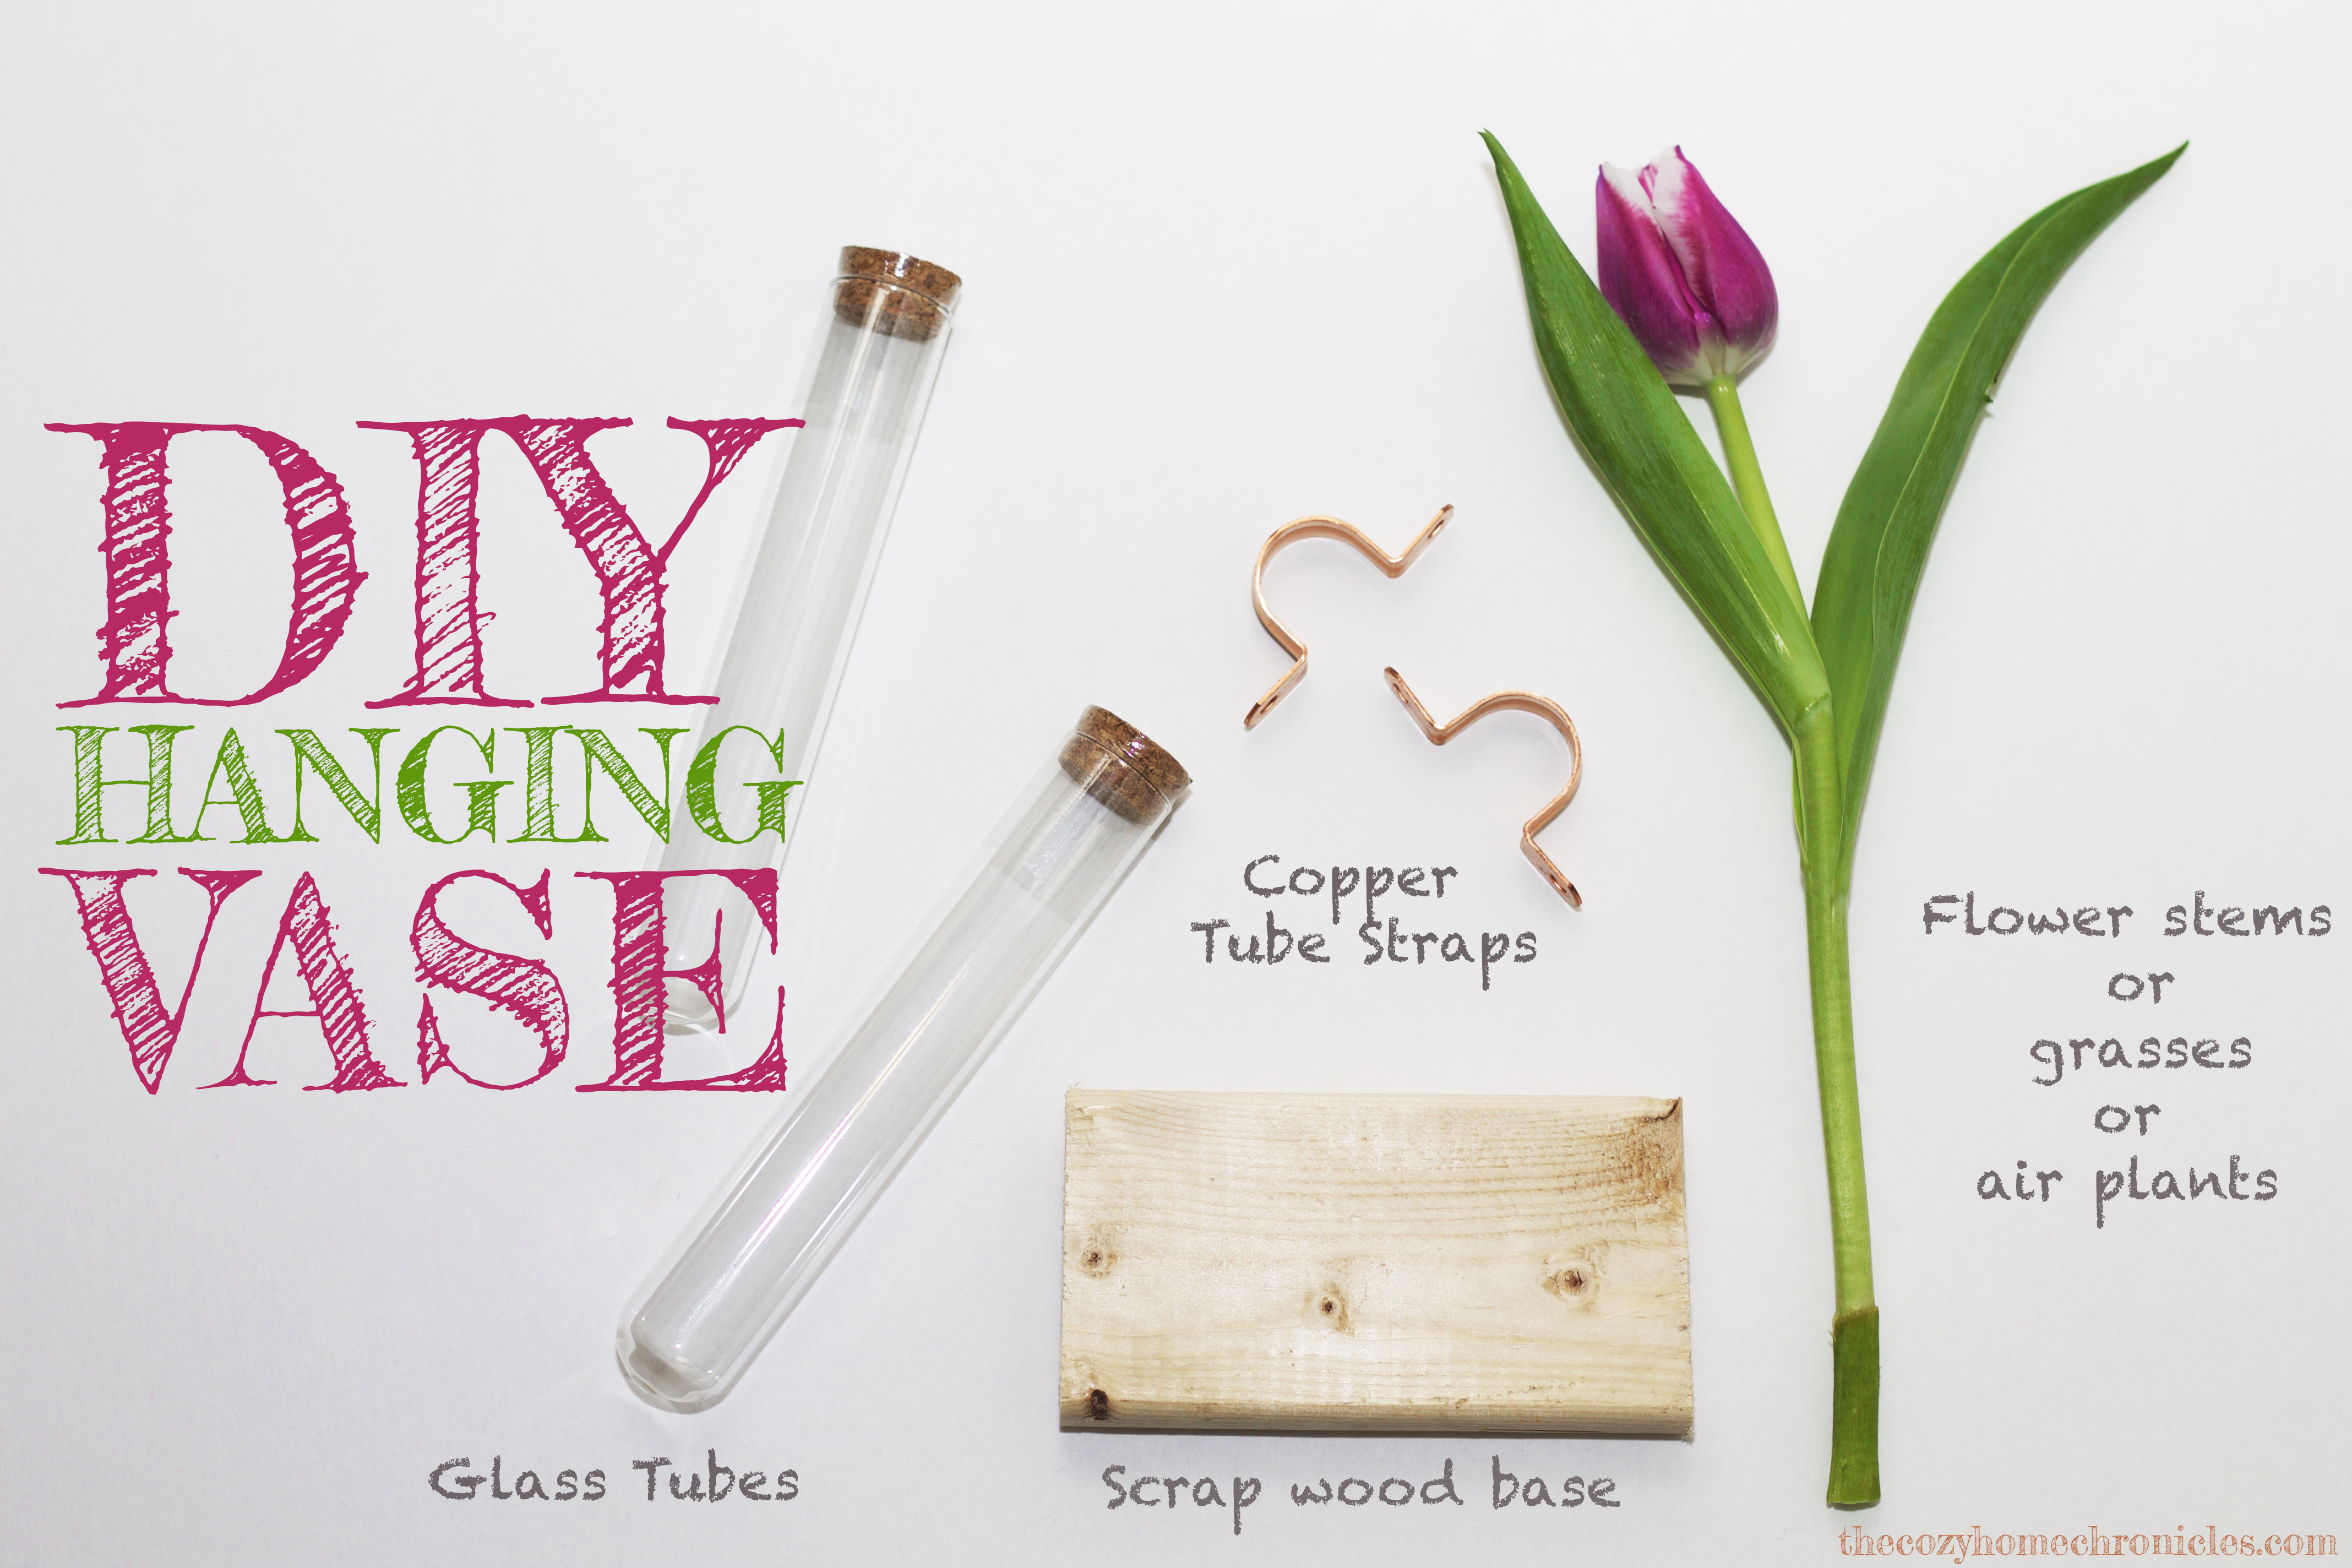
Glass Tubes
Scrap Wood
Copper Tube Straps
Screws
Hanging Kit or Command Hanging Solution

Tools
Drill
Hammer

Note: We did not list the dimensions of the tubes or the tube straps because that will depend entirely on what you find and decide to use. If you have your tubes just take them to Home Depot and you will be able to find the straps that fit them very easily. Also, you are not limited to scrap wood for the base; we just wanted to use what we have. If you’re looking for something less rustic, Michaels has a lot of nice wood pieces that could work. All in all, if you play your cards right, this DIY is very inexpensive and so easy to put together.

Directions
1.  Once you have all your pieces, all you will need to do is drill two holes (corresponding to the the holes in the tube straps) into your base. Make sure that your base is thick enough to withstand the length of the screws.
2. If you are choosing to hang these on your wall the old fashion way, go ahead and nail your hanger to the back of the base.
3. Once complete, drill the tube straps halfway into the base so that the straps are loose enough to adjust.
4. Slip your tube through the tube strap until it is positioned the way you like (we aligned our tubes so that the tube strap was the halfway mark). Once you are happy with the positioning of the tube, tighten the screws until the tube is secure (do this gently so as to not crack the tube).
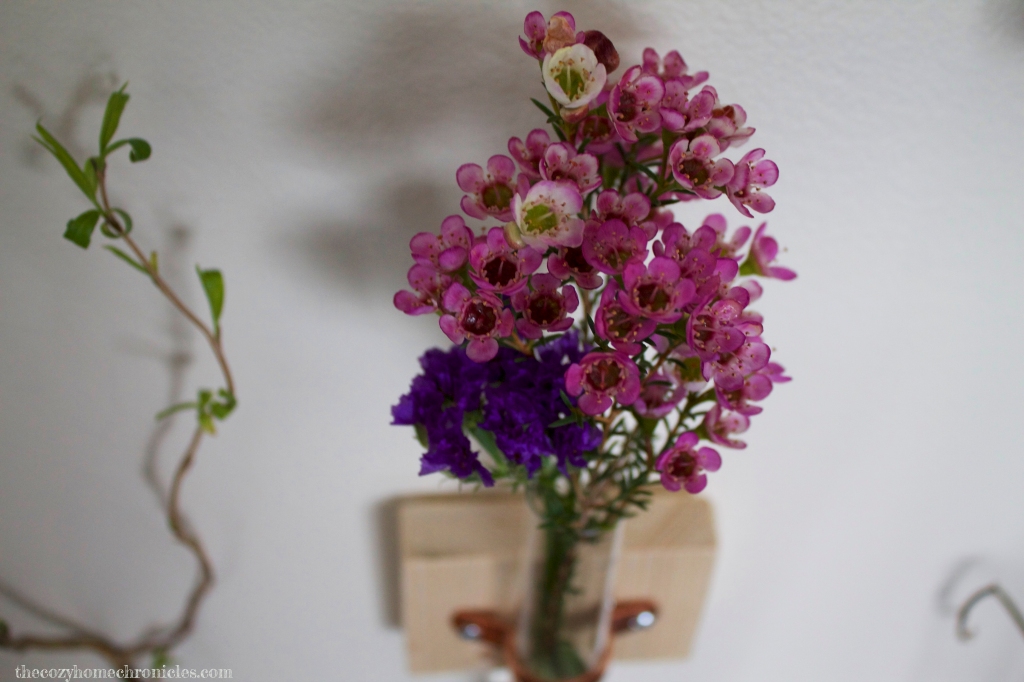
5. Mount your completed vase to the wall and decorate with real or artificial flowers, grasses, or air plants.

Now kick back and enjoy the little pieces of nature bringing your space to life 🙂

IMG_0674

IMG_0955

IMG_0964

IMG_0714

IMG_1053

IMG_1044

IMG_1035

IMG_1063

If you liked this post please follow us and share! You can also find us on Instagram, Pinterest, and Twitter.

Instagram


Bathroom Cabinet Decoupage Makeover

IMG_0539 copy

There are two ways to deal with an old and worn-down possession, furnishing, etc… One way is to toss it out and buy a replacement. The other involves putting on your creative cap and transforming it into something beautiful and functional. I’ll leave you to guess which is the boring option and which is the super fun and rewarding option. We opted for the latter and although we were hesitant about doing something so bold, we are really happy with the result.

This decoupage makeover was done to an old bathroom cabinet that hangs over our toilet in our main bathroom. It was one of those things we wanted to change when we moved in but we just never got around to because we were working on bigger and badder things (like finishing our basement by hand). I (Sammy) have been trying to organize the closets in the house recently and it hit me when I saw the cabinet empty that I could fix it then and there. I pulled out some paper scraps I had been wanting to use and the rest is history.

IMG_6204 copy.jpg

What you’ll need
Mod Podge
Foam Paint Brush
Pretty paper in the design and color of your choice
Scissors
Exacto knife
Books (to aid with the drying)

This makeover is very simple, inexpensive, and can be modified for any project, big or small. Obviously, the bigger the project the more paper and Mod podge you will need. For a cabinet this size and the type of thicker paper I used, I ended up going through half of an 8oz container of Mod podge.

Time
The design really dictates the amount of time this project will take you. If you’re just applying paper by the sheet it will take significantly less time than a collage. To make the collage a bit less tedious, I made use of larger strips of paper interspersed with smaller shapes and sizes. Overall, it took me about 5 hours to complete including drying time.

Directions

All this really involves is two easy steps: 1) Apply Mod podge and 2) Wait for Mod podge to dry. The application, however, must be done with care as air bubbles can form and ruin the surface.

  1. If you’re working with furniture, take apart any shelves or doors that can be done more easily if separated. Our cabinet had one shelf that could be taken out so I did that first and while it was drying, I finished the rest of the cabinet. It would have been easier to take the cabinet down but I just brought a stepping stool and finished it on the spot.
  2. Clean the surface you are finishing with a lightly dampened cloth and dry well.
  3. Once your surface is dry, dip your brush in Mod podge and apply generously to the back of your paper.
  4. Press the paper onto the surface and apply pressure with the palm of your hands until it sticks and there are no air bubbles.
  5. Here you can place a book or something heavy over the surface so that it dries flat.
  6. Once dry (1hr) you’ll want to remove any excess paper with a scissor/Exacto knife.
  7. Finally, apply a generous coat of Mod podge over your work to seal it and let dry for at least 1 hour.
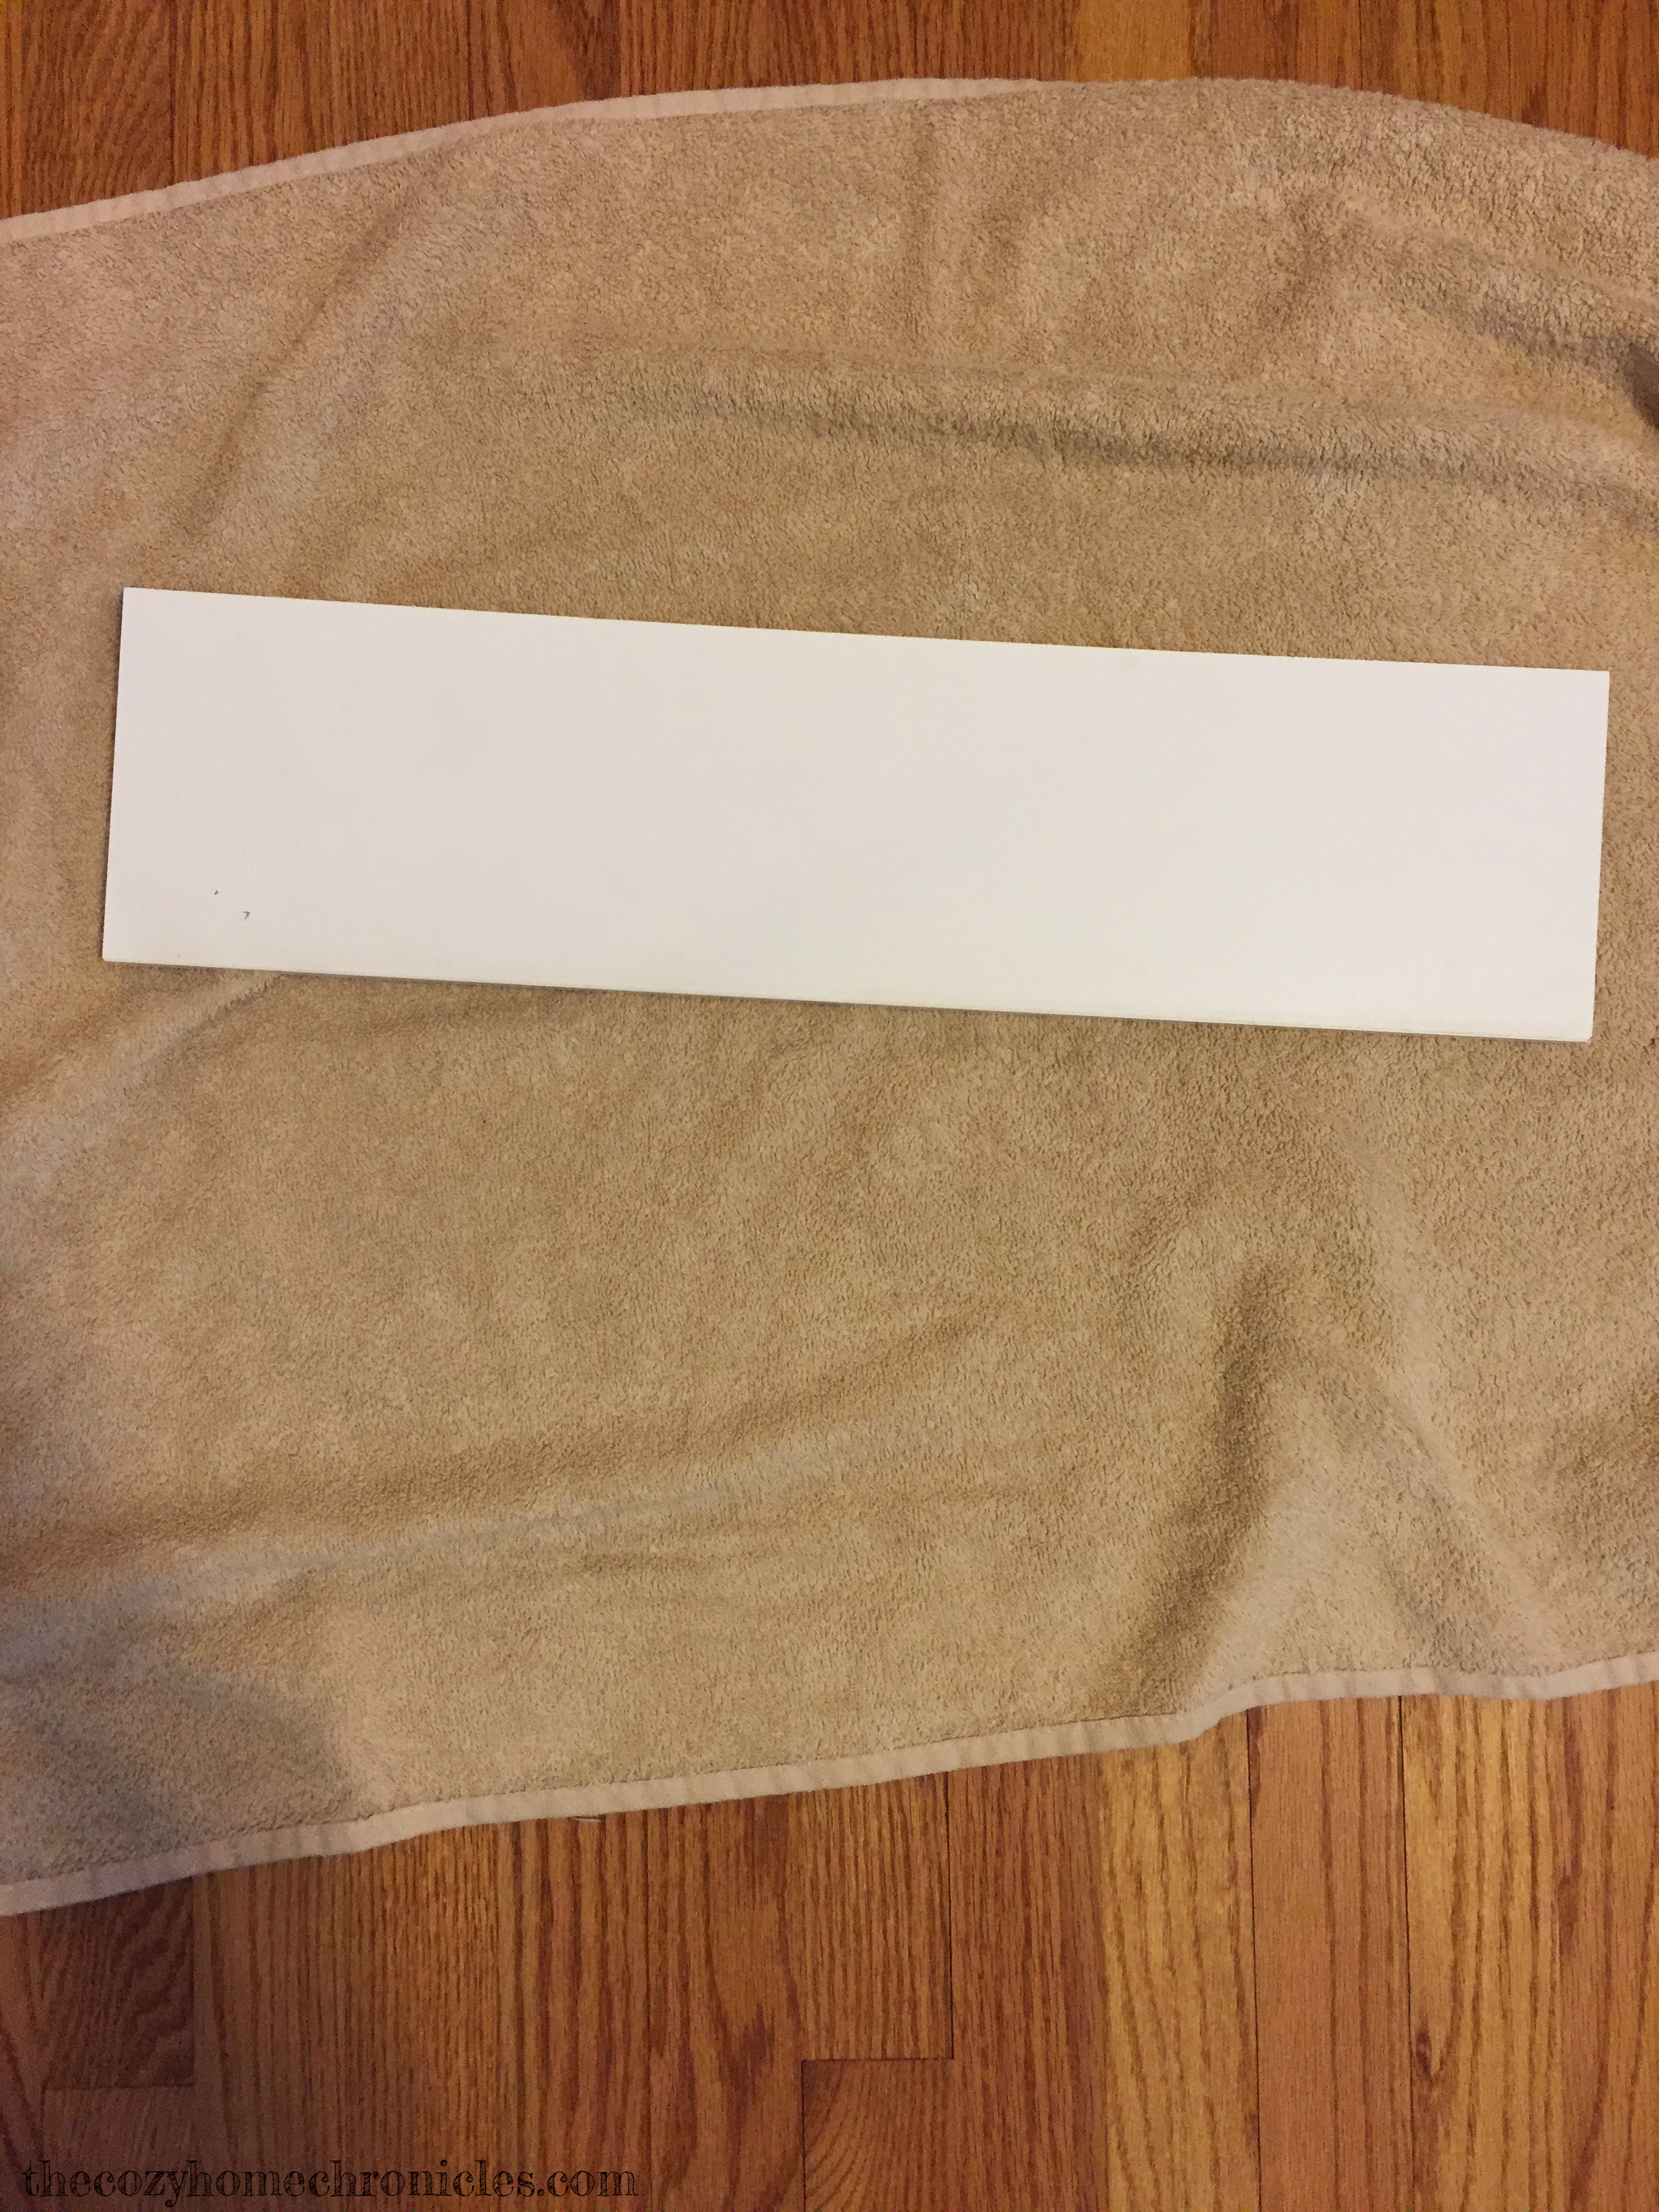
 

2016-02-02 16.05.11

Taking the cabinet apart.

2016-02-02 16.35.16

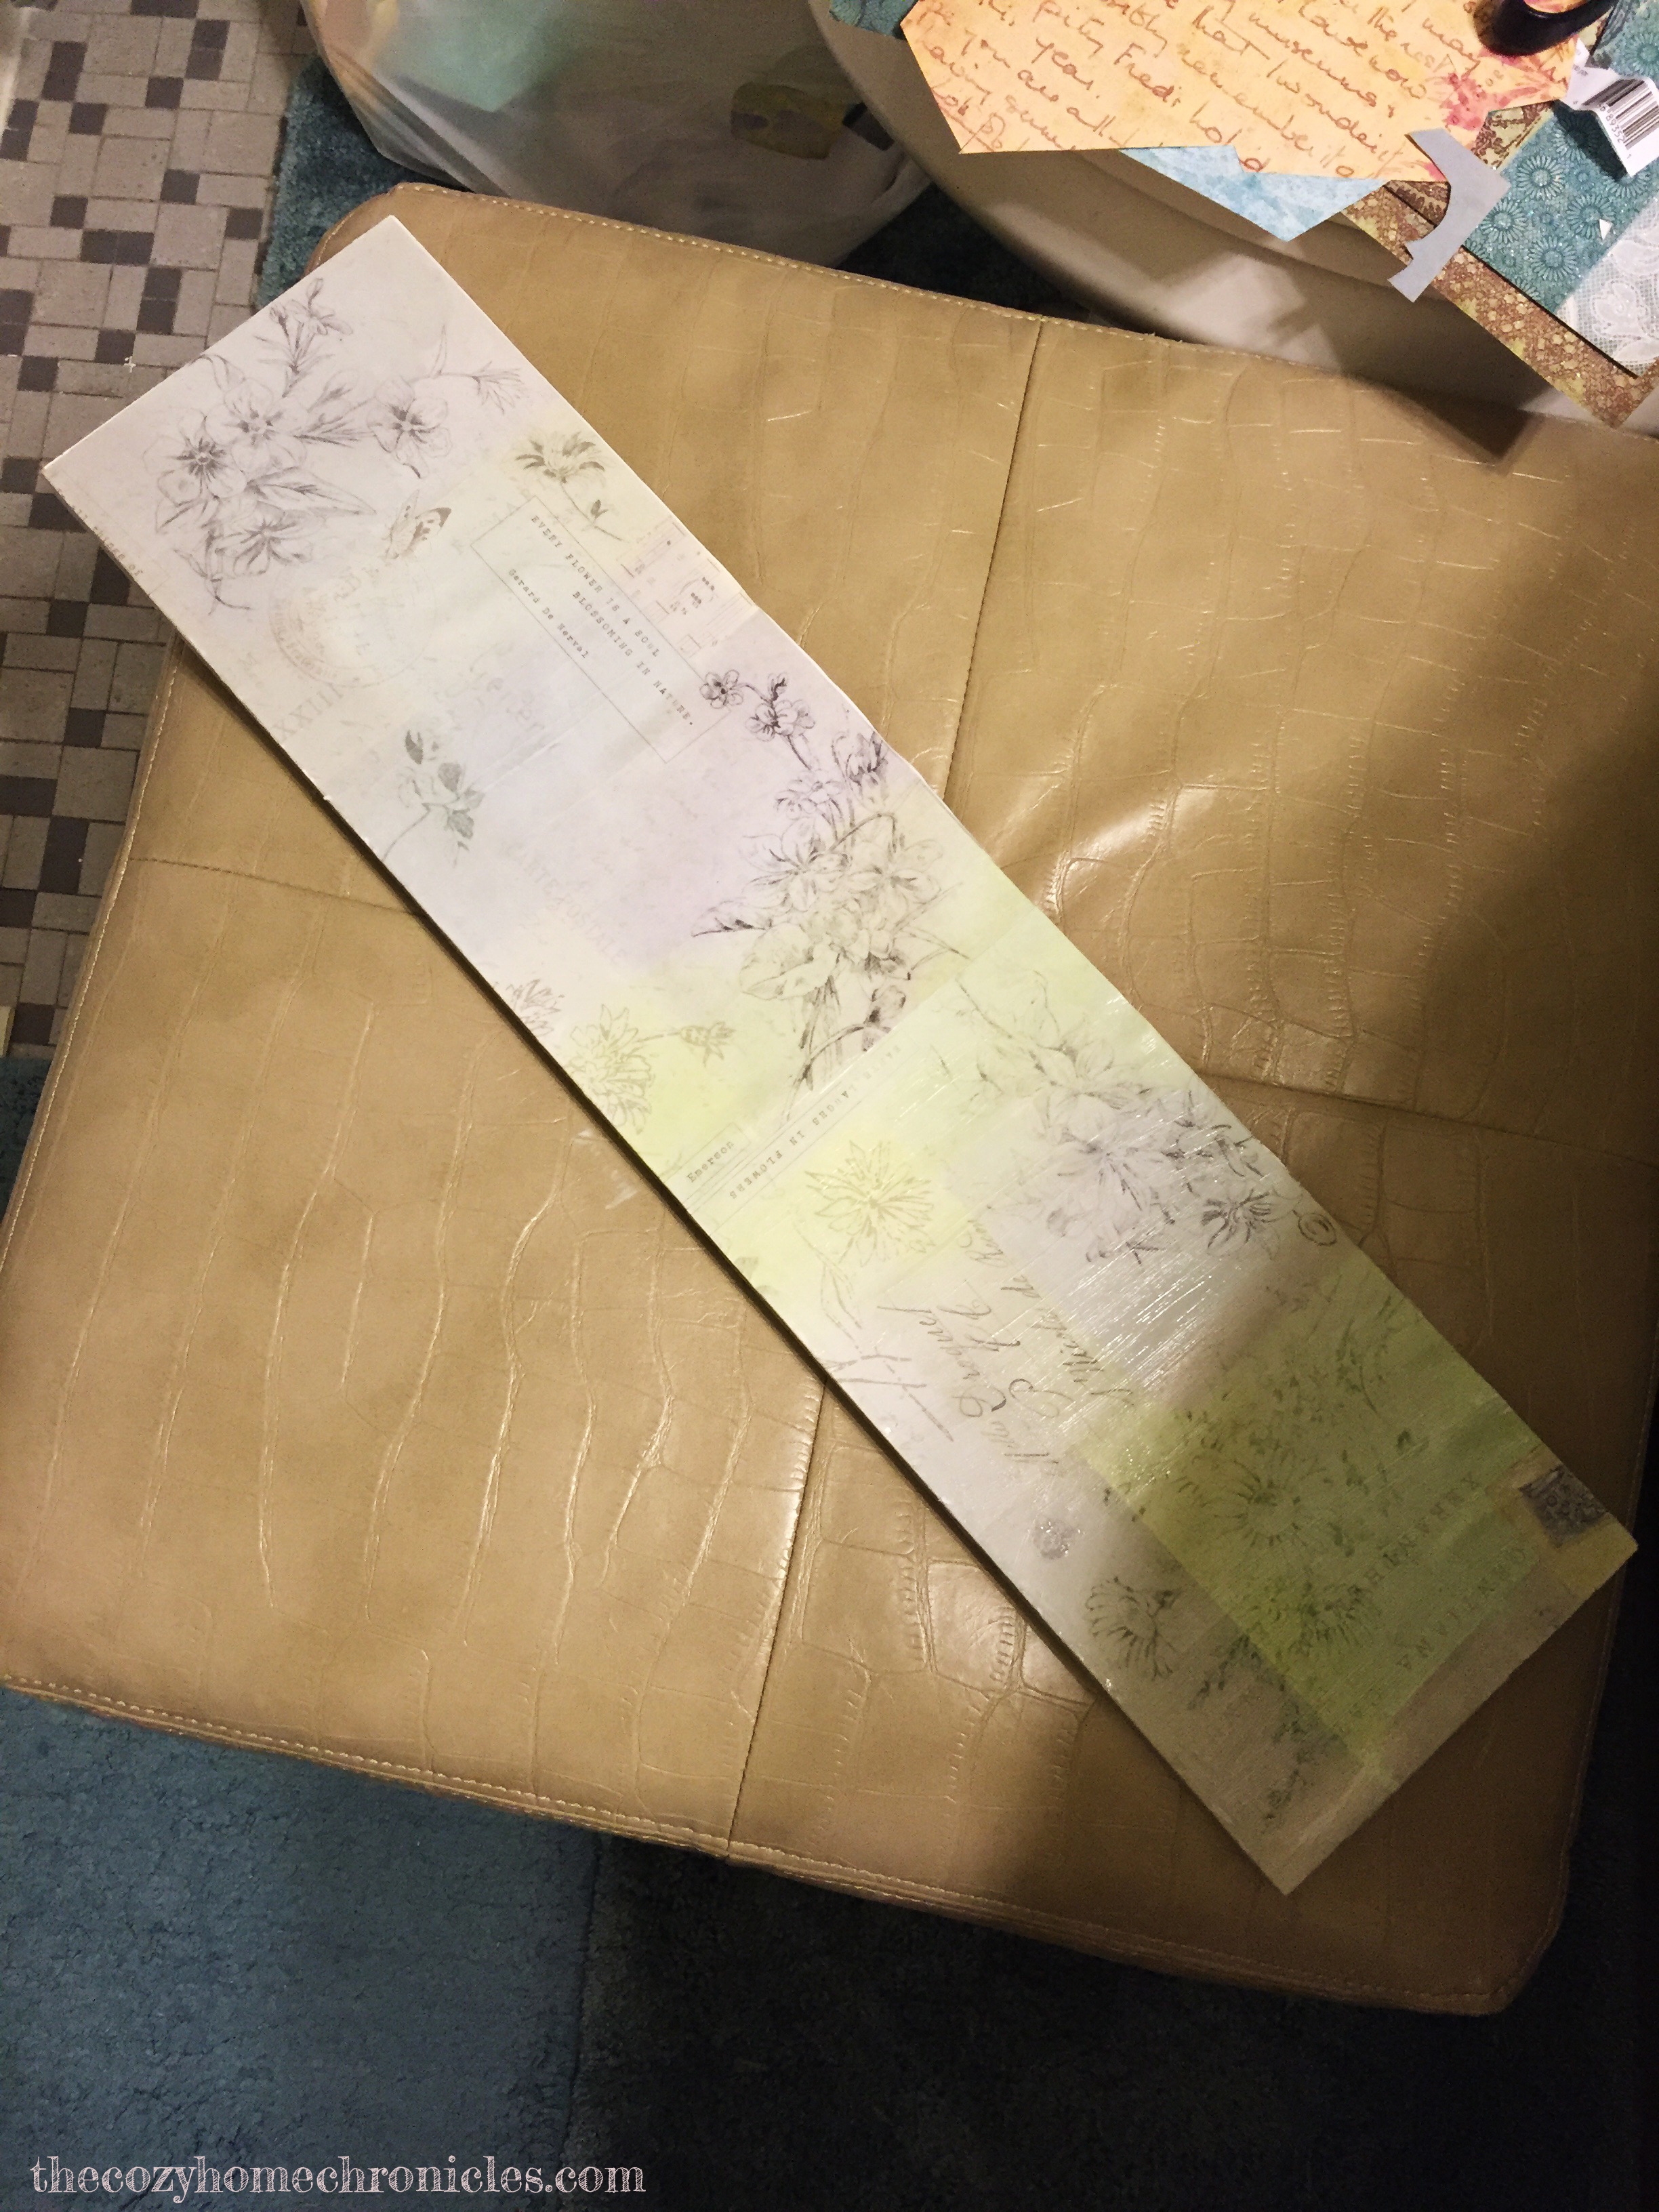
For the shelves I applied whole sheets of paper because it would have taken way too long if I did all of the cabinet as a collage. Make sure your paper is large enough to wrap around the shelf. Apply Mod podge and paper on one side. Let dry. Apply Mod podge on corner, press paper down and let dry. Fold paper on the unfinished side, apply Mod podge, and let dry. It’s that easy!

2016-02-02 20.32.39

Getting the books out to help get a clean, flat finish.

IMG_05433

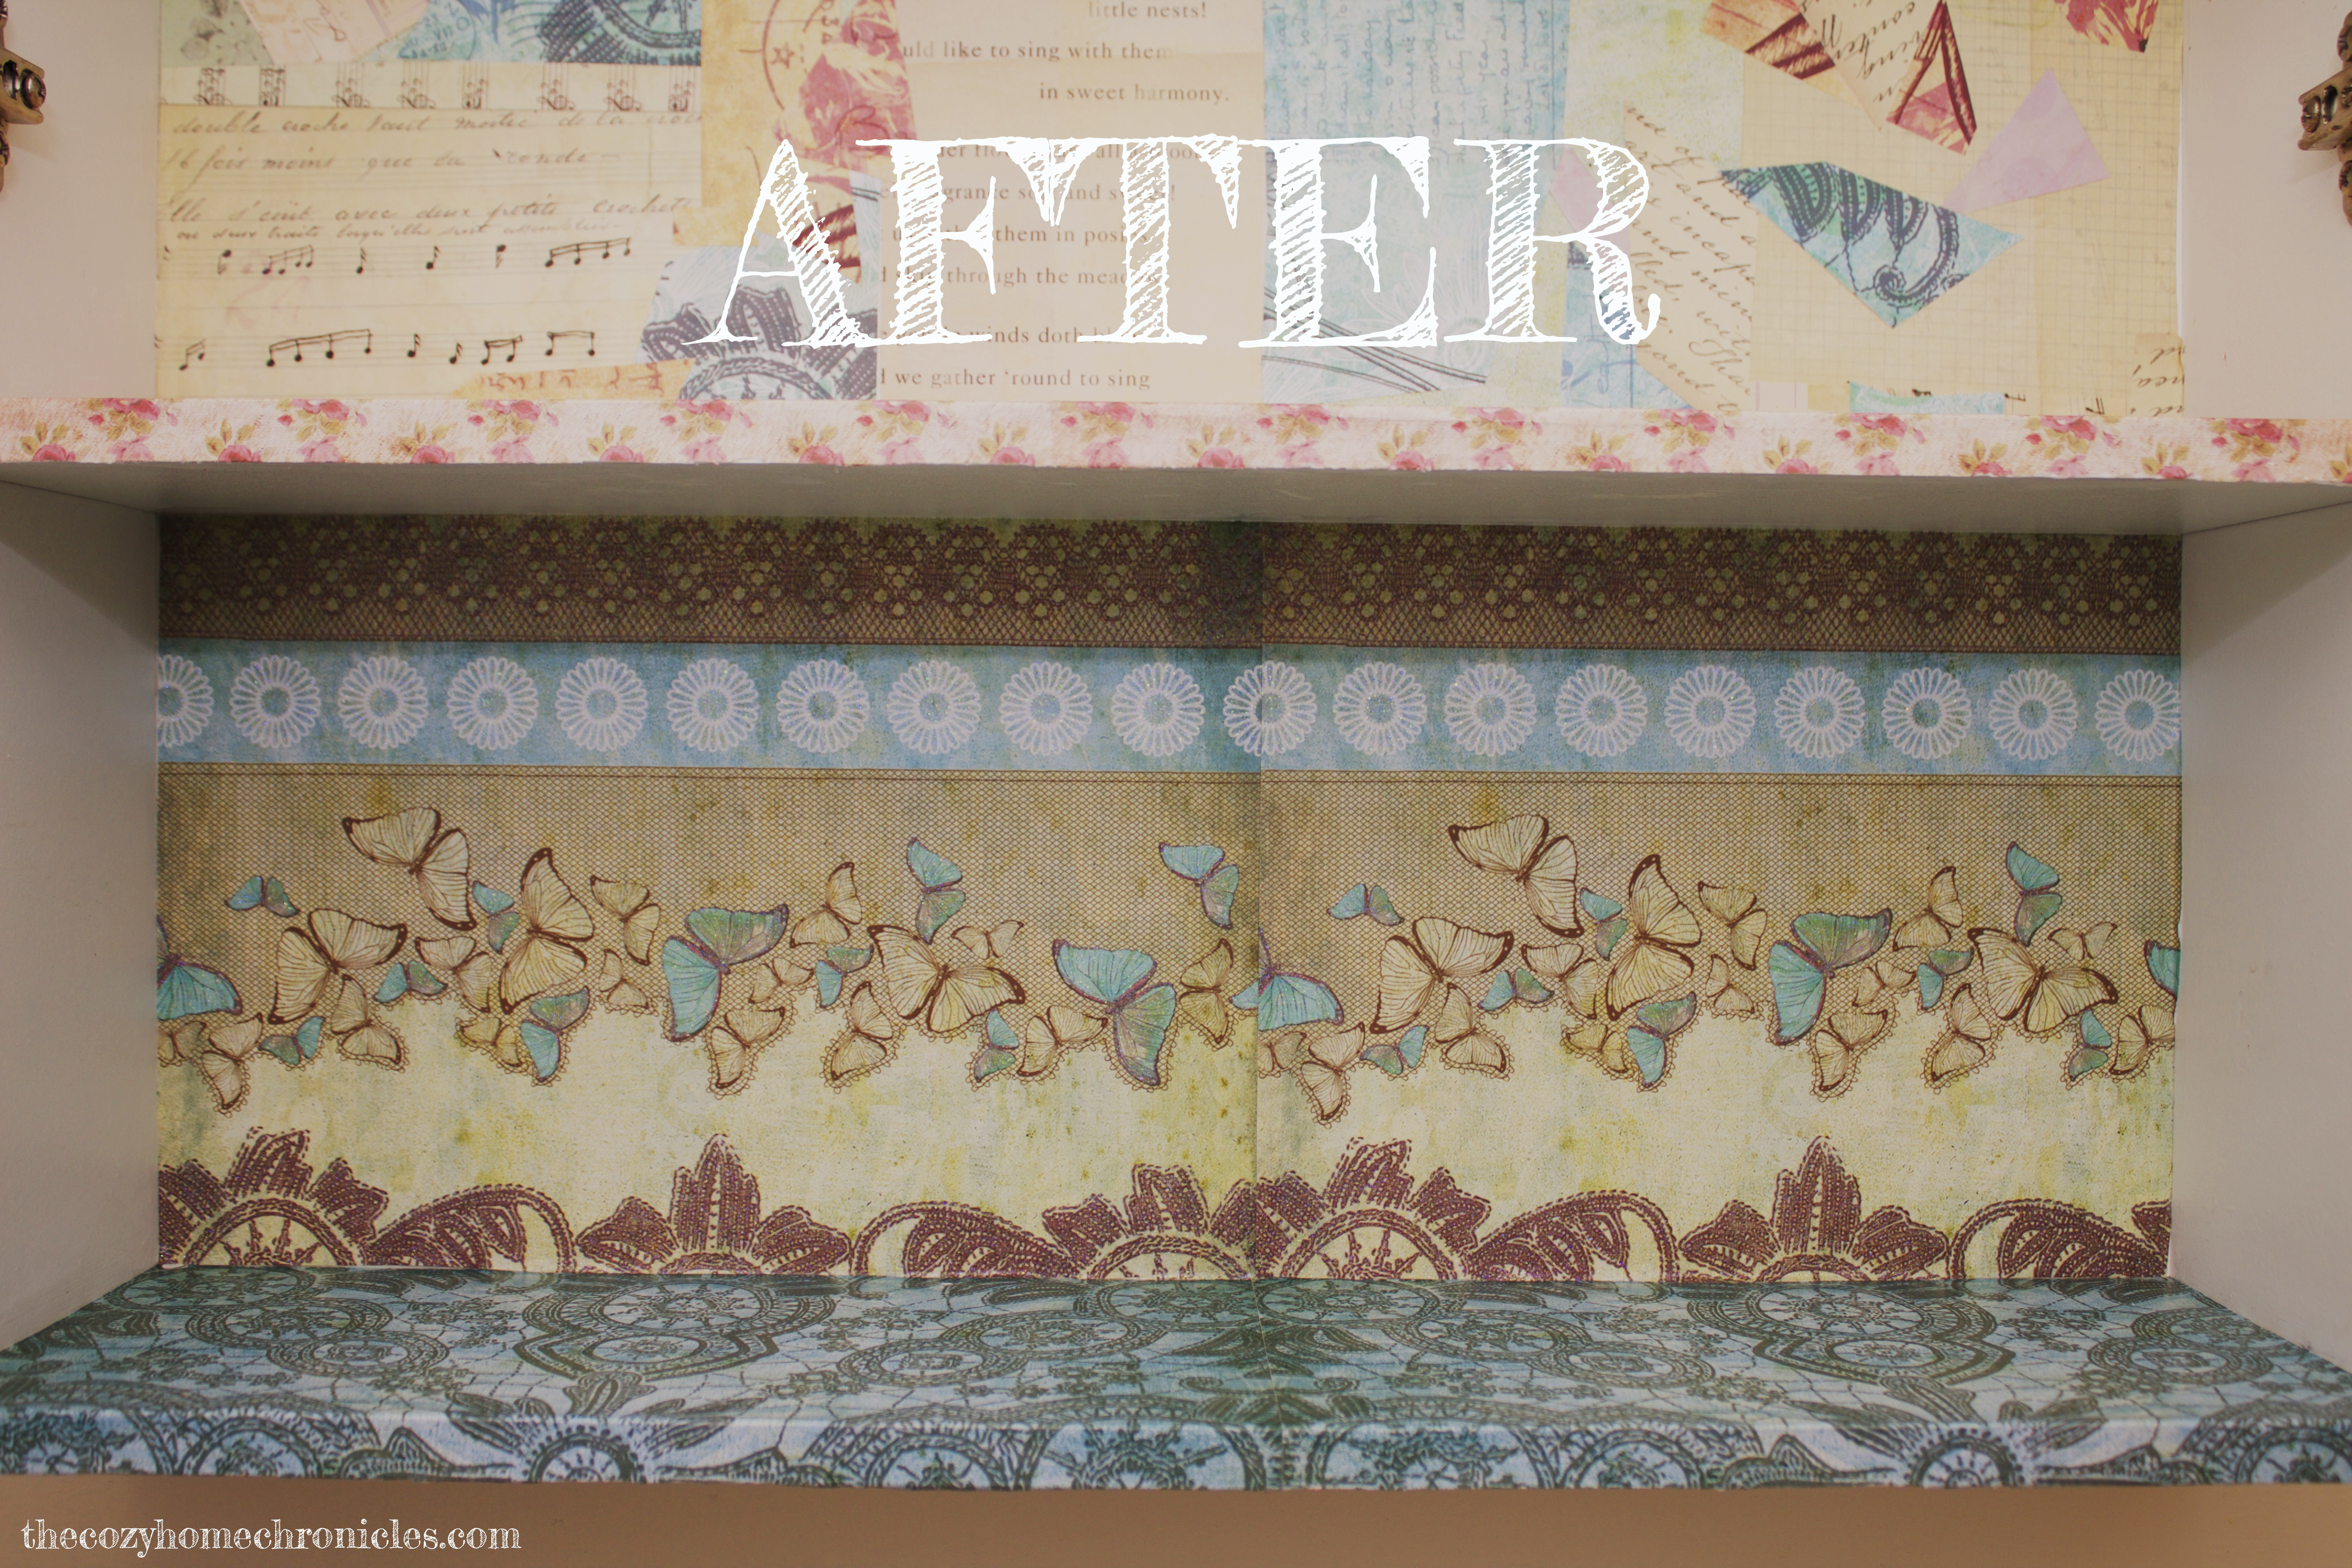
My hodge podge design, using vintage styled paper, sheet music, florals, and pastels. I know it’s a bit quirky but I wanted something like that since nobody else would see it but us. For the visible parts of the cabinet, I stayed with a “safer” paper design that tied in with the light gray color scheme of our bathroom tile.

2016-02-02 20.37.14

I used an Exacto knife here to remove the excess paper before I sealed the edges.
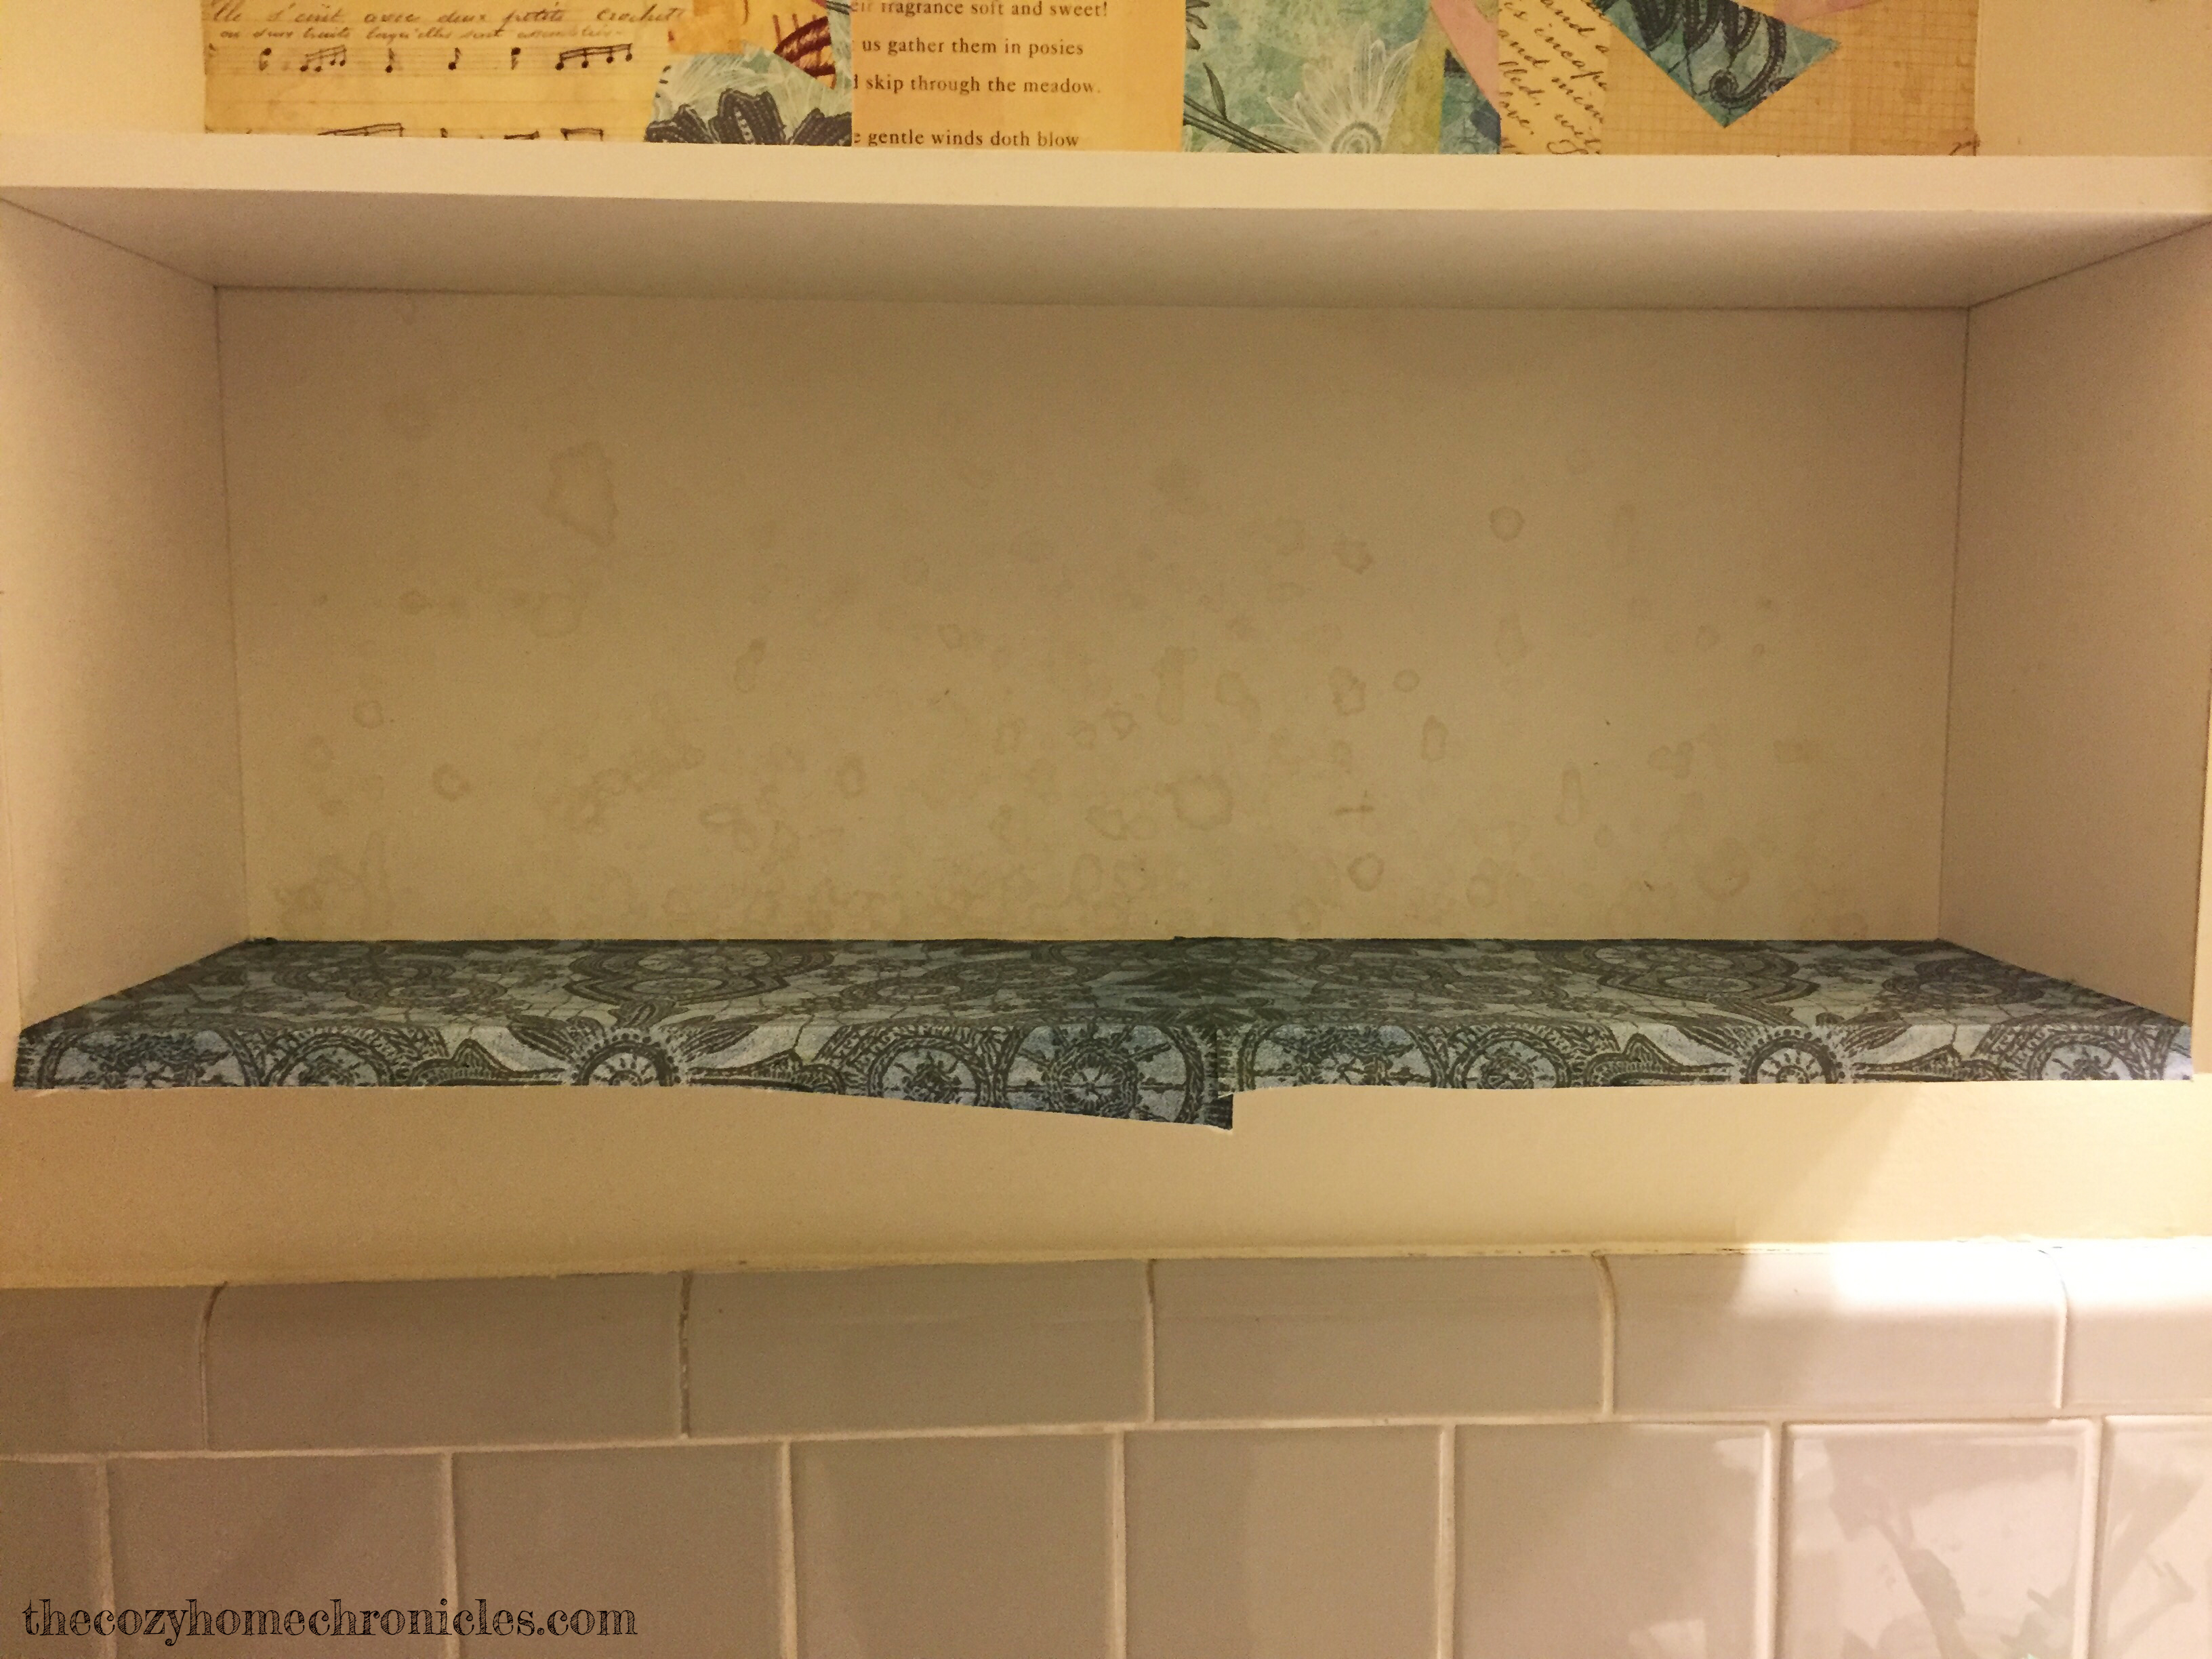
2016-02-02 20.37.09

2016-02-02 20.32.25

Time to clean up the scraps and put the shelf back in.
IMG_0530

For us, the final product is such a breath of fresh air compared to the eyesore that it was. What do you think? Is this a project you would do? Any comments and suggestions are welcome 🙂

If you liked this post please follow us and share!