OUR DAILY HOMESCHOOL RHYTHM

Before the pandemic, my children were attending a play-based early learning center a few times a week while I worked on my dissertation. When the lockdown hit in March of 2020 and their school closed, I felt compelled to recreate the structure they enjoyed so much in their classroom. The teacher kindly sent us their schedule and at first I attempted to stick to the timing of each activity. But with a third baby calling the shots, it became clear that a strict schedule couldn’t work for us. I wanted structure and the kids needed it too but it needed to be built around something other than time. I thought about activities we do everyday that were an integral part of our life: sharing meals, reading together, playing outside, resting, etc. and I centered our rhythm around those. It worked for us, it really worked. The kids picked up on it over time and it made life easier for all of us. Fast forward a few months later when I was deciding between homeschooling or virtual school, I realized there was just no way I could have my kids sit in front of a computer screen for 4 hours a day. It just wasn’t fair to them. Kids need time to play, explore, and move. I dived straight into homeschooling and never looked back.

And then I was confronted with how I would structure our homeschool days. After some deep reflection, research, and a bit of unlearning, I realized that homeschool did not have to look like traditional schooling. We didn’t need to sit down 6 hours hopping from reading to math to science every 30 minutes. Rather than adhering to a strict schedule for our homeschool days, we adapted the rhythm to give our children both the structure and flexibility they deserve. It did not happen overnight but over time they have internalized this natural flow to our daily and weekly routines (another post). Today I’m sharing a poster I designed that captures what our homeschool rhythm looks like. Feel free to implement this for your family or use this poster as a guide to build your own daily rhythm. You can download it below for free and print it to hang in your home.

P.S. If you found this post and the poster helpful, it would make me so happy if you shared it with your friends. I’d also love to hear any feedback in the comments below.


30 Mindful Ramadan Deeds: Printable List and Calendar Cards

The month of Ramadan begins in just a few days and aside from decorating which I’ve written about in the past (see here and here), I’ve been trying to find ways to get the kids more involved in the spirit of Ramadan. Both of our children are at an age where they understand certain concepts such as “helping” and “being nice” so I wanted to take this month as an opportunity to practice mindfulness of their actions and reflect on the impact those actions can have on themselves (feeling good), on others ( the social impact of a helping hand), and on the environment (consequences of consumption and the destruction of nature). I’ve come across similar good deed countdowns for Christmas and Ramadan but found that many of them were geared towards older children so I tried making a list that was appropriate for children aged 2+. Obviously they won’t be able to do all of these on their own but that’s kind of the point; it’s a family activity.

Feel free to switch up the order of the cards and even alter the activity to fit your lifestyle and/or child’s level of understanding. I think you’ll get the most mileage out of these activities when you use them to spark conversation on why we do what we do (making beds=the importance of cleanliness, visiting a sick family member=caring for others in need, planting flowers=the earth as a trust we should care for, etc.) You get the point. If you do have a Ramadan advent calendar or are considering making one, just know that the document I’ve included can be adjusted during the printing process to fit the size of your calendar. Simply click on “layout” and select how many pages you’d like to print on a page. For my calendar with 3×3 inch pockets, I printed 16 pages on 1 page so that I could cut them out as cards about 2.5 x 2.5 inches in size. The only thing I would suggest is that you print them on sturdy card stock so that you can use them year after year.

30 Days of Mindful Deeds| Free PDF Downloads

I think that about covers everything. If you found this post and the printables helpful, we would love it if you would share with your friends and/or provide feedback in the comments below. And if you do participate in our 30 days of Mindful Deeds, we would love it if you would share on your instagram stories or feed and tag us @thecozyhomechronicles. We will also be sharing in the hopes of inspiring others to try these activities because it really does take a village and together we can hopefully raise a kinder, more mindful generation.


Toddler Toys that Nurture Creativity and Imagination

With such a large and diverse selection of toys out there, choosing toys for growing toddlers can be such a daunting task. We are huge fans of toys that nurture creativity and imagination through free play so when a reader asked us to share our favorite toys for our children, we thought it would be perfect for a post. I chose these specific toys because I find that they engage with important cognitive, physical, and social skills including but not limited to:

  • simple reasoning
  • spatial awareness
  • symbolic thinking
  • problem solving
  • pattern recognition
  • visual discrimination
  • depth perception
  • cause and effect
  • manipulation
  • muscle control, balance, and coordination
  • working memory
  • curiosity
  • self-expression
  • learning

Keep in mind that our kids are 2 and 3.5 years old so be sure to check the minimum age requirement on a toy before you make a purchase. Although we included links where to find these on Amazon, we recommend to check yard sales, local toy shops, and thrift stores because you never know what you might find! Many of the toys we have such as wooden blocks, cookware, and train sets we purchased from IKEA for a very reasonable price so if you live near one check there first.

MegaBloks

This was one of our children’s first toys and a huge hit even to this day. We build everything from trains and animals to houses and zoos. When the kids were younger, we also used playtime with blocks as an opportunity to explore concepts like colors and numbers.

megablocks

Magformers

This is a more recent investment as we wanted to expose our kids to more STEM activities. Not only do children learn about the physical properties of magnets through discovery, but the possibilities in connecting and constructing are endless.

magformers

Lincoln Logs

Although we don’t have these at home, we do play with these often at the local museum where we have a membership. It’s another excellent building activity and I love it because it engages with a variety of cognitive skills.

Puzzles

We highly recommend having a set of puzzles in your toy arsenal. There are so many kinds and they’re an excellent way to teach concepts through exploratory play; everything from animals to shapes, colors, and letters.

puzzles

Wooden Blocks

This may seem similar to the MegaBloks but these are made of wood and have a variety of different shapes. Building with them requires a different kind of skill set and I love how nicely they go with a wooden train building set.

Animal Figures

The kids love to take out the animals and let their imaginations run wild. The thing I love about these is you can incorporate them into activities with other toys such as building blocks or play-dough. Our kids get really engaged in activity time when we give them play-dough and animal/people figures.

Play Dough

Play dough is a staple in our household and for good reason. Shaping and manipulating dough engages a variety of fine motor skills and symbolic thinking as children use their imagination to transform the dough into something more complex. Our kids enjoy cutting out shapes, rolling out pizza, and sculpting their own unique “masterpieces.”

Kitchen Toys

We recently invested in a play kitchen but even without one the kids enjoyed playing with kitchen tools for the longest time. Add some play food into the mix and the kids will have a blast preparing all sorts of tasty pretend meals for you.

Chalkboard

Instead of a chalkboard, we DIYed a chalkboard wall but the concept is the same. Chalkboards offer hours of unlimited doodling fun. The best part? Unlike paper it’s reusable and the clean up is super simple.

Train Set

Believe it or not, building a working train track requires important problem solving skills. Although these will take time to learn, building a train track is so much fun. Add in animal/toy figures, blocks, or play dough and you can create complex cityscapes for even more fun and developmental learning.

There you have it! Ten of our favorite toys that foster creative and imaginative play. If you’re a parent of a toddler (or toddlers), we would love it if you shared some of your favorite toys in the comments below. And as always, if you found this post helpful please like and share.


Digital Mentorship: Screen-Time Strategies for Children

Before we had our first child, we were super determined to delay screen time and technology use for as long as possible, forever even (okay realistically I was aiming for 4-5 years of age). I had seen first hand the negative effects of children having access to phones and tablets at a young age and I wanted nothing to do with it. And while we were mostly successful, we did come to have a change of heart…which is at the heart of this post. This post is not about the positive or negative effects of technology on children because there is plenty of literature already out there that you can read on this subject. Instead, this post wants to inspire dialogue about finding a balance, if there can be such a thing.

IMG_0441

Our son did not watch any TV for the first two years of his life (save the time he was on a nebulizer for an asthmatic cough and the only way he would sit down was with some baby songs chromecasted onto the television). I thought I would wait even longer until I came across the following article in The Atlantic entitled Parents: Reject Technology Shame. I’ve linked the full article for you to read yourself but the main gist is that there are three types of parents: 1) digital limiters, 2) digital enablers, and 3) digital mentors.  What stood out as most alarming in the article was this:

“In a survey that asked parents about where their kids get into trouble online, I found that among school-aged kids, children of limiters who are most likely to engage in problematic behavior: They’re twice as likely as the children of mentors to access porn, or to post rude or hostile comments online; they’re also three times as likely to go online and impersonate a classmate, peer, or adult.”

Reading it I thought, “well of course I want to be a mentor!” I mean, if technology is already a big part of our lives then doesn’t it make more sense to teach children how to use it responsibly rather than just saying no and letting them get into trouble on their own later on? For us it seemed like a no-brainer. Of course that didn’t mean we opened the floodgates on screen time and technology use. Also, while the article was inspiring in opening the conversation on digital mentorship, it didn’t offer much in the way of guidelines. A digital mentor was defined generally as those who  “take an active role in guiding their kids onto the Internet.” But internet is only one side of digital media use. And what does an “active guiding role” look like? I thought long and hard about this question and so I came up with 3 ways we can be a digital mentor to young children when it comes to screen-time.

IMG_5438

  1. Set parameters by being a good role model. Being a digital mentor doesn’t mean there aren’t ANY limits. Reflect on your own values and how technology fits in with them and you’ll likely arrive at the conclusion that technology has its time, place, and benefits. Now define what those are. Think that phones or tablets don’t belong on the dinner table? Make sure they’re not in sight when dinner time rolls around. Do you want screen-time/technology use to be an educational and wholesome experience? Choose programming that reflect those values. We find it helpful to think about how we use our technology in front our children and what they will learn from that.
  2. Be present and engaged. When I think of mentorship, I think of a guiding presence. Often times when parents allow screen time or technology use, it is as a reprieve so that the children can be preoccupied as adults get their stuff done. It doesn’t have to be that way. Try to plan screen time and technology use so that you are physically present and able to reinforce what they are learning and  get them to reflect on what they are experiencing. The research shows that it’s far more effective than just having your child sit and watch/play on their own.
  3. Opt for Ad-Free programming. If there’s anything that digital mentorship is all about, it’s about embracing technology to put yourself in the driver’s seat. If we are going to be totally honest then advertisements and commercials are major obstacles to that control. For that reason, try to stick to applications and programs that are free of advertisements as not only are many of them questionably appropriate but they instill an insatiable consumerist impulse at such a young age which is totally unnecessary.

IMG_5441

Living in a digital age presents many challenges and we are working to be better digital mentors each and every day. There’s no such thing as perfect and how we interact with technology will continue to evolve. These are just three simple ideas for how we approach technology use that we hope you’ll find helpful if you’re apprehensive about introducing technology and screen time to young children. How do you feel about technology and screen-time? If you have any ideas on how to be a good digital mentor, please share in the comments below. And as always, if you found this post helpful please follow us and share

signature3


15 Tips for Stress-free Traveling with Little Children

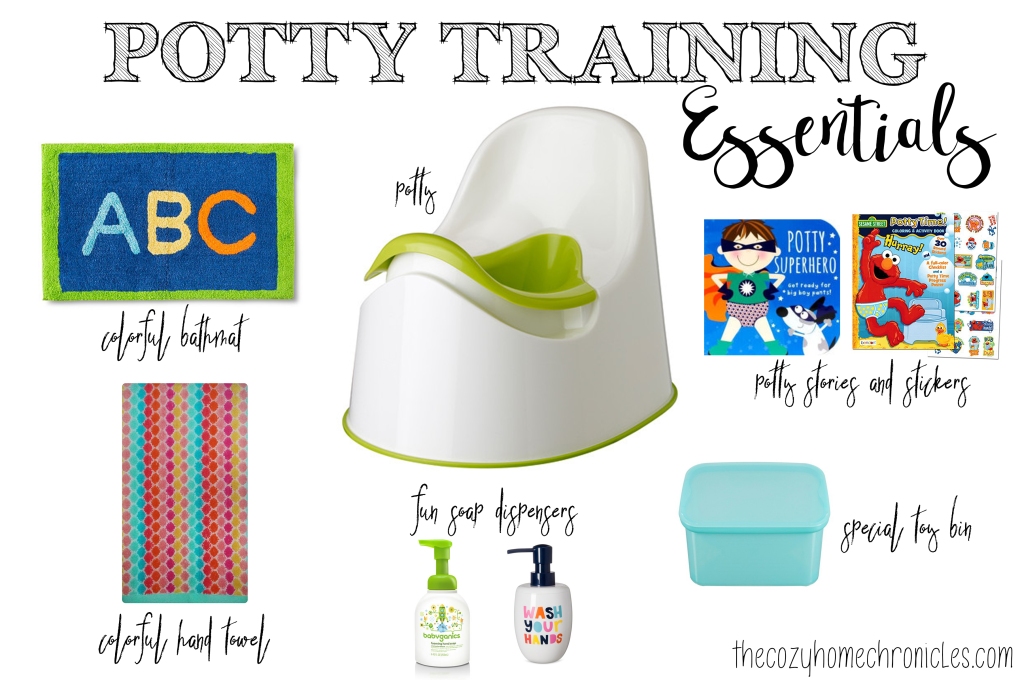
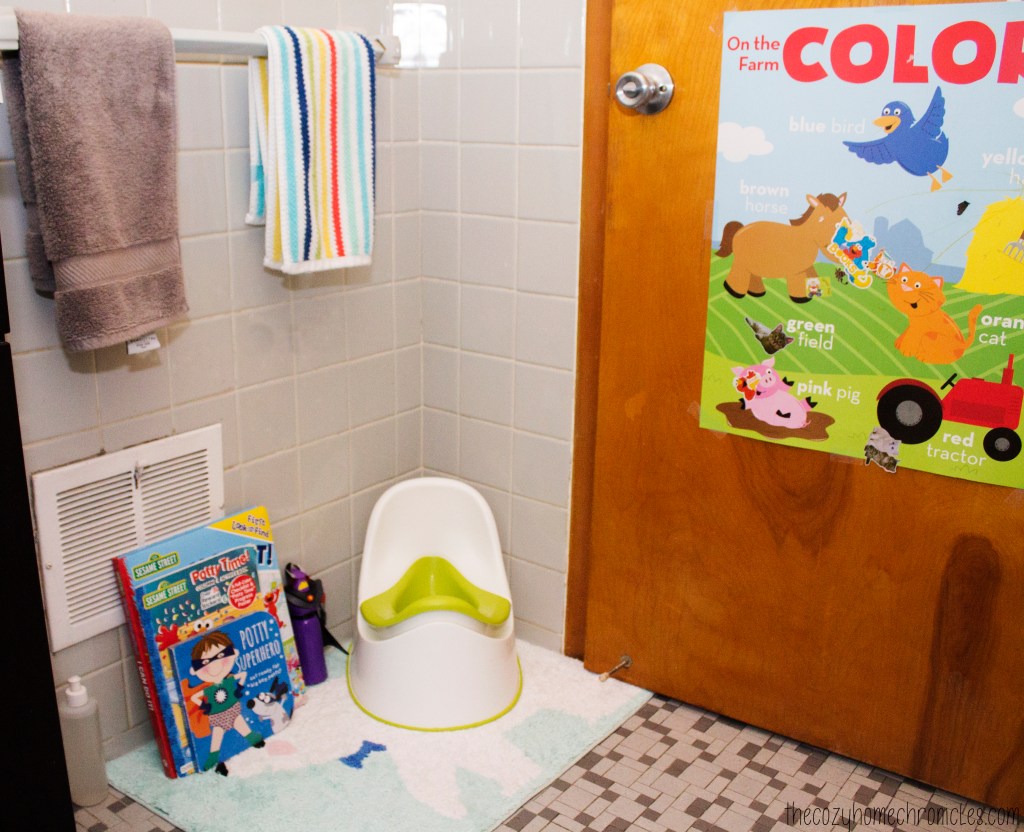
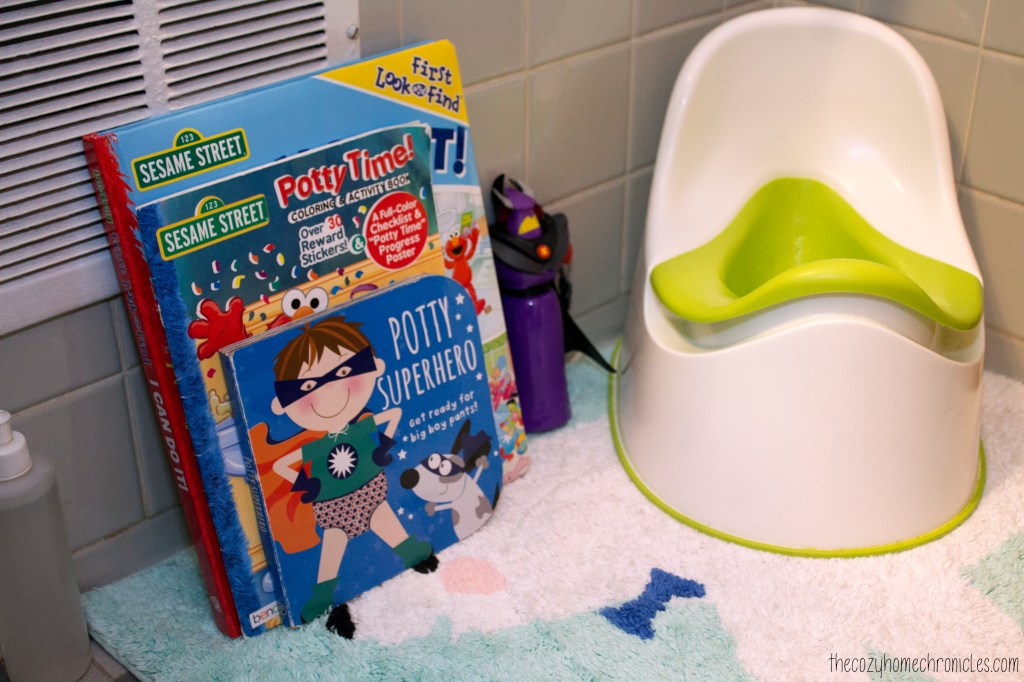
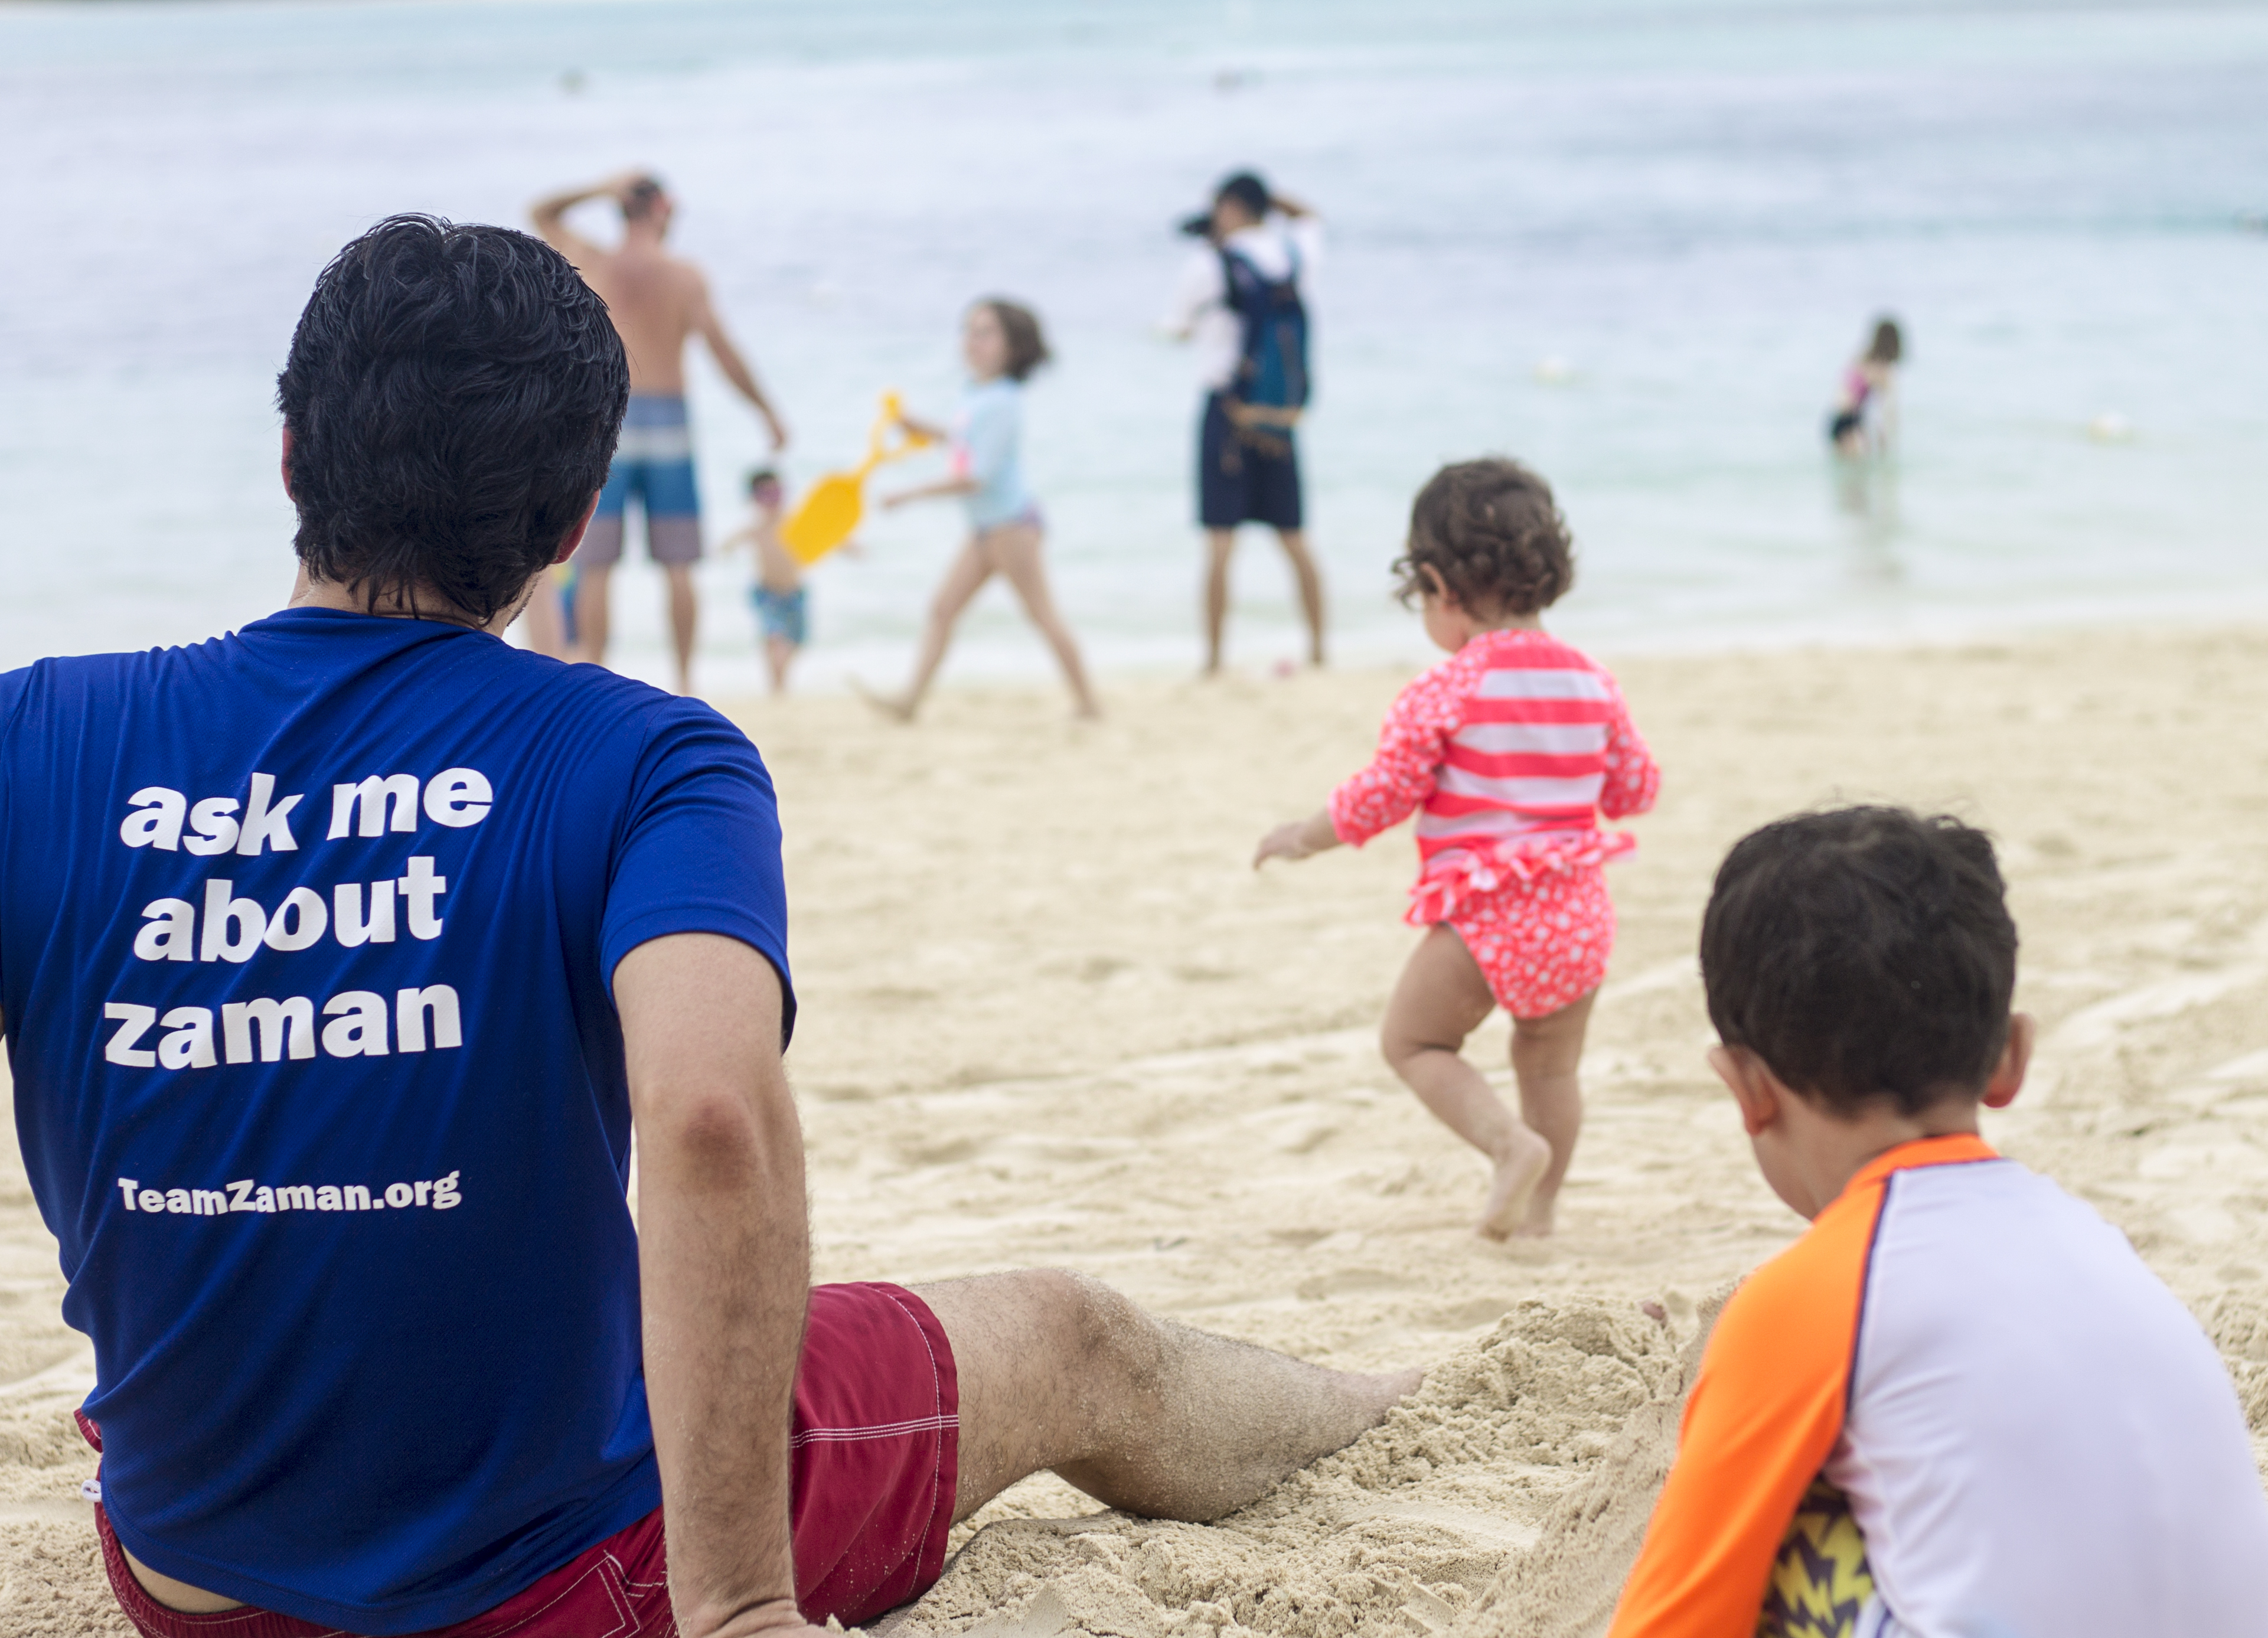
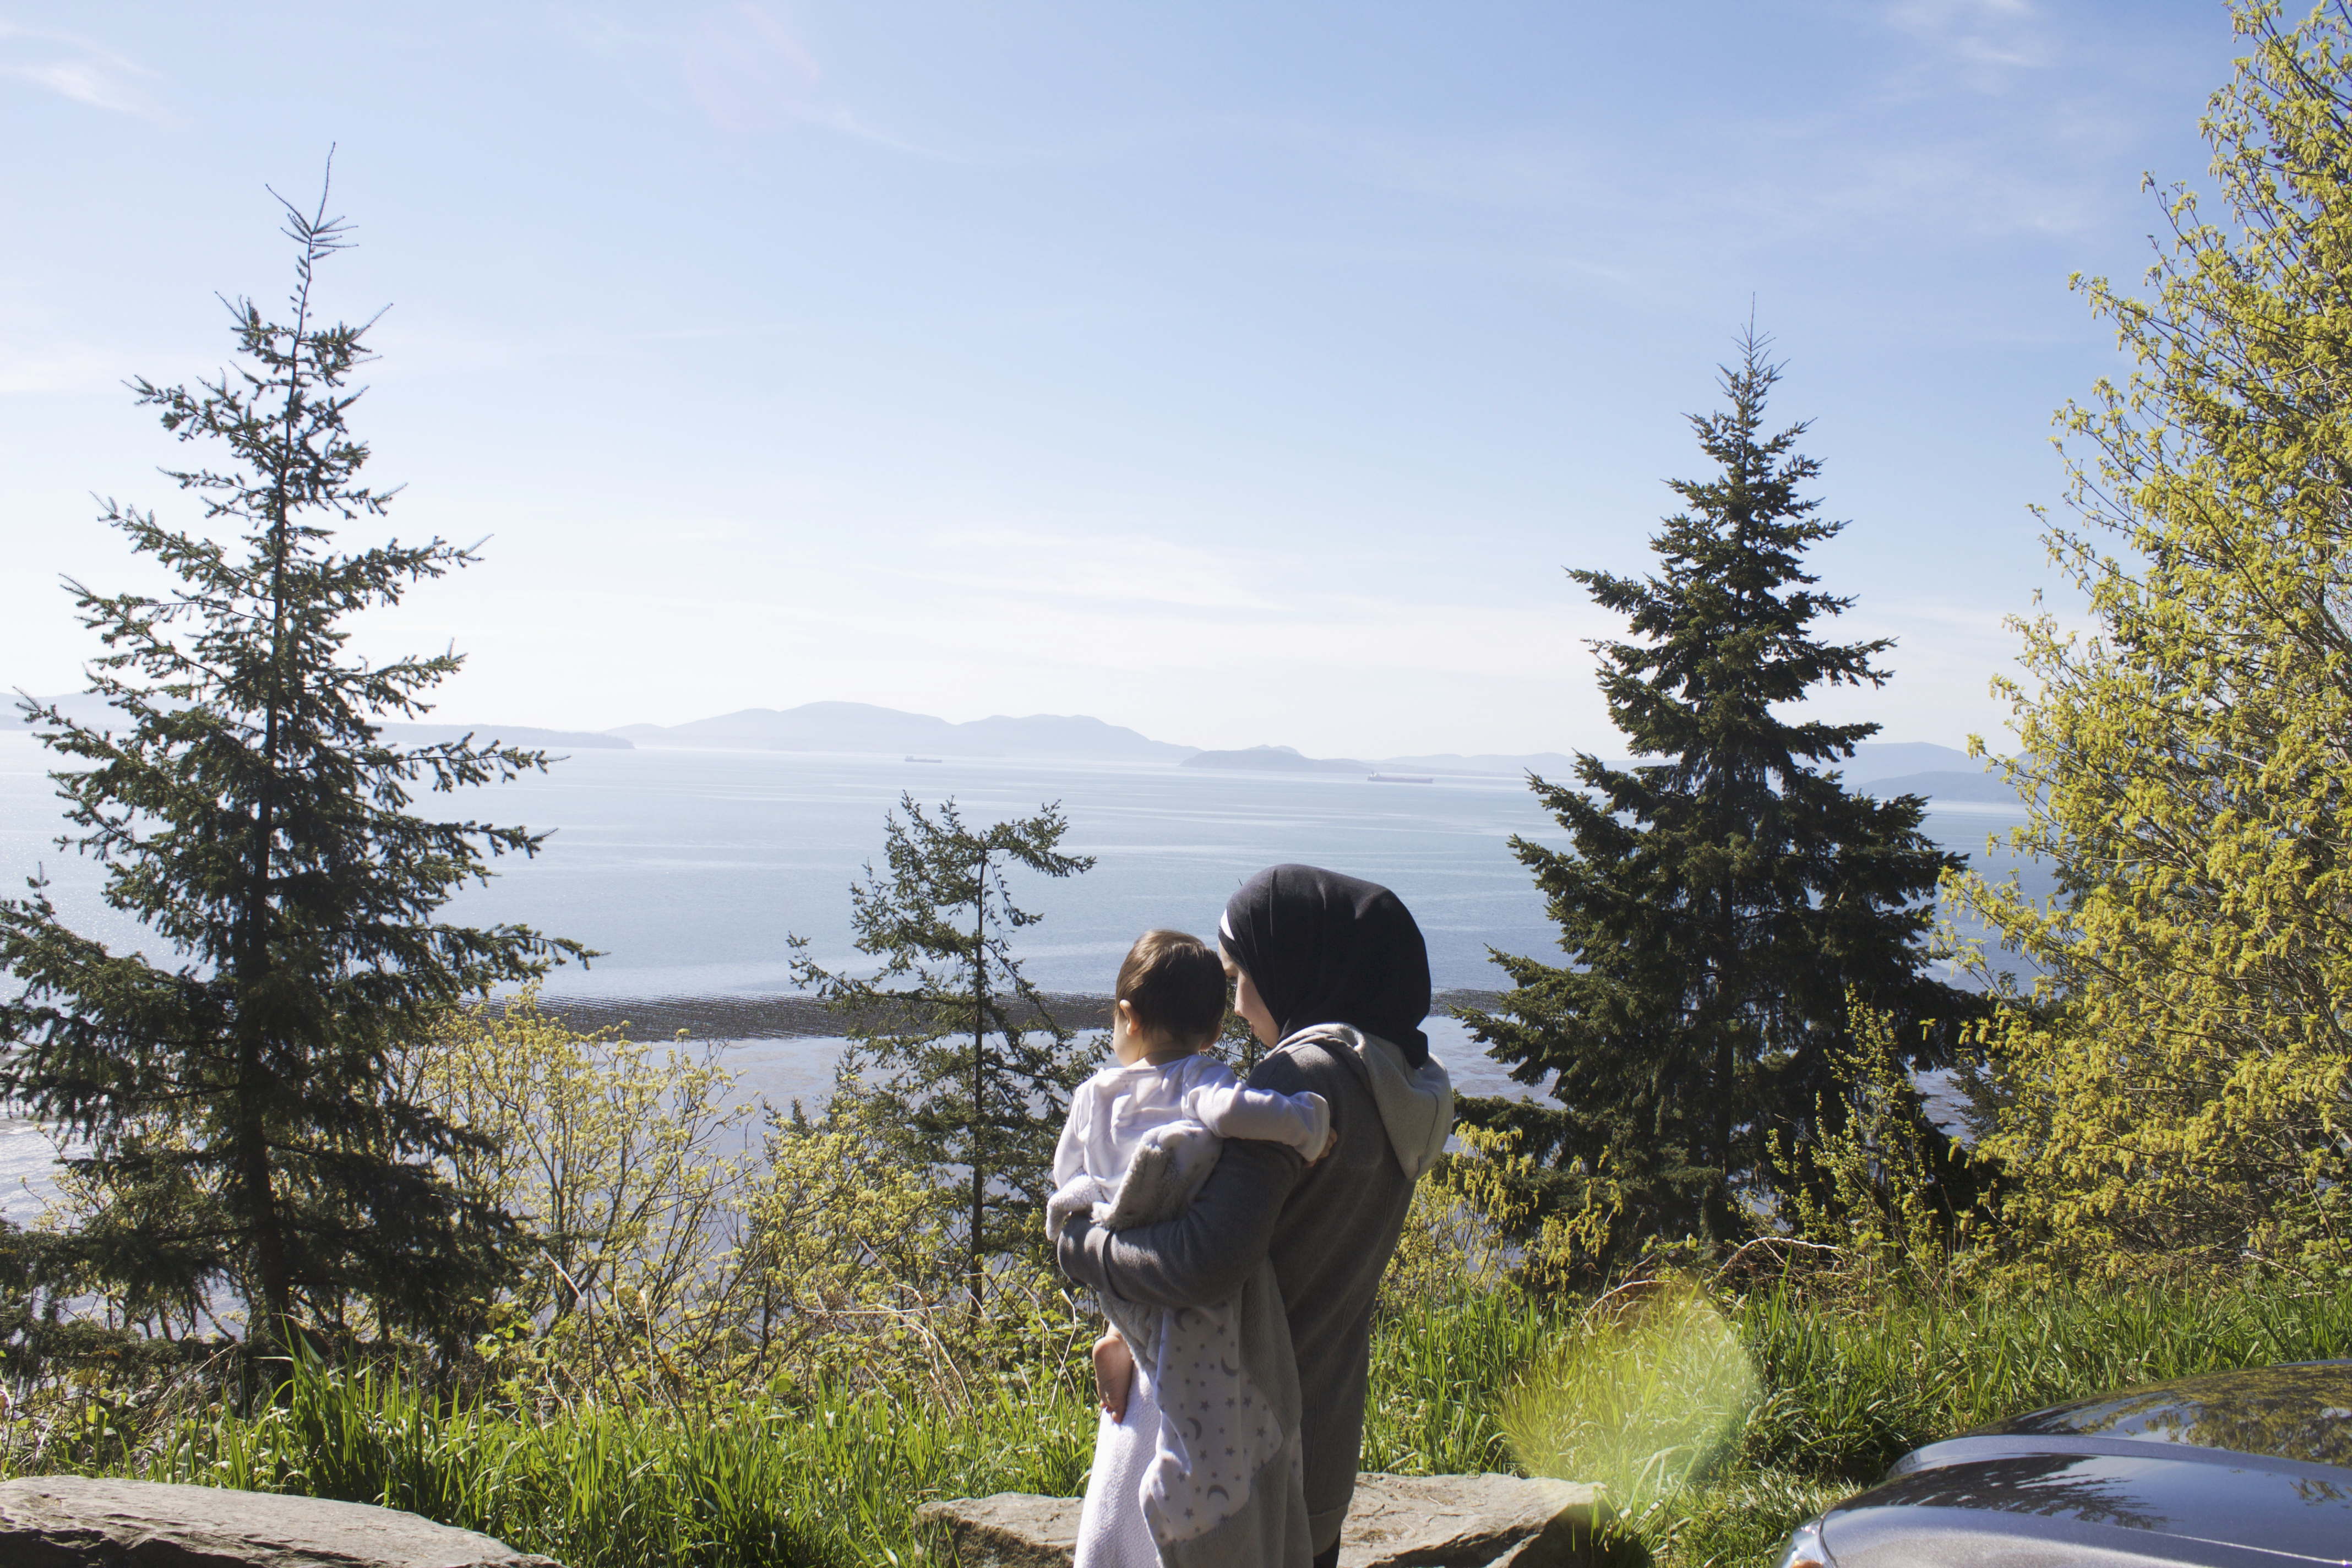
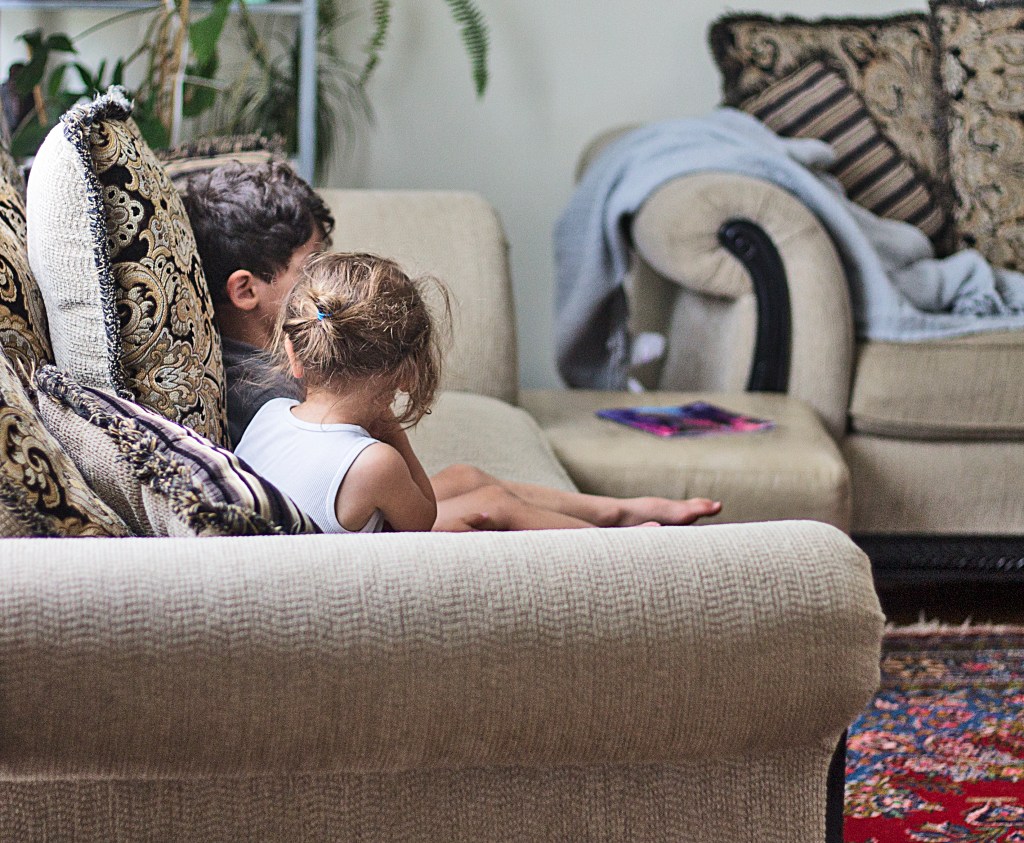
If you’ve been following along on our blog, you’ll know that we just went on vacation in January and that it wasn’t our first time traveling with kids. In our two and a half years as parents, we have been on plenty of family excursions (Traverse City, Mackinac Island, Hocking Hills, Seattle, Vancouver, Kansas City, Washington D.C, and Florida/Bahamas) and while we are no travel experts, we have learned so much along the way (some of it the hard way). This post initially began as an overview of our Disney cruise trip but as we began hashing things out and as some of our new parent friends began asking us for travel advice, we realized it would be a good idea to write a separate post on general traveling advice.  Don’t worry, we are still working on our Disney Cruise post but until then, here are some general tips for traveling with little ones.

IMG_9274.jpg

 1. Plan, Plan, Plan. No advice we give will replace good old research and common sense. Basic things like weather, flight time, length of stay, etc… should be accounted for when packing and preparing. Whether it’s how much weight you can check in or whether you have to purchase a seat for your child, make sure you’re up to date on all the rules and regulations. We also recommend you write a general itinerary so you’re not guessing where to eat or go when you arrive. Once upon a time it was exciting to travel without any plans but as a parent there is nothing worse than listening to your child cry as you scroll through Yelp trying to decide whether to brave sitting in a restaurant or get takeout and scarf down your food in the car. Nothing.

2. Be mindful of your little one’s routine. Whether your travel destination involves flying, road tripping, theme parks or swimming at the beach, make sure your itinerary accommodates nap times and offers plenty of opportunities to be active. “Fussy, restless kids are real charmers,” said no one ever. Here are just some examples of how we choose to work around our children’s routines: 1) We plan departures early in the morning when they are well rested and happy 2) We don’t plan major activities during their nap time, 3) If we are driving, we make sure to stop and let them run around, 4) We are aware of their bathroom routines and make sure they have a comfortable place to go.

IMG_1369.jpg

3. Be completely packed early the day before and get a good night’s rest. Unfortunately coffee cannot fix everything. A good night’s sleep is gold for you and your little one(s) and can mean the difference between you losing your cool or not. We like to have all of our outfits picked out and laying on the dresser the night before so that getting ready in the morning is a breeze. We also find that having our carry-ons packed with our passports, cards, chargers, snacks, etc… the night before means no scrambling and guesswork in the morning. The morning of your trip should run as smoothly as possible because let’s be real: leaving is the easiest part.

4. Take your car seat and rear view mirror with you. There’s really no need to buy any fancy gear for traveling. Simply grab your car seat and base after you’ve arrived at the airport and check it in with your luggage. Not only does it save you money but you also get the peace of mind knowing that your child is sitting in something clean and safe, considering that you don’t know where car seats from rentals have been or how outdated they are.

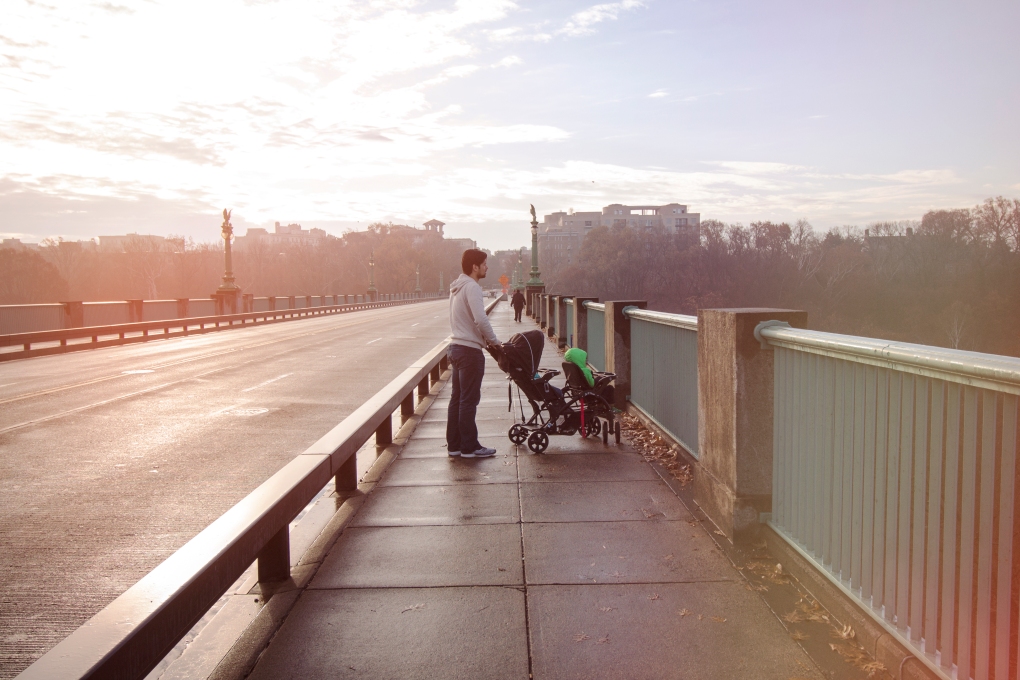
5. Take your stroller and don’t check it in until you get to the gate. The last kind of stress you need while you’re traveling is having to chase after your little one(s) while checking in or going through security. Keep your kid(s) and any small items contained in a stroller all the way until you get to the gate. I repeat: Do not check your stroller in with your luggage (unless you don’t mind your arms falling off). One major bonus to hanging onto the stroller is that parents with small children and strollers are among the first priority when the plane gets boarded so take advantage while you can.

IMG_7836

6. Take backpacks for carry-ons. One backpack for each parent. This is pretty self-explanatory but you want to be as hands-free as possible and as unrestricted as possible. You need to be as swift as a ninja should the need arise and you certainly won’t be able to do that if you’re wheeling your stuff along or if you have a bag hanging off your shoulder.

7. Dress comfortably. Yeah we know every parent wants to be that cool mom and dad. But you know what’s not cool? Chasing after toddlers when you’re not dressed for the part. We like to keep it casual on the road with sneakers, jogger pants, and a light hoodie/cardigan. Don’t be a hero. If you nurse, wear something comfortable for nursing. If you want your experience with security to be as smooth as possible just skip the pants and belt and anything metallic for that matter.

8. Pack spare clothes for your little ones AND YOU. Out of the four flights we’ve been on, we’ve had 2 episodes of diaper blowout and one puke fest. The puke fest happened on us and guess who didn’t have a change of clothes? Us. Even if it’s just an extra top, it’s better to be safe than sorry. Trust us on this one.

9. Milk them during takeoff. If you’re flying and your little one(s) still nurses or takes formula then let them feast as the plane is taking off. Not only is it the perfect comfort and distraction but you may get an hour or more sleep time out of them. I’m speaking here as someone who successfully nursed my children to sleep during takeoff and found how much more bearable the flight was when they were asleep for half of it.

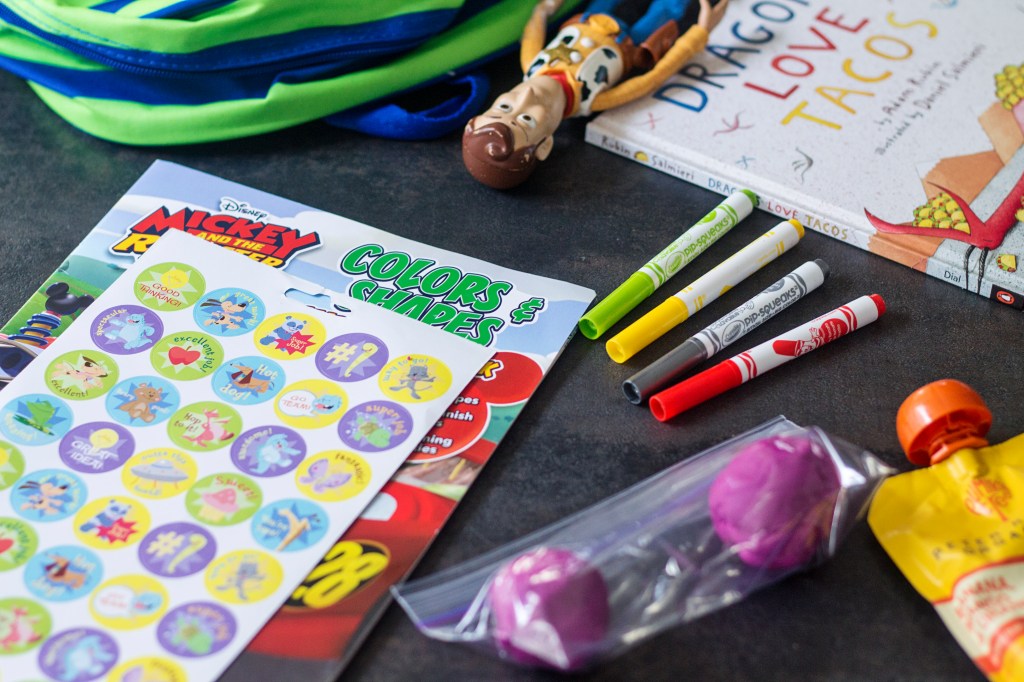
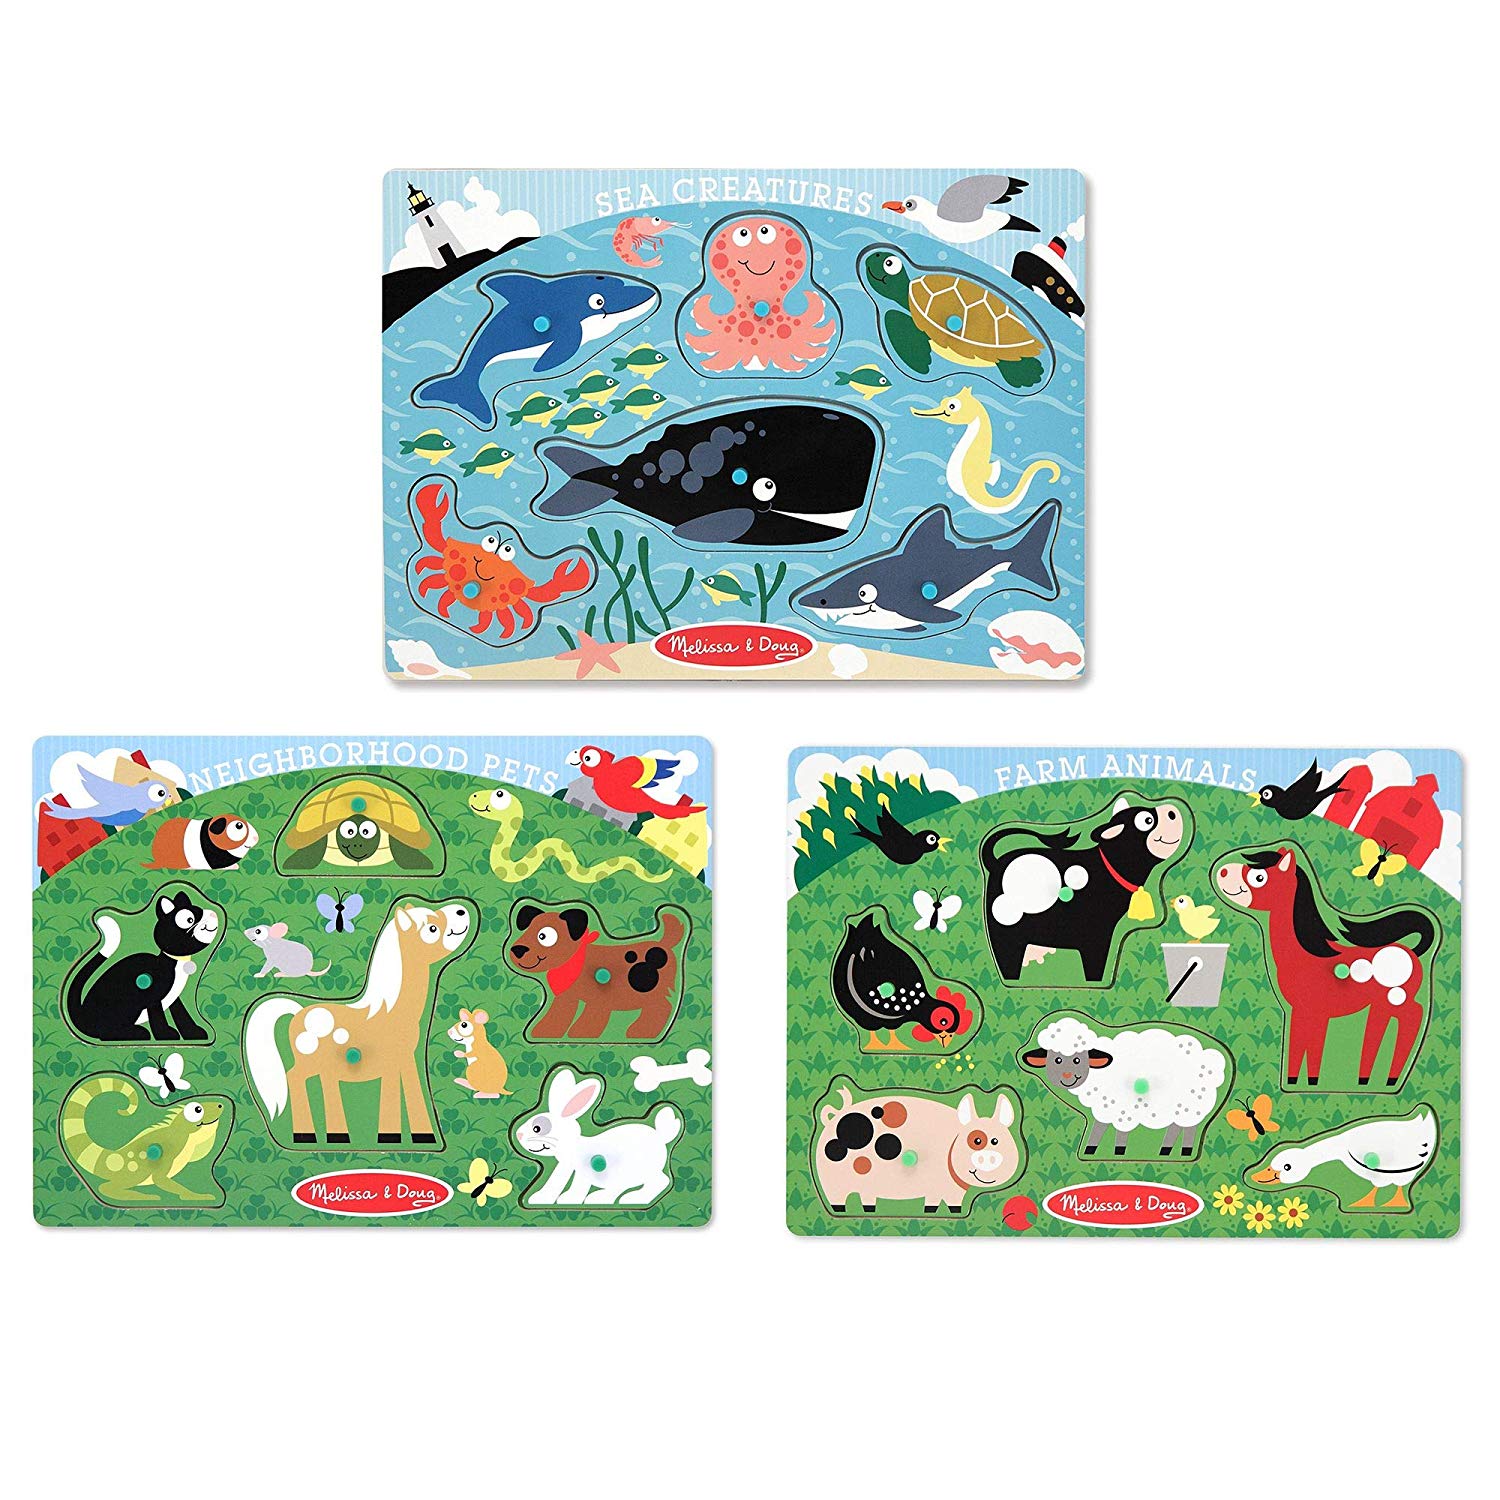
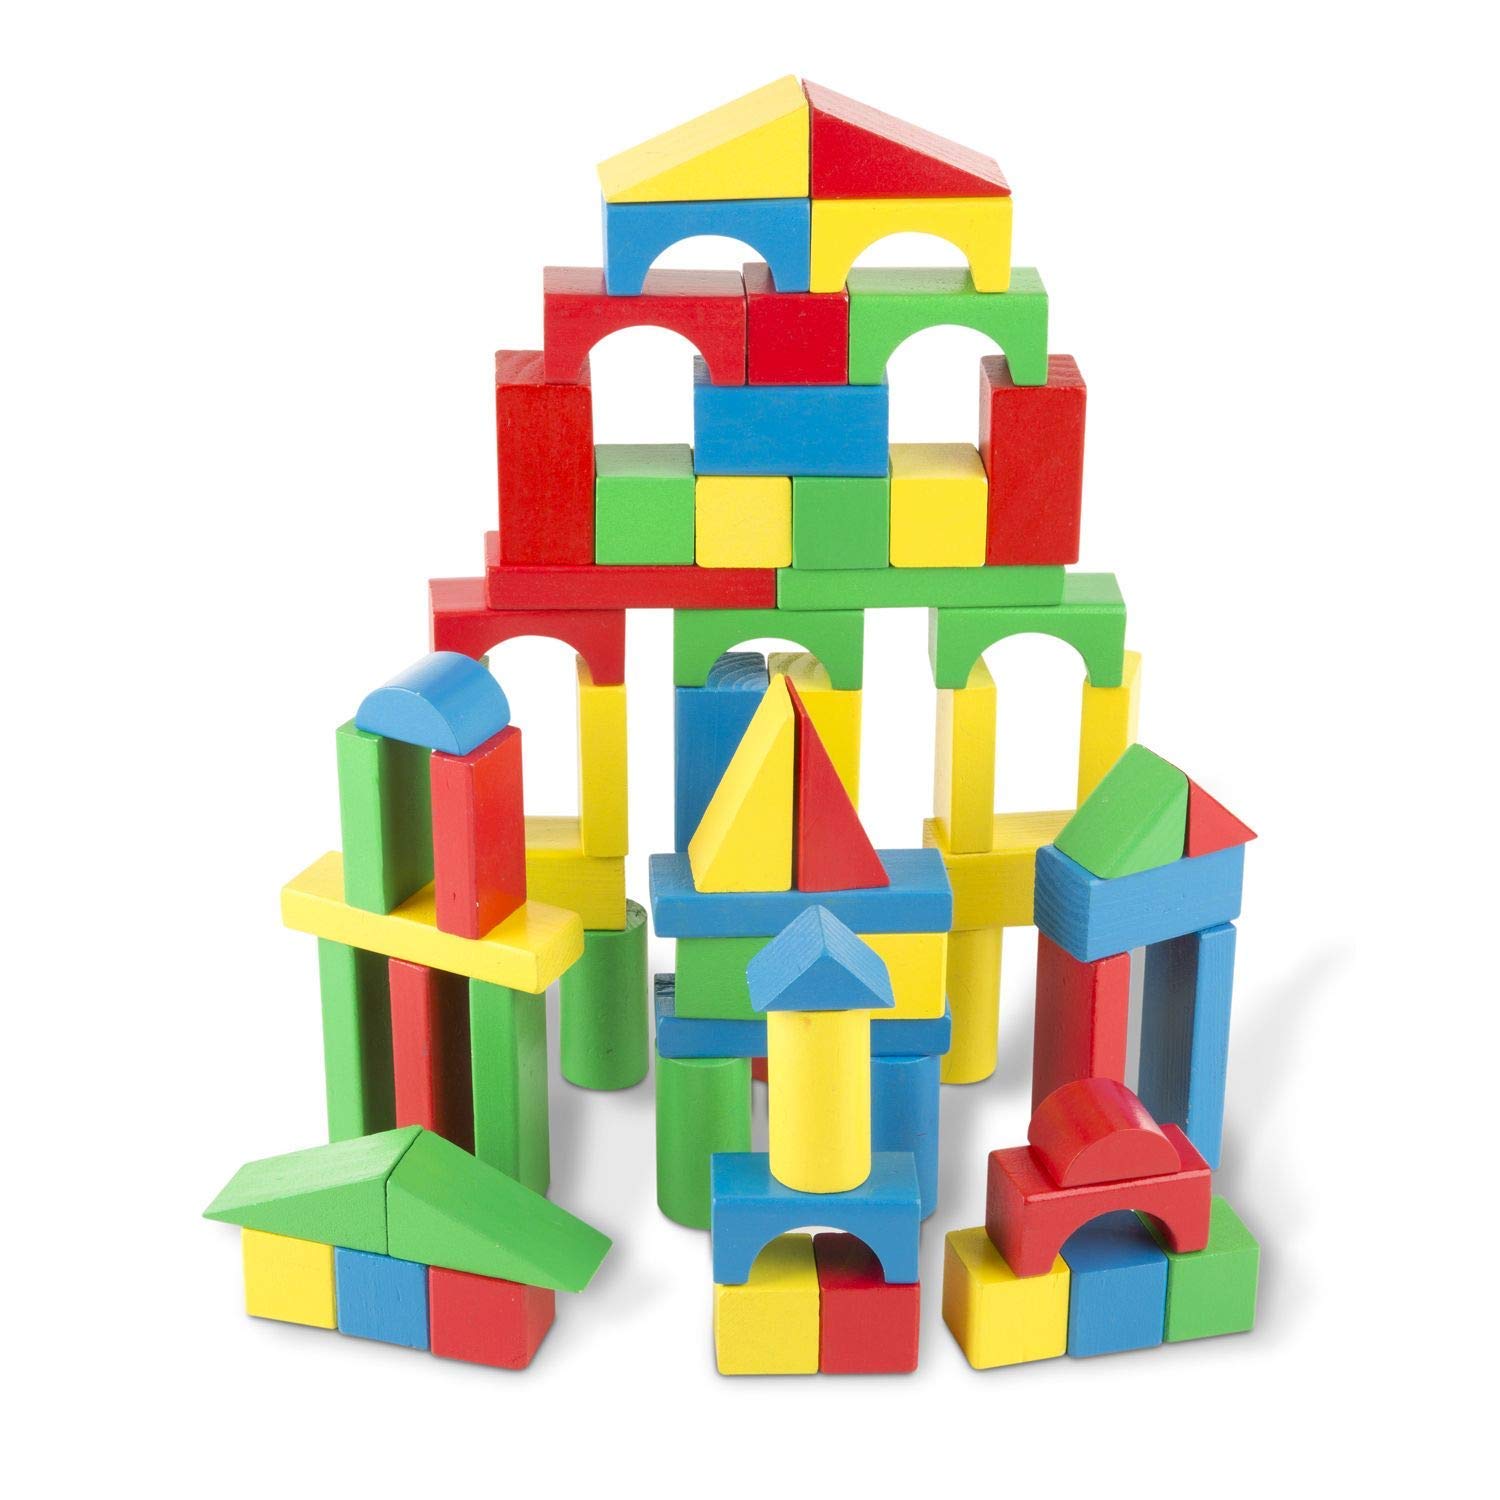
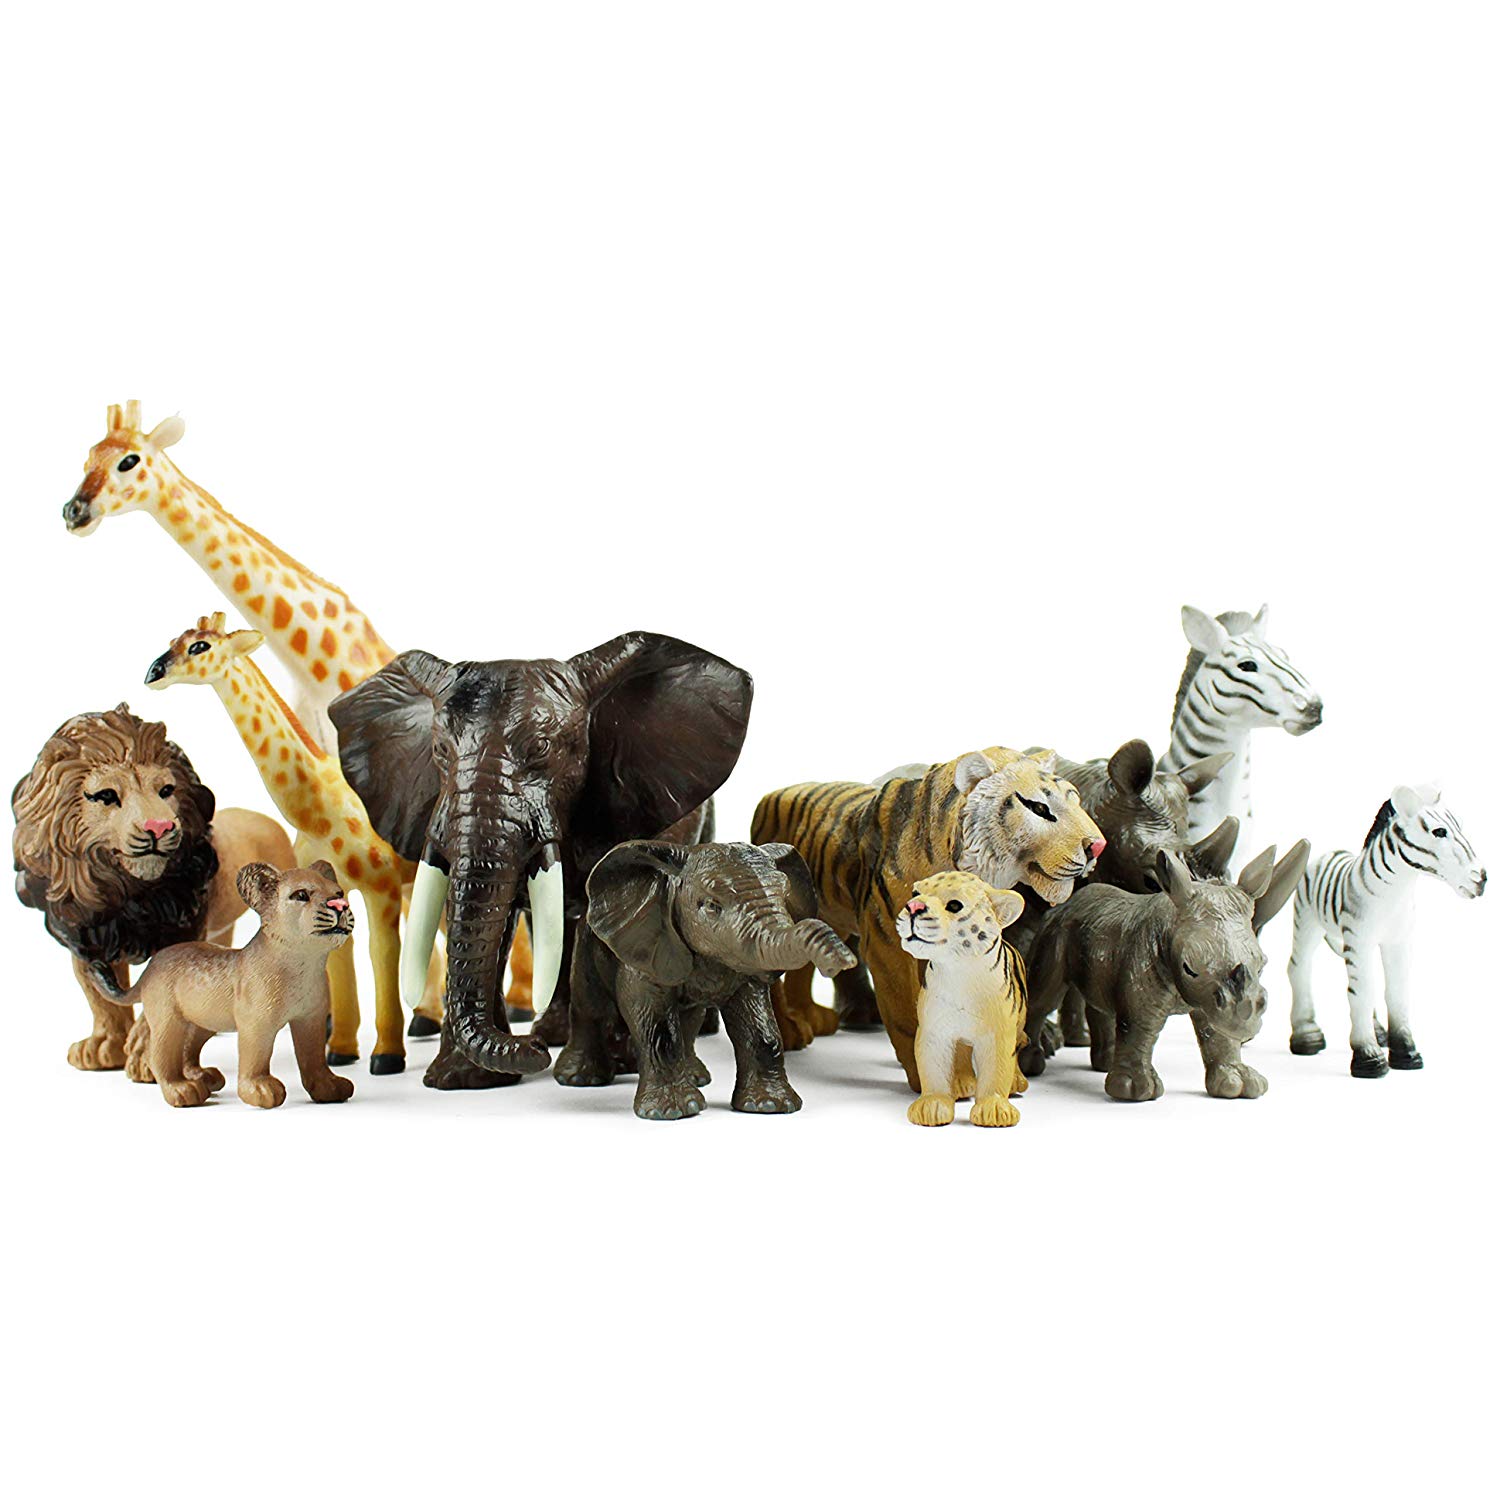
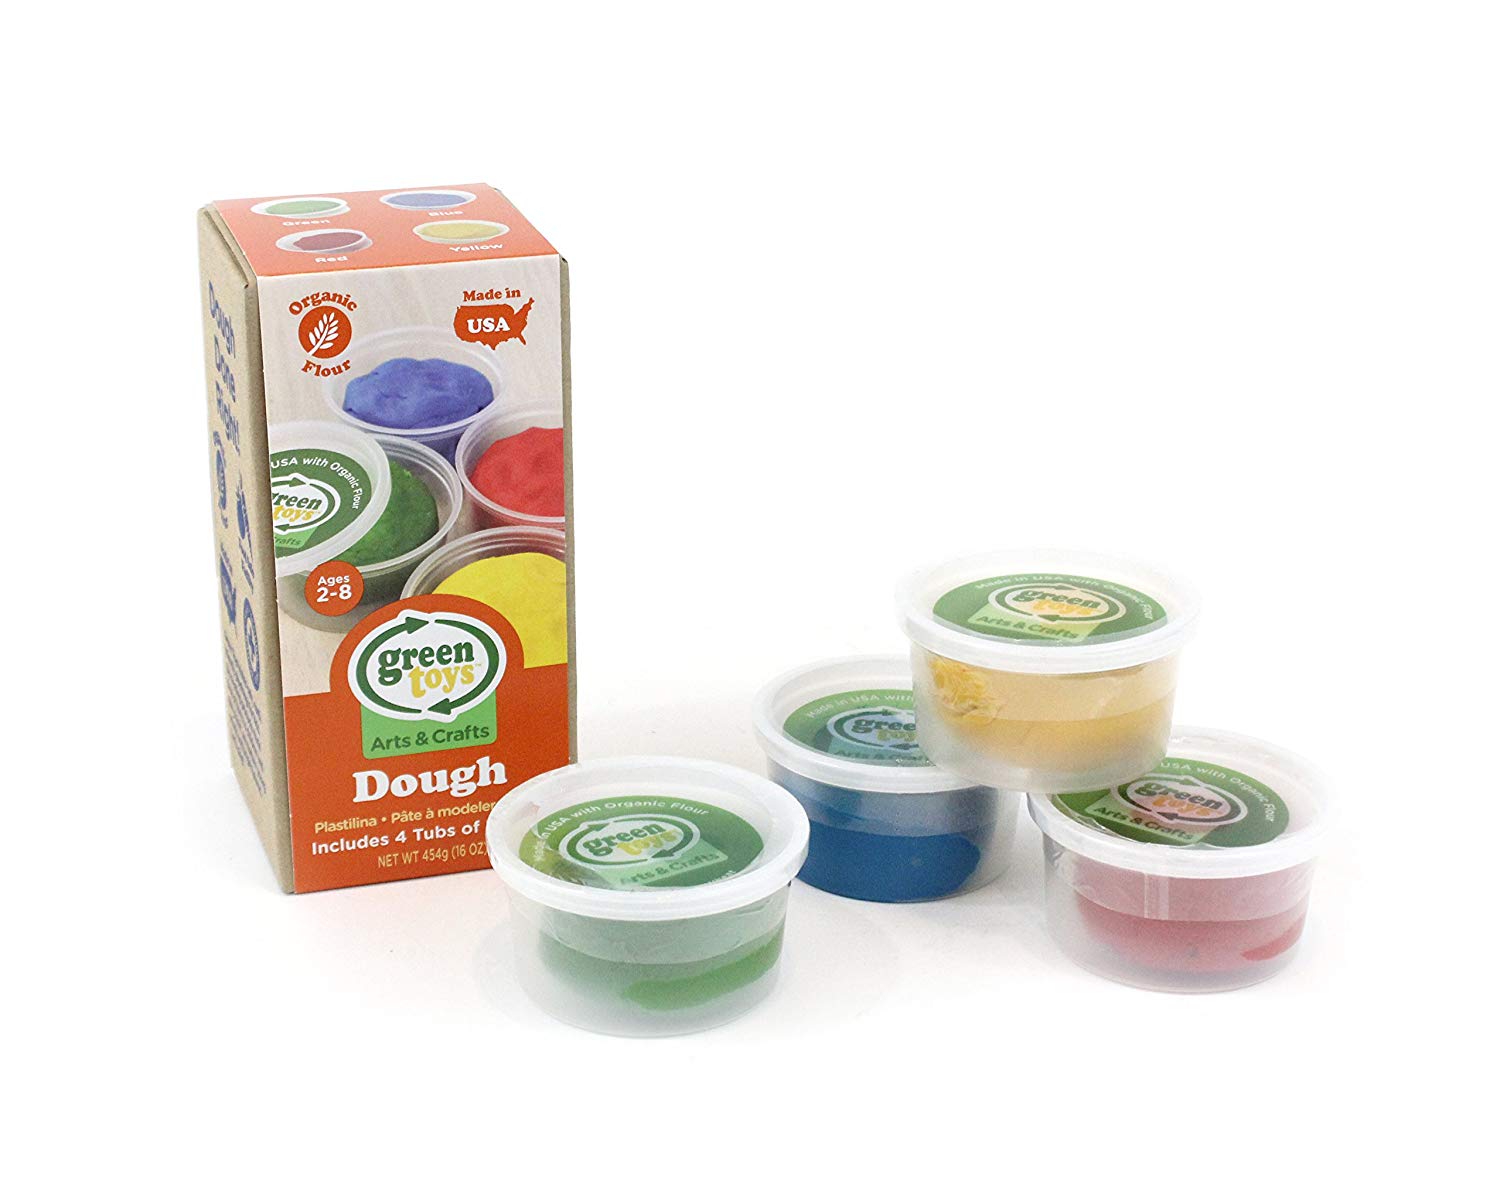
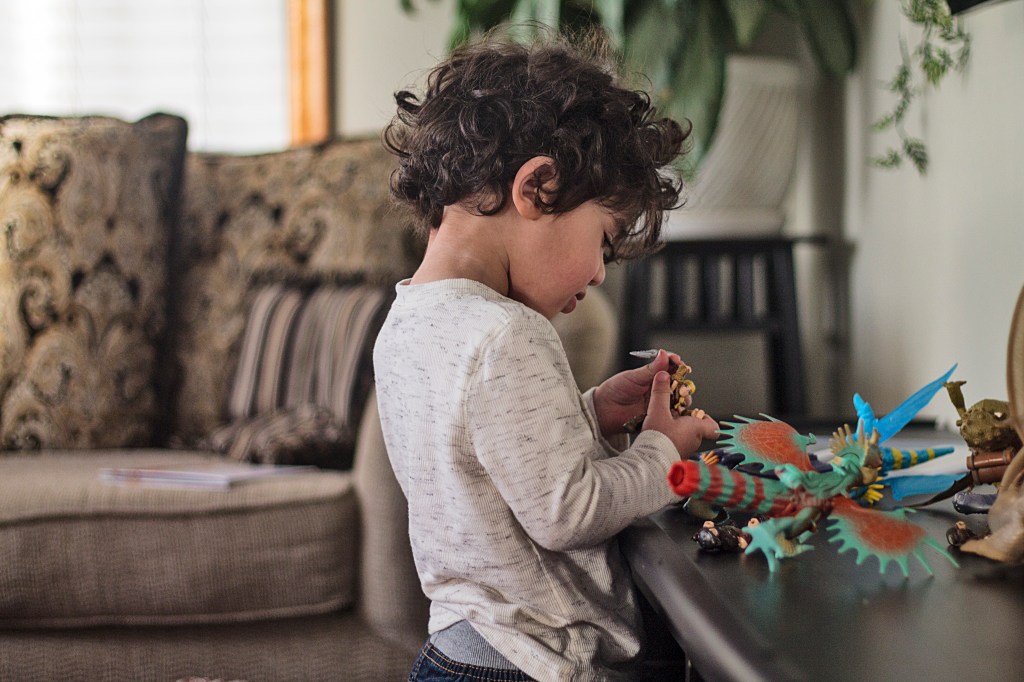
10. Prepare many forms of entertainment. Think like a bag of tricks or a busy box with age-appropriate distractions. In the past we’ve taken play dough, coloring and sticker books, stories, and new and favorite toys (nothing too noisy). More recently, and now that our son is over 2 years of age, we have made screen-time exceptions for him because, quite frankly, a miserable flight is not worth ruining our trip over. If you have a Netflix account, the majority of content available can be downloaded on a device for offline viewing (it expires after 48 hours but you can renew as long as you have wifi access).  We made sure to get our son the perfect sized headphones and we downloaded plenty of Curious George to get us through the 2.5 hour flight to Florida.

IMG_1494

11. Take lots of snacks. There’s no such thing as too many snacks. It’s worth mentioning that young children under 3 are the exceptions to the TSA liquid restrictions so pouches, pumped breast milk, formula, baby food…all those things you can take with you and you should. For us, food is one of those things that gets our kids to quiet down especially when they know they’re about to try something new so we suggest you pack a variety of snacks and pack something they haven’t tried. We guarantee that it will get you some good fuss-free mileage. Here are some of the non-perishable snacks we’ve been taking on our latest trips: Mango pouches, dried fruit or fruit leather, crackers, lara bars, apple sauce, and rice cakes. Be sure that if you’re traveling with perishable food that you pack it appropriately.

12. Pack an empty sippy cup and/or baby bottles. Staying hydrated is important and we find that it’s much easier to do that on the go when we travel with the right supplies. When we fly, we pack an empty sippy cup (we also take a canteen for ourselves) in our carry on and once we pass through security we fill it up at a water fountain. It’s an easy way for us to make sure we are drinking water while being environmentally friendly. The same goes for milk or formula. Pack an empty bottle in your carry-on and you can fill it up when the need arises.

13. Pack some baby-proofing essentials. Apparently baby-proofed hotel rooms are like unicorns. They don’t exist. From sharp-cornered furniture to unsecured TV stands to heavy lamps and messy cords ( I can go on), every hotel we’ve been in has been the stuff of parent nightmares. If you want some extra peace of mind, we suggest taking just a few baby proofing essentials: outlet covers, cabinet locks, and some cut up pool noodles for edge guards.IMG_9060

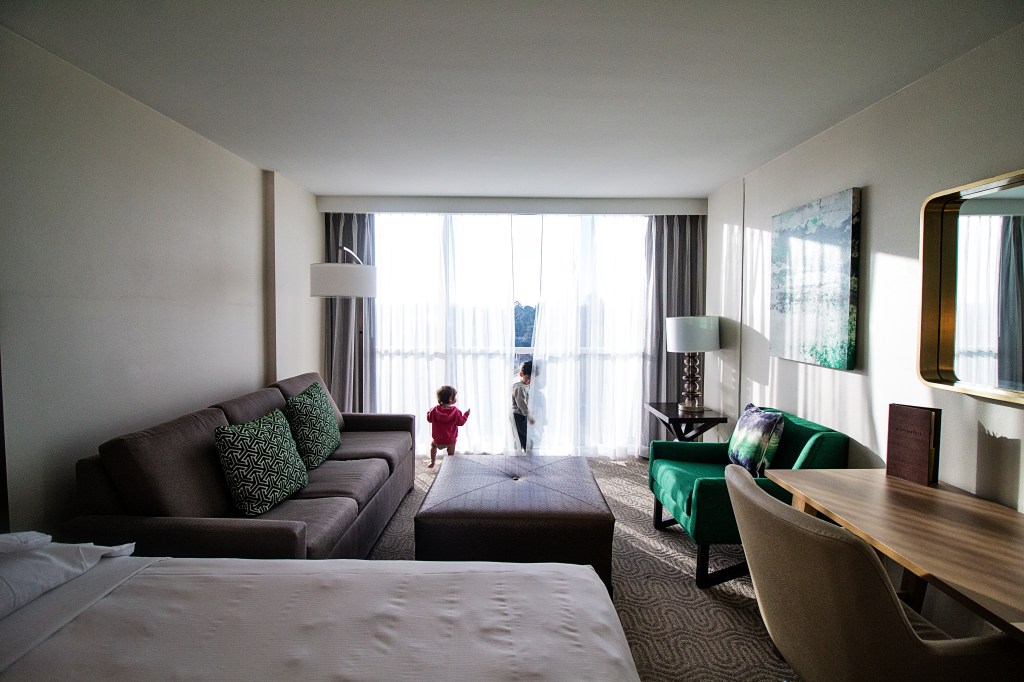
14. Rent an SUV or Mini-Van. There are plenty of ways to cut costs while traveling but this is one area we don’t recommend cutting. You want a vehicle that’s comfortable for your carseat(s), has plenty of room for all your luggage and stroller(s), and gives you the ability to hop in the back and soothe your baby during a meltdown should the need arise. A sedan or smaller vehicle will not give your family that comfort. Plus, you can get a taste for how things will be a few years down the line when you’re the uncool minivan parents (kidding).

15. Be kind to yourself. Repeat after me: “I am not the first to travel with kids and I  won’t be the last. And I am certainly not the first or last to travel with noisy or crying kids. I will not feel guilty over things that are beyond my control. I will be kind to myself. Enemies of fairness and equality, hear my parent-ly roar (optional).” Look, no matter how much you plan and prepare, you will inevitably find yourself  in uncharted territory (we got stuck in the airport for 10 hours on our way back from Florida with two toddlers and it sucked big time). None of us have this all figured out and that’s okay; we learn as we go. If you’re traveling with your spouse and you sense him or her stressing out, try sharing words of encouragement or give them a compliment on something they’re doing well. At the end of the day, all this preparation you’re doing is so that YOU can also enjoy the trip so don’t let it get to you if things don’t go your way.

IMG_7703

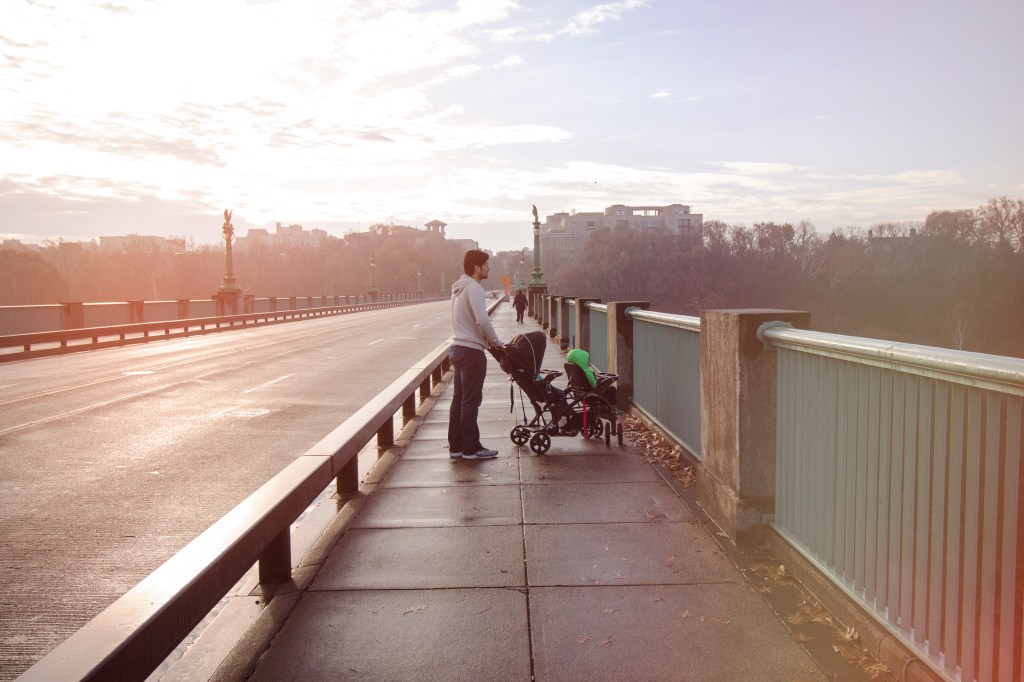
That’s all folks. We initially had in mind to share 10 tips but as we started recalling what we wish we knew before our first trip, we couldn’t stop. We could have probably written much more too but we decided to keep it general and share more specific travel tips in separate posts. We also realize these are much more applicable if you’re flying rather than driving to a destination but we hope you’ll find it helpful either way. One day, we will get to publishing the Disney post and maybe one day we’ll write about Seattle and Vancouver and Washington D.C and Kansas City. One day. In the meantime, if you liked this post and found it helpful we would love if it you would like it and share it. For more related content, you can find us on Instagram where we share more of our day-to-day and Pinterest where we share our ideas and inspiration. If you have any thoughts or suggestions about this post, feel free to leave a comment below. And as always…

signature3


5 Strategies and Resources for Keeping Toddlers Screen-Free

Happy New Year friends! We hope all of you had a blessed holiday with your loved ones and we wish everyone peace, success, and happiness in 2018. Things are crazy busy here as we are preparing for a family vacation to Florida this weekend. I’ll be honest, between the kids being sick early last month and the holidays, they have seen far more screen time in December alone than they have in a year (we used to be strict about this but that’s for another post). And boy are we ready to detox and resume our screen-free daily routines once we get back. If reducing your child/children’s screen-time is one of your new year resolutions then you’re in luck because I have 5 simple strategies and a handful of fun resources to help get you on track for just that.

“Play is the beginning of knowledge.” -George Dorsey.

IMG_8856

  1. Identify what they like and stick with it. I know this may seem like common sense but living in this age of information overload, it can be difficult to filter through everything to decide what’s applicable and what’s not. Not everything that works for other children may work for yours and that’s okay. The best way to get to know your child is to try a range of different activities with them and see what keeps their short attention span occupied. Chances are you already have an idea without needing to do much investigating. My son is currently really into play dough, Mega Bloks, and dragons at the moment and is very active so if I’m going to get frustrated that he’s not sitting down for a coloring activity for more than 5 minutes, I can’t blame anyone but myself. It doesn’t mean that we don’t try other activities but for the sake of my schedule, I only do things like cooking or reading for school when my children are engaged with an activity for the long haul.
  2. Make a weekly activity plan. With all things in life, if you have an outline or plan of action then you’re more likely to follow through with it. If you are really committed to screen-free quality time then try investing 15-30 minutes on the weekend to brainstorming and arranging for activities during the week. You don’t have to be doing crazy chemistry lab experiments to make it fun. As you’ll come to see in the links I’m sharing below, it doesn’t take much to make children happy. I also want to add the disclaimer that an activity plan should be treated more like a guide rather than a strict schedule. It should be a way for you to think through your day and have activities on hand when you need them most.
  3. Talk it up. Sometimes for kids it’s less about the activity and more about the presentation. Maybe that’s just my experience with my kids but I feel they definitely pick up on my enthusiasm. I don’t have numbers to back up this claim but I find that my son is more engaged when I’ve talked about the activity beforehand. For example, if I were to ask him “prepare me something delicious to eat” while giving him his play kitchen tools, he would spend more time playing than if I were to just dump them on the floor and tell him, “here, play with this.”
  4. Limit accessibility and rotate activities to keep things interesting. In other words if you got it, don’t flaunt it. You will be surprised at what a huge difference it makes if you hide some toys away…because let’s face it, every parent is familiar with what happens when everything is accessible: toys strewn everywhere and bored, restless children. Not the funnest combination. Try taking some toys out of circulation and bringing them out in rotation when you sense boredom. Our MegaBloks, puzzles, and an array of large toy vehicles are stored way high up on a shelf and when I  bring them down, my son definitely relishes every moment.
  5. Don’t be afraid to make a mess. Okay maybe this is not what you want to hear but trust me. I’m not talking trash the house messy but more along the lines of confined chaos. There are plenty of activities that I’ll list below that allow children to really explore and be messy without you having a disaster on your hands. I don’t know what it is about messes but kids love making them and if they’re happy and occupied then you will be too 🙂

IMG_8861

With that being said, I’m sharing a list of fun activities that we have tried and enjoyed as well as some amazing resources that I turn to when planning out activities for the kids. I’m also linking our Pinterest board as I do pin fun toddler activities as I come across them for inspiration. I feel like I should state again that the point of this post isn’t that you must have scheduled activities in a curriculum sense but rather a collection of activities suitable for play. Children should be free to explore and play and the activities you choose should exemplify that philosophy.

“Do not keep children to their studies by compulsion but by play.” -Plato

Sensory and Fine Motor Activities

  1. Make homemade play dough and model/build/cut with cookie cutters
  2. Thread pipe cleaners through a colander or box with holes
  3. Freeze toys in water and do an ice excavation
  4. Make colorful squishy gel bags with glitter and beads
  5. Pom Pom Ball Color Sorting

“Messy” Activities

  1. Go dumpster diving for lost toys in a cardboard box
  2. Create a dry pasta/rice/lentil construction site
  3. Paint with shaving cream on a plastic bin lid
  4. Make a scoop and pour activity station with containers and random objects
  5. Pour flour and shredded coconut in a bin with small cars for a snowy ride

Physical Activities

  1. Set up a simple indoor obstacle course with everyday objects
  2. Have a color-themed scavenger hunt with this song
  3. Have an alphabet or number scavenger hunt
  4. Set up a bubble machine and chase after bubbles to pop them.
  5. Blow up balloons and play balloon tennis, volleyball, or soccer.

Imaginative Play

  1. Make a play boat from a cardboard box and pretend you’re fishing or escaping sharks
  2. Give children kitchen tools and utensils to play chef
  3. Play veterinarian or doctor with sick action figures and stuffed animals
  4. Build a tent from blankets and go pretend camping
  5. Host a pretend picnic or tea party for their toys

IMG_8937

These are just some of the MANY activities out there and there are plenty more waiting to be discovered or created by you to fit your child’s needs (Disclaimer: All the activities I’ve listed are intended to be done with adult supervision even if they don’t necessarily require your active participation). I hope this post is a good starting point for helping you feel less overwhelmed and more capable of keeping your children engaged and occupied without resorting to screens. To help me get organized and plan better (and help you do the same), I’ve created a weekly activity plan to fill out to help guide me through my days at home. The image below is just an example of how you can fill it out but you’ll want to do so according to your own daily rhythms and routines, interests and likes. I also included a column for time but I do not adhere to it strictly and you can completely ignore it all together if you want. The time column is more to remember fixed moments of the day such as snack time, lunch, and nap time. I want to also add that I think it’s very important to be flexible and not hold yourself to unreasonable and unattainable scheduling expectations because this isn’t school.

Weekly toddler planWeekly Activity Plan Free Download

IMG_8945

Once you have downloaded this blank activity guide, you can visit the links below to get started planning your days with your little one(s). While I’m no child psychologist or educator, I think that it’s good to have a balance of diverse activities; literacy, sensory/fine motor, physical activity, and imaginative play. The best part about designing your day is you get to customize activities that blend motor skills, creativity, and learning (science, math, language, etc.) in ways that are fun and appealing to your child. The last thing children need is to be lectured classroom-style. If there are specific concepts that you would like them to be learning then write them down in the “focus” section. This will help you be mindful of your learning goals so you can incorporate them up during activities and moments throughout your day. Alright, let’s get planning!

Resources for Activity Planning

  1.  Hands on As We Grow
  2. Busy Toddler
  3. Fun at Home With Kids
  4. The stay-at-home-mom survival guide
  5. Meri Cherry
  6. Toddler Approved
  7. Playtivities

If you liked this post and found it helpful, we would love it if you would share. For more related content, you can find us on Instagram where we share more of our day-to-day and Pinterest where we share our ideas and inspiration. If you have any thoughts or suggestions about this topic, feel free to leave a comment down below. And as always…

signature3


There and Back Again: A last-minute DIY Halloween Hobbit Costume

 Halloween is just a day away so if you’re scrambling for a last minute costume idea, we have just the thing for you! Now do you want to take a wild guess what my son and daughter will be dressed up as? Hobbitses!!! Yes, Hobbits! Frodo Baggins and his side kick Samwise Gamjee to be exact. We don’t really celebrate Halloween per say (our kids don’t even eat candy) but every year my good friend hosts a “babyween” as a place for the kids to get together, dress up for fun, and enjoy healthy snacks and fun games. This year she will also be adding a giving component to the party so we will be taking canned goods that she will be donating to a local food pantry. As I’m sure you already know, we are huge fans (understatement) of J.R.R. Tolkien’s work. The way I see it, we all have role models that we admire and kids grow up looking for those role models. J.R.R. Tolkein’s mythology offers plenty of worthy role models; compassionate, brave, and principled characters that fight to defeat the greatest evil of their time. And what’s not to love about that?

IMG_5898

This costume is super easy to put together and most things (clothing items) you will probably already have at home. The only things you’ll need to get are a piece of fabric for the cloak and clay and a hair clip to make the elven brooch. The fabric doesn’t even need to be sewn because it looks more authentic with uneven and rustic ends. For the elven brooch, I just pulled up an image of the real one as I shaped the clay. It’s not perfect but it looks pretty good. After that, all that’s left is to get dressed in your fancy hobbit attire, pop on a chain with a ring on it, and clip your cloak on. Just remember,

“It’s a dangerous business, Frodo, going out your door. You step onto the road, and if you don’t keep your feet, there’s no knowing where you might be swept off to.”

What you’ll need:
White/Gray button down shirt
Suspenders
Dress pants like corduroy, khaki, or twill (preferably short or you can roll them up)
Necklace chain with a ring
Fleece fabric square
Elven Brooch

Note: Some of these components may be a choking hazard for young children so be very careful.

IMG_5897

DIY Elven Brooch:

  1. Shape white modeling clay into a leaf and bake for 20 minutes at 250F or according to instructions as it varies by brand.
  2. Once hardened and cool, paint the leaf with green acrylic paint. Let dry.
  3. Glue the clay leaf to a hair clip using hot glue or heavy duty glue. Let dry and you’re all done!

IMG_5881

IMG_6276

I’ll be sharing more of the final look on Instagram tomorrow so be sure to come see 🙂 And as always, if you liked this post please follow us and share!

Instagram

signature3


2 Ingredient All Natural Baby Powder

IMG_4007

Although we are passionate DIYers, we do recognize that we can’t make EVERYTHING in life, even if we wanted to. There are simply not enough hours in the day. However there are some things, in our opinion, that are just silly not to make and this post is about one of them. Less than a month ago, this news came out: “$417 Million Awarded in Suit Tying Johnson’s Baby Powder to Cancer.” It’s not like it was shocking news but it certainly opened up many people to the possibility that baby products were not as clean and safe as they thought. As if parents didn’t have enough to worry about! After I saw my friends sharing the news on Facebook, I figured it would be a good time to write a post about our super simple, alternative baby powder.

It’s not that there aren’t natural or organic baby powder products out there. There certainly are. But expect to dish out anywhere from $7-12 for less than a pound of product, which can definitely add up over time. With my firstborn, we did not really use baby powder and the times when we did use it, our son would get an allergic reaction (we were using Burts Bees, I suspect it was either the fragrance or the limonene). With our second baby, we actually really needed something because our daughter had very sensitive skin and would constantly break out with just the tiniest bit of moisture. Naturally, we tried corn starch but just found it to be so clumpy when it absorbed. After a bit of research I came across the perfect substitute starch: Arrowroot powder, a natural root starch that’s soft, velvety, and absorbs cleanly. For a mild scent, I ground up some dried chamomile which is hypoallergenic and has anti-inflammatory properties (I’m not a doctor but this is pretty common knowledge). I’m not going to say that our daughter’s rash magically disappeared overnight but it did resolve after a few days. We have been using this ever since and have not had any problems. That’s it. Two ingredients. One happy baby bum. Lastly, there are many different containers, including upcycled spice dispensers, that you can use to store and dispense your baby powder but I find that something with a sifter lid works best to get a light and even dusting. I purchased mine from Marshalls for $6 but you can find similar ones on Amazon here.

IMG_4015

Ingredients
1 1/2 cups Arrowroot Powder
1 tablespoon Ground Chamomile

Supplies
Measuring cup
Stainless Steel Container with mesh sifting lid

Directions
1. Measure out and mix your ingredients.
2. Store in a stainless steel dispenser and use regularly as you would any baby powder. I should also add that one should be cautious when using baby powder in general because it can cause respiratory problems if the particles are inhaled. Dispense lightly and away from your baby’s face.

IMG_4016

IMG_4023

IMG_4032

Disclaimer: This post contains affiliate links for your convenience only.

Thanks for reading, let us know your thoughts below in the comment section, follow us and share.

Instagram


Watercolor Painting with Beetroot

I am constantly looking for ways to reduce waste and simplify our life at home. Maybe I’m a little too determined. If I had things my way, we would probably be living knee-high in a collection of recyclable materials. Unfortunately there are not enough hours in the day to see all my ideas through and thankfully my husband is there to ensure that we do not become hoarders. Of course that doesn’t mean I don’t try to be resourceful within reason.

IMG_3754

Beets are something we eat quite a bit of in our home. We love snacking on boiled beets with a splash of vinegar and salt or incorporating them in a meal like this side-dish of Swedish Beetroot Salad I posted some time ago. One of my favorite things about beets is their deep magenta hue. I imagine there was a time, before synthetic dyes, when beets were used to naturally color everyday items and it makes me feel guilty to throw away such a beautiful by-product. I have experimented painting with beetroot juice many times but this was my first time sharing this experience with my son who has finally learned to wield a brush (as good as any toddler will). The last time I boiled beets, I stored some of the juice in a mason jar in the fridge and saved it for a rainy day.  My favorite part about this activity is the fact that this paint is completely natural. My son can snack on beets and even take a lick of his “paint” and I would have no qualms about it. This activity is perfect for a rainy indoor day but you can also take it outdoors if you want to spare yourself preparing for the messy aftermath. All this is to say: If you boil beets, don’t throw out the juice. For this activity here’s what you’ll need:

  • paper, preferably watercolor paper
  • small paint brushes
  • beetroot juice ( to make it concentrated, simply microwave in a small container to evaporate the water)
  • glass of clean water
  • fine salt and course salt
  • old newspaper or something to protect your work surface

IMG_3745

IMG_3766
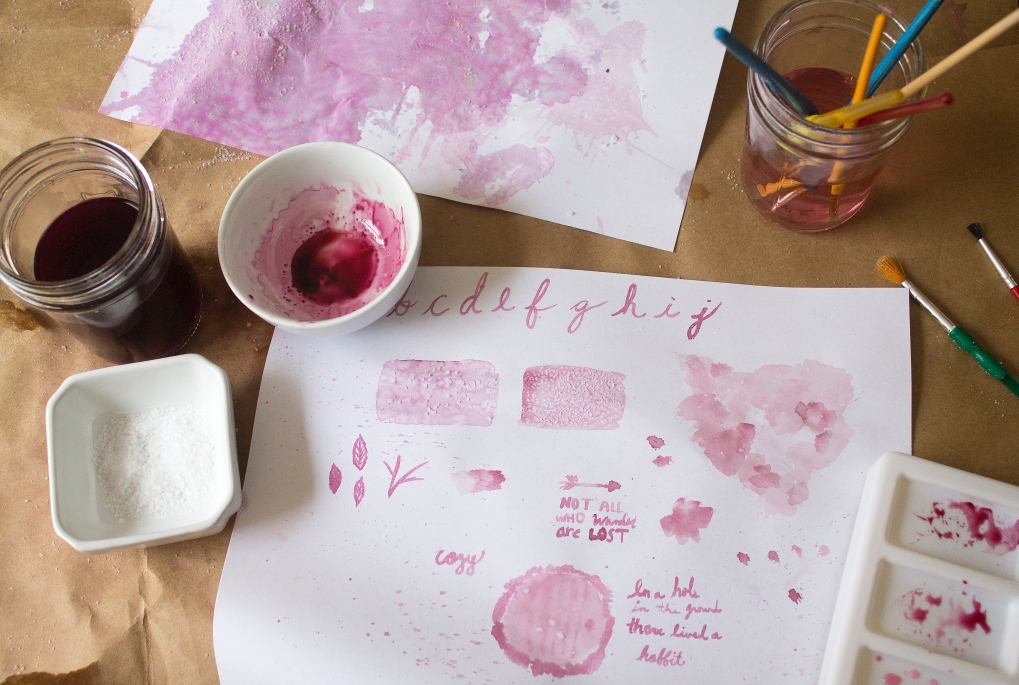
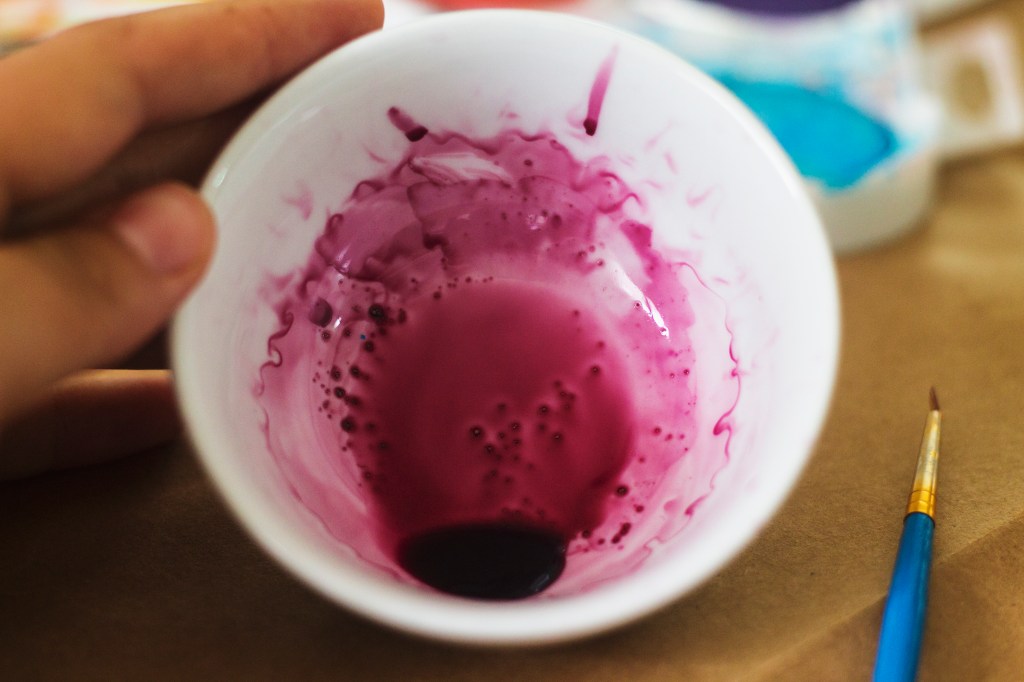
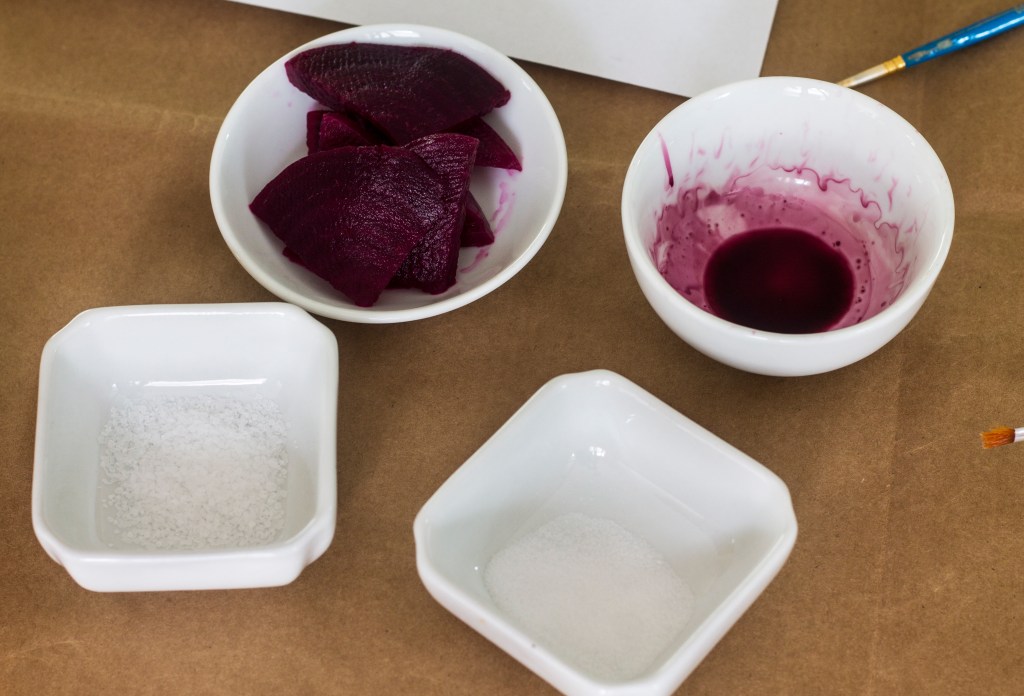
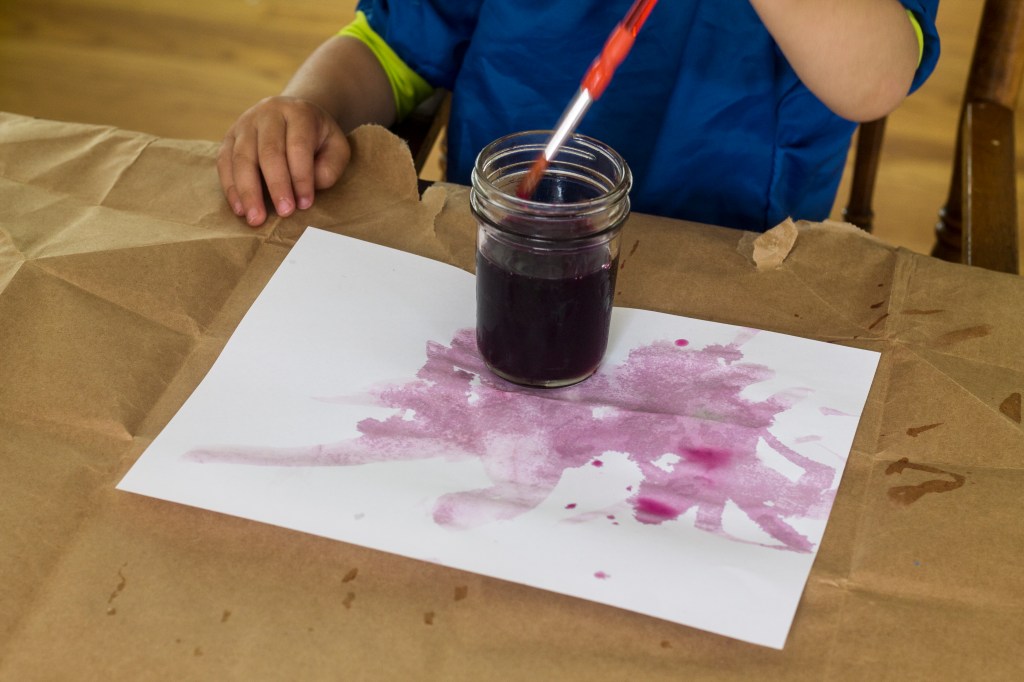
My son was ecstatic about pouring salt all over his painting (consider that he’s been attempting to dump salt out since he turned 18 months) but what he doesn’t know is that we were actually practicing a legit water color technique that I learned from Inkstruck Studio. As you can see this activity not only kept my toddler entertained but was a good learning exercise for me too. If you enjoy watercolor painting or hand lettering, you definitely could get something out of this activity if you plan ahead. Here’s a really good video tutorial that introduces basic watercolor and hand lettering techniques if you are interested. If you do try this activity be sure to share on Instagram and tag us @thecozyhomechronicles 🙂

IMG_3773

If you found this post helpful, leave a comment and tell us how we did!

Please follow us and share!

Instagram


Potty Training Before Age 2

Happy Monday friends! Our little hobbit just turned two years old last week (sobs) and we are getting ready to take potty training to the next level. I’ve struggled to write about this topic for a while now because 1) The first time I told someone I was potty training it felt like everything went south, and 2) It hasn’t been completely successful. I am, however, trying to look at the positives as we take the next step, so I wanted to share what has worked and what hasn’t.

IMG_1171

We started potty training our son the week before he turned one. I was super determined (clearly) and our doctor had told us that some cultures were successful in training children by 15 months of age. I wanted to be that parent. And things, surprisingly, went very well from the beginning. We had used sign language with our son from a very early age and he had picked the signs up fairly quickly. The potty sign was no exception. It’s easy to start the association early on because babies don’t hide the fact that they’re going. So every time he would start turning red like a tomato or make pushing sounds, I would acknowledge the sounds he was making while signing for potty. After a few weeks, he was signaling to us whenever he needed to go. It was seriously the coolest thing ever until he started manipulating us and using the sign (and sound effects!) to try to get out of his highchair or nap time or anything really. Actually it was pretty hilarious but that’s beside the point. Anyways, the only problem was that his signing to go only covered pooping, which is where we are still at today. I think it’s just that peeing is so effortless, he doesn’t give it much thought or know how to make the distinction yet.

IMG_1169

It certainly has been nice not needing to change poopy toddler diapers (with the exception of a few accidents) but now that we’ve been going to the potty for almost a year, I really want to get him fully trained in the next few weeks. I try not to be too hard on myself but I do put the blame on me for not having fully trained him. I think what he really needed (and still needs) is a few days in just underwear so that he can make the mistake of peeing and learn not to. I was unable to give him that opportunity when the fatigue started kicking in during my second pregnancy and it’s hard now that I’m juggling life with another baby. I’d have to be constantly on top of him so he doesn’t pee on any rugs and with a 8-month old in my arms, that’s difficult to do. All this is not to say that we didn’t have any success at all. Many people don’t start until 2 or 3 so I’m happy with where we are at now. There are some things, besides the signing, that I know have made this journey much easier so if you’re thinking about starting to potty train you might want to consider these things.

Potty Training

  1. Create a happy space. This is something we try to do everyday in our home but we very consciously made an effort to create a comfortable space he could feel was his. Even though it was just a small corner of the bathroom, it was his potty haven complete with his own colorful hand towel and bathroom mat
  2. Make it fun. This goes hand in hand with the making of the space. At first we would keep and rotate a few special toys in the bathroom. That way, he was always excited to go to the potty so he could play with those specific ones. We would also play DJ and let him listen to a song of choice, which basically turned into “Ants Go Marching” on repeat all day, everyday. When he turned 18-months, my mom got him an Elmo and Superhero Potty Book which we have kept in there as well. Now he enjoys going to the potty because he loves being read a story. We also had a special soap dispenser just for him and he enjoyed using it to wash his hands after a successful go. These small and simple touches have made for a smooth potty training experience for all of us.
  3. Give encouragement and rewards. Stickers can be your best friend. We definitely didn’t want to bribe our son with sweets or toys but we did want to give him recognition that he was doing an awesome job. The potty book he received came with a sticker chart and stickers that we hung up behind the bathroom door. Each time he would successfully tell us and go in his potty, he would get to put up a sticker on his chart. This somehow grew into sticker collecting and whenever we go out to Michaels or Target, we let him pick out his own stickers to put up. High-fives, hugs, clapping, and calling dada to share in excitement over another bowel movement are also wonderful gestures that have allowed us to express how proud of him we are.

We did make the switch from cloth diapers (little sis is using them now) to pull-ups several months ago so we are hoping there is an end in sight. He does and can pee in his potty but he just hasn’t gotten to the point where he tells us each and every time he needs to pee. As he gets older and his vocabulary expands, we are sure it will be a matter of time before it clicks. We made plans for this weekend to finally remove all the rugs in the living area and have him in underwear for an extended period of time. Our fingers are crossed and we could certainly use all the luck we can get 😉

Have you tried potty training before the age of 2? What tips and tricks worked for you? Let us know in the comments below. And as always..

If you liked this post please follow us and share!

Instagram