Simple California Sushi Bowls

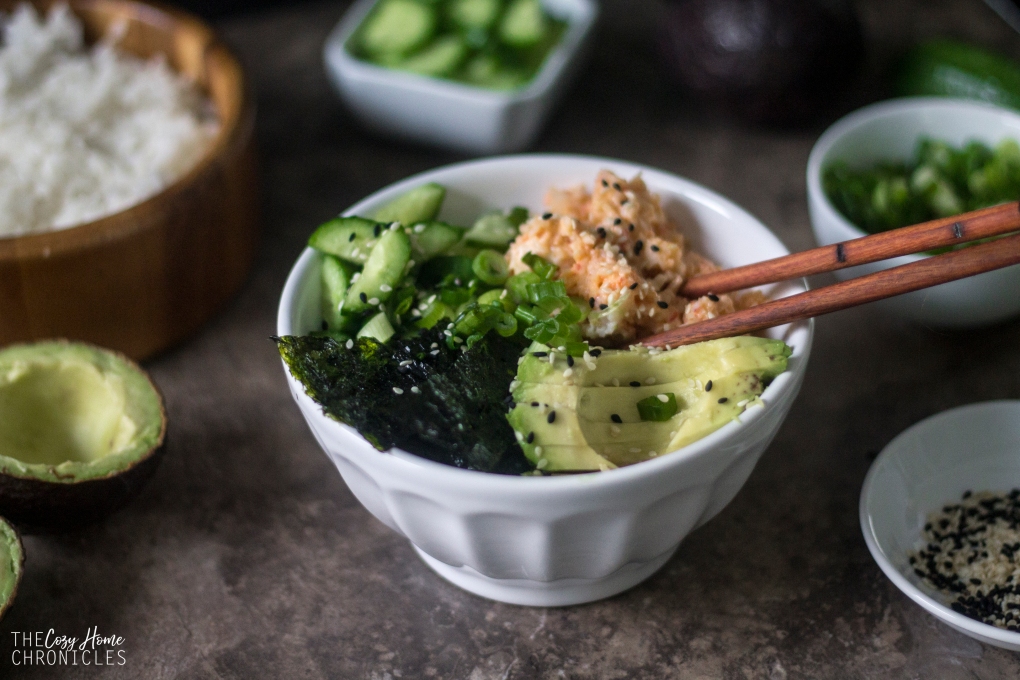
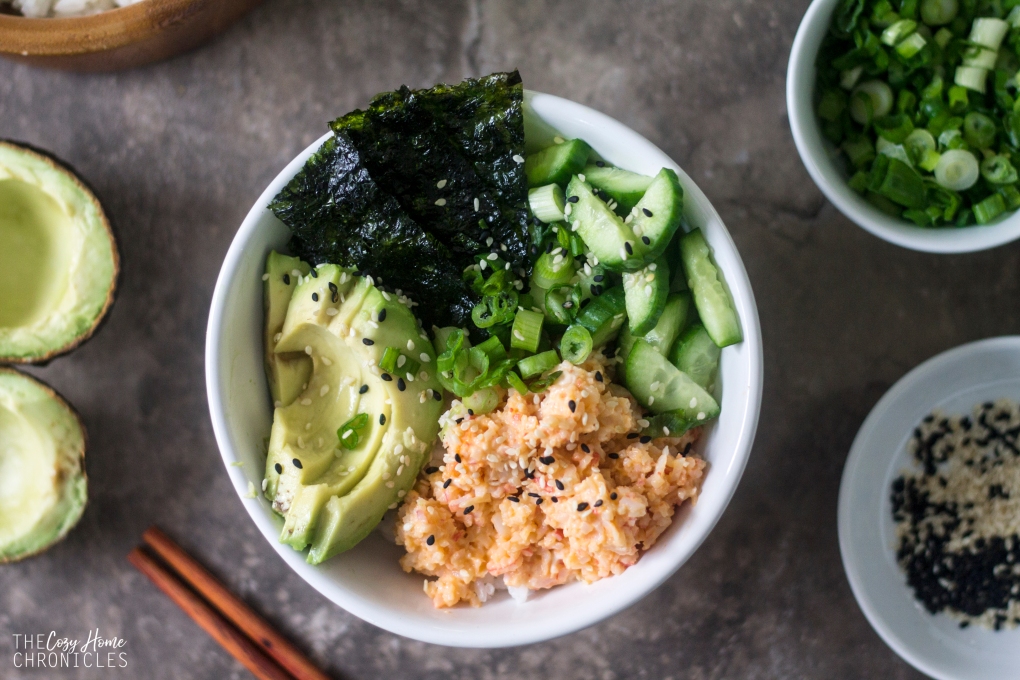
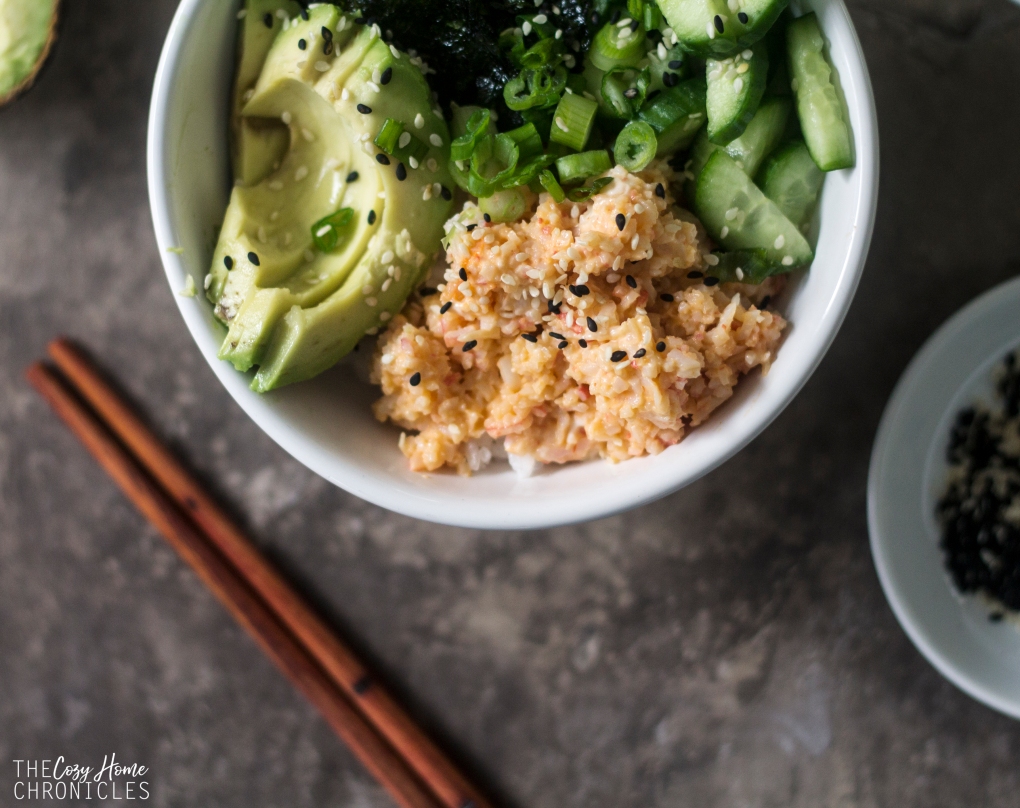
We LOVE sushi. What we don’t love, however, are all the dangerous ingredients hidden in restaurant-made sushi. The artificial colors in the surimi, the alcohol  and high-fructose corn syrup in the unagi, the MSG in the soy sauce. Many think of sushi as a healthy option but when you break it down, it becomes clear that these ingredients are far from clean and healthy. So what’s a sushi lover with little time to do? Make homemade sushi bowls of course!
IMG_7063

As you know, both my husband and I are in graduate school so the less time we can spend to have a filling and healthy meal on the table, the better! While I enjoy making sushi rolls every once in a while, I really don’t have time for it with my schedule. This is why I’ve been working on meal plans with little time investment but big impact. With a little bit of preparation, this meal can easily come together in under 30 minutes. 20 minutes for the rice to cook and cool while you cut up the vegetables and make the crab salad. That is it! For the crab salad, we use a surimi that is made from Alaska pollock and is free of alcohol, artificial colors, and phosphates. You can make this recipe even healthier by substituting the sushi rice with brown rice or cauliflower rice and using a larger variety of vegetable toppings including carrots and daikon. Either way you’ll have one amazing bowl packed with all the flavor of a California roll for a fraction of the cost and in no time at all!

IMG_7022

Simple California Sushi Bowls

  • Difficulty: Easy
  • Print

Ingredients
2 cups sushi rice (subsitute brown rice or cauliflower rice)
2 cups cold water
2 tablespoons rice vinegar
1 tablespoon sugar
1/2 tablespoon salt
12 oz. flake style surimi (we use Simply Surimi)
2 tablespoons mayonnaise (more if you like it creamier)
1 teaspoon Sriracha (more if you like it spicier)

Toppings
Cucumbers
Avocado
Scallions
Sesame Seeds
Nori

Note: This recipe makes between 4-6 sushi bowl servings depending on how big your serving size is. If you’re an individual making this recipe, it is enough to have you covered for a week of lunches. If you’re a family of four, it will take care of one meal time.

Directions

  1. Prepare your sushi rice by rinsing the rice in a bowl under cold water until the water becomes clear (about 3 times).
  2. In a medium saucepan bring the rice and 2 cups of water to a boil, then reduce the heat to low and cover. Cook for 15 minutes then remove from the heat and let stand for 5 minutes while you prepare the vinegar and sugar mix.
  3. While the rice is cooking you can dice your toppings and prepare the crab salad as outlined in step 6.
  4. Combine rice vinegar, sugar, and salt in a small bowl then pop it in the microwave for 30 seconds.
  5. Transfer the rice to a large wooden or glass bowl and add the vinegar mixture, folding gently to coat the grains. The rice is now ready for assembling the sushi bowls.
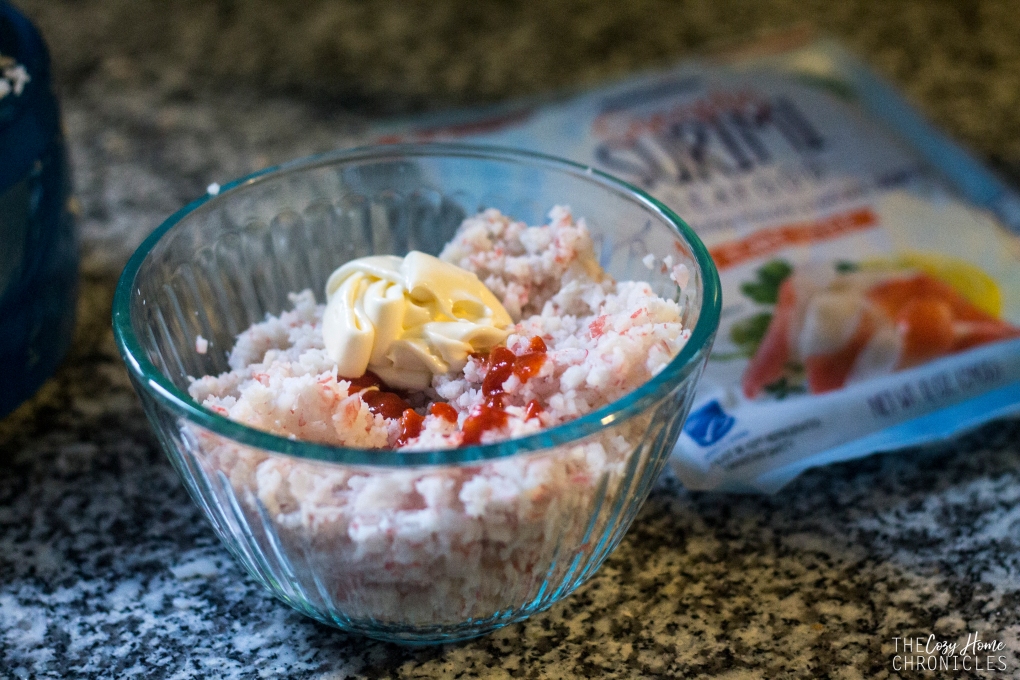
  6. In a food processor, pulse the surimi until you get a shredded texture. Then pour into a mixing bowl and add the mayo and Sriracha. Adjust to the level creaminess and heat depending on your taste.
  7. Assemble your sushi bowls by layering the sushi rice base and topping with the crab salad, nori, cucumbers, avocado, scallions, and sesame seeds. Serve alongside spicy mayo and soy sauce.

IMG_7002

IMG_7011

IMG_7053

IMG_7062

If you liked this post please follow us and share!

Instagram

signature3


Lebanese Cauliflower Stew

img_6825

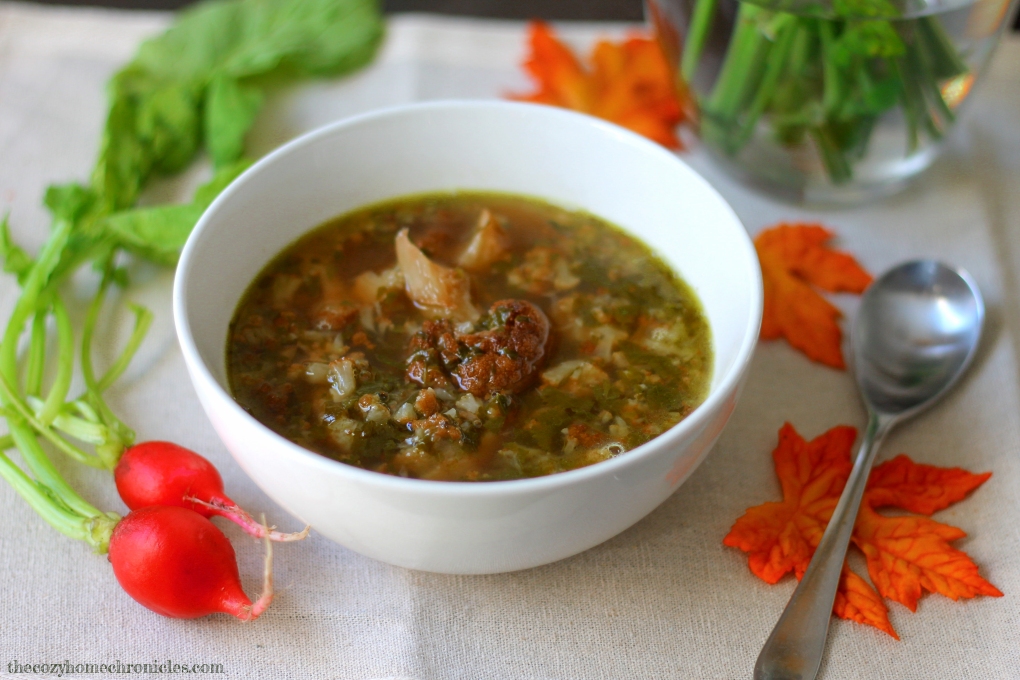
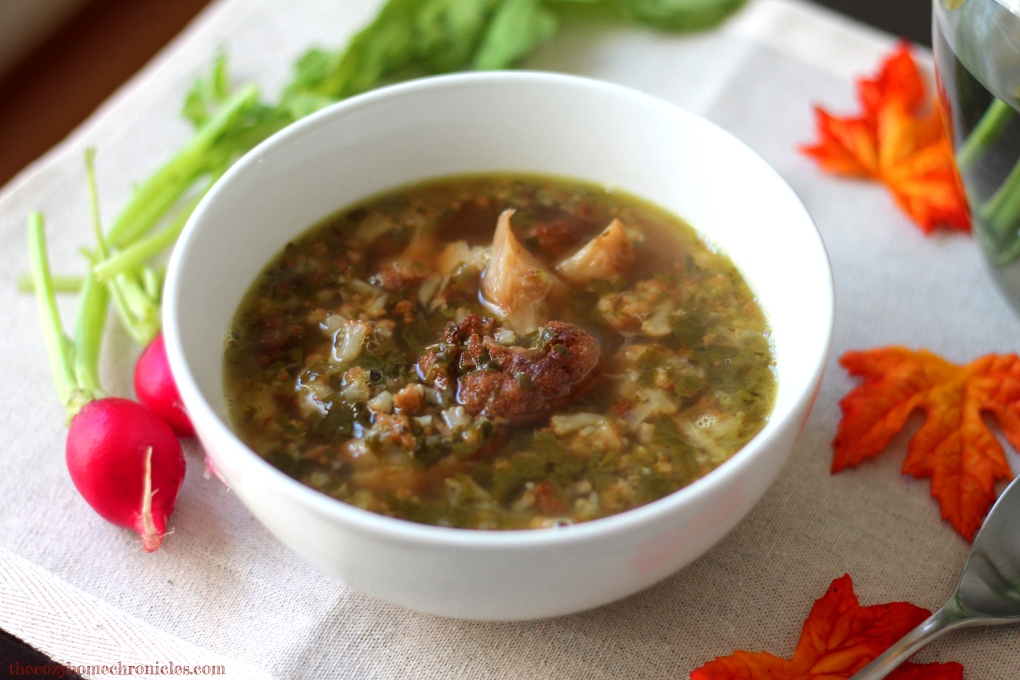
As the weather has started to cool down, I find myself turning more to preparing soups and stews for dinner. Particularly Lebanese stews, which are flavorful and hearty, and have always been some of my favorite meals growing up. No matter what the main ingredient is, I can eat the leftovers for a week and not get sick of it. They are that good! If you saw our post on the Lebanese Beef and Potato Stew, you’ll notice that this recipe is very similar. The only difference is that the star of this dish is sweet, golden-fried cauliflower or arnabeet and the broth is much tangier due to the extra lemon juice. I hadn’t made this recipe in a while but when I saw large cauliflower on sale at the local market, I decided it was time for this stew to make a reappearance on our table and an appearance on this blog as I continue to share our favorite family dishes. I hope you enjoy this one as much as we do 🙂

Lebanese Cauliflower Stew

  • Difficulty: Easy
  • Print

Ingredients
2 large cauliflower heads
1.5 lbs beef stew chunks
8-10 cups water*
2 small bunches cilantro
1 garlic head, peeled
2-4 lemons
Vegetable oil for frying
Salt and pepper to taste

*I am very liberal when it comes to the amount of water I use in preparing the broth because I end up skimming a lot so naturally it gets reduced and concentrated as time passes.

Directions

  1. Thoroughly wash your cauliflower and cut them into medium-large florets. The smaller you cut them the more they break up in the stew and you definitely want some cauliflower bites.
  2. In a large stockpot, bring the beef stew chunks and water to a boil and then let simmer, skimming the fat and impurities continuously until the broth is clean. Once the broth is clean, reduce the heat, cover and let simmer until the meat is tender (about 2 hours).
  3. In a food processor, pulse the cilantro and peeled garlic until you have a rough paste. 1/2 of this will go directly into the clean broth. The other half you will save for step 6.
  4. In the meantime, prepare a pot for frying and a tray for draining the oil (paper towel works just fine).
  5. Once the oil is hot, begin frying the cauliflower in batches until they are a beautiful golden brown. Salt them as they come out and let them drain from any excess oil.
  6. Prepare a pan with a bit of vegetable oil and sauté the other half of the cilantro-garlic paste until fragrant. Do not let them burn. Fish out the beef stew chunks from the broth and toss in the pan with the sautéed cilantro-garlic paste. Once browned, return to the stock pot.
  7. Transfer your cauliflower into the broth and let simmer for another 30-45 minutes until the cauliflower are tender.
  8. Season the stew with salt, pepper, and lemon juice to your liking. The broth should have a mellow sweetness from the cauliflower and a vibrant kick from the lemon, garlic, and cilantro combination.
  9. Serve with a side of basmati rice and fresh crunchy radishes.


img_6797

img_9707

img_6821

If you liked this post please follow us and share!

Instagram


Mexican Rainbow Rice Bowls

IMG_3934

It’s almost the end of September and I’m starting to panic because my due date for baby #2 is less than two months away. I have no name picked out and I’m nowhere near as ready or organized as I need to be. Luckily, I am finding some success with meal planning in the sense that I’m getting better at making our favorite go-to recipes last longer and work better in conjunction with other weekly meals. Hopefully this will come in handy when I’m juggling a rambunctious toddler and newborn come November…but I’m not holding my breath.

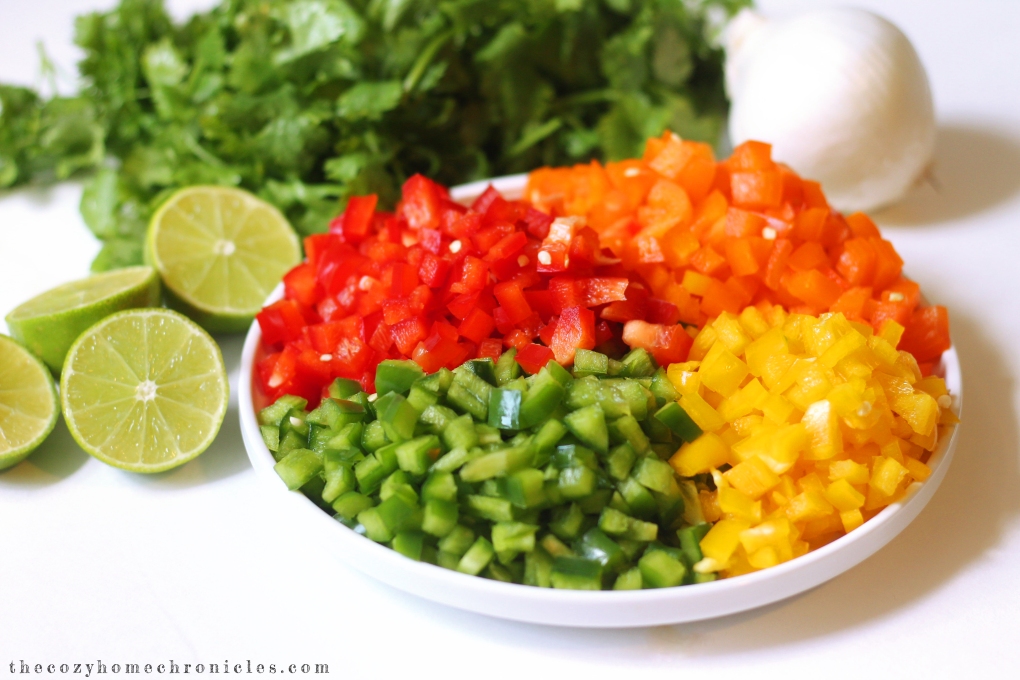
My husband LOVES (probably more than me…okay maybe not but almost) Mexican food. I’ll admit, there is definitely something heavenly about the combination of savory beans or meats, fresh garden salsa, creamy avocados, and dairy. We find this combination works best in the form of a rice bowl because it’s easy to both make and assemble especially if you want a meal that will last longer than a day or two. However, I’ve been wanting a rice base that packs a little more punch and nutrition than the usual rice bowls call for. Armed with half of the rainbow in peppers and some fresh cilantro, I concocted this colorful rice that will no doubt take your rice bowl from meh to marvelous. The best part? You’ll never need to go back to Chipotle again.

Mexican Rainbow Rice Bowls

  • Difficulty: Easy
  • Print

Ingredients
2 cups uncooked long-grain rice
1 tablespoon vegetable oil
1 red pepper, diced
1 green pepper, diced
1 orange pepper, diced
1 yellow pepper, diced
1 medium white onion, diced
1 bunch cilantro, finely chopped
1 garlic clove minced
1 cup lime juice
3 1/2 cups water (sub broth)
1 tablespoon tomato paste
1 teaspoon chili powder
1 teaspoon cumin
salt and pepper to taste

Topping Ideas
Spicy Black Beans, shredded chicken, or thinly sliced steak
Avocados or guacamole
Corn
Green onion
Shredded Lettuce
Tomato
Jalapeño
Salsa
Sour Cream
Shredded cheese

Directions
1. Oil a medium, heavy-bottom pot and sauté the diced onion, minced garlic, cilantro, and peppers until tender.
2. Stir in the uncooked rice along with the spices, tomato paste, salt and pepper until fragrant and well-incorporated.
4. Pour in the lime juice and water/broth and bring to a boil.
5. Reduce the heat and let simmer covered until the rice is tender and the liquid is absorbed (approximately 15-20 minutes depending on the type of rice you use).
6. Once the rice cools, scoop into a bowl and load it up with your favorite toppings for a flavor-packed, hearty meal.

IMG_3909

IMG_3921

IMG_3931

What are your favorite rice bowl toppings? We would love to know in the comments below and as always, if you liked this post please follow us and share!


Simple Kafta Pita Pizzas

IMG_3639 copy

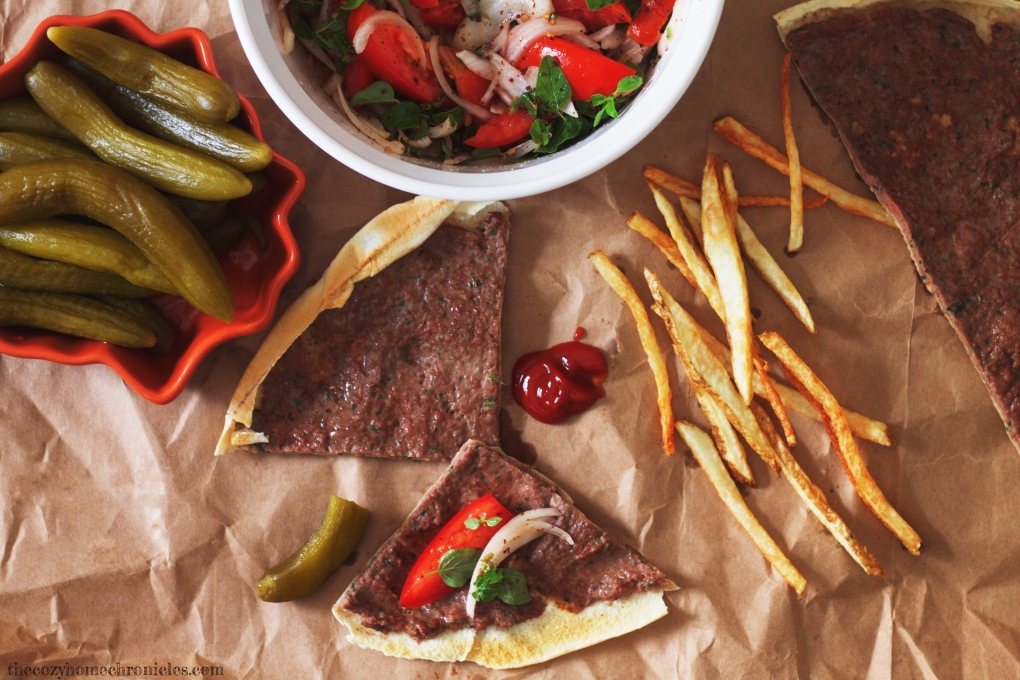
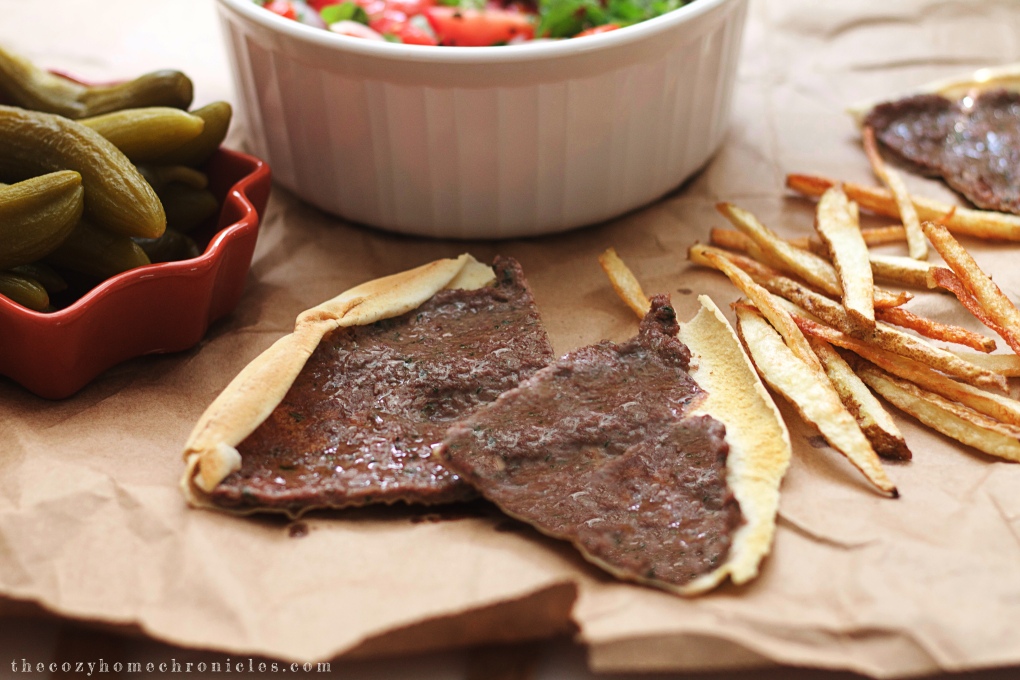
I’ve never been a picky eater and I enjoy many many foods but there will always be a special place in my heart for kafta pizza. For me, it conjures up memories of busy weeknights in high school filled with homework deadlines, violin lessons, and soccer practice. It was for those days, mom or dad would pick up fresh kafta from the local butcher and spread it on pita so that we could have dinner ready in no time. I’d roll mine up with a side salad of onions and tomatoes and savor every single bite. Mmmmmm.

Now that summer is ending and school is just around the corner it means plenty of busy days ahead. If you’re like me and looking to start the meal planning process now to get ahead of the game then this is the perfect midweek recipe to write in. With just a few ingredients you can have a delicious and filling meal for the whole family in a short amount of time. It’s also something different and variety is always nice to have in your meal plan 🙂

Simple Kafta Pizza Pita

  • Difficulty: Easy
  • Print

Ingredients

Kafta Pizza
Fresh pita bread
1 lb kafta (makes about 5 pizzas)

Side Salad
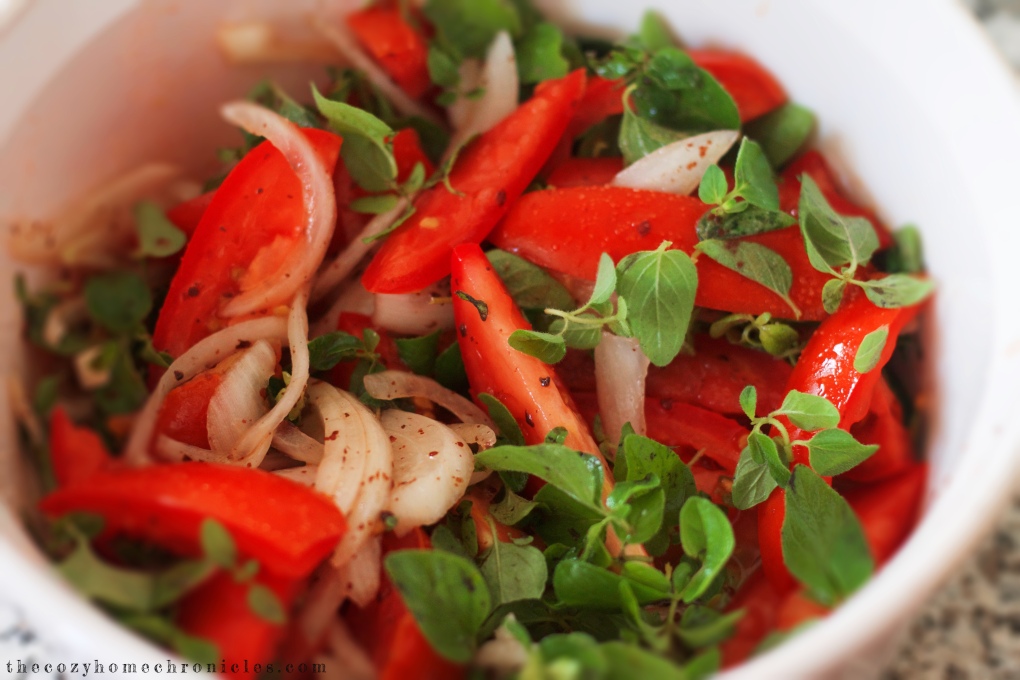
4 ripe roma tomatoes, cut into small wedges
1 medium sweet onion, thinly sliced
1 bunch fresh Thyme (sub parsley)
1 teaspoon sumac
1/2 lemon juiced
Extra Virgin Olive Oil
Salt and Pepper to taste

Sides
Homemade french fries
Lebanese yogurt
Lebanese pickles

Directions

  1. Turn your oven on the broiler setting and begin preparing any sides like frying your french fries (if you have some already cut up) or whipping your yogurt with a bit of salt.
  2. Make your side salad by gently tossing the tomatoes, onions, thyme, sumac, lemon juice, and olive oil. Finish off with salt and pepper to your liking.
  3. Open your pita bread at the seam so you have two evenly-sized thin pita circles.
  4. Using the back of a soup spoon, spread a tablespoon or two of kafta evenly across the inside part of your pita bread. If you put too much meat, it won’t fully cook and the bread will become soggy in the middle and burn on the edges.
  5. Place your kafta pizzas on a baking sheet and place under the broiler for about 5 minutes or until the meat is cooked and the bread is a nice golden brown.
  6. Enjoy!

IMG_3621 copy

IMG_3615 (1)

IMG_3630

If you liked this post please follow us and share!

Instagram