Soy Chorizo Vegan Chili

We are so behind on our post schedule it’s not even funny but I figured as long as I’m not posting this recipe in June, we’re cool (your standards change when you’re a parent of two). So March is less than a week away but that means NOTHING here in Michigan because our weather is a wild card of unpredictability (sigh). I’m not totally complaining though because for those really chilly spring days, we have just the recipe to warm up our bones and souls. If you’re in graduate school like us or lead generally busy lives, this is another easy and delicious recipe to add to your meal plan during those really hectic weeks.

IMG_7650

As I’m sure I mentioned before on here, we are always looking for ways to cut down on our meat consumption and a few years ago I stumbled across this pretty stellar soy chorizo at Trader Joe’s for just $1.99. I know, right?! At first we used it in our egg scrambles but one day it hit me that it would make a great meat substitute base for a vegan chili. Spoiler alert: It does! Not only does it have that perfect ground beef texture but it’s so spicy you may find you don’t even need to season your chili at all. You can also cut the preparation time for this recipe by opting for canned beans instead of dried beans but either way, your watch, wallet, and tummy will be satisfied with this hearty bowl of goodness.

IMG_7628

Soy Chorizo Vegan Chili

  • Difficulty: Easy
  • Print

Ingredients
1 large onion, finely chopped
1 cup of finely chopped carrots
1 cup black beans, cooked
1 cup kidney beans, cooked
1 12 oz. package of Soy Chorizo, casing removed and crumbled
1 15 oz. can  of tomato sauce
4 cups water or vegetable stock
2 garlic cloves, minced
Olive Oil
Salt and pepper to taste

Note: *If you prefer your chili to be less thick, you can add more liquid to water it down. *You can also tweak this recipe to your liking and include more vegetables such as bell peppers, tomatoes, and corn. *I find the soy chorizo makes the chili spicy and flavorful enough for our taste, especially with the kids in mind, but if you find the flavor isn’t cutting it for you, you can add the following: 1 teaspoon ground sweet paprika, 1 teaspoon ground cumin, 1 tablespoon chili powder, and 1/4 teaspoon cayenne pepper (optional).

Directions
1. In a deep pot, drizzle a bit of olive oil and sauté your onion, and garlic on medium heat until the onions are soft, about 5 minutes.
2. Next add in the carrots and soy chorizo. Cook for about 2-3 minutes until the ingredients are well incorporated.
3. Finally, add in the water/stock, beans, and tomato sauce. Bring to a boil then let simmer on low until reduced and thickened, about 20-30 minutes.
4. Taste the chili and season to your liking or adjust the thickness.
5. Ladle your chili into bowls and serve with vegan cheese, non-dairy sour cream, and crispy tortilla chips.

IMG_7632

IMG_7652

If you liked this recipe and tried it, we would love it if you would share or leave a comment below. For more related content, you can find us on Instagram where we share more of our day-to-day and Pinterest where we share our ideas and inspiration. And as  always…

signature3

.


Vegan Portobello Shawarmas

IMG_4131

I can’t believe how quickly the summer has ended! Although my husband and I both survived our first few weeks of the semester, we know that life is about to get  much busier and even more challenging. Blogging obviously isn’t going to be a main priority (booo, I know) but it will be nice to share some of our adventures as we trudge along through the rest of the school year. Some of the things that will still remain a priority, however, are eating clean and healthy and working toward a simple, sustainable lifestyle. To do that we will definitely have to become more efficient at organizing, meal planning, and prepping and that will certainly be easier with an arsenal of quick and easy recipes.

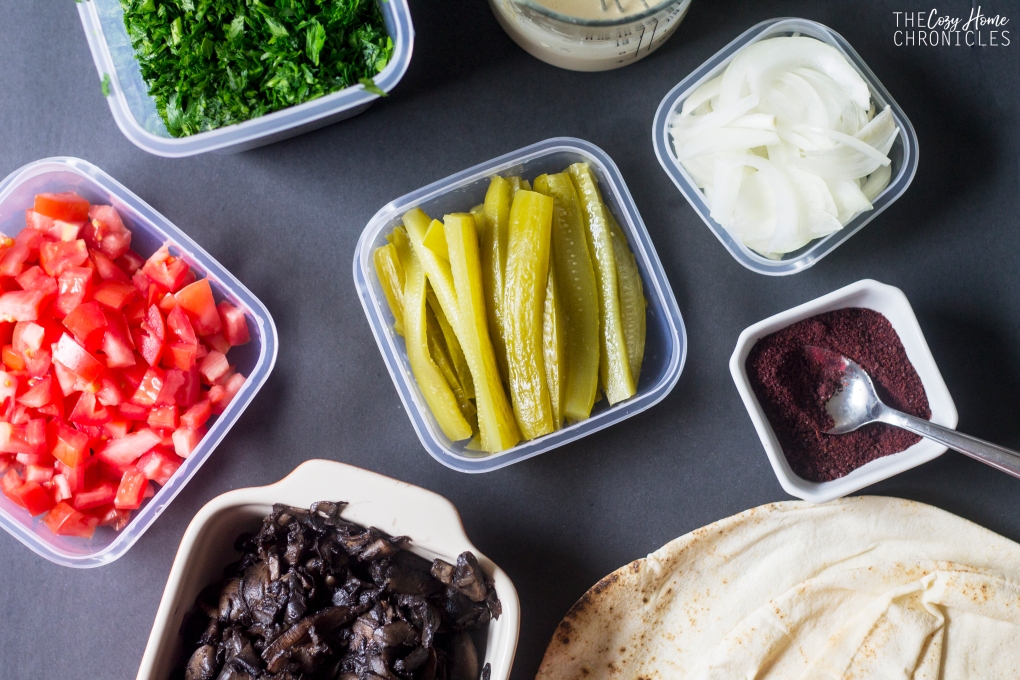
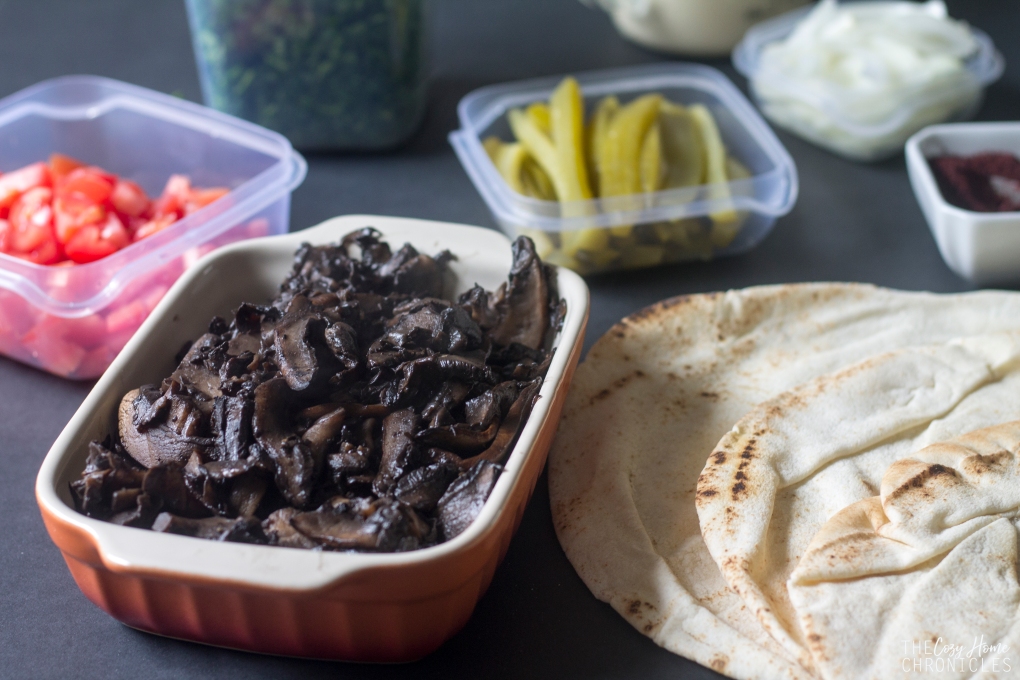
If you haven’t noticed, one of the things we’ve been trying to do around here is cut down on red meat. Sure there are many vegan dishes out there, including plenty of Middle Eastern options, but gosh darn it when you’re craving a shawarma, sometimes you really need to have your fix. Luckily, I found a way to have just that without the grease and fatty surprises and without all the baggage that comes with eating red meat. Eating portobellos as a meat substitute isn’t something new for us but incorporating meatless substitutes in very classic Middle Eastern recipes is. Who says you can’t have your cake and eat it too? I should note that this recipe has been tested and approved by my brother who leans toward carnivority (not sure if this is a thing). I won’t pretend that he was completely fooled but he had nothing but good things to say (he’s also a man of few words). I guarantee that you’ll be very pleased with this faux shawarma sandwich; the texture and flavor of the mushrooms combined with all of the vegetables and creamy tahini sauce, tastes pretty darn close to the real thing. Not only is it delicious but it is super easy to make and with minimal ingredients too. But you don’t have to take my word for it, try it yourself!

IMG_4108

IMG_4119

Vegan Portobello Shawarmas

  • Difficulty: Easy
  • Print

Ingredients
2 pounds portobello mushrooms
1 teaspoon shawarma spice (more if you like it spicier)
1/4 cup white vinegar
Olive Oil
Salt (to taste)

For sandwiches:
Pita bread
Tomatoes, diced
Onions, thinly sliced
Parsley, chopped
Pickled cucumbers or turnips, sliced
Sumac
Taratoor (tahini sauce)

Note: This recipe makes between 4-6 sandwiches depending on how stuffed you like them.

Directions

  1. Gently wash your portobello mushrooms and slice very thinly.
  2. In a large pan, drizzle olive oil and add in the mushrooms in batches. Each time the mushrooms start cooking down, add another batch to the pan.
  3. Once all the mushrooms are in the pan, add in the shawarma spice and vinegar, stir well to incorporate.
  4. Cook on medium-high until the liquid cooks off and the mushrooms begin to brown, approximately 10 minutes.
  5. In the meantime, prepare all your sandwich toppings and condiments.
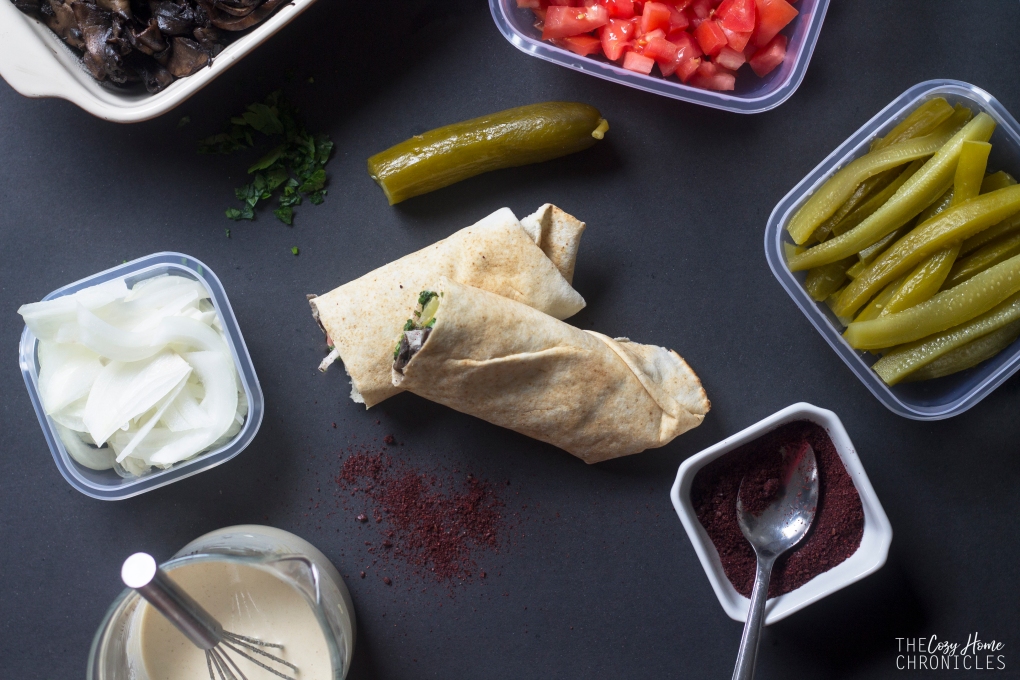
  6. Open your pita bread into halves and layer on the goodness: portobello shawarma, tomato, parlsey, pickles, onions, sumac, and a drizzle of taratoor.
  7. Roll up and enjoy!

IMG_4113

IMG_4125


IMG_4140

If you liked this post please follow us and share!


Instagram


Lebanese Lentil and Rice Pilaf (Mdardara)

img_0090

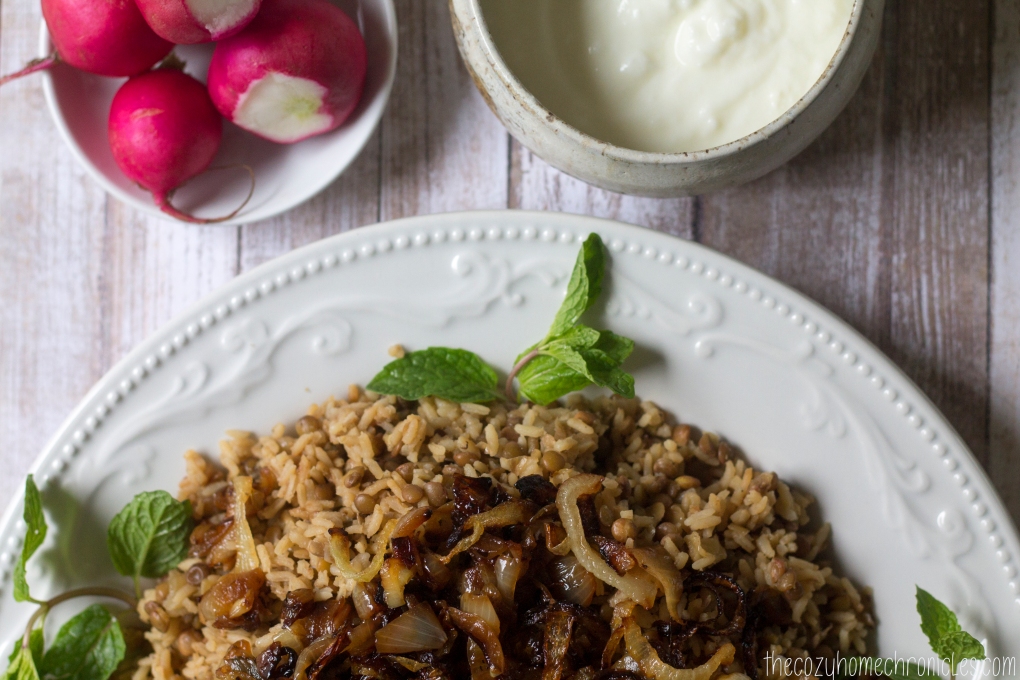
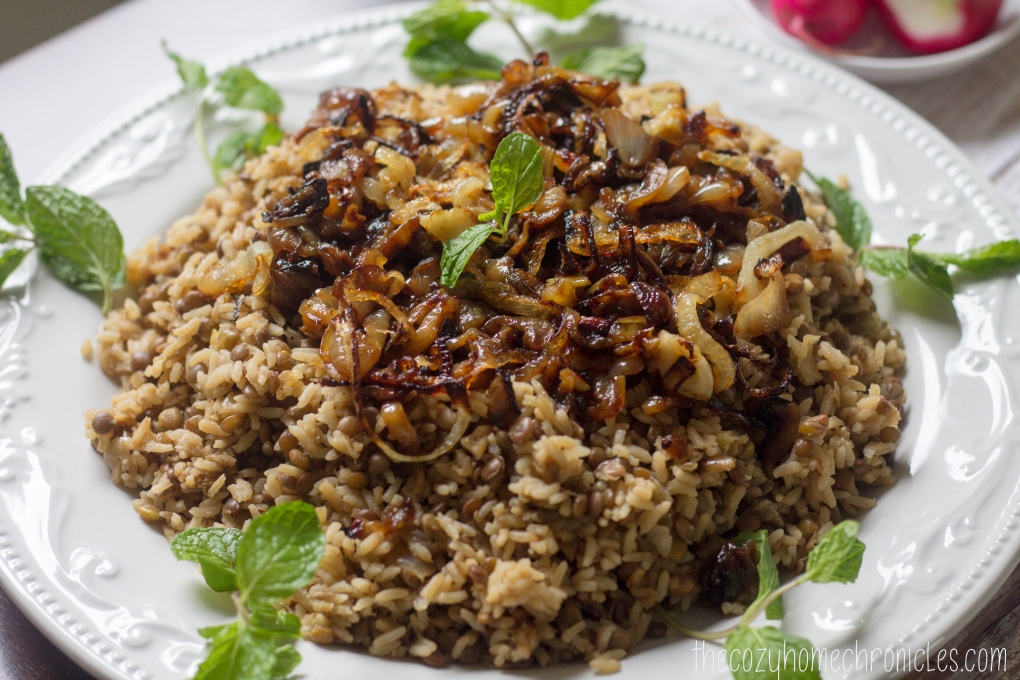
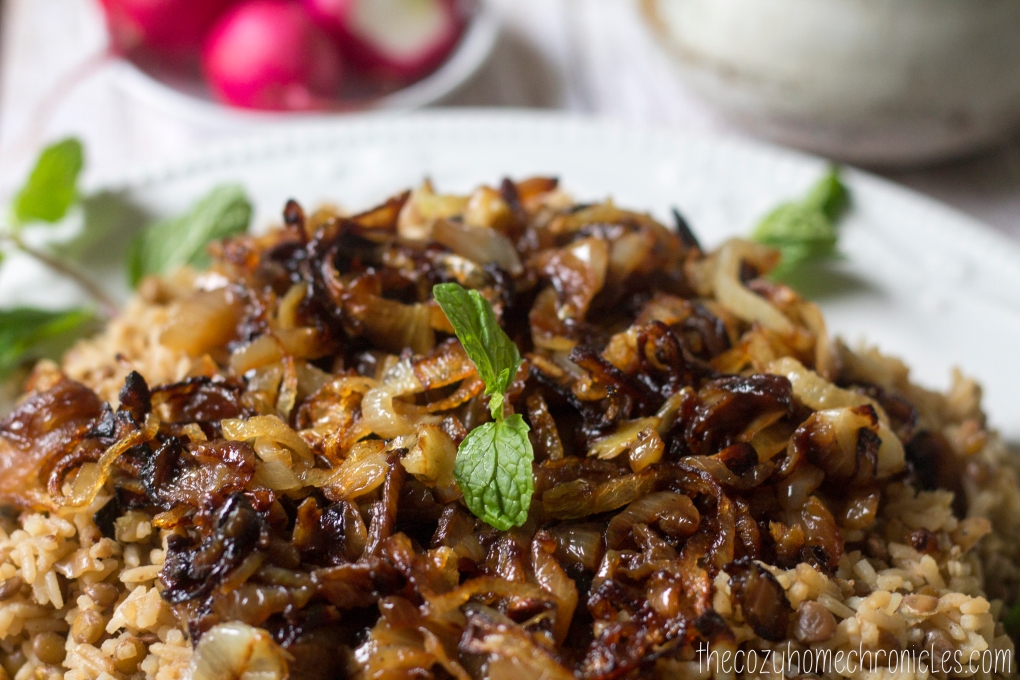
We know we haven’t posted in a while but we have been a bit busy working on some fun DIY projects around the house as well as an exciting project that we will be announcing next week. Although our lives are busy, we wholeheartedly believe in eating healthy homemade meals. It might seem difficult to strive for but there are plenty of healthy and simple meal options that one can make in a pinch. That’s why today I’m sharing one of our favorite vegetarian meal options that we enjoy almost every other week. I didn’t like this meal much when I was a child but it grew on me to the point that I now crave it as an adult. It’s a pilaf made of rice, onions, and lentils topped with more crispy caramelized onions and served with yogurt, crunchy radishes, and a side salad. It is both nutritious and delicious.

img_0099

To be honest though, there is one downside to making this dish. ONIONS. Your house will smell like onions, you will smell like onions, your car will smell like onions. The smell of onions will permeate your life for days. But I can promise you that it will all be totally worth it! I look back now and laugh but I remember in my early undergraduate days when I’d be getting ready to leave the house for my evening class and my father would start cooking this meal. I would try to race through the kitchen and out the side door but to no avail. That split second in the kitchen was enough to have me reeking. It’s funny to think that now, as a mom, I will be responsible for ensuring my family has their fair share of embarrassing, onion-filled moments. The circle of life. How beautiful 😉

img_0067

Lebanese Lentil and Rice Pilaf (Mdardara)

  • Difficulty: Easy
  • Print

Ingredients
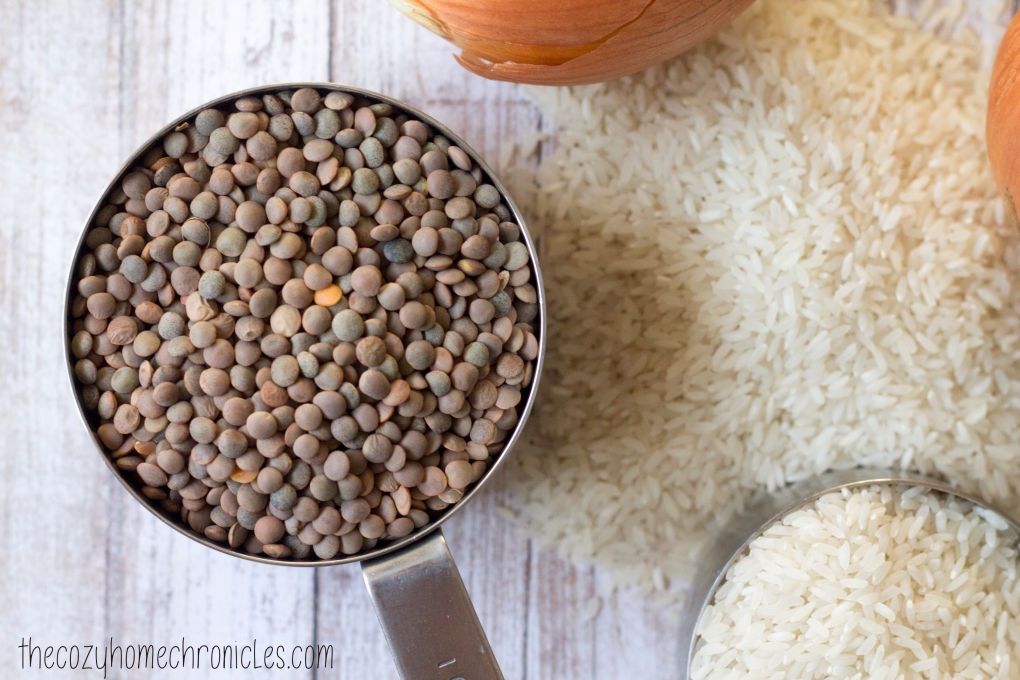
1 cup brown lentils
1 cup white rice
2 medium yellow onions, diced
3 large yellow onions, cut into half rings (optional)
4-5 cups of water*
1 tablespoon extra virgin olive oil
1/4 cup vegetable oil
1 teaspoon salt
1/4 teaspoon black pepper

*Note: I use 2 cups of water to parboil the lentils and 3 cups to cook the onions, lentils, and rice together. Even on the lowest setting our stove gets very hot and cooks very fast. You may find you only need 2 cups of water rather than 3.

Directions

  1. Rinse your lentils under cold water and remove any small debris.
  2. In a small pot, parboil your lentils in 2 cups of water for 10-12 minutes. Drain and set aside for step 5.
  3. Meanwhile in a larger pot, begin caramelizing your finely diced onions in olive oil. This will take time so be patient. Keep the fire on low and stir every so often until you have beautiful golden brown (but not burnt) onions.
  4. Add the remaining 3 cups of water to the onions and bring to a boil. Stir well, reduce the heat, and let simmer for 2 minutes.
  5. Pour the rice, lentils, salt, and pepper into your onion mixture. Stir well, cover, and cook until all the water has been absorbed (about 15-20 minutes).
  6. While your rice and lentils are cooking, heat the vegetable oil in a saucepan and fry your onion rings in batches until crispy and golden brown. Let drain on a paper towel until ready to serve. This part of the recipe is a bit unhealthy and you can skip it though it won’t be the same. Or you can slow caramelize your onions (I have done this many times) but it will take more time and they won’t be as crispy.
  7. Top your mdardara with the crispy fried onions and serve with yogurt (to keep this meal vegan leave the yogurt out), radishes, mint, and a fresh salad.

img_0074

img_0083

img_0097

img_0090

What are some healthy meals you hated growing up but grew to love as adults? Let us know in the comment section below.

If you liked this post please follow us and share!

Instagram


Potato Kibbeh (faux Lebanese steak tartare/kibbeh nayeh)

IMG_2396
Oh pregnancy cravings. You always have a way of being exactly what I’m not supposed to have. While we don’t eat a lot of red meat in our diet, I repeatedly craved kibbeh nayeh (a Lebanese dish made of fresh raw meat, bulgur, and spices) during my first pregnancy and now find myself craving it with my second. For obvious reasons, raw meat is a no-no but I was determined to see my craving satisfied by creating a stellar vegetarian substitute. When I first attempted to make faux kibbeh during my first pregnancy, I happened to only have yellow potatoes on hand and this turned out to be the biggest blessing in disguise. I have since tried this recipe using your average Idaho potatoes and let me tell you it simply isn’t the same! The waxiness of the yellow potato gives you that authentic meat-like texture and flavor that other potatoes don’t. Just take my word for it and you won’t be disappointed.

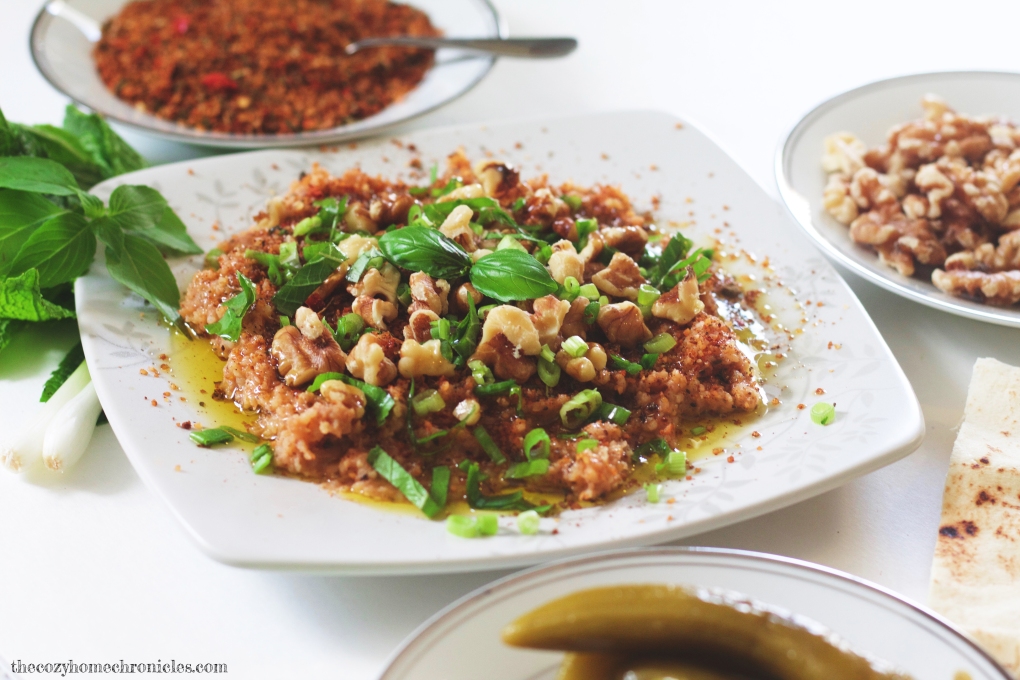
We didn’t eat kibbeh nayeh much growing up but when we did it was an absolute treat. For many Lebanese, the highlight is the meat but for my dad the thought of devouring mouthfuls of raw meat was just unappetizing. We ate this meal a particular way: a light amount of meat thinly spread, heavily topped with crunchy bulgur, walnuts, and aromatic spices, drenched in olive oil so rich you could drink it, garnished with fragrant herbs like basil and mint, and served alongside fresh sweet onions, radishes, and other crunchy veggies and treats. This is what I have sought to recreate in this recipe; not just faux meat but an entire medley of exquisite flavors that make for a simple, nutritious, and delicious vegan lunch or dinner. This recipe makes quite a bit because we enjoy it so much that we have it for lunch for a few days. So if you’re looking for a recipe that makes weekly meal planning a bit easier, this is definitely a keeper!

Potato Kibbeh (faux Lebanese steak tartare/kibbeh nayeh)

  • Difficulty: Easy
  • Print

Ingredients

Faux meat base:
3lbs yellow waxy potatoes
1/3 cup fine bulgur
2 tablespoons tomato paste
1 to 2 cups of kammouneh*
Salt and pepper to taste
1 tablespoon high quality extra virgin olive oil

*Kammouneh:
3 cups fine bulgur rinsed and thoroughly drained and dried
1/2 tablespoon salt
1 teaspoon ground black pepper
1 tablespoon cumin
1 tablespoon ground allspice
2 tablespoons paprika
1 tablespoon dried ground basil
1 teaspoon dried marjoram
1 teaspoon ground coriander
1/2 tablespoon crushed red pepper flakes (more or less depending on how much heat you can handle)

**You can also get kammouneh for kibbeh nayeh from your local Lebanese butcher if you live in the Dearborn area. I have some stored in my freezer which I use to make this recipe.

For serving and garnishment:
Scallions
Basil
Mint
Jalapeno peppers
Sweet onions
Radishes
Walnuts
Lebanese pickles and olives
Pita Bread
High quality extra virgin olive oil

Directions

  1. In a small bowl, combine 1/3 fine bulgur and warm water. Set aside for 30 minutes until soft.
  2. Meanwhile, peel and boil your potatoes in a large pot until cooked and tender.
  3. While your potatoes are boiling, make the kammouneh in the food processor by mixing the 3 cups of thoroughly drained bulgur (remove any excess moisture) with the kibbeh spices. The bulgur will stay slightly crunchy and will take on a reddish hue.
  4. Once your potatoes are thoroughly cooked, drain and rinse with cool water.
  5. This step can either be done with a potato masher or handheld mixer in a large bowl or in the food processor. You will want to whip your potatoes while warm and incorporate the 1/3 cup of soft bulgur, tomato paste, kammouneh, olive oil, and salt and pepper until perfectly seasoned. The amount of kammouneh that you add is flexible-start with 1 cup and if you feel it needs a bit more flavor and texture then add a bit more.
  6. Spread the faux meat base on a plate, making grooves with the fork.
  7. Top your base in the following order: 1) kammouneh 2) walnuts 3) scallions and herbs
  8. Drizzle a generous amount of olive oil and serve alongside pita bread and fresh herbs and vegetables.

IMG_2366

IMG_2423

IMG_2370

IMG_2376

IMG_2398

If you liked this post please follow us and share!

Instagram


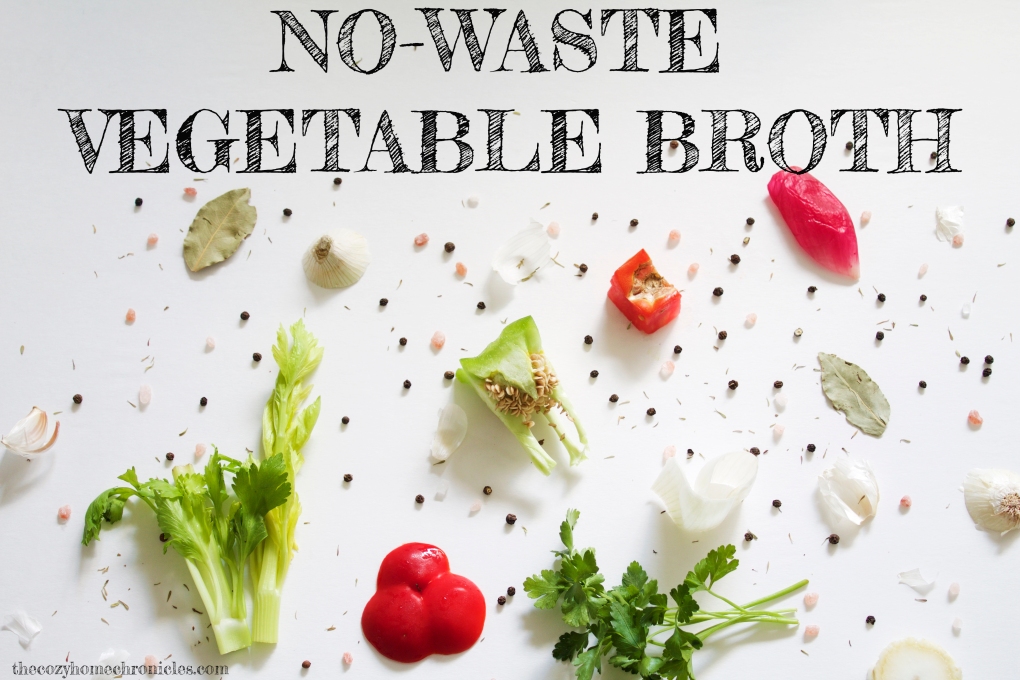
No-Waste Slow Cooker Vegetable Broth

IMG_1284

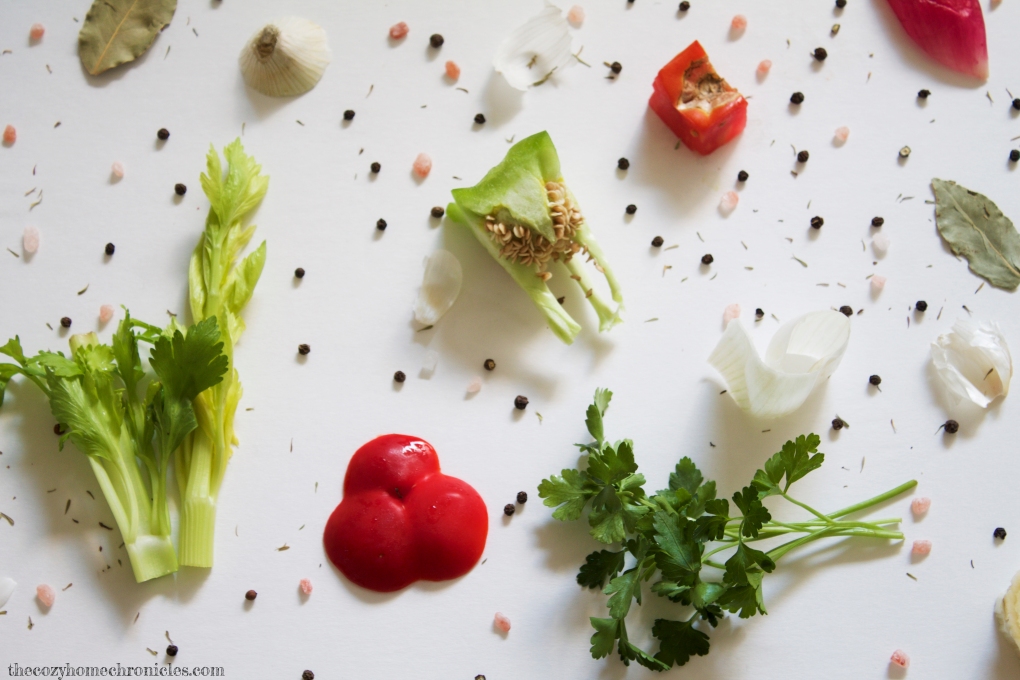
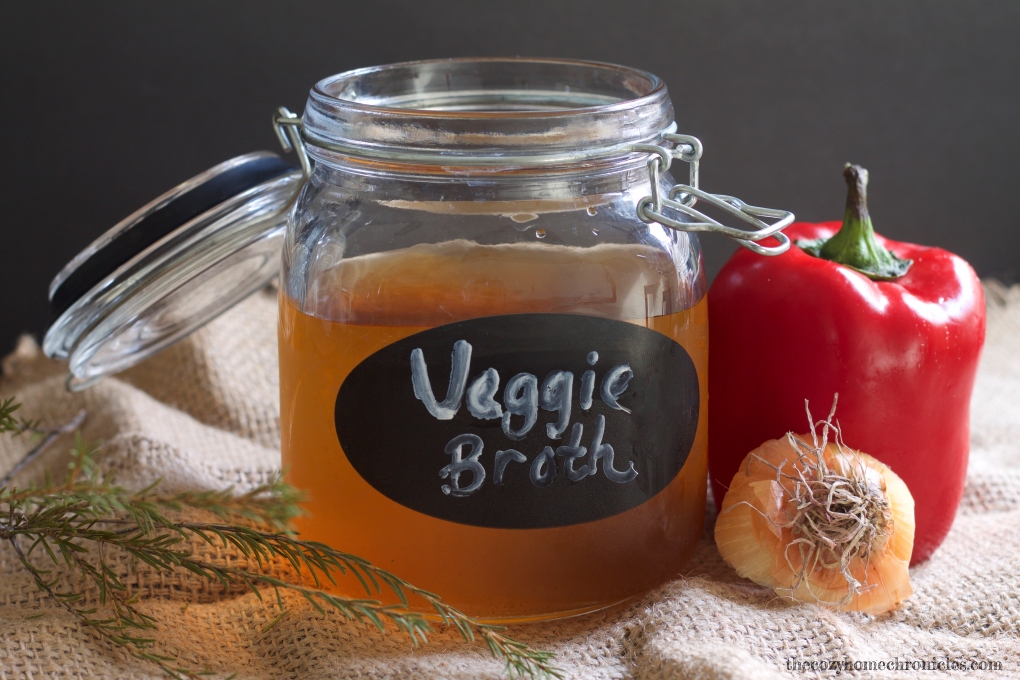
We are constantly trying to find new ways to recycle and reduce waste so when I attended a food demonstration at the healthcare system where I work, I was super excited when the cook revealed her secret for making use of unwanted vegetable scraps. Instead of throwing away the peels, ends, and cores of vegetables, she tossed them into a freezer bag until she had a nice collection and then threw them into a pot of boiling water to make vegetable broth. Since then, I have made this practice a habit and I have never needed to buy vegetable stock. All this requires of you is to be mindful during meal prep. Set aside any vegetable scraps you would normally throw away and store them in the freezer until you have a large collection. Once you’ve filled a bag or jar to the brim (over the course of however long it takes), toss the contents of the bag into a slow cooker or stock pot with water and the result will be a beautiful golden broth every single time. This broth is not only simple to make but it packs a ton of flavor, making it the perfect vegetarian substitute for chicken stock. You can use this broth to make soups, stews, rice, or even as a more flavorful substitute for water in your favorite recipe. Nutrient-rich, flavorful food, more savings, less waste. I think we can all agree this is a win-win-win!

Ingredients
1 quart freezer-bag or jar worth of clean frozen vegetable scraps (peppers, onions, garlic, squash, carrots, celery, etc..)
12 cups of water
1/2 teaspoon peppercorns
Sea salt (to taste)
2 Bay leaves

Note: Do not put any moldy, rotting, or bad vegetable scraps in your broth scrap bag. Before I am ready to make my broth, I also do a rundown of the fridge and toss in any parsley that is near expiration.

Directions
Place all your ingredients in a slow cooker, turn on high, and let it simmer for 6 hours while you do other awesome, productive things (Yay!).  If you’re using a stock pot on the stove, I would let it boil for two hours covered on low. Once the broth is done and has cooled, strain it into a larger bowl or pitcher and distribute evenly among your freezer storage of choice: glass jars or freezer bags.  Then, when you’re ready to cook, you’ll have delicious homemade broth ready at hand.

IMG_1285

IMG_1289

IMG_1304

IMG_1310

IMG_1347

What are the ways you try to reduce waste in your homes? We would love to hear from you! And as always, if you liked this post please follow us and share!

Instagram