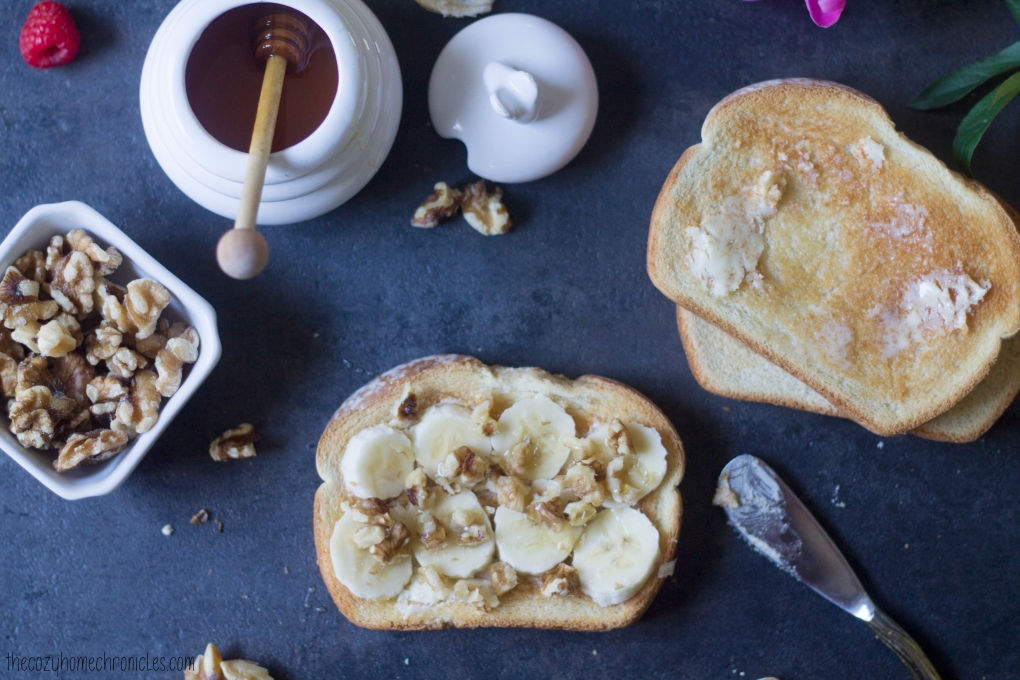
Banana Honey Walnut Toasts

IMG_2240

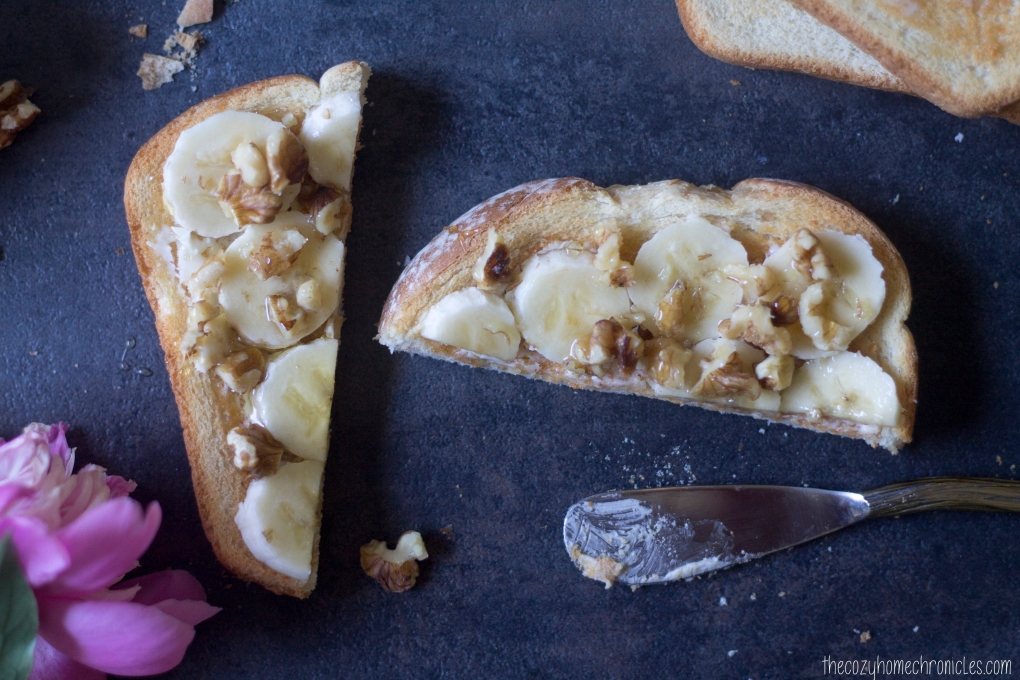
Although Ramadan ended over a month ago, we are still having a difficult time breaking some of our Ramadan schedule and habits. Not only do we still stay up pretty late (midnight is the norm for me), but we also eat like mice early in the morning because it feels strange to fill up right after we’ve woken up. With all the things we have going on in our life, we certainly can’t afford to skip out on the most important meal of the day so today I’m sharing a simple breakfast idea that’s sweet, crunchy, and filling. Banana sandwiches are something we grew up eating as a treat. My father would make it for us and share stories of his picky-eating days, growing up in Beirut, where all he would eat was bread and sugar to fill up. I guess you can’t really go wrong with bread and banana! Thankfully none of us turned out that picky but that doesn’t mean we can’t celebrate the product of my father’s resourcefulness 🙂

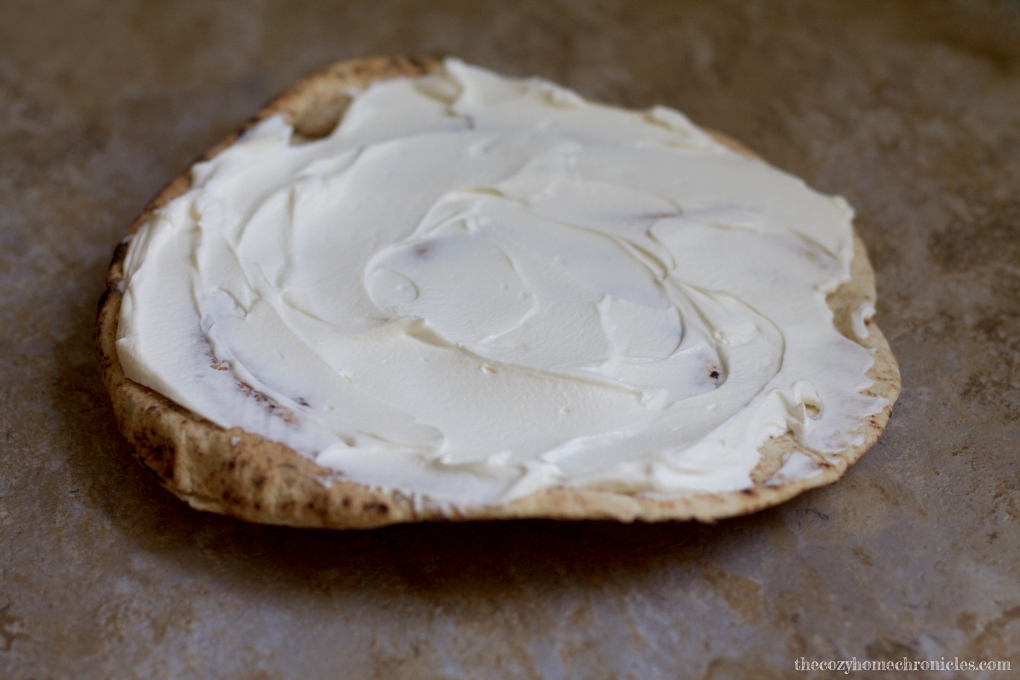
When I got married, I was introduced to a whole different world of foods I had never eaten. One of those things was geimar, a creamy Iraqi spread similar to clotted cream. It’s thick and rich in just the right way and it’s unsweetened which makes it the perfect base for a sandwich like this. We don’t eat it often but when my in-laws are in town we make sure to get our fill of geimar, samoon (Iraqi flatbread), and honey. When I photographed this recipe, I used sourdough toast that I had on hand but you can use any bread you like. If you desire more substance and less bread, you can cut the banana length wise and roll it up in a thin pita bread just like my dad used to do.

Ingredients
Quality artisan bread/toast
Salted butter or clotted cream
Banana
Honey
Walnuts

Note: You can use unsalted butter if you’d like but I find the saltiness works wonderfully with the sweetness of the honey and banana.

IMG_2245

Directions
Toast the bread of your choice and generously lather on some butter while it’s still a bit warm. Layer on banana slices and walnuts and then drizzle on some honey. Serve alongside a nice cup of piping hot tea.

IMG_2251

IMG_2253

If you liked this post please follow us and share!

Instagram


Lebanese Green Bean & Tomato Stew (Loubya Bi Zayt)

IMG_0887

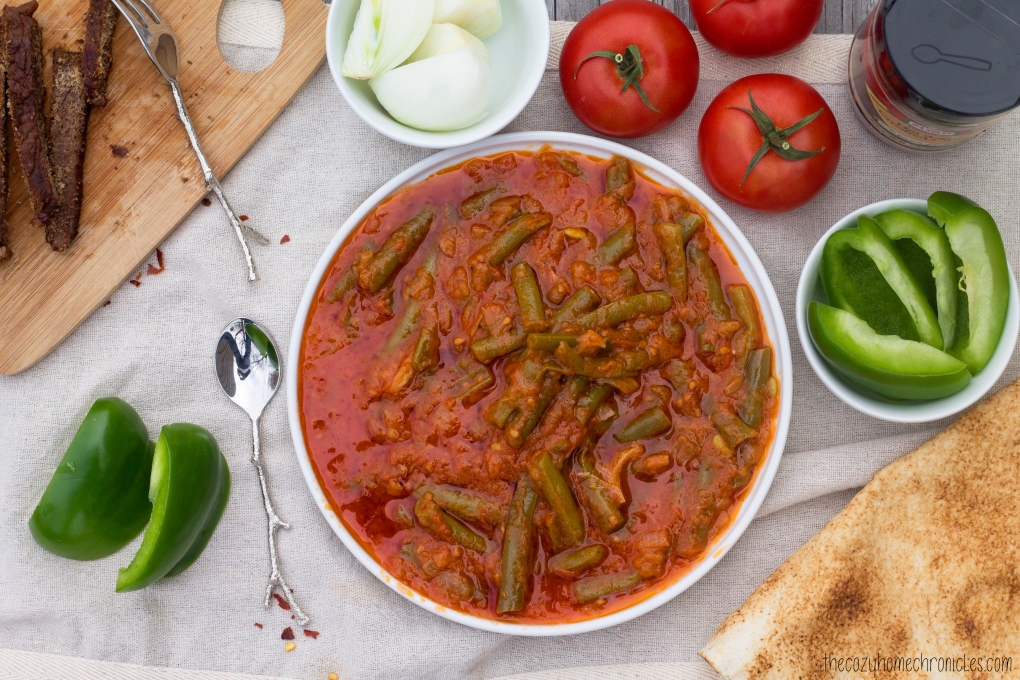
Gardening season is officially in full swing and you know what that means, right?  Fresh, delicious vine-ripened tomatoes hand-picked from your very own backyard. After putting all that hard work into growing your garden, you’ll certainly want to savor the fruits of your labor.  Fresh tomatoes are perfect for salads, salsas, and sauces but why not try something new? Loubya bi Zayt, a Lebanese dish of green beans, onions, and tomatoes cooked in olive oil, is the perfect way to showcase your garden harvest. The tomato and olive oil combination is delightful and if stewed properly, results in a satisfyingly gelatinous texture. My father, whom I learned this recipe from, would cook the green beans with fresh finger peppers or jalapeños for a spicy kick. Since I have two little ones who eat with us, I don’t add any heat during the cooking of this dish but instead top my own plate with red pepper flakes for a nice kick. This dish is delicious on its own served with pita, green peppers, and sweet onions but it can also be treated as a side to a sizzling barbecued steak. In the past when my acid reflux was too much to handle, I would make basmati rice to serve alongside the green beans to break up the acidity of the tomatoes. Whichever way you serve this dish, you will not be disappointed. The best part? It’s super easy to make and requires just 3 main ingredients.

IMG_0863

IMG_0867

Lebanese Green Bean & Tomato Stew (Loubya Bi Zayt)

  • Difficulty: Easy
  • Print

Ingredients:
5 medium tomatoes, ripened
4 white onions, finely diced
2 pounds fresh green beans
2 tablespoons tomato paste diluted in 1 cup of water
1 garlic clove, thinly sliced
1/2 cup of olive oil, plus more
Salt and pepper to taste
Red pepper flakes to taste (optional)

Directions

  1. Clean and trim your green beans, cutting them into 1-2 inch pieces.
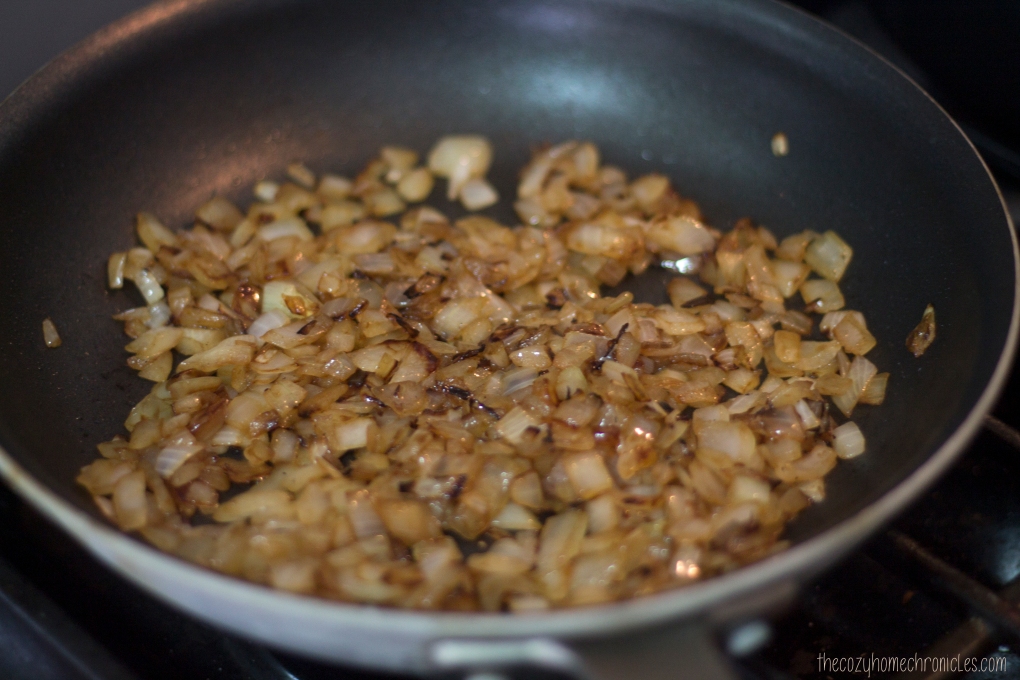
  2. Drizzle some olive oil in a large pot and sauté half of your finely diced onions until translucent and light brown. You can sauté all the onions at once to save time but the dish will be on the sweeter side no matter how much salt you add.
  3. While the onions are slowly caramelizing (careful not to burn), blend the ripened tomatoes in a blender with salt and pepper to taste. If you don’t want the tomato seeds or skin then strain before adding to the pot.
  4. To the pot, add in your green beans, garlic, and the rest of your onions and cook for 5-7minutes, stirring gently. You want the green beans to pick up flavor and color but make sure they don’t steam or they will taste rubbery.
  5. Finally, pour in the fresh tomato juice, diluted tomato paste, and 1/2 cup of olive oil and bring to a boil before turning the heat on low. Let it simmer uncovered on low heat for about 30-40 minutes until the green beans are tender and a thick gelatinous texture begins to form.
  6. Serve hot as the main dish or let it cool and serve as a side.

IMG_0879

IMG_0898

If you liked this post please follow us and share!

Instagram


Eid Festivities and Unicorn S’mores

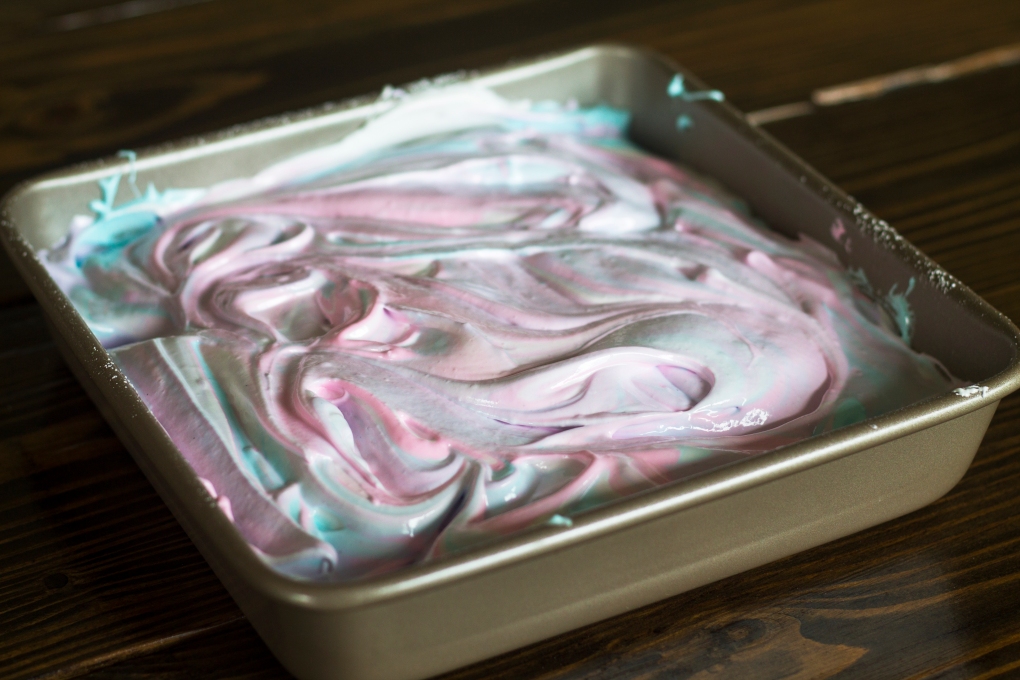
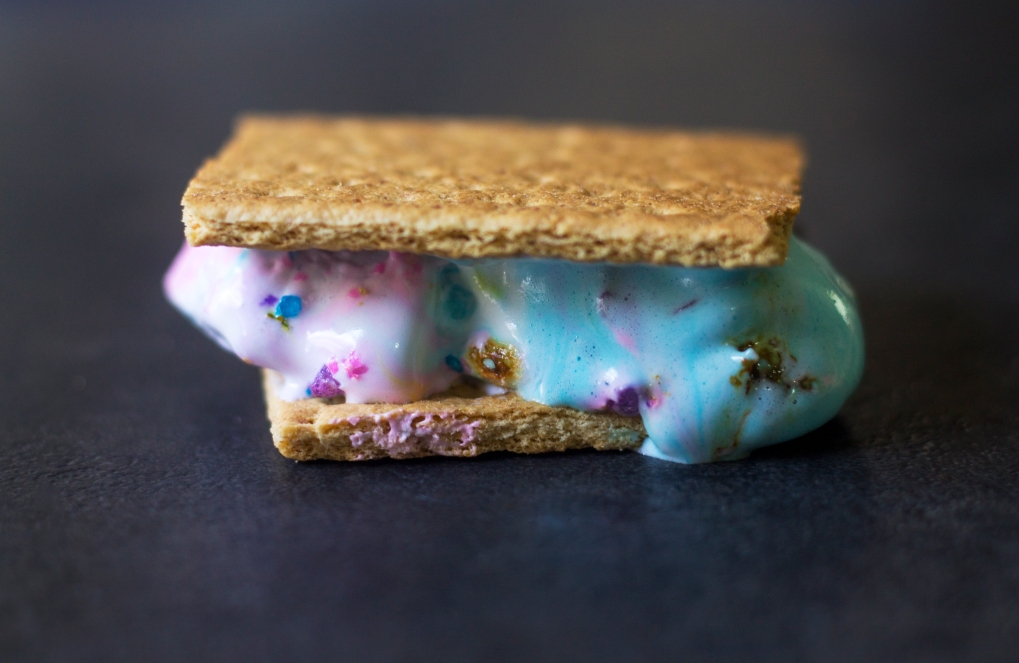
Happy Wednesday Friends! It’s been a pretty uneventful month here on the blog. With fasting during these long summer days and two babies (and school and work), it has been difficult to find the energy to write. Hopefully that will change as the month of Ramadan comes to an end. There are definitely many things we are going to miss; the spiritual high, eating iftar with family almost everyday, the Dr. Pepper and homemade french fries (we make exceptions during Ramadan only), and the city buzzing late at night. Despite all these wonderful things, we are really looking forward to celebrating Eid with our loved ones. We are also definitely super excited to share our ideas for a fun and stress-free Eid. First on the agenda,  we teamed up with the wonderful Amanda Saab from Amanda’s Plate to bring you a colorful treat perfect for Eid and summer bonfires. Behold,  The Unicorn Marshmallow.

IMG_2407

IMG_2513

It’s beautiful isn’t it? Now the recipe, you will find on Amanda’s blog if you click here. We thought it would be fun to assemble it into a s’more kit for your Eid guests so we designed coordinating labels that you can download, print, and attach to your favors for a more personalized touch.

EidTags

Here’s what you’ll need to put your favors together:

Graham Crackers
Quality Chocolate Bar
Amanda’s Unicorn Marshmallows
Clear candy bags or small cupcake boxes
String
Labels (download here)
Hole Puncher

The assembly is super easy. All you need to do is pair some graham crackers with a square of marshmallow and a piece of chocolate and then wrap. Not sure what to do on Eid? Invite family over for a BBQ/bonfire in the evening and serve up these pretty s’mores. There are no guarantees in life but these treats may or may not make you the coolest Eid party host 😉

IMG_2495

IMG_2517

IMG_2643

If all this talk of Eid is starting to stress you out then consider planning your Eid a few days ahead with our Eid Planner. We know how stressful the day can be for us if we’re not prepared and so we already started taking notes of all the things that need to get done. There’s people that we will need to visit (and people that will be visiting us) which means we need to clean the house and bake (or purchase) treats for our visitors as well as purchase gifts/flowers (and take out cash from the bank), etc…Basically, there’s a lot to do! And if you find yourself in a similar boat then you may find jotting everything down will help you not just tackle the day but actually enjoy it 🙂 All you need to do is print and begin filling out the various sections. Knowing what you’ll be wearing or who you’ll be visiting will help you develop a more accurate checklist (like if you’ll need to shop for gifts AND Eid clothes for you and the kids).

IMG_2531

Okay, you’re in planning mode and you have “make unicorn marshmallows” on your checklist. What now? If you’re like us and scramble every year to get envelopes to put the Eideya in and then shake your head in dissatisfaction at the lack of creative Eid stationary then we got you covered with this printable DIY Eideya Envelope. All you need to do is:

  1. Print
  2. Fold
  3. Cut
  4. Tape
  5. Slip in the cash, gift cards, or sweets
  6. Seal


IMG_2532

You can even insert some crayons and you’ll have a coloring activity to keep little ones busy as you scarf down brunch. At the end of the day, however you choose to celebrate, we wish you a stress-free and blessed holiday. We look forward to resuming and sharing our DIYing and home projects with you after the festivities have ended.

Printables
Gift/Favor Tags
Eid Planner
DIY Eideya Envelope

If you liked this post please follow us and share!
Instagram


Iraqi Eggs in Tomato Sauce (Makhlama)

IMG_0982

We pride ourselves in our diversity as a family so this post will touch on that a little bit. Together, my wife and I, have roots from six different countries including where we were raised: Albania, Iraq, Lebanon, Poland, Sweden, and The United States. This specific recipe has been a breakfast staple in my household growing up and my father used to make it for us as far back as I can remember. Although the ingredient list is simple, this dish is truly a labor of love; from the slow caramelizing of the onions to the bubbling and simmering of the fresh tomatoes with turmeric and pepper. It’s the spiciness and subtle sweetness of the scrambled eggs that really sets it apart from its omelet cousin. Served with warm, freshly-baked samoon or sangak and sweet, mint-infused black tea, makhlama is sure to brighten any morning.

IMG_0984

In 2014, we visited my family in Sweden and my wife was able to taste the epicness (made-up word) of my father’s makhlama for the first time. Since then, it has become a highlight of our weekend breakfasts together. While in Sweden, we would eat makhlama alongside räksallad, a creamy shrimp salad, and knäckebröd (Swedish crispbread) and it was simply delicious. At home in the States, we eat it with buttery croissants, sharp Vermont cheddar or creamy labneh, and arugula. We consider ourselves very blessed that we have such diverse tastebuds and culinary menus to draw from when meal planning. There is never a dull meal. We eat and enjoy dishes from all around the world and we get to share with each other (and hopefully one day with our children) the memories of what those meals conjure up.

IMG_0952

Iraqi Eggs in Tomato Sauce (Makhlama)

  • Difficulty: Easy
  • Print

Ingredients
4 eggs
1 medium sweet onion
4-5 small ripe tomatoes
1 teaspoon Turmeric
1/2 teaspoon salt
1/4 teaspoon ground black pepper
1/4 cup vegetable oil

Note: Serves 2-4

Directions
1. Dice the onions very finely and sauté in hot vegetable oil on low until light brown and caramelized. This takes time so be patient and stir often so as to not let it burn.
2. In the meantime, dice your tomatoes and prepare your spices. Once your onions are slightly caramelized, add in the tomatoes and spices and cook off until thickened.
3. Crack your eggs into the pan and scramble them around until cooked.
4. Serve with warm delicious breads, cheeses, and fresh herbs. And of course a nice hot cup of chai!

IMG_0961

IMG_0967

IMG_0977

IMG_0991

What are some meals that remind you of your childhood growing up in a different culture?

If you liked this post please follow us and share!

Instagram


Lebanese Lentil and Rice Pilaf (Mdardara)

img_0090

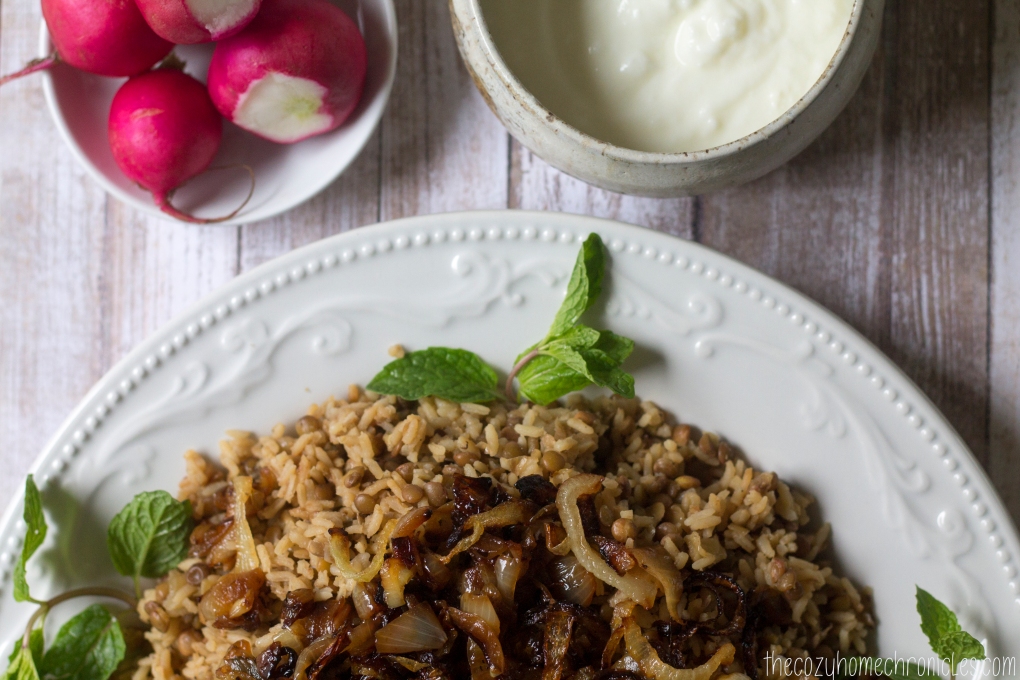
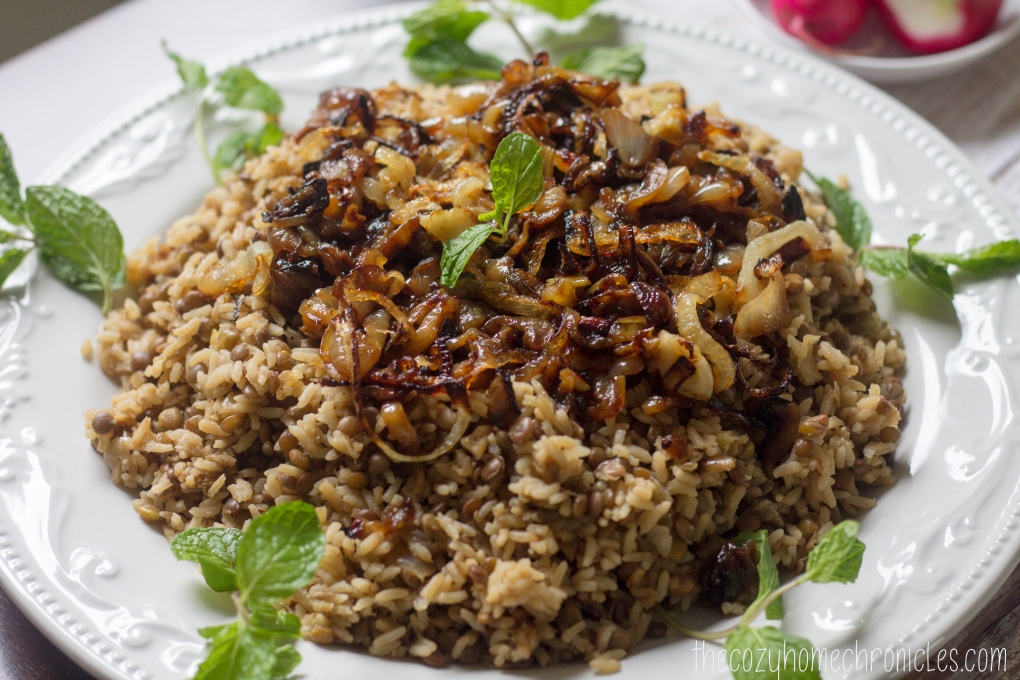
We know we haven’t posted in a while but we have been a bit busy working on some fun DIY projects around the house as well as an exciting project that we will be announcing next week. Although our lives are busy, we wholeheartedly believe in eating healthy homemade meals. It might seem difficult to strive for but there are plenty of healthy and simple meal options that one can make in a pinch. That’s why today I’m sharing one of our favorite vegetarian meal options that we enjoy almost every other week. I didn’t like this meal much when I was a child but it grew on me to the point that I now crave it as an adult. It’s a pilaf made of rice, onions, and lentils topped with more crispy caramelized onions and served with yogurt, crunchy radishes, and a side salad. It is both nutritious and delicious.

img_0099

To be honest though, there is one downside to making this dish. ONIONS. Your house will smell like onions, you will smell like onions, your car will smell like onions. The smell of onions will permeate your life for days. But I can promise you that it will all be totally worth it! I look back now and laugh but I remember in my early undergraduate days when I’d be getting ready to leave the house for my evening class and my father would start cooking this meal. I would try to race through the kitchen and out the side door but to no avail. That split second in the kitchen was enough to have me reeking. It’s funny to think that now, as a mom, I will be responsible for ensuring my family has their fair share of embarrassing, onion-filled moments. The circle of life. How beautiful 😉

img_0067

Lebanese Lentil and Rice Pilaf (Mdardara)

  • Difficulty: Easy
  • Print

Ingredients
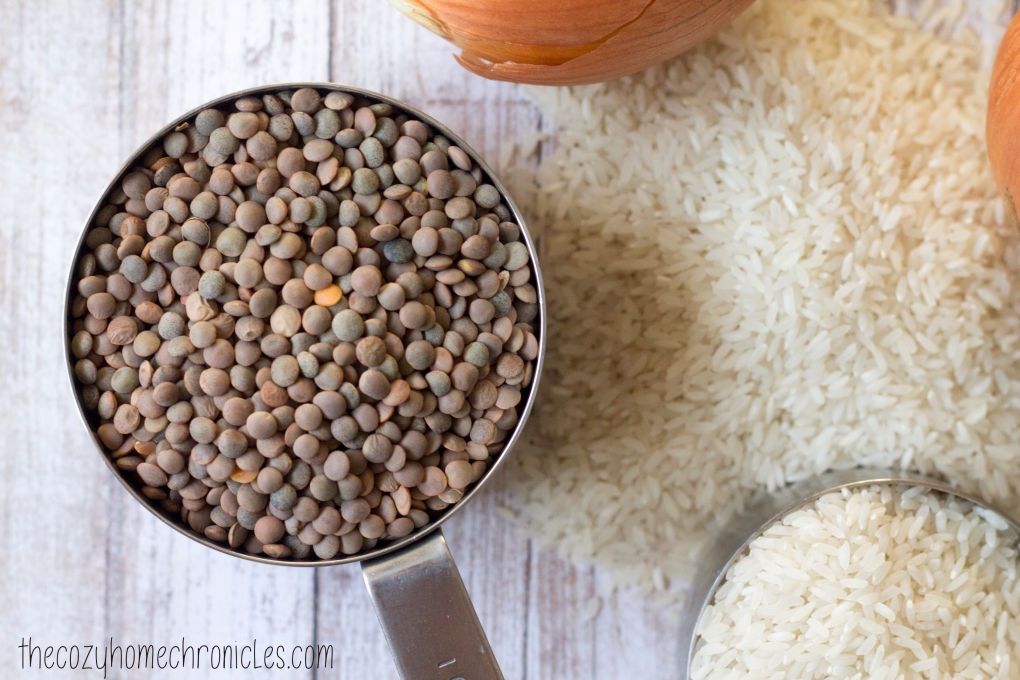
1 cup brown lentils
1 cup white rice
2 medium yellow onions, diced
3 large yellow onions, cut into half rings (optional)
4-5 cups of water*
1 tablespoon extra virgin olive oil
1/4 cup vegetable oil
1 teaspoon salt
1/4 teaspoon black pepper

*Note: I use 2 cups of water to parboil the lentils and 3 cups to cook the onions, lentils, and rice together. Even on the lowest setting our stove gets very hot and cooks very fast. You may find you only need 2 cups of water rather than 3.

Directions

  1. Rinse your lentils under cold water and remove any small debris.
  2. In a small pot, parboil your lentils in 2 cups of water for 10-12 minutes. Drain and set aside for step 5.
  3. Meanwhile in a larger pot, begin caramelizing your finely diced onions in olive oil. This will take time so be patient. Keep the fire on low and stir every so often until you have beautiful golden brown (but not burnt) onions.
  4. Add the remaining 3 cups of water to the onions and bring to a boil. Stir well, reduce the heat, and let simmer for 2 minutes.
  5. Pour the rice, lentils, salt, and pepper into your onion mixture. Stir well, cover, and cook until all the water has been absorbed (about 15-20 minutes).
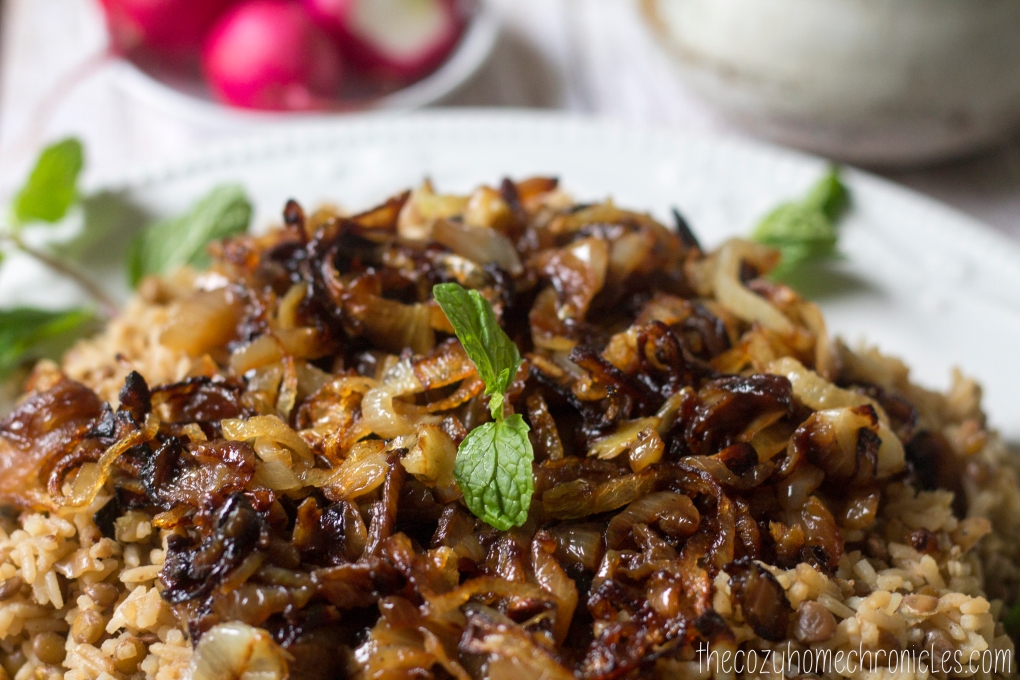
  6. While your rice and lentils are cooking, heat the vegetable oil in a saucepan and fry your onion rings in batches until crispy and golden brown. Let drain on a paper towel until ready to serve. This part of the recipe is a bit unhealthy and you can skip it though it won’t be the same. Or you can slow caramelize your onions (I have done this many times) but it will take more time and they won’t be as crispy.
  7. Top your mdardara with the crispy fried onions and serve with yogurt (to keep this meal vegan leave the yogurt out), radishes, mint, and a fresh salad.

img_0074

img_0083

img_0097

img_0090

What are some healthy meals you hated growing up but grew to love as adults? Let us know in the comment section below.

If you liked this post please follow us and share!

Instagram


Healthy Homemade Butterfingers

img_9645

My brother recently brought over a PB&J  Chobani Flip for me because he’s experimenting with “healthier” snacking and wanted me to try it out. Ignoring the fact that it had 18 grams of sugar, the crunchy peanut topping was quite good and reminded me instantly of the popular candy bar Butterfinger; something I haven’t had in a long time. Although we both love all things peanut butter and chocolate, we have chosen to stay away from processed foods especially made by Nestle. Of course I couldn’t leave my sweet tooth hanging so I sought to create a healthier, homemade version of the candy bar. And that is exactly what I did… in the form of a granola bark.

img_9198-1

Plain granola bark without the peanuts or chocolate drizzle on top.  

img_9633

Granola and roasted peanut cluster bark

I did look up how to make homemade Butterfinger but all the recipes I found either required a candy thermometer or even unhealthier store-bought candy corn. Ain’t nobody got time for that! All I did for this recipe was create a sweet, nutty, and crunchy granola as a substitute for the crispy textured inside of the candy bar and made it into a bark for easy assembly. At first, I tried making a batch of granola with regular peanut butter but I felt that I could not control the flavor as I desired so I used PB2 instead and experimented with different combinations of maple syrup, vanilla extract, and salt until I felt I achieved that distinctive Butterfinger taste and texture. You’ll be pleasantly surprised at how simple this recipe is and the best part is that it has real wholesome ingredients and none of the preservatives! Just know that this bark is addicting but it does store well in the fridge so try to save some for your friends and family. They’ll be happy you did 🙂

Healthy Homemade Butterfingers

  • Difficulty: Easy
  • Print

Ingredients

Granola
1 1/2  cups rolled oats
1/2 cup coarse crushed salt roasted peanuts
6 tablespoons PB2 powder
3-4 tablespoons water
1/2 teaspoon salt
1 teaspoon vanilla extract
1/4 cup pure maple syrup
2 tablespoons vegetable oil

Butterfinger bark
1/2 cup of quality milk chocolate, melted
1 1/2 cups of crunchy peanut granola
1/4 cup salt roasted peanuts (optional)

Directions
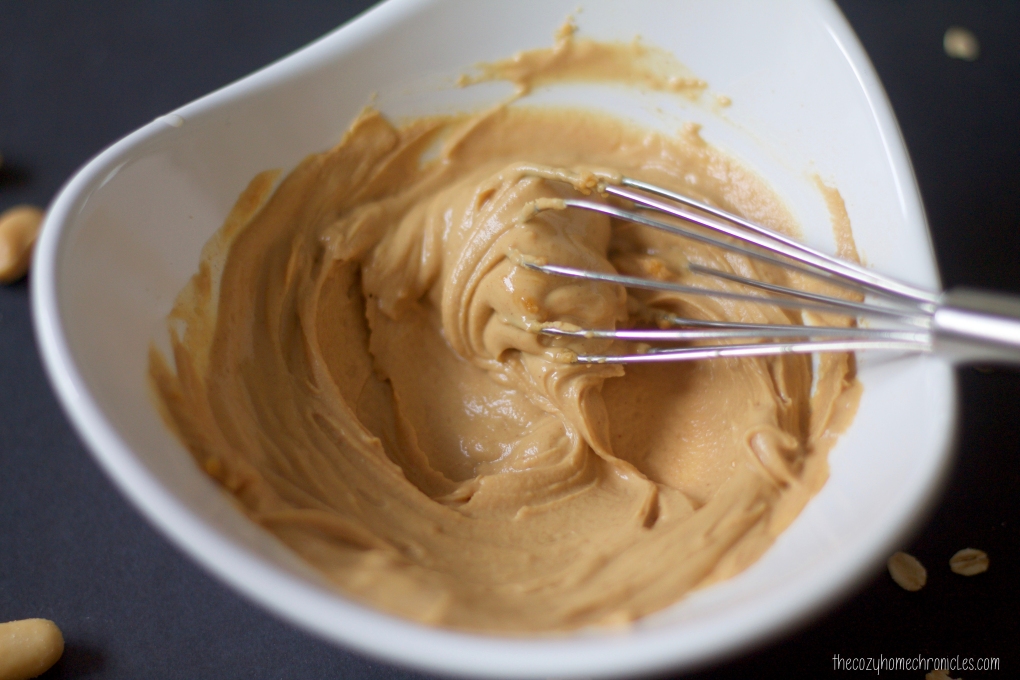
1. In a mixing bowl, combine PB2 and water. Stir in the salt, vanilla extract, maple syrup, and oil until smooth.
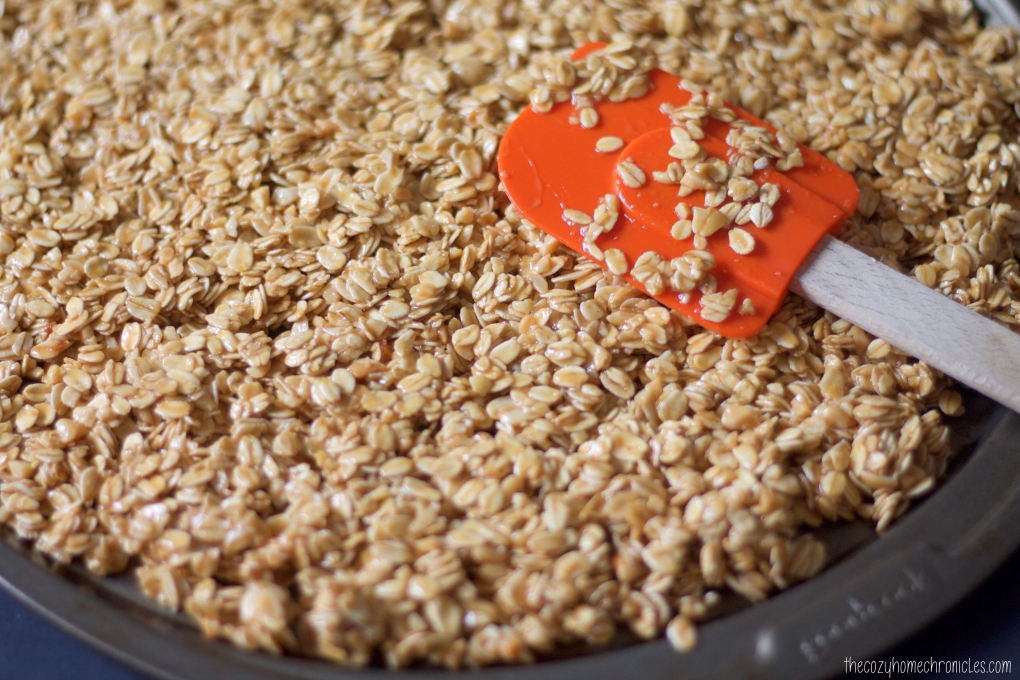
2. Add in rolled oats and crushed peanuts and combine until evenly coated.
3. Spread mixture on a thin baking sheet and bake at 250F for 30 minutes stirring every 5 minutes until evenly golden brown and crunchy.
4. In a double boiler or in the microwave, melt your milk chocolate and spread half of it thinly and evenly on a silicone baking sheet or parchment paper.
5. Immediately top with a generous amount of crunchy peanut butter granola and peanuts  (optional) then drizzle with remaining chocolate. Refrigerate until firm before peeling off the silicone or parchment paper and breaking the bark into pieces. If you have extra granola you can store in an airtight container for snacking at a later time 😉

img_9154

img_9161

img_9165

img_9648

Have you ever tried to make a copycat candy recipe? Do share in the comments below. And as always…

If you liked this post please follow us and share!

Instagram


Lebanese Stuffed Eggplants (Sheikh al-Mahshi)

img_7052

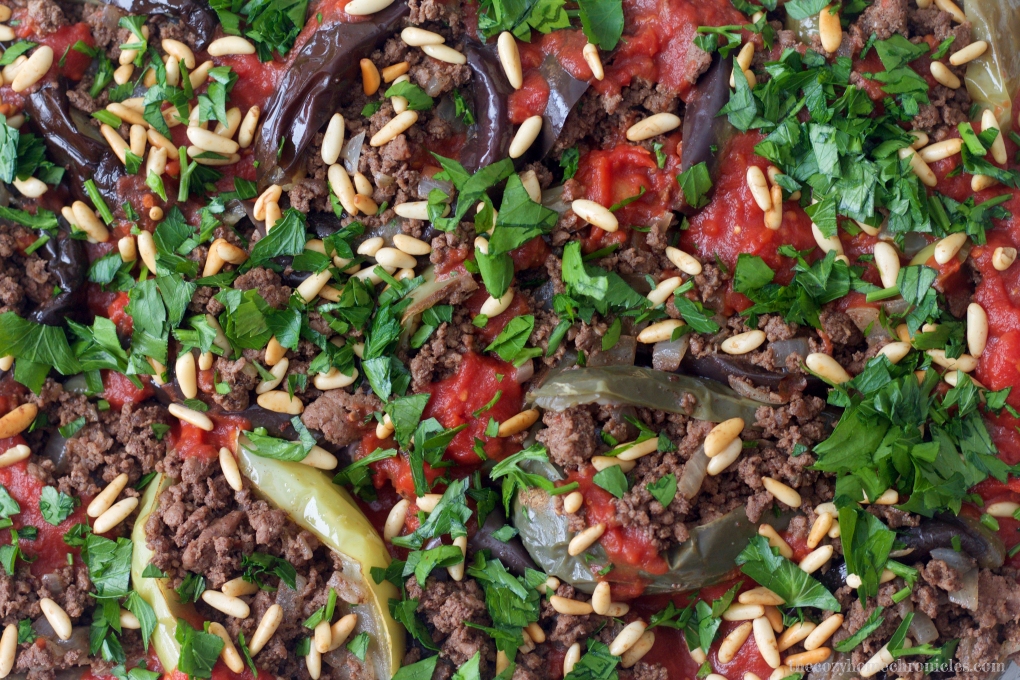
Growing up in a Lebanese household meant that eggplant was no stranger to the dinner table. One of my favorite eggplant dishes was (and still is) Sheikh-al Mahshi; a Lebanese casserole made of golden fried eggplants topped with spiced beef or lamb and cooked in a light tomato sauce. My father, who loved to cook for us, would make this dish using large purple eggplant slices for the base, tender filet mignon chunks and Lebanese pine nuts for the topping, and fresh homemade tomato sauce. Delicious is an understatement.

A few months ago, I was at a local market when I came across these large 11-pound boxes of assorted baby eggplant for only $3. It was a total steal and I ended up taking a box home with me to experiment with the other colorful eggplant varieties. Although I ended up blanching and freezing many of them for a rainy day, I decided to recreate my father’s recipe using baby eggplants for dinner one night. I have always found the Lebanese dishes I grew up with simple to make but with graduate school and a household to tend to, any shortcut that doesn’t jeopardize taste is definitely welcome. While I prefer the taste of homemade tomato sauce, having a quality canned sauce on hand can really speed things up. Cooking with ground beef also saves you the hassle of having to prepare and cut your meat. Some of my modifications, however, are not just to save time but to make the recipe a teeny bit healthier. Instead of deep-frying the eggplants to soften them, I blanched them and then browned the skins in a bit of olive oil. The only issue was that I found the skins of the yellow eggplant variety too thick to eat. I personally would not use them again in a recipe like this even though the flesh had a very nice flavor. With that being said, this version was a huge hit with the family and we hope you’ll consider adding this simple, healthy dish to your recipe box.

img_6981

Lebanese Stuffed Eggplants (Sheikh al-Mahshi)

  • Difficulty: Easy
  • Print

Ingredients

10-12 baby eggplant
1 lb lean ground beef
1 medium yellow onion, diced
1/4 cup pine nuts
1 15 oz can of tomato sauce (we use Simple Truth)
1 teaspoon ground cinnamon
1 teaspoon ground all-spice
1/2 cup chopped parsley
Extra virgin olive oil
salt and pepper (to taste)

Directions

  1. Preheat oven to 350F. Rinse the eggplants and trim the stems, leaving the hulls.
  2. Bring a large pot of water to boil and blanche the eggplants whole for 8-10 minutes until tender. In the meantime, toast the pine nuts until golden and set aside.
  3. Once the eggplants have cooled, gently make an incision from the hull to the bottom of the eggplant.
  4. OPTIONAL: Drizzle a bit of oil in a deep pan and brown the blanched eggplants in batches for 2-5 minutes then set aside (see step 7).
  5. Drizzle a bit of oil in a deep pan and sauté the diced onions until translucent.
  6. Add in the ground beef, cinnamon, all-spice, salt, and pepper and cook until meat is well done.
  7. Ladle a few spoons of tomato sauce into the bottom of a glass baking dish and lay the eggplants slit side up.
  8. Spoon the spiced meat mixture into each eggplant and cover with the remaining tomato sauce. Top with half of the toasted pine nuts and half of the chopped parsley.
  9. Cover your baking dish and bake in the oven for 30 minutes until the sauce is simmering.
  10. To serve, garnish with remaining pine nuts and parsley next to a bed of steaming vermicelli rice.

Note: If you end up with extra meat, just spoon the remainder evenly on the top of the sauce before baking.

img_6997

img_6998

img_7009

img_7027

If you liked this post please follow us and share!

Instagram


Labneh Pizza Toast

img_7449
Long before toast became a trend, my family had its own toast-y tradition. On weekend mornings that weren’t filled with scheduled activities, we would make these labneh “pizzas” using toasted pita rounds, labneh, and vegetable toppings. If you’ve never had labneh, you are truly missing out. A popular Lebanese breakfast staple, labneh is a strained yogurt that is thick and creamy with a deliciously tart taste that pairs perfectly with fresh tomato, cucumber, and mint. I always had fun making and eating these “pizzas” as a child and now I make them for my husband who really enjoys them (score!). This recipe is perfect for those family breakfast days and I guarantee you that children will love putting together their own pizzas. It even makes a wonderfully light and healthy lunch if you’re in a pinch and don’t know what to make. However you choose to make our Lebanese version of toast, we hope you’ll enjoy every bite of this creamy and crunchy, vegetarian deliciousness.

Labneh Pizza Toast

  • Difficulty: Easy
  • Print

Ingredients

Pita bread
Labneh
Tomatoes
Cucumbers
Olives
Scallions
Mint
Walnuts
Extra Virgin Olive Oil

Note: I did not include quantity because it really depends on how many you make and how loaded you prefer them. To give you an idea, I use one 16oz labneh container to make about 4-5 pizzas. 

Directions
1. Turn your broiler on low and toast the pita bread rounds until golden brown and crisp.
2. In a small bowl, whip the labneh with salt and spread evenly over the cooled pita rounds. If you don’t let the pita cool, the labneh will melt and you won’t get to enjoy that thick creamy texture characteristic of labneh.
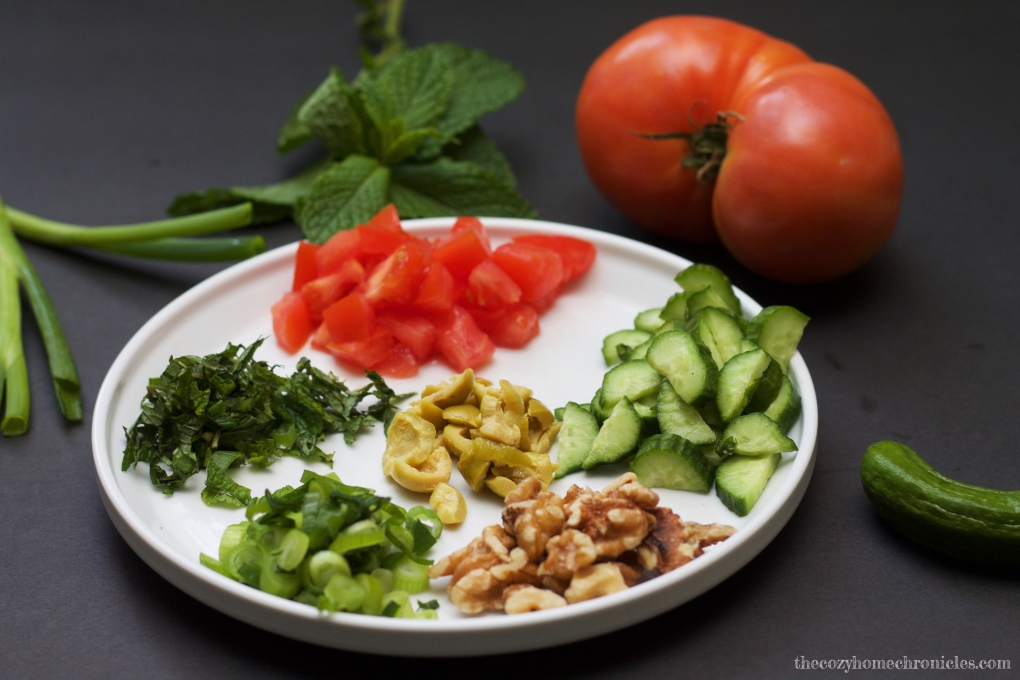
3. Top your toast with diced tomatoes, cucumbers, scallions, olives, mint, and walnuts.
4. Drizzle with your best olive oil and enjoy every crunch.

img_7424

img_7432

img_7449

img_7465

How do you eat your labneh? Share with us your favorite labneh pairings in the comments below. And as always….

If you liked this post please follow us and share!

Instagram


Pumpkin Spice Milkshakes

img_6903

We love autumn and pumpkin spice everything just as much as the next person but this year we had a bad experience with a pumpkin spice latte. Weeks of anticipation ended in utter disappointment as we found ourselves with a beverage that was sickeningly sweet and unbearably oily. After a few sips we tossed it out. I said, then, that we would skip buying these specialty beverages from outside (along with all the sugar, fat, and calories that come with them) and try to make healthier versions at home. I haven’t attempted to make a pumpkin spice latte yet, but being that we are both ice cream fiends and Michigan weather can be unpredictably warm (it’s 80 degrees today), I put together this delicious milkshake that screams pumpkin pie and butter pecan ice cream in ice-cold fashion. This recipe makes enough for two servings but can certainly be adjusted if you want to make more and you can also tone down the spices as you fit. Now what are you waiting for? Your pumpkin spice sweet tooth is calling 😉

img_6915

Pumpkin Spice Milkshakes

  • Difficulty: Easy
  • Print

Ingredients
2 1/2 cups quality vanilla ice cream (we use Turkey Hill All Natural)
1 tablespoon pumpkin puree
1/2 cup milk*
1/2 teaspoon ground cinnamon
1/4 teaspoon ground nutmeg
1/8 teaspoon ground cloves
1/8 teaspoon ground ginger
homemade whipped cream
toasted pecans for garnish
pure maple syrup for garnish

*We like our milkshakes on the thicker side so feel free to adjust the recipe and add more milk if you like a thinner milkshake.

Directions
In a blender, combine ice cream, pumpkin puree, milk, and spices. Blend until smooth. Pour into glasses and top with homemade whipped cream, toasted pecans, and a drizzle of maple syrup. Serve and enjoy!

img_6932

If you liked this post please follow us and share!

Instagram


Lebanese Cauliflower Stew

img_6825

As the weather has started to cool down, I find myself turning more to preparing soups and stews for dinner. Particularly Lebanese stews, which are flavorful and hearty, and have always been some of my favorite meals growing up. No matter what the main ingredient is, I can eat the leftovers for a week and not get sick of it. They are that good! If you saw our post on the Lebanese Beef and Potato Stew, you’ll notice that this recipe is very similar. The only difference is that the star of this dish is sweet, golden-fried cauliflower or arnabeet and the broth is much tangier due to the extra lemon juice. I hadn’t made this recipe in a while but when I saw large cauliflower on sale at the local market, I decided it was time for this stew to make a reappearance on our table and an appearance on this blog as I continue to share our favorite family dishes. I hope you enjoy this one as much as we do 🙂

Lebanese Cauliflower Stew

  • Difficulty: Easy
  • Print

Ingredients
2 large cauliflower heads
1.5 lbs beef stew chunks
8-10 cups water*
2 small bunches cilantro
1 garlic head, peeled
2-4 lemons
Vegetable oil for frying
Salt and pepper to taste

*I am very liberal when it comes to the amount of water I use in preparing the broth because I end up skimming a lot so naturally it gets reduced and concentrated as time passes.

Directions

  1. Thoroughly wash your cauliflower and cut them into medium-large florets. The smaller you cut them the more they break up in the stew and you definitely want some cauliflower bites.
  2. In a large stockpot, bring the beef stew chunks and water to a boil and then let simmer, skimming the fat and impurities continuously until the broth is clean. Once the broth is clean, reduce the heat, cover and let simmer until the meat is tender (about 2 hours).
  3. In a food processor, pulse the cilantro and peeled garlic until you have a rough paste. 1/2 of this will go directly into the clean broth. The other half you will save for step 6.
  4. In the meantime, prepare a pot for frying and a tray for draining the oil (paper towel works just fine).
  5. Once the oil is hot, begin frying the cauliflower in batches until they are a beautiful golden brown. Salt them as they come out and let them drain from any excess oil.
  6. Prepare a pan with a bit of vegetable oil and sauté the other half of the cilantro-garlic paste until fragrant. Do not let them burn. Fish out the beef stew chunks from the broth and toss in the pan with the sautéed cilantro-garlic paste. Once browned, return to the stock pot.
  7. Transfer your cauliflower into the broth and let simmer for another 30-45 minutes until the cauliflower are tender.
  8. Season the stew with salt, pepper, and lemon juice to your liking. The broth should have a mellow sweetness from the cauliflower and a vibrant kick from the lemon, garlic, and cilantro combination.
  9. Serve with a side of basmati rice and fresh crunchy radishes.


img_6797

img_9707

img_6821

If you liked this post please follow us and share!

Instagram