Soy Chorizo Vegan Chili

We are so behind on our post schedule it’s not even funny but I figured as long as I’m not posting this recipe in June, we’re cool (your standards change when you’re a parent of two). So March is less than a week away but that means NOTHING here in Michigan because our weather is a wild card of unpredictability (sigh). I’m not totally complaining though because for those really chilly spring days, we have just the recipe to warm up our bones and souls. If you’re in graduate school like us or lead generally busy lives, this is another easy and delicious recipe to add to your meal plan during those really hectic weeks.

IMG_7650

As I’m sure I mentioned before on here, we are always looking for ways to cut down on our meat consumption and a few years ago I stumbled across this pretty stellar soy chorizo at Trader Joe’s for just $1.99. I know, right?! At first we used it in our egg scrambles but one day it hit me that it would make a great meat substitute base for a vegan chili. Spoiler alert: It does! Not only does it have that perfect ground beef texture but it’s so spicy you may find you don’t even need to season your chili at all. You can also cut the preparation time for this recipe by opting for canned beans instead of dried beans but either way, your watch, wallet, and tummy will be satisfied with this hearty bowl of goodness.

IMG_7628

Soy Chorizo Vegan Chili

  • Difficulty: Easy
  • Print

Ingredients
1 large onion, finely chopped
1 cup of finely chopped carrots
1 cup black beans, cooked
1 cup kidney beans, cooked
1 12 oz. package of Soy Chorizo, casing removed and crumbled
1 15 oz. can  of tomato sauce
4 cups water or vegetable stock
2 garlic cloves, minced
Olive Oil
Salt and pepper to taste

Note: *If you prefer your chili to be less thick, you can add more liquid to water it down. *You can also tweak this recipe to your liking and include more vegetables such as bell peppers, tomatoes, and corn. *I find the soy chorizo makes the chili spicy and flavorful enough for our taste, especially with the kids in mind, but if you find the flavor isn’t cutting it for you, you can add the following: 1 teaspoon ground sweet paprika, 1 teaspoon ground cumin, 1 tablespoon chili powder, and 1/4 teaspoon cayenne pepper (optional).

Directions
1. In a deep pot, drizzle a bit of olive oil and sauté your onion, and garlic on medium heat until the onions are soft, about 5 minutes.
2. Next add in the carrots and soy chorizo. Cook for about 2-3 minutes until the ingredients are well incorporated.
3. Finally, add in the water/stock, beans, and tomato sauce. Bring to a boil then let simmer on low until reduced and thickened, about 20-30 minutes.
4. Taste the chili and season to your liking or adjust the thickness.
5. Ladle your chili into bowls and serve with vegan cheese, non-dairy sour cream, and crispy tortilla chips.

IMG_7632

IMG_7652

If you liked this recipe and tried it, we would love it if you would share or leave a comment below. For more related content, you can find us on Instagram where we share more of our day-to-day and Pinterest where we share our ideas and inspiration. And as  always…

signature3

.


Banana Honey Walnut Toasts

IMG_2240

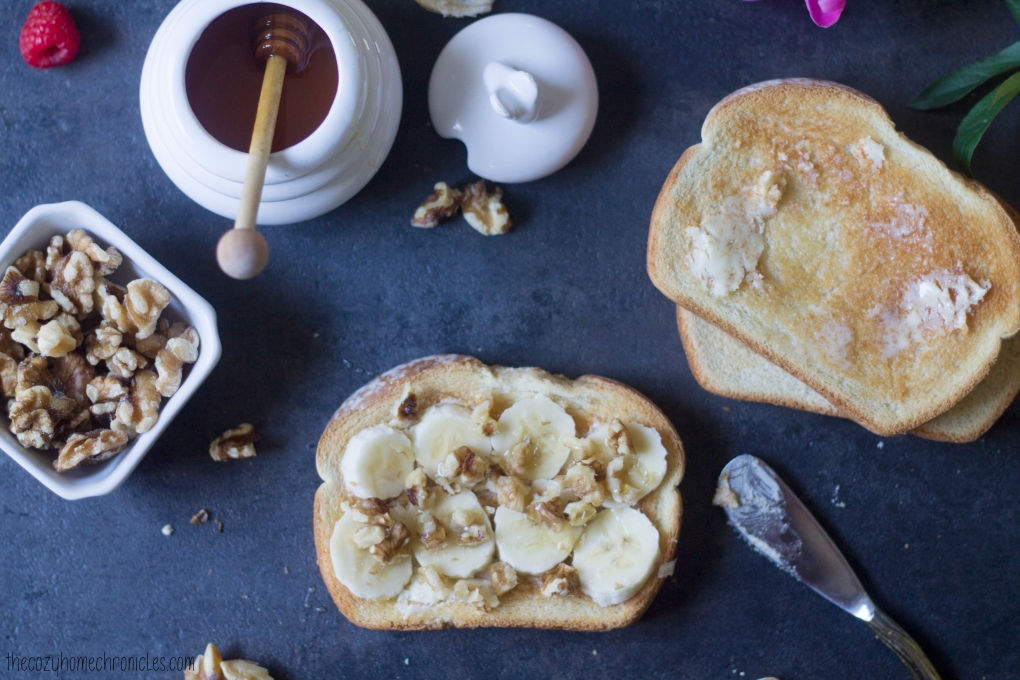
Although Ramadan ended over a month ago, we are still having a difficult time breaking some of our Ramadan schedule and habits. Not only do we still stay up pretty late (midnight is the norm for me), but we also eat like mice early in the morning because it feels strange to fill up right after we’ve woken up. With all the things we have going on in our life, we certainly can’t afford to skip out on the most important meal of the day so today I’m sharing a simple breakfast idea that’s sweet, crunchy, and filling. Banana sandwiches are something we grew up eating as a treat. My father would make it for us and share stories of his picky-eating days, growing up in Beirut, where all he would eat was bread and sugar to fill up. I guess you can’t really go wrong with bread and banana! Thankfully none of us turned out that picky but that doesn’t mean we can’t celebrate the product of my father’s resourcefulness 🙂

When I got married, I was introduced to a whole different world of foods I had never eaten. One of those things was geimar, a creamy Iraqi spread similar to clotted cream. It’s thick and rich in just the right way and it’s unsweetened which makes it the perfect base for a sandwich like this. We don’t eat it often but when my in-laws are in town we make sure to get our fill of geimar, samoon (Iraqi flatbread), and honey. When I photographed this recipe, I used sourdough toast that I had on hand but you can use any bread you like. If you desire more substance and less bread, you can cut the banana length wise and roll it up in a thin pita bread just like my dad used to do.

Ingredients
Quality artisan bread/toast
Salted butter or clotted cream
Banana
Honey
Walnuts

Note: You can use unsalted butter if you’d like but I find the saltiness works wonderfully with the sweetness of the honey and banana.

IMG_2245

Directions
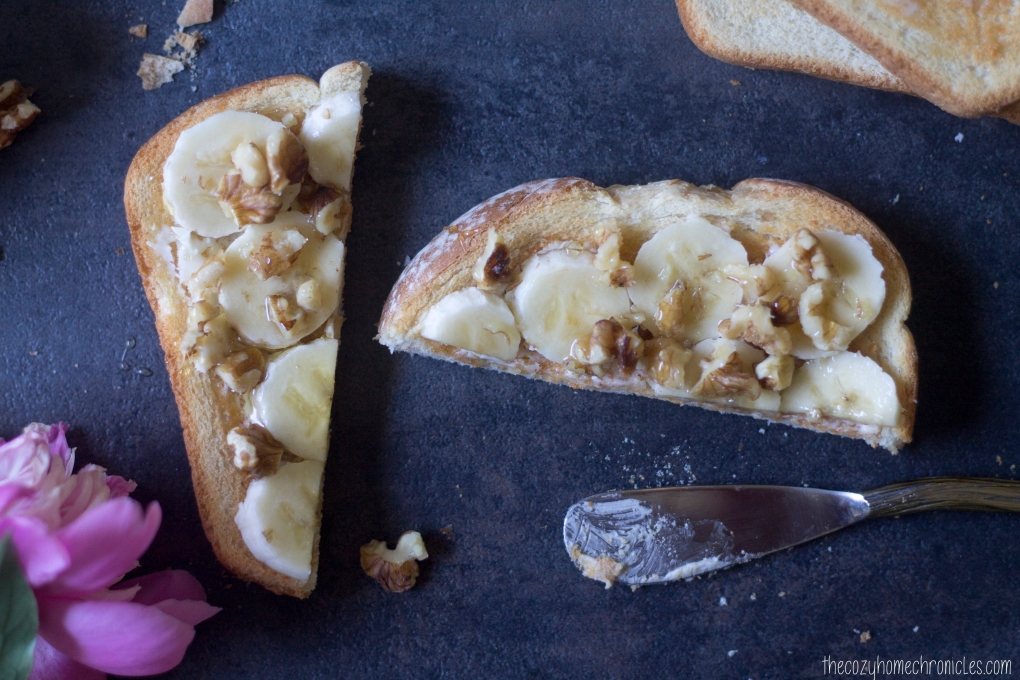
Toast the bread of your choice and generously lather on some butter while it’s still a bit warm. Layer on banana slices and walnuts and then drizzle on some honey. Serve alongside a nice cup of piping hot tea.

IMG_2251

IMG_2253

If you liked this post please follow us and share!

Instagram


Healthy Homemade Butterfingers

img_9645

My brother recently brought over a PB&J  Chobani Flip for me because he’s experimenting with “healthier” snacking and wanted me to try it out. Ignoring the fact that it had 18 grams of sugar, the crunchy peanut topping was quite good and reminded me instantly of the popular candy bar Butterfinger; something I haven’t had in a long time. Although we both love all things peanut butter and chocolate, we have chosen to stay away from processed foods especially made by Nestle. Of course I couldn’t leave my sweet tooth hanging so I sought to create a healthier, homemade version of the candy bar. And that is exactly what I did… in the form of a granola bark.

img_9198-1

Plain granola bark without the peanuts or chocolate drizzle on top.  

img_9633

Granola and roasted peanut cluster bark

I did look up how to make homemade Butterfinger but all the recipes I found either required a candy thermometer or even unhealthier store-bought candy corn. Ain’t nobody got time for that! All I did for this recipe was create a sweet, nutty, and crunchy granola as a substitute for the crispy textured inside of the candy bar and made it into a bark for easy assembly. At first, I tried making a batch of granola with regular peanut butter but I felt that I could not control the flavor as I desired so I used PB2 instead and experimented with different combinations of maple syrup, vanilla extract, and salt until I felt I achieved that distinctive Butterfinger taste and texture. You’ll be pleasantly surprised at how simple this recipe is and the best part is that it has real wholesome ingredients and none of the preservatives! Just know that this bark is addicting but it does store well in the fridge so try to save some for your friends and family. They’ll be happy you did 🙂

Healthy Homemade Butterfingers

  • Difficulty: Easy
  • Print

Ingredients

Granola
1 1/2  cups rolled oats
1/2 cup coarse crushed salt roasted peanuts
6 tablespoons PB2 powder
3-4 tablespoons water
1/2 teaspoon salt
1 teaspoon vanilla extract
1/4 cup pure maple syrup
2 tablespoons vegetable oil

Butterfinger bark
1/2 cup of quality milk chocolate, melted
1 1/2 cups of crunchy peanut granola
1/4 cup salt roasted peanuts (optional)

Directions
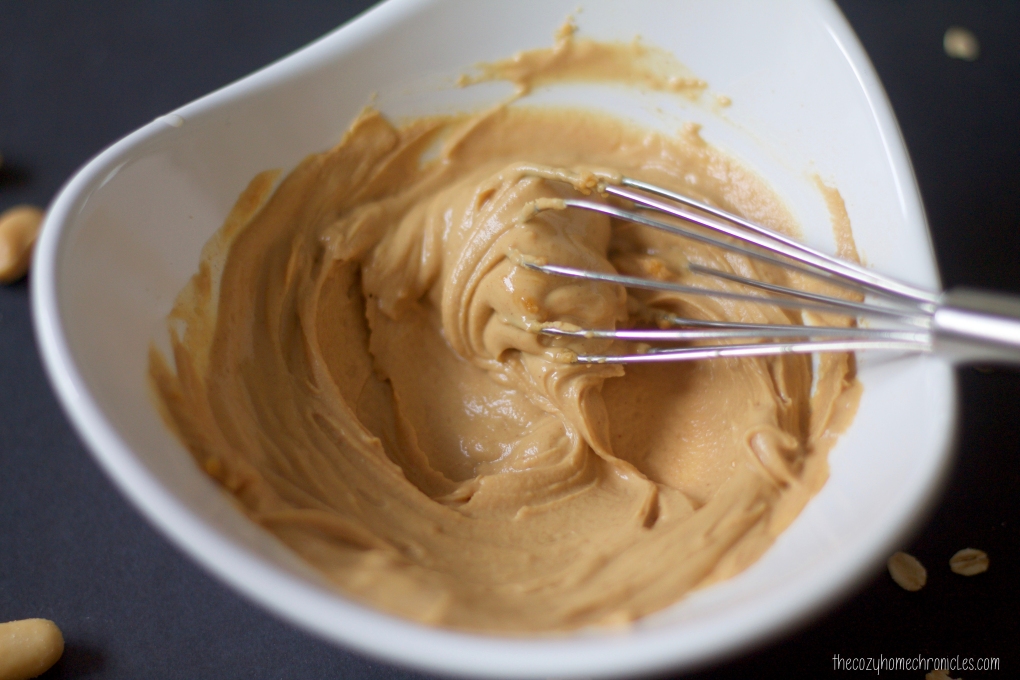
1. In a mixing bowl, combine PB2 and water. Stir in the salt, vanilla extract, maple syrup, and oil until smooth.
2. Add in rolled oats and crushed peanuts and combine until evenly coated.
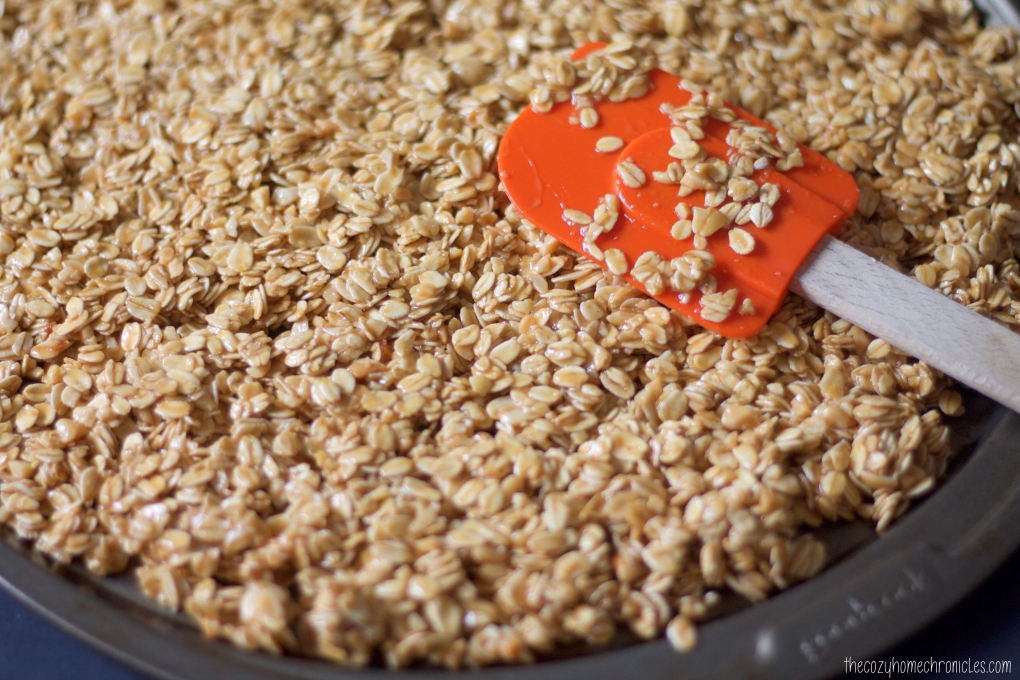
3. Spread mixture on a thin baking sheet and bake at 250F for 30 minutes stirring every 5 minutes until evenly golden brown and crunchy.
4. In a double boiler or in the microwave, melt your milk chocolate and spread half of it thinly and evenly on a silicone baking sheet or parchment paper.
5. Immediately top with a generous amount of crunchy peanut butter granola and peanuts  (optional) then drizzle with remaining chocolate. Refrigerate until firm before peeling off the silicone or parchment paper and breaking the bark into pieces. If you have extra granola you can store in an airtight container for snacking at a later time 😉

img_9154

img_9161

img_9165

img_9648

Have you ever tried to make a copycat candy recipe? Do share in the comments below. And as always…
If you liked this post please follow us and share!

Instagram


Lebanese Stuffed Eggplants (Sheikh al-Mahshi)

img_7052

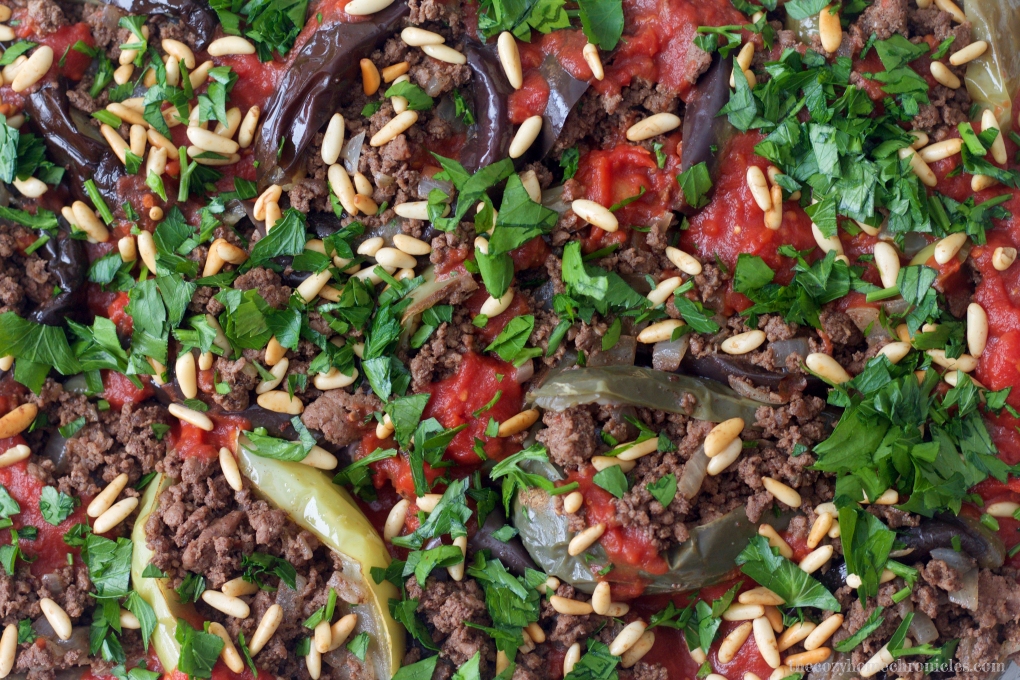
Growing up in a Lebanese household meant that eggplant was no stranger to the dinner table. One of my favorite eggplant dishes was (and still is) Sheikh-al Mahshi; a Lebanese casserole made of golden fried eggplants topped with spiced beef or lamb and cooked in a light tomato sauce. My father, who loved to cook for us, would make this dish using large purple eggplant slices for the base, tender filet mignon chunks and Lebanese pine nuts for the topping, and fresh homemade tomato sauce. Delicious is an understatement.

A few months ago, I was at a local market when I came across these large 11-pound boxes of assorted baby eggplant for only $3. It was a total steal and I ended up taking a box home with me to experiment with the other colorful eggplant varieties. Although I ended up blanching and freezing many of them for a rainy day, I decided to recreate my father’s recipe using baby eggplants for dinner one night. I have always found the Lebanese dishes I grew up with simple to make but with graduate school and a household to tend to, any shortcut that doesn’t jeopardize taste is definitely welcome. While I prefer the taste of homemade tomato sauce, having a quality canned sauce on hand can really speed things up. Cooking with ground beef also saves you the hassle of having to prepare and cut your meat. Some of my modifications, however, are not just to save time but to make the recipe a teeny bit healthier. Instead of deep-frying the eggplants to soften them, I blanched them and then browned the skins in a bit of olive oil. The only issue was that I found the skins of the yellow eggplant variety too thick to eat. I personally would not use them again in a recipe like this even though the flesh had a very nice flavor. With that being said, this version was a huge hit with the family and we hope you’ll consider adding this simple, healthy dish to your recipe box.

img_6981

Lebanese Stuffed Eggplants (Sheikh al-Mahshi)

  • Difficulty: Easy
  • Print

Ingredients

10-12 baby eggplant
1 lb lean ground beef
1 medium yellow onion, diced
1/4 cup pine nuts
1 15 oz can of tomato sauce (we use Simple Truth)
1 teaspoon ground cinnamon
1 teaspoon ground all-spice
1/2 cup chopped parsley
Extra virgin olive oil
salt and pepper (to taste)

Directions

  1. Preheat oven to 350F. Rinse the eggplants and trim the stems, leaving the hulls.
  2. Bring a large pot of water to boil and blanche the eggplants whole for 8-10 minutes until tender. In the meantime, toast the pine nuts until golden and set aside.
  3. Once the eggplants have cooled, gently make an incision from the hull to the bottom of the eggplant.
  4. OPTIONAL: Drizzle a bit of oil in a deep pan and brown the blanched eggplants in batches for 2-5 minutes then set aside (see step 7).
  5. Drizzle a bit of oil in a deep pan and sauté the diced onions until translucent.
  6. Add in the ground beef, cinnamon, all-spice, salt, and pepper and cook until meat is well done.
  7. Ladle a few spoons of tomato sauce into the bottom of a glass baking dish and lay the eggplants slit side up.
  8. Spoon the spiced meat mixture into each eggplant and cover with the remaining tomato sauce. Top with half of the toasted pine nuts and half of the chopped parsley.
  9. Cover your baking dish and bake in the oven for 30 minutes until the sauce is simmering.
  10. To serve, garnish with remaining pine nuts and parsley next to a bed of steaming vermicelli rice.

Note: If you end up with extra meat, just spoon the remainder evenly on the top of the sauce before baking.

img_6997

img_6998

img_7009

img_7027

If you liked this post please follow us and share!

Instagram


Mexican Rainbow Rice Bowls

IMG_3934

It’s almost the end of September and I’m starting to panic because my due date for baby #2 is less than two months away. I have no name picked out and I’m nowhere near as ready or organized as I need to be. Luckily, I am finding some success with meal planning in the sense that I’m getting better at making our favorite go-to recipes last longer and work better in conjunction with other weekly meals. Hopefully this will come in handy when I’m juggling a rambunctious toddler and newborn come November…but I’m not holding my breath.

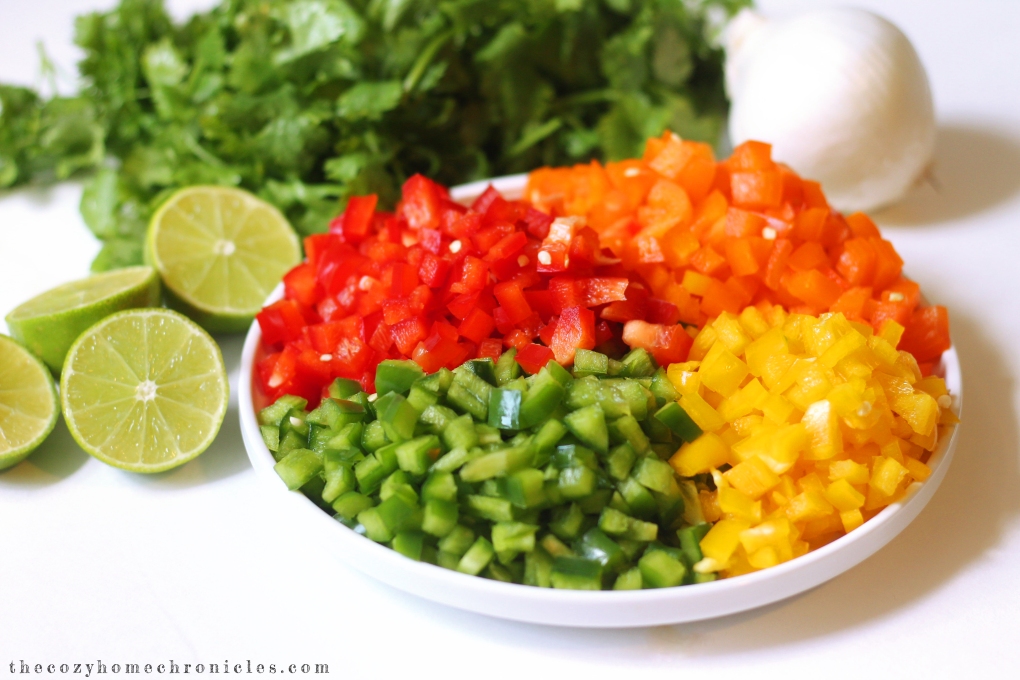
My husband LOVES (probably more than me…okay maybe not but almost) Mexican food. I’ll admit, there is definitely something heavenly about the combination of savory beans or meats, fresh garden salsa, creamy avocados, and dairy. We find this combination works best in the form of a rice bowl because it’s easy to both make and assemble especially if you want a meal that will last longer than a day or two. However, I’ve been wanting a rice base that packs a little more punch and nutrition than the usual rice bowls call for. Armed with half of the rainbow in peppers and some fresh cilantro, I concocted this colorful rice that will no doubt take your rice bowl from meh to marvelous. The best part? You’ll never need to go back to Chipotle again.

Mexican Rainbow Rice Bowls

  • Difficulty: Easy
  • Print

Ingredients
2 cups uncooked long-grain rice
1 tablespoon vegetable oil
1 red pepper, diced
1 green pepper, diced
1 orange pepper, diced
1 yellow pepper, diced
1 medium white onion, diced
1 bunch cilantro, finely chopped
1 garlic clove minced
1 cup lime juice
3 1/2 cups water (sub broth)
1 tablespoon tomato paste
1 teaspoon chili powder
1 teaspoon cumin
salt and pepper to taste

Topping Ideas
Spicy Black Beans, shredded chicken, or thinly sliced steak
Avocados or guacamole
Corn
Green onion
Shredded Lettuce
Tomato
Jalapeño
Salsa
Sour Cream
Shredded cheese

Directions
1. Oil a medium, heavy-bottom pot and sauté the diced onion, minced garlic, cilantro, and peppers until tender.
2. Stir in the uncooked rice along with the spices, tomato paste, salt and pepper until fragrant and well-incorporated.
4. Pour in the lime juice and water/broth and bring to a boil.
5. Reduce the heat and let simmer covered until the rice is tender and the liquid is absorbed (approximately 15-20 minutes depending on the type of rice you use).
6. Once the rice cools, scoop into a bowl and load it up with your favorite toppings for a flavor-packed, hearty meal.

IMG_3909

IMG_3921

IMG_3931

What are your favorite rice bowl toppings? We would love to know in the comments below and as always, if you liked this post please follow us and share!


Simple Kafta Pita Pizzas

IMG_3639 copy

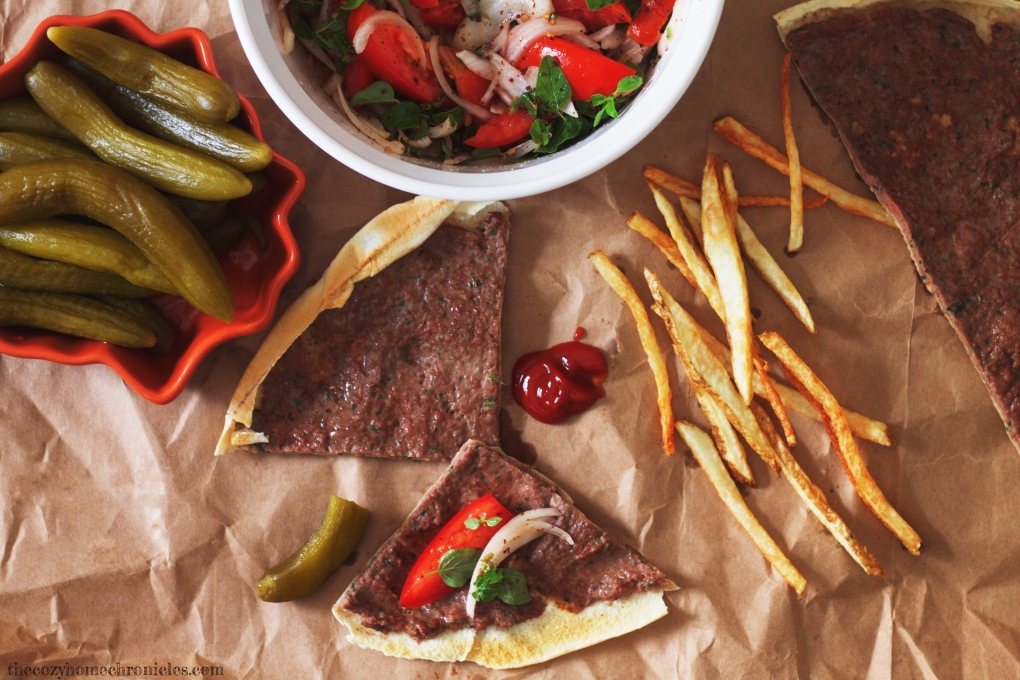
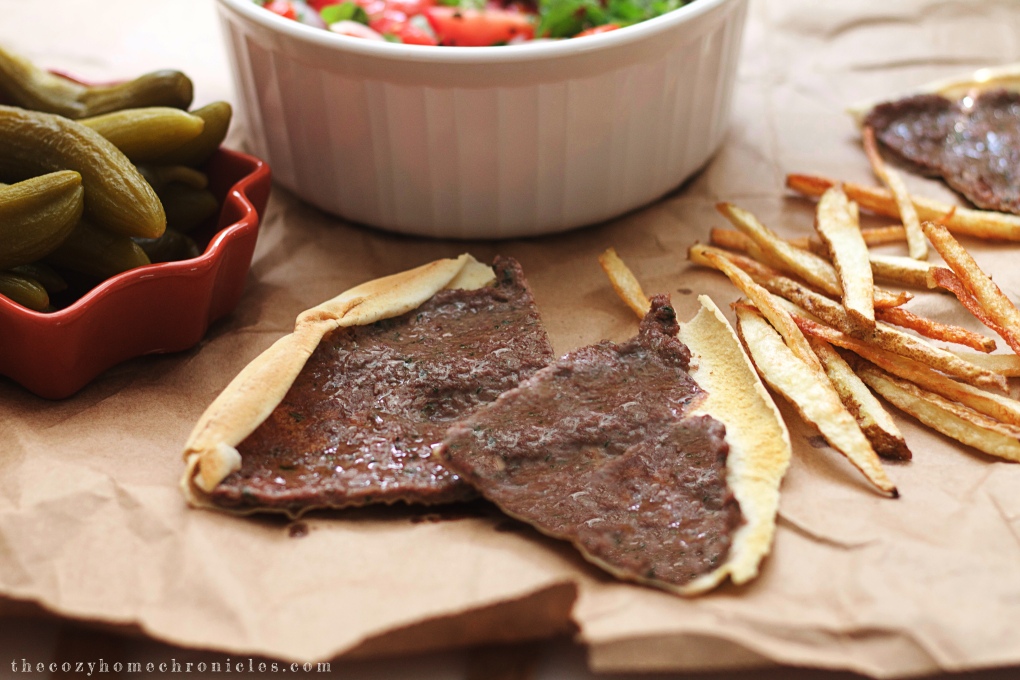
I’ve never been a picky eater and I enjoy many many foods but there will always be a special place in my heart for kafta pizza. For me, it conjures up memories of busy weeknights in high school filled with homework deadlines, violin lessons, and soccer practice. It was for those days, mom or dad would pick up fresh kafta from the local butcher and spread it on pita so that we could have dinner ready in no time. I’d roll mine up with a side salad of onions and tomatoes and savor every single bite. Mmmmmm.

Now that summer is ending and school is just around the corner it means plenty of busy days ahead. If you’re like me and looking to start the meal planning process now to get ahead of the game then this is the perfect midweek recipe to write in. With just a few ingredients you can have a delicious and filling meal for the whole family in a short amount of time. It’s also something different and variety is always nice to have in your meal plan 🙂

Simple Kafta Pizza Pita

  • Difficulty: Easy
  • Print

Ingredients

Kafta Pizza
Fresh pita bread
1 lb kafta (makes about 5 pizzas)

Side Salad
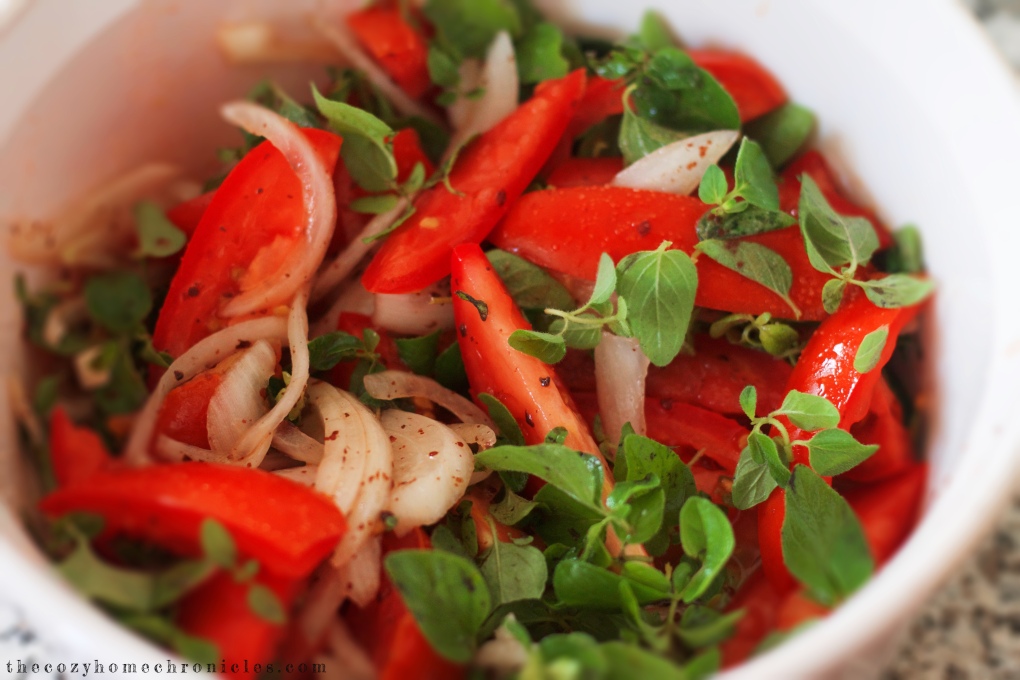
4 ripe roma tomatoes, cut into small wedges
1 medium sweet onion, thinly sliced
1 bunch fresh Thyme (sub parsley)
1 teaspoon sumac
1/2 lemon juiced
Extra Virgin Olive Oil
Salt and Pepper to taste

Sides
Homemade french fries
Lebanese yogurt
Lebanese pickles

Directions

  1. Turn your oven on the broiler setting and begin preparing any sides like frying your french fries (if you have some already cut up) or whipping your yogurt with a bit of salt.
  2. Make your side salad by gently tossing the tomatoes, onions, thyme, sumac, lemon juice, and olive oil. Finish off with salt and pepper to your liking.
  3. Open your pita bread at the seam so you have two evenly-sized thin pita circles.
  4. Using the back of a soup spoon, spread a tablespoon or two of kafta evenly across the inside part of your pita bread. If you put too much meat, it won’t fully cook and the bread will become soggy in the middle and burn on the edges.
  5. Place your kafta pizzas on a baking sheet and place under the broiler for about 5 minutes or until the meat is cooked and the bread is a nice golden brown.
  6. Enjoy!

IMG_3621 copy

IMG_3615 (1)

IMG_3630

If you liked this post please follow us and share!

Instagram


Summer Spring Rolls


IMG_3731

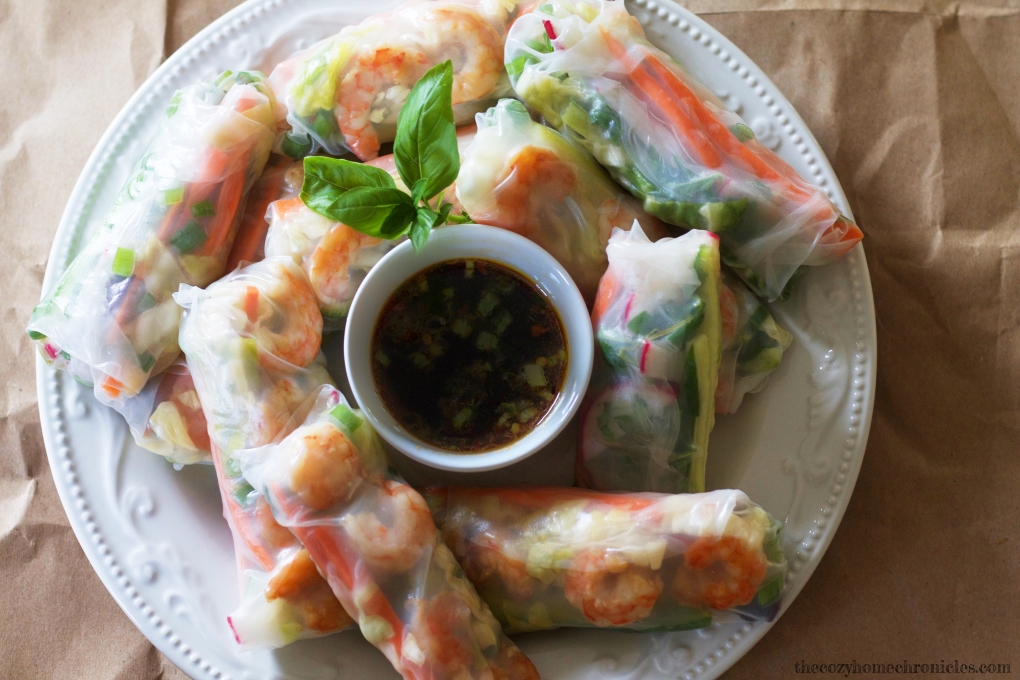
I don’t know about the rest of you but we have been having a HOT summer here in Michigan. It’s already unbearable with 90% humidity some days but add pregnancy to the equation and it’s a totally different ballgame. As a family we love having fresh, homemade food at the ready but when it’s that hot outside the thought of cooking can be a bit daunting. For those kinds of summer days, we have an easy solution and one of our favorite go-to meals: fresh spring rolls. Not only is there little to no stove-top cooking involved (which means no extra heat in the house) but the flavors are just so refreshing and energizing they will leave you feeling light yet fully satisfied.

And if it’s that time of the week where you’re ready to clear out your fridge or you’ve just harvested some delicious veggies and herbs from your garden then this is the perfect recipe to reduce food waste or showcase those beautiful summer flavors. You can replace the shrimp with tofu or skip the protein all together to create a scrumptious vegetable medley. The possibilities are endless and we hope that you do give them a try. If you do, be sure to let us know 🙂

Summer Spring Rolls

  • Difficulty: Easy
  • Print

Ingredients

Spring Rolls
1 lb of shrimp, deveined and cooked
10 spring roll rice papers
1 English cucumber
2 medium carrots
2-4 large red radishes (sub 1 daikon)
1 small cabbage (red or green)
1 bunch green onions
1 bunch basil
1 lime
1 minced garlic clove
1/2 teaspoon freshly grated ginger
Soy sauce
Sriracha or chili garlic paste

Dipping Sauce
2 tbsp Brown sugar
1/4 cup rice vinegar
1 teaspoon sesame oil
Sriracha or chili garlic paste to taste
Green onions and red pepper flakes for garnish

Directions

  1. If you don’t have shrimp that is already deveined and cooked then begin by peeling, deveining, and cooking your shrimp (do not overcook). Let the shrimp marinate in a bit of garlic, ginger, lime juice, and soy sauce for flavor while you ready the rest of the fillings.
  2. Prepare your vegetables by julienning or thinly slicing the carrots, cucumber, radishes, and green onions. Thinly shred the cabbage. You can also chiffonade your basil but I prefer to keep them whole.
  3. Bring 4 cups of water to a boil and pour into a bowl for dipping the rice paper. You want the water to be hot but not so hot that you burn your fingers.
  4. Optional: Use 1 cup of the hot water to shock and wilt the cabbage for a few minutes. Rinse with cold water and drain. Toss with soy sauce and Sriracha for an added kick.
  5. Prepare a damp working station such as a cutting board for stuffing and rolling the spring rolls.
  6.  Dip your rice paper in the water bowl until pliable and lay on your work surface.
  7. Place 3-4 pieces of shrimp in the middle followed by the shredded cabbage, carrots, cucumbers, radishes, green onions, and basil.
  8. Fold one end of the rice paper over, tuck in both edges, and roll over until sealed.
  9. Repeat steps 6-8 until you have filled all of your rice papers.
  10. Place the rolls on a serving platter and serve with a simple dipping sauce.

IMG_3649 copy

IMG_3691

IMG_3695

IMG_3745

If you liked this post please follow us and share!

Instagram


Potato Kibbeh (faux Lebanese steak tartare/kibbeh nayeh)

IMG_2396
Oh pregnancy cravings. You always have a way of being exactly what I’m not supposed to have. While we don’t eat a lot of red meat in our diet, I repeatedly craved kibbeh nayeh (a Lebanese dish made of fresh raw meat, bulgur, and spices) during my first pregnancy and now find myself craving it with my second. For obvious reasons, raw meat is a no-no but I was determined to see my craving satisfied by creating a stellar vegetarian substitute. When I first attempted to make faux kibbeh during my first pregnancy, I happened to only have yellow potatoes on hand and this turned out to be the biggest blessing in disguise. I have since tried this recipe using your average Idaho potatoes and let me tell you it simply isn’t the same! The waxiness of the yellow potato gives you that authentic meat-like texture and flavor that other potatoes don’t. Just take my word for it and you won’t be disappointed.

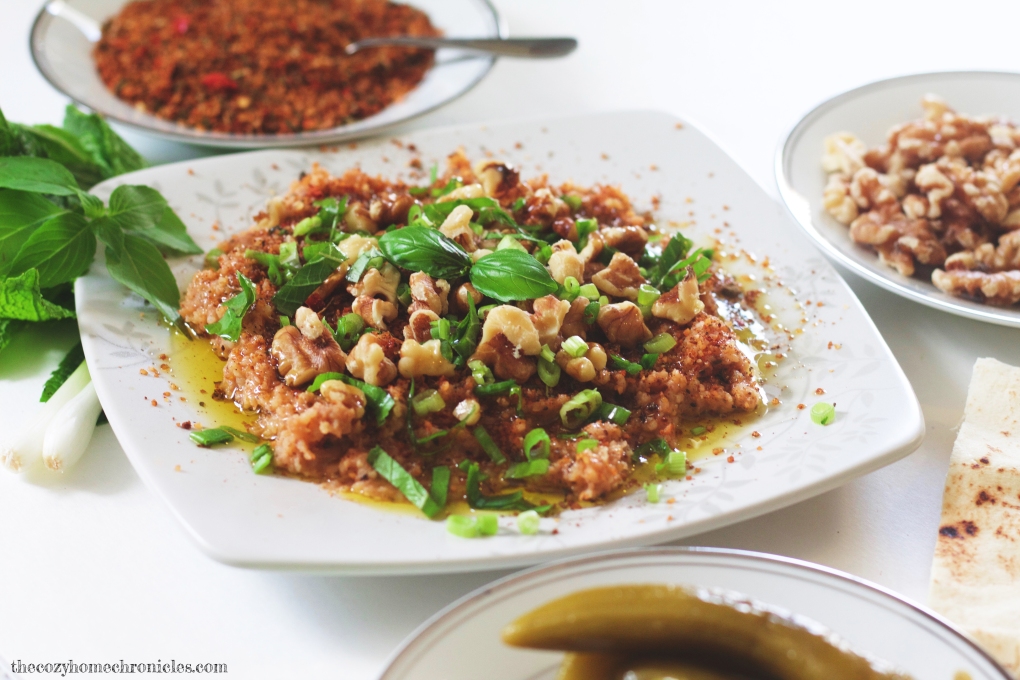
We didn’t eat kibbeh nayeh much growing up but when we did it was an absolute treat. For many Lebanese, the highlight is the meat but for my dad the thought of devouring mouthfuls of raw meat was just unappetizing. We ate this meal a particular way: a light amount of meat thinly spread, heavily topped with crunchy bulgur, walnuts, and aromatic spices, drenched in olive oil so rich you could drink it, garnished with fragrant herbs like basil and mint, and served alongside fresh sweet onions, radishes, and other crunchy veggies and treats. This is what I have sought to recreate in this recipe; not just faux meat but an entire medley of exquisite flavors that make for a simple, nutritious, and delicious vegan lunch or dinner. This recipe makes quite a bit because we enjoy it so much that we have it for lunch for a few days. So if you’re looking for a recipe that makes weekly meal planning a bit easier, this is definitely a keeper!

Potato Kibbeh (faux Lebanese steak tartare/kibbeh nayeh)

  • Difficulty: Easy
  • Print

Ingredients

Faux meat base:
3lbs yellow waxy potatoes
1/3 cup fine bulgur
2 tablespoons tomato paste
1 to 2 cups of kammouneh*
Salt and pepper to taste
1 tablespoon high quality extra virgin olive oil

*Kammouneh:
3 cups fine bulgur rinsed and thoroughly drained and dried
1/2 tablespoon salt
1 teaspoon ground black pepper
1 tablespoon cumin
1 tablespoon ground allspice
2 tablespoons paprika
1 tablespoon dried ground basil
1 teaspoon dried marjoram
1 teaspoon ground coriander
1/2 tablespoon crushed red pepper flakes (more or less depending on how much heat you can handle)

**You can also get kammouneh for kibbeh nayeh from your local Lebanese butcher if you live in the Dearborn area. I have some stored in my freezer which I use to make this recipe.

For serving and garnishment:
Scallions
Basil
Mint
Jalapeno peppers
Sweet onions
Radishes
Walnuts
Lebanese pickles and olives
Pita Bread
High quality extra virgin olive oil

Directions

  1. In a small bowl, combine 1/3 fine bulgur and warm water. Set aside for 30 minutes until soft.
  2. Meanwhile, peel and boil your potatoes in a large pot until cooked and tender.
  3. While your potatoes are boiling, make the kammouneh in the food processor by mixing the 3 cups of thoroughly drained bulgur (remove any excess moisture) with the kibbeh spices. The bulgur will stay slightly crunchy and will take on a reddish hue.
  4. Once your potatoes are thoroughly cooked, drain and rinse with cool water.
  5. This step can either be done with a potato masher or handheld mixer in a large bowl or in the food processor. You will want to whip your potatoes while warm and incorporate the 1/3 cup of soft bulgur, tomato paste, kammouneh, olive oil, and salt and pepper until perfectly seasoned. The amount of kammouneh that you add is flexible-start with 1 cup and if you feel it needs a bit more flavor and texture then add a bit more.
  6. Spread the faux meat base on a plate, making grooves with the fork.
  7. Top your base in the following order: 1) kammouneh 2) walnuts 3) scallions and herbs
  8. Drizzle a generous amount of olive oil and serve alongside pita bread and fresh herbs and vegetables.

IMG_2366

IMG_2423

IMG_2370

IMG_2376

IMG_2398

If you liked this post please follow us and share!

Instagram


Cinnamon French Toast Granola

IMG_1324

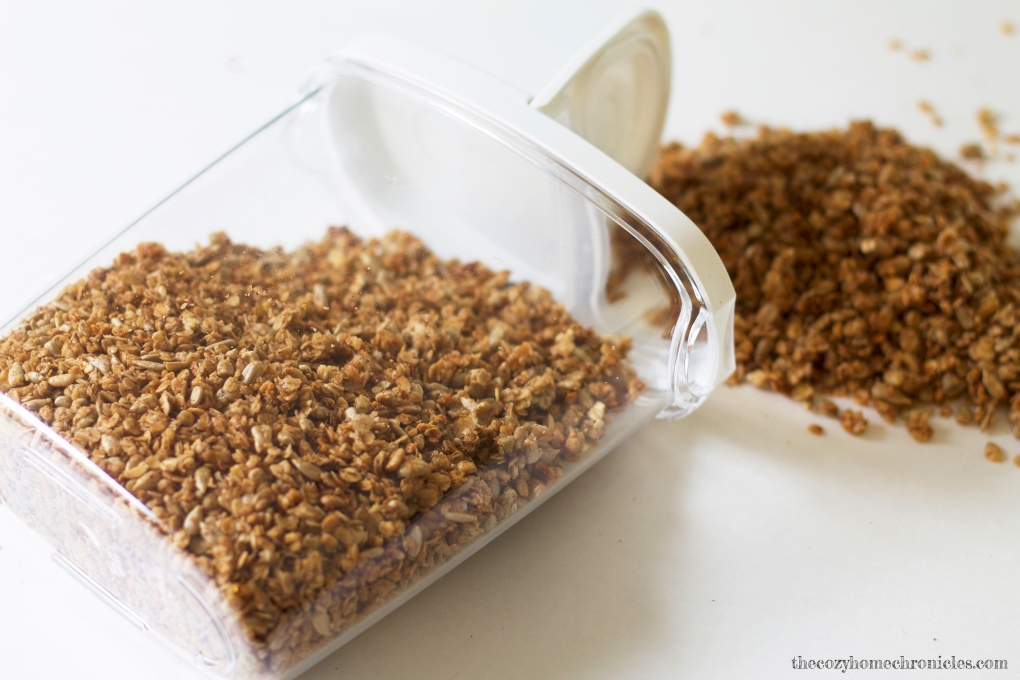
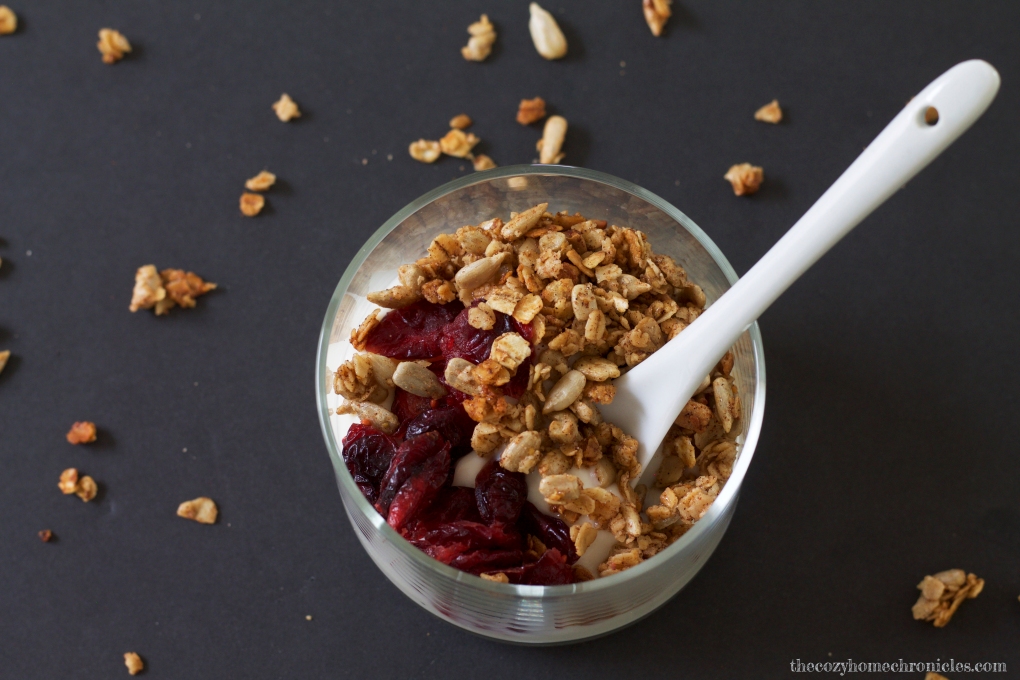
Who doesn’t like french toast? Cinnamon buttery goodness topped with sweet sticky maple syrup. Now imagine that same flavor in the form of a healthy snack. I recently started making my own granola and I just had to share how easy it is. Many recipes I found called for honey but I was craving the deep richness of pure maple syrup, which is how I ended up with a cinnamon french toast flavor (yum!). Quality store-bought granola can set you back anywhere from $6-9 a pound. Homemade granola, however,  is not only simple to make but it’s much more economical too. So here’s to healthy, homemade snacking on a budget!

Cinnamon French Toast Granola

  • Difficulty: Easy
  • Print

Ingredients
4 cups Quick Oats
2 cups raw sunflower seeds
1/2 cup pure maple syrup
1 tablespoon ground cinnamon
1/4 teaspoon ground nutmeg
1/2 teaspoon vanilla extract
1/3 cup vegetable or coconut oil

Directions
Preheat your oven to 325 F. Combine all your ingredients in a mixing bowl and stir well to coat. Spread the mixture evenly on two sheet pans and pop in the oven for approximately 20 minutes until golden brown. While baking, take the pans out every 5 minutes and move the granola around so that they cook evenly and don’t burn. Once the granola is done and cooled, seal in a airtight container and enjoy as a cereal, mid-day nibble, or as a yogurt topper.

IMG_1311

IMG_1321

IMG_1324

IMG_1334

If you liked this post please follow us and share!

Instagram


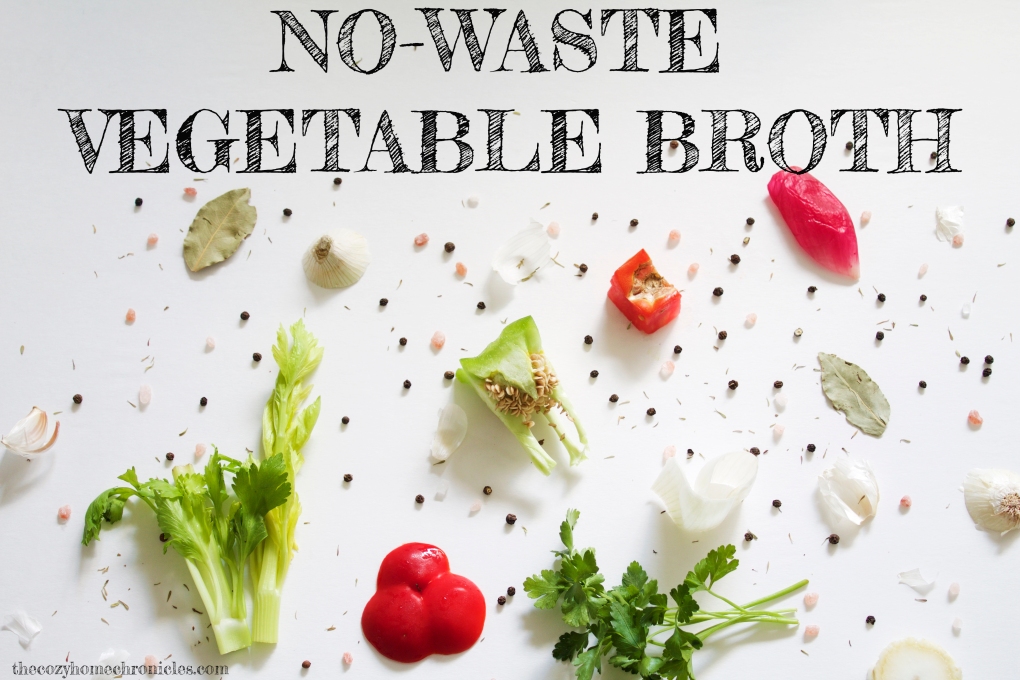
No-Waste Slow Cooker Vegetable Broth

IMG_1284

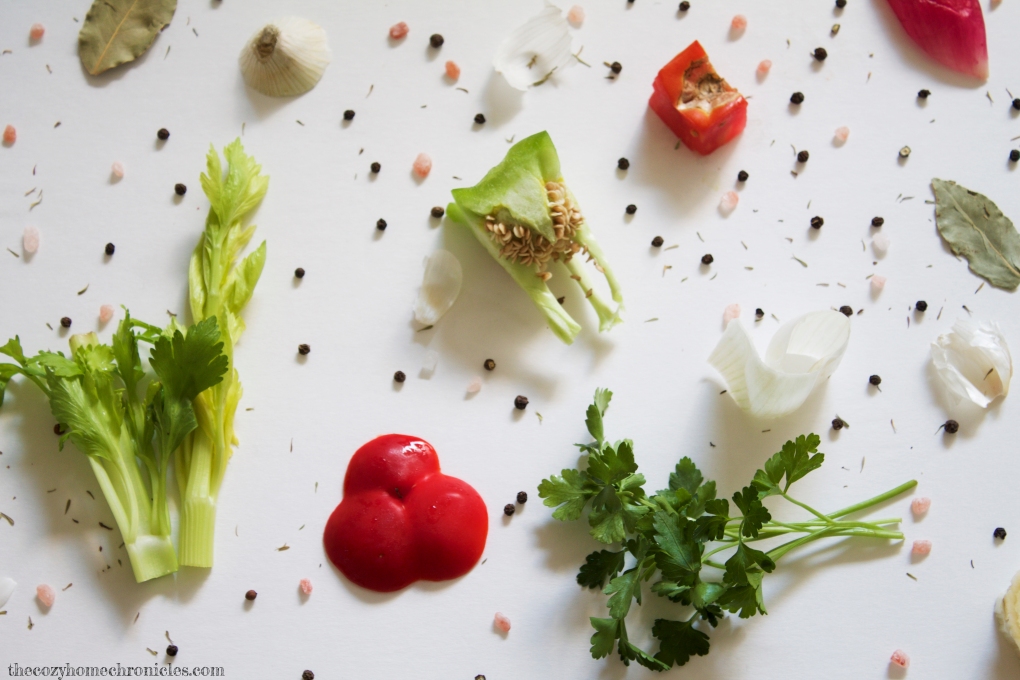
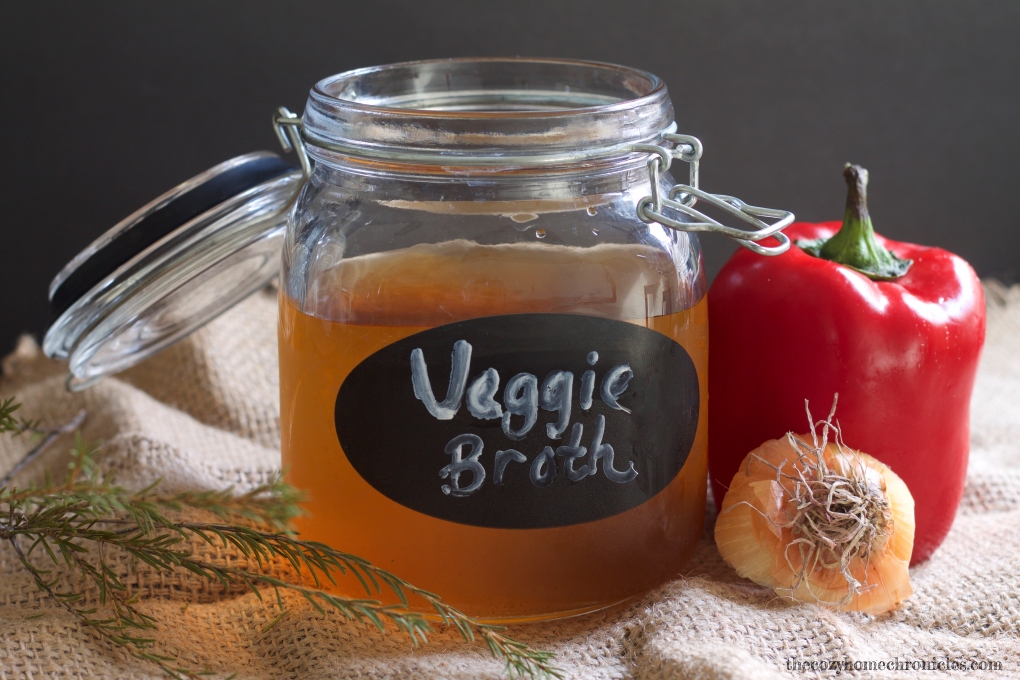
We are constantly trying to find new ways to recycle and reduce waste so when I attended a food demonstration at the healthcare system where I work, I was super excited when the cook revealed her secret for making use of unwanted vegetable scraps. Instead of throwing away the peels, ends, and cores of vegetables, she tossed them into a freezer bag until she had a nice collection and then threw them into a pot of boiling water to make vegetable broth. Since then, I have made this practice a habit and I have never needed to buy vegetable stock. All this requires of you is to be mindful during meal prep. Set aside any vegetable scraps you would normally throw away and store them in the freezer until you have a large collection. Once you’ve filled a bag or jar to the brim (over the course of however long it takes), toss the contents of the bag into a slow cooker or stock pot with water and the result will be a beautiful golden broth every single time. This broth is not only simple to make but it packs a ton of flavor, making it the perfect vegetarian substitute for chicken stock. You can use this broth to make soups, stews, rice, or even as a more flavorful substitute for water in your favorite recipe. Nutrient-rich, flavorful food, more savings, less waste. I think we can all agree this is a win-win-win!

Ingredients
1 quart freezer-bag or jar worth of clean frozen vegetable scraps (peppers, onions, garlic, squash, carrots, celery, etc..)
12 cups of water
1/2 teaspoon peppercorns
Sea salt (to taste)
2 Bay leaves

Note: Do not put any moldy, rotting, or bad vegetable scraps in your broth scrap bag. Before I am ready to make my broth, I also do a rundown of the fridge and toss in any parsley that is near expiration.

Directions
Place all your ingredients in a slow cooker, turn on high, and let it simmer for 6 hours while you do other awesome, productive things (Yay!).  If you’re using a stock pot on the stove, I would let it boil for two hours covered on low. Once the broth is done and has cooled, strain it into a larger bowl or pitcher and distribute evenly among your freezer storage of choice: glass jars or freezer bags.  Then, when you’re ready to cook, you’ll have delicious homemade broth ready at hand.

IMG_1285

IMG_1289

IMG_1304

IMG_1310

IMG_1347

What are the ways you try to reduce waste in your homes? We would love to hear from you! And as always, if you liked this post please follow us and share!

Instagram