Lebanese Beef and Potato Stew

IMG_1102

If you live in the Midwest, you know that springtime isn’t all sunshine and butterflies. We have plenty of gray days that can feel like winter and sometimes all we want to do is curl up in a blanket with a hearty bowl of something and pray that 70 degree weather is right around the corner. This recipe is perfect for just those days. It’s personally one of my favorite Lebanese stews (or yakhnis) growing up and it’s super easy to make. However, this isn’t your average beef and potato stew. What makes this stew especially delicious is the flavor profile offered by a paste of fresh garlic and cilantro. This base, which is a feature of most Lebanese stews, makes for a uniquely savory broth that you will just have to try to understand. So if you’re looking to make a stew but want to try something new (ha! I rhymed!) this will not disappoint!

Lebanese Beef and Potato Stew

  • Difficulty: Easy
  • Print

Ingredients:
1.5 pounds of beef stew cubes
1 head of garlic
1 bunch of cilantro (plus some for garnishing)
3 pounds of potatoes
2 teaspoons tomato paste
Salt & Pepper (to taste)
Lemon juice (1 large lemon)
8 cups of water
Vegetable oil

Note: My recipes serve at least  4 people. While we are only 2 and a baby, I make enough of a meal to last a few days. I cannot stress how convenient it is to have a home-cooked meal without having to prep everyday when you’re juggling a million other things.

Directions:

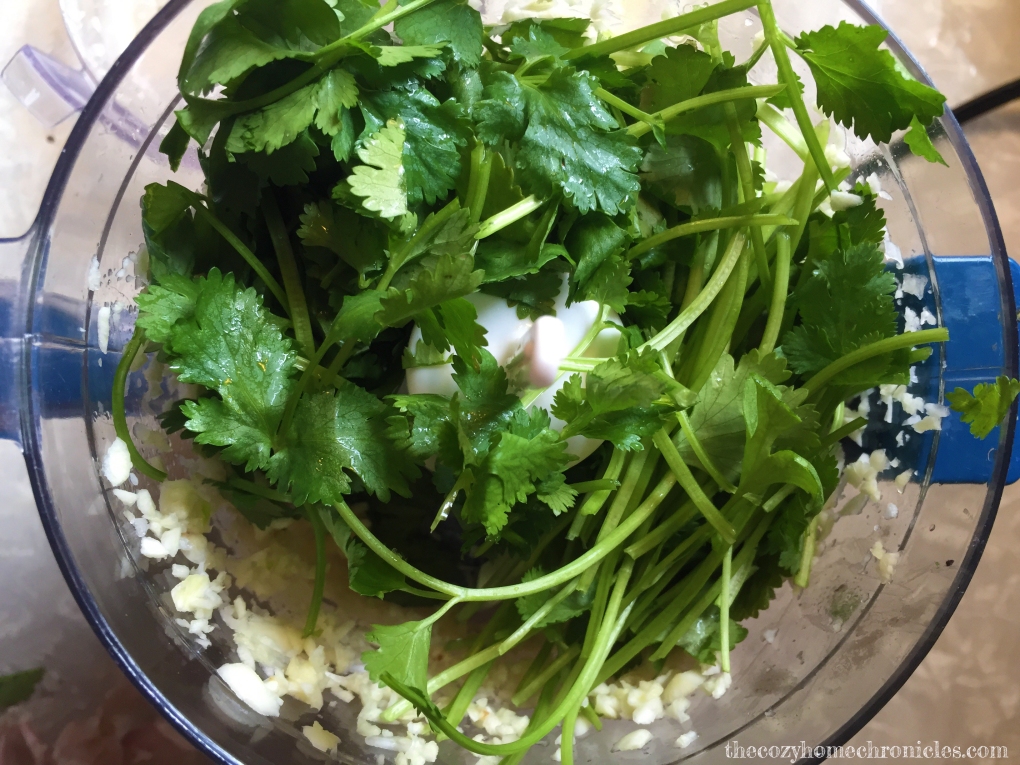
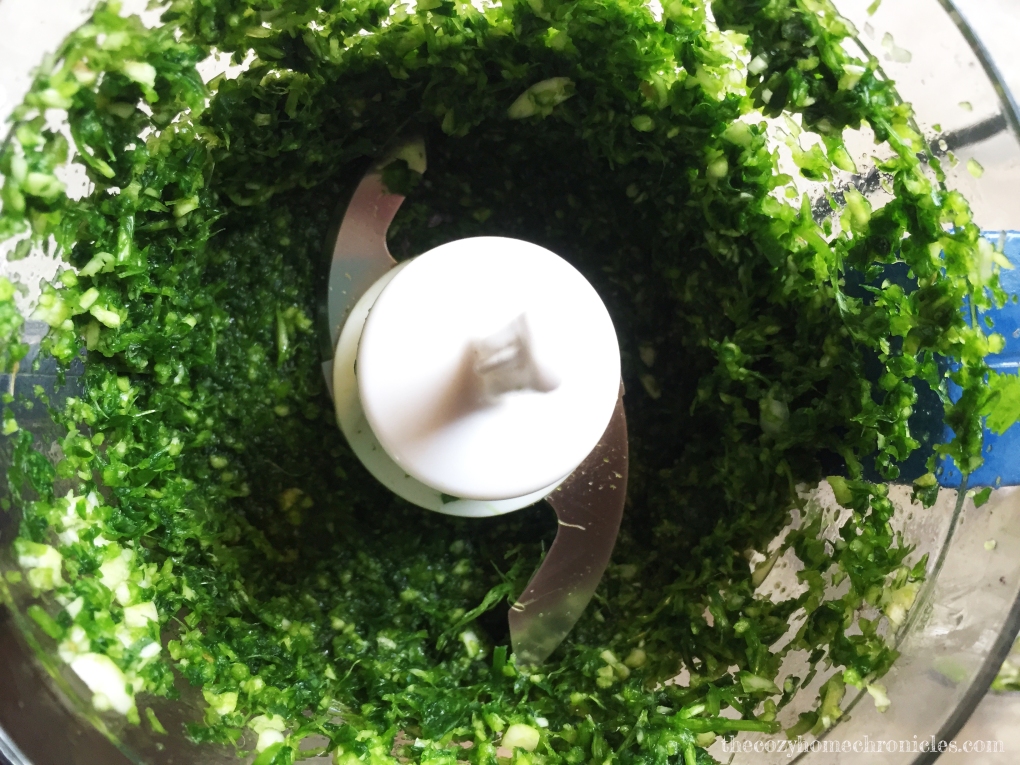
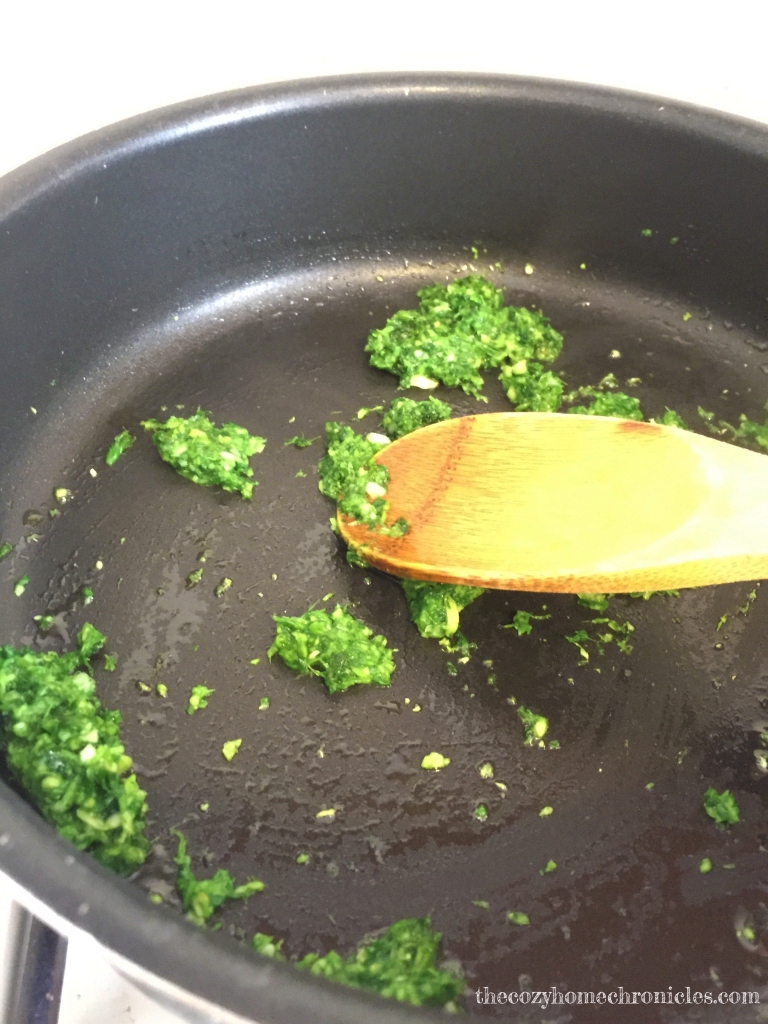
  1. In a stock pot, bring your 8 cups of water to boil. In the meantime, make your garlic-cilantro paste by pulsing the cilantro and peeled garlic head (8-12 cloves) in a food processor. You will use this paste to flavor 3 different components of the stew:the meat, the broth, and the potatoes.
  2. Drizzle a bit of vegetable oil in a large skillet and add in 1/3 of your garlic-cilantro paste. Sauté for 1 minute until you smell the aroma of the cilantro and garlic. Be careful not to burn the paste.
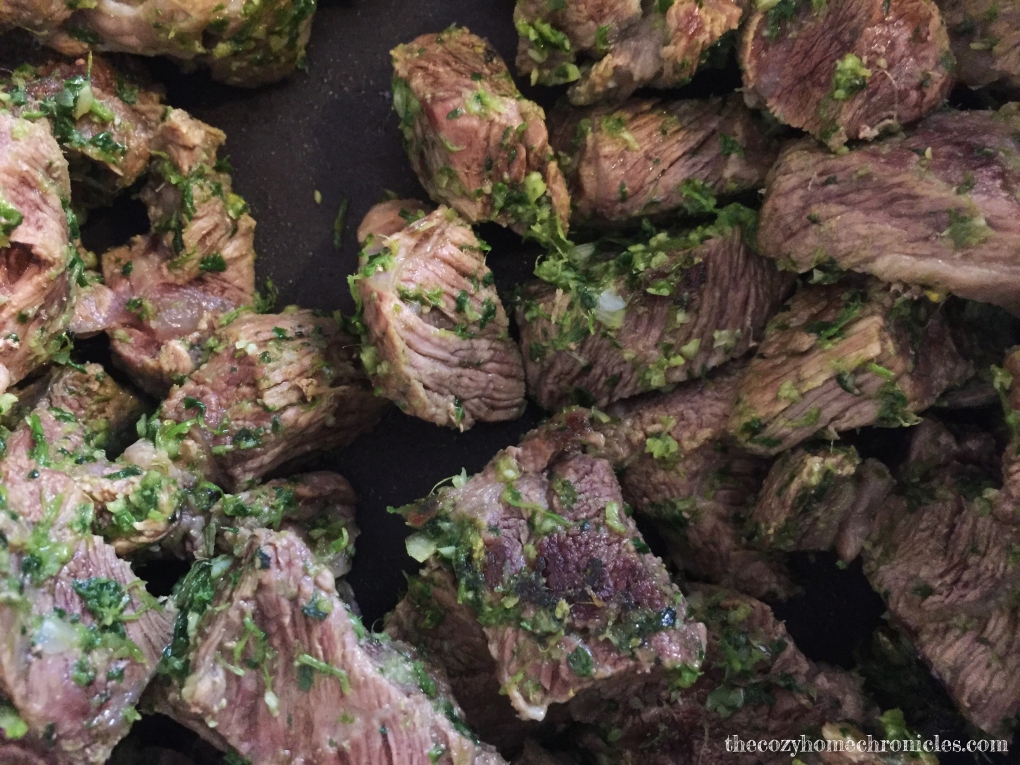
  3. To the sautéed garlic-cilantro paste, add in your beef cubes, some salt and pepper to taste, and let brown on all sides.
  4. By now, your water should be boiling. Toss your browned and flavored beef cubes with another 1/3 the garlic-cilantro paste into the stock pot and allow to simmer on low for 2 hours or until your meat is very tender and the broth is flavorful.
  5. In the meantime, peel, rinse and cube your potatoes.
  6. Repeat step 2 with the remainder of the paste this time adding your cubed potatoes and browning them on all sides but not fully cooking them. Now toss the herbed potatoes into the finished broth and stir well.
  7. Mix in your tomato paste, lemon juice, and any salt and pepper then cover and cook on medium heat until the potatoes are nice and tender. I do this immediately after I add the potatoes in so that I’m not stirring and mushing the potatoes once they are cooked.
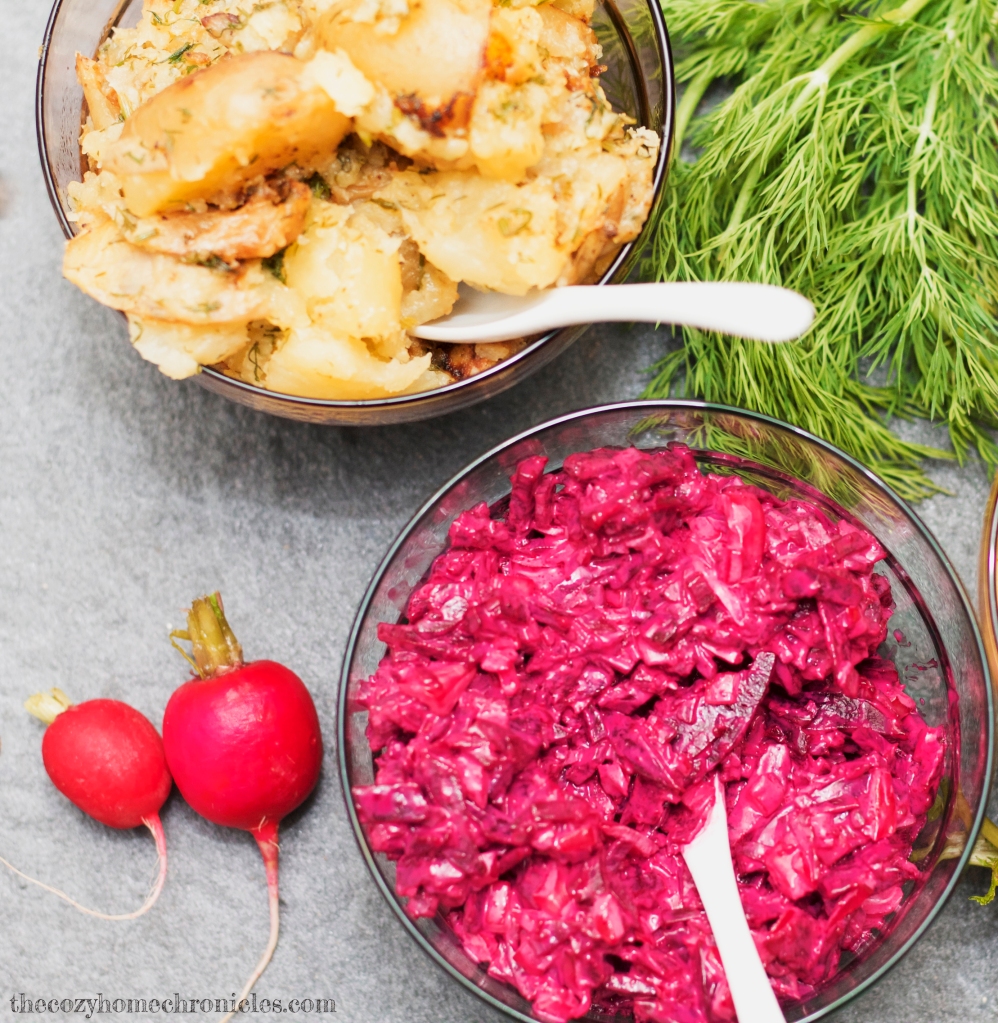
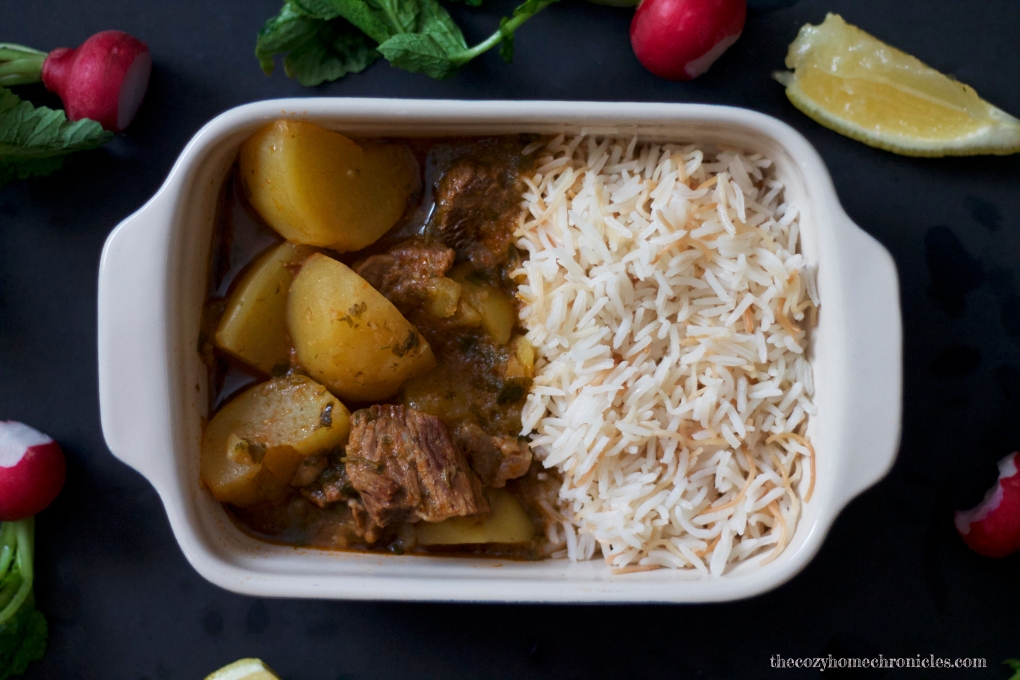
  8. Once your potatoes are fully cooked, ladle a generous serving of meat, potato and hearty broth into a bowl, garnish with freshly chopped cilantro and serve with a side of buttery rice, lemon wedges, and crunchy radishes.

Note: I grew up learning to make this stew by deep-frying the potato cubes and then sautéing them with garlic and cilantro. My dad will tell you that if it’s not made this way, it’s not authentic. And while it is super tasty made that way, the stew is just as tasty without frying. Whether you decide to bake, deep-fry, or sauté your potatoes, just make sure to add them in near the end when your meat is tender and your broth is richly flavored. If you add them in too early, they will turn to mush and you don’t want that to happen. Trust me.

2016-03-02 13.54.51

2016-03-02 13.57.28

2016-03-02 14.01.09 copy

2016-03-02 14.06.43

Processed with VSCOcam with m5 preset

2016-03-02 14.52.15

IMG_1098

If you liked this post please follow us and share!

Instagram


Deliciously Spicy Carrot Cake

IMG_0886

I recently kidnapped a juicer from my dad’s house (just kidding, he gave me permission) to juice some carrots and I was surprised by how much carrot pulp was created out of such a small glass of juice! I didn’t want to waste the carrot shavings so I decided I would make a carrot cake out of them. This time, though, I wanted something a bit different than the generic carrot cakes out there. I was craving a deep rich flavor with a little more kick. After several experiments (there was a lot of carrot pulp), I arrived at what I think is the perfect blend of spice and sweetness. Instead of using solely cinnamon as most recipes call for, this recipes makes use of a blend of beautifully aromatic spices including nutmeg, clove, cardamom, and ginger. It’s the perfect springtime cake and your kitchen will thank you for the aroma.

Deliciously Spicy Carrot Cake

  • Difficulty: Easy
  • Print

Ingredients:
2 cups all-purpose flour
1 1/2 cup dark brown sugar
3 eggs (room temperature)
1 teaspoon baking soda
1/2 teaspoon salt
1 tablespoon ground cinnamon
1/4 teaspoon ground cloves
1/2 teaspoon ground nutmeg
1/8 teaspoon ground cardamom
1/8 teaspoon ground ginger
2 cups shredded carrot
1 1/4 cup of vegetable or canola oil

Directions:

1. Preheat your oven to 350F and spray your cake pan with a non-stick spray. Set aside.
2. In a small mixing bowl, measure out and sift your flour, baking soda, salt, and spices. Set aside.
3. In a larger mixing bowl, beat your dark brown sugar, eggs, and shortening until the batter is smooth and a beautiful caramel color.
4. Slowly add in your dry ingredient mixture while beating on low (or whisking).
5. Once the batter is smooth and free of lumps, add in your shredded carrots and mix well.
6. Pour the batter in your sprayed cake pan and bake for 30-35 minutes or until a toothpick inserted in the middle comes out clean.
7. Let your cake cool on a rack and frost with a cream cheese frosting if you like or slice and serve with a cold glass of milk.

Processed with VSCOcam with f2 preset

Measure.

2016-02-27 09.59.13

Mix.

2016-02-27 10.07.43

Bake.

IMG_0848

Cool.

IMG_0852

Frost.

IMG_0885

Enjoy!

If you liked this post please follow us and share!

Instagram


Swedish Beetroot Salad (Rodbetssallad)

IMG_0653

As you will come to see, the menu here is very much international. We both come from different cultural backgrounds and have experienced different parts of the world. And because we strive to eat healthy (mostly), homemade meals and a variety of colors, tastes, and textures, I end up experimenting in the kitchen to recreate our beloved childhood meals, vacation eats, and random cravings. I will never forget the first time I had Rodbetsallad while visiting my husband’s family in Sweden. I had eaten beets before but never like this and never on top of a hot dog. Seriously, you must try it (and let us know if you do). With a new sense of appreciation for this beautiful root, I decided this was the perfect way to get more beet in our diet. A few attempts later and my husband will agree that this is pretty darn close to the real thing.

Swedish Beetroot Salad (Rodbetssallad)

  • Difficulty: Easy
  • Print

Ingredients

3 small-medium pickled or freshly boiled tender beets
1 small white onion
1//2 cup of Mayonnaise (Trader Joe’s Vegan Mayo works nicely too)
1 tablespoon yellow mustard
Salt and pepper to taste

Directions

  1. Dice the onion very finely and place in a mixing bowl along with mayo and mustard.
  2. On a cutting board, slice the beets into thin rounds and then shred the rounds into fine ribbons (see images below).
  3. Add the beets to the bowl and mix well, adding salt and pepper to taste. Make sure the beets are cool before you add to the mix as hot beets melt the mayo and alter the consistency of the salad.
  4. Transfer to a pretty serving bowl and chill for 1 hour or more in the refrigerator.
  5. Serve with Knäckebröd (Swedish crispbread) for a scrumptious afternoon snack or generously spoon over grilled hotdogs for sweet creamy deliciousness.


2016-02-11 16.05.45

Processed with VSCOcam with c1 preset

Processed with VSCOcam with c1 preset

IMG_0643

IMG_0658

Beetroot salad, dill potatoes, crunchy vegetables, and crispbread make a hearty Smörgåsbord.


If you liked this post please follow us and share!

Instagram


Aromatic Fennel Biscotti

IMG_0416

I love experimenting with foods that have a simple base but can be customized and altered in fun ways. For me, biscotti is one such food. Once you have the dough, you can create any flavor profile your heart desires. It’s the stuff of dreams. Which is why you will probably see a good deal of biscotti on this blog as I have had my fair share of experimenting 😉 This recipe makes use of the beautifully aromatic fennel seed, which we picked up from a bazaar in Istanbul. Often confused with anise (which I am guilty of doing) and used in Indian and Middle Eastern sweets, this sweet spice boasts many health benefits from relieving anemia to indigestion. Not that we need anymore excuses to eat cookies. And because we take our hot drinks very seriously, we suggest you pair these beauties with a warm chai tea latte or sahlab and savor each crumbly dunk.

IMG_9428 copy

Aromatic Fennel Biscotti

  • Difficulty: Easy
  • Print

Ingredients
2 cups of all-purpose flour (and extra for kneading)
3/4 cup of sugar
1 1/2 teaspoons baking powder
1/4 teaspoon salt
1 stick of butter (room temperature)
2 large eggs
1 teaspoon of vanilla (we use Trader Joe’s brand)
1/4 cup of fennel seeds

Directions

  1. Preheat your oven to 350 degrees Fahrenheit and line a baking sheet with parchment paper.
  2. In one bowl, beat the sugar, salt, butter, vanilla, and eggs (one at a time) until smooth.
  3. Pour in the sifted flour and baking powder and mix well until it forms a dough-like consistency. As the mixing becomes more difficult, flour your hands and knead until smooth.
  4. Add in the fennel and knead by hand for a few minutes until the fennel seeds are evenly spread throughout the dough.
  5. Place your dough on the baking sheet and shape it into a log (about 12 inches long, 2 inches thick) using your hands.
  6. Bake until light golden brown about 30-40 minutes. Let cool for 20 minutes.
  7. On a cutting board, cut your log into 1/2 inch thick slices using a sharp serrated knife. I also cut these slices in half as I like my biscotti more bite size.
  8. Place each slice side-up on the baking sheet and return to the oven to bake for another 15-20 minutes or until a deeper golden brown.
  9. Move your biscotti to a rack and let them cool.
  10. Enjoy 🙂

IMG_0350

IMG_0382

IMG_0389

IMG_0391

IMG_0395

IMG_9436

IMG_0416

If you liked this post please follow us and share!


Easy Chocolate-Walnut Biscotti

IMG_8775

We love our tea time and nothing beats tea time except tea time + yummy homemade goodies. These chocolate-walnut biscotti are the perfect accompaniment to tea and coffee: sweet, but not too sweet, and crunchy and nutty and perfect for dunking. They’re also super easy to whip up. We always have fresh walnuts on hand so that’s what I used but you can substitute any nut really. Just be prepared for these addicting treats to become a permanent feature (and highlight) of your cozy morning or evening tea-ventures.

IMG_8758

Easy Chocolate Walnut Biscotti

  • Difficulty: Easy
  • Print

Ingredients
2 cups of all-purpose flour
3/4 cup of sugar
1 1/2 teaspoons baking powder
1/4 teaspoon salt
1 stick of butter (room temperature)
2 large eggs
1 cup of chopped walnuts
1/2 cup of semi-sweet or dark chocolate chips

Directions

  1. Preheat your oven to 350 degrees Fahrenheit and line a baking sheet with parchment paper.
  2. In one bowl, beat the sugar, salt, butter, and eggs (one at a time) until smooth.
  3. Pour in the sifted flour and baking powder and mix well until it forms a dough-like consistency. As the mixing becomes more difficult, I flour my hands and knead until smooth.
  4. Add in the walnuts and chocolate and knead by hand for a few minutes until the nuts and chocolate are evenly spread throughout the dough.
  5. Place your dough on the baking sheet and shape it into a log (about 12 inches long, 2 inches thick) using your hands.
  6. Bake until light golden brown about 30-40 minutes. Let cool for 20 minutes.
  7. On a cutting board, cut your log into 1/2 inch thick slices using a sharp serrated knife. I also cut these slices in half as I like my biscotti more bite size.
  8. Place each slice side-up on the baking sheet and return to the oven to bake for another 15-20 minutes or until a deeper golden brown.
  9. Move your biscotti to a rack and let them cool.
  10. Brew some delicious tea or coffee and enjoy 🙂

IMG_8824

If you liked this post please follow us and share!